Corvette: How to Use Touch Up Paint Pens
Avoid expensive paint work with these simple DIY tricks. The process is easy and inexpensive. Best of all, you won't need to try your luck with one of those awful touch-up sticks that rarely work.
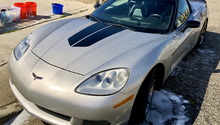
This article applies to the C5, C6 and C7 Corvette (1997-current).
Using just a few simple tools, you can refresh the exterior paint on your Corvette in very little time. There's no need to fumble with touch-up sticks that don't work or spend loads of money contracting an expensive mechanic. Getting started is easy, and we'll provide you with the step-by-step instructions you need to complete the job. You may be a novice at auto repair, but this how-to article will give you the insider information you need to carry out each task like a professional. Let's get started!

Materials Needed
- Chip-ex paint repair system or a comparable product
- Microfiber cloth
- Latex gloves
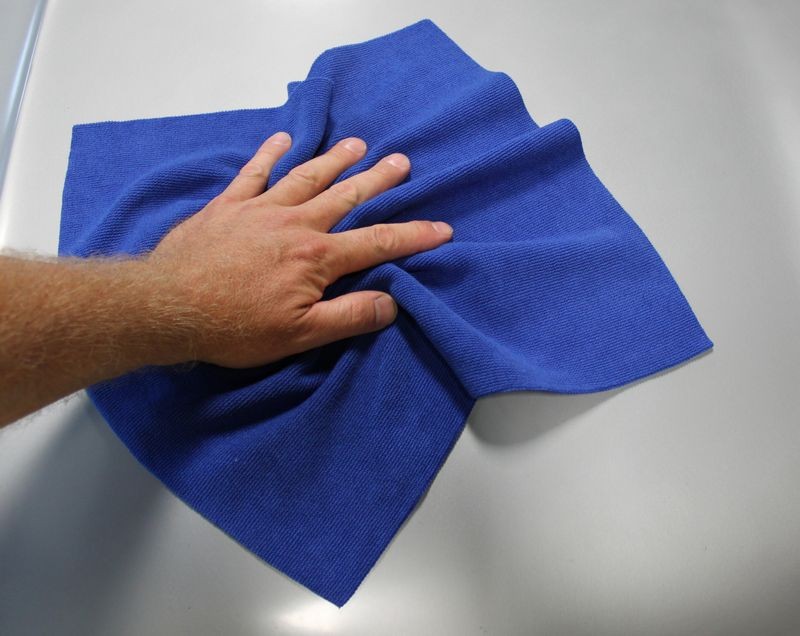
Step 1 – Clean the area using a microfiber cloth
Clean and degrease your working area. Using a more aggressive cleaning compound of claybar will insure that any residual waxes or greases are removed, as these items will affect your ability to repair any paint defects.
Pro Tip
Protect your hands from exposure to chemicals by using latex gloves while handling paint and other auto repair substances.
Step 2 – Apply the repair paint
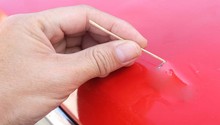
Shake the paint bottle to circulate the ingredients, and then apply a dab or drop using the small applicator brush, which should also come packed with the paint repair system you are using. A small paint brush will also suffice. Size according to the dimensions of the area. Choose a paint brush designed with a fine point or rounded head to maximize the level of precision. Dab the paint with your gloved finger, and allow to sit for 10 or so minutes, depending on the weather and amount of paint used.

Figure 2. A brush used to apply auto repair paint. 
Figure 3. You could also use a toothpick for the ultimate DIY experience.
Pro Tip
It is safe to move to the next area, as you allow the paint to settle for 10 minutes.
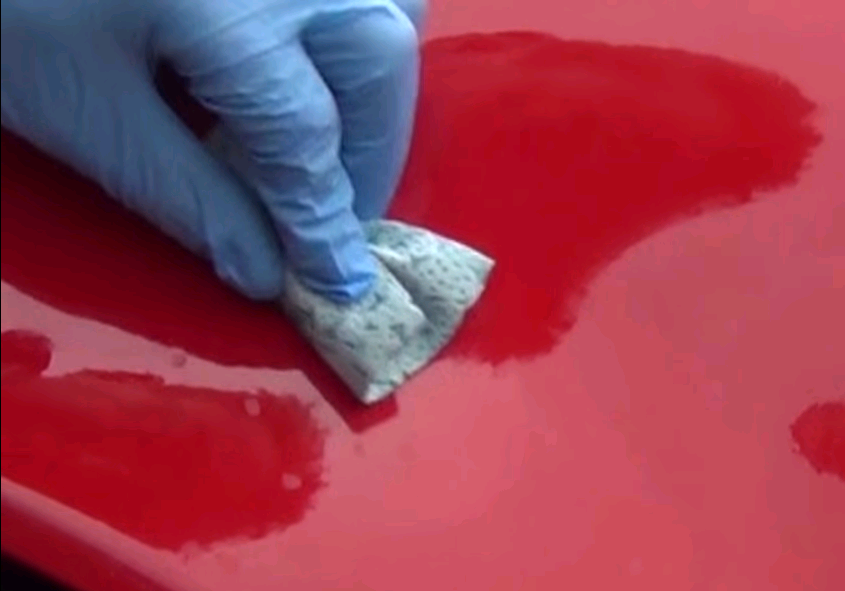
Step 3 – Blend the paint
Wrap the small foam block that comes included in the paint repair system in the buffering cloth. Treat the cloth with a small amount of blending solution, and buff the area you wish to repair, using a gentle, up and down motion. Blend each area, one at a time.

Pro Tip
Avoid applying any pressure while buffing the area, as you could loosen delicate paint chips.
Step 4 – Polish the targeted area(s)
Using the polishing cloth provided, spread a generous amount of polishing solution over the targeted area, and begin applying using a broad circular motion. Continue until the polishing solution is blended completely into the paint for a smooth, professional finish. Move to the next area and repeat.
Step 5 – Apply more paint to stubborn paint chips
Treat stubborn paint chips by adding a new coat of paint. Repeat the above steps, allowing sufficient time for the paint to dry before buffing and polishing. Only stubborn paint chips and deep scratches should require a second treatment process.
Related Discussion and Video
- Paint Repair on a Corvette - Youtube.com
- DIY Repair Scratches - CorvetteForum.com