When you click on links to various merchants on this site and make a purchase, this can result in this site earning a commission. Affiliate programs and affiliations include, but are not limited to, the eBay Partner Network.
Patrick, here is what my B pillar looked like - the outer lip was completely gone and I had to remove the #3 body bolt cover to repair the rocker channel. The cover lines up with the rear quarter reinforcement just behind the B pillar. I won't reinstall the cover until I mount the body for the last time, I'm going to pull the body one more time once I get all the body work done/cured. I'll put in the engine/trans, gas tank, exhausts, etc then drop the body, install the #3 covers, finish the sanding primer process and prep for paint. The B pillar repair is on thread post #180. PM me your phone# if you want to talk this through.
I took apart the fresh air vent flaps as well as the hood latch female catches. I'll get them cleaned and painted while it's nice here, supposed to be 65 degrees this weekend. Got out the windshield stainless and double checked the fit against the front clip. I'll get the hood fit checked next, do some final prep items on the clip and then hopefully get it bonded while it's warm.
Last edited by slalomfiend; Dec 22, 2017 at 10:08 AM.
Wonderful! Great help! I can see that I over did the repairs and will cut off the extra tab. I will also omit the lower stone shield until final assembly because Scott warned me years ago it my be oversized. I measured it against what is left of the original and it is way too large.
The temps up here are too cold to do any outside work and after I get the quarter on and B pillars attached I do need to turn this over and get at the underside. I will do that before attaching the front end.
Thanks for the photos and updates on your progress, everything looks great and a prelude to what I can hope to expect. If and when I'm daring enough to start cementing I'll PM you and it looks like the bonding strip for the drivers quarter will be the first piece but I'm still fitting the deck gutter up to the B pillar cover and not liking what I'm getting.
I finished the inner fender paint, pre-fit work and temporary attachment of the front clip on Saturday.
Then on Sunday, Scott and Jim came over and helped me bond the clip. Had to have a celebratory beer, it's a milestone I thought might never come!! The car is now all in one piece again and solid!!!
Today, I started the final gap work and leveling the deck edges. Also got the cowl holes cut out and the clip rough sanded. Next milestone will be getting the feather work done on the seams and shooting with sanding primer.
Last edited by slalomfiend; Dec 22, 2017 at 10:15 AM.
Had to have a celebratory beer, it's a milestone I thought might never come!!
. . . only one? . . . with the work you've put into this project, you should be celebrating this milestone for days! Great job - can't wait to see it finished!
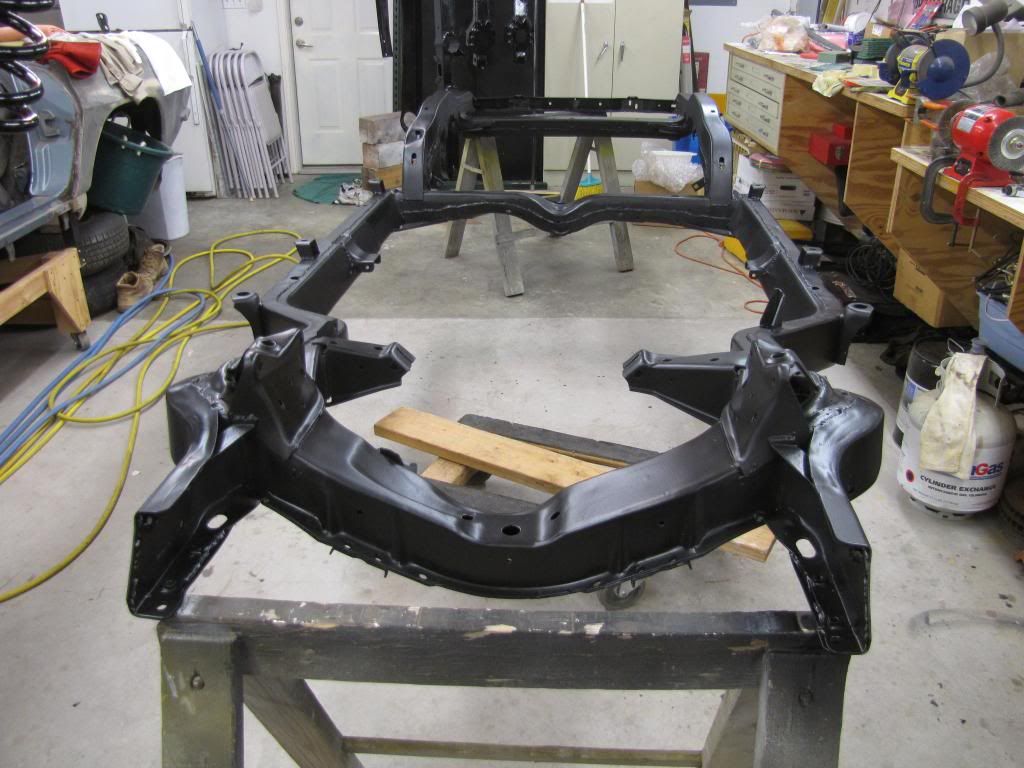
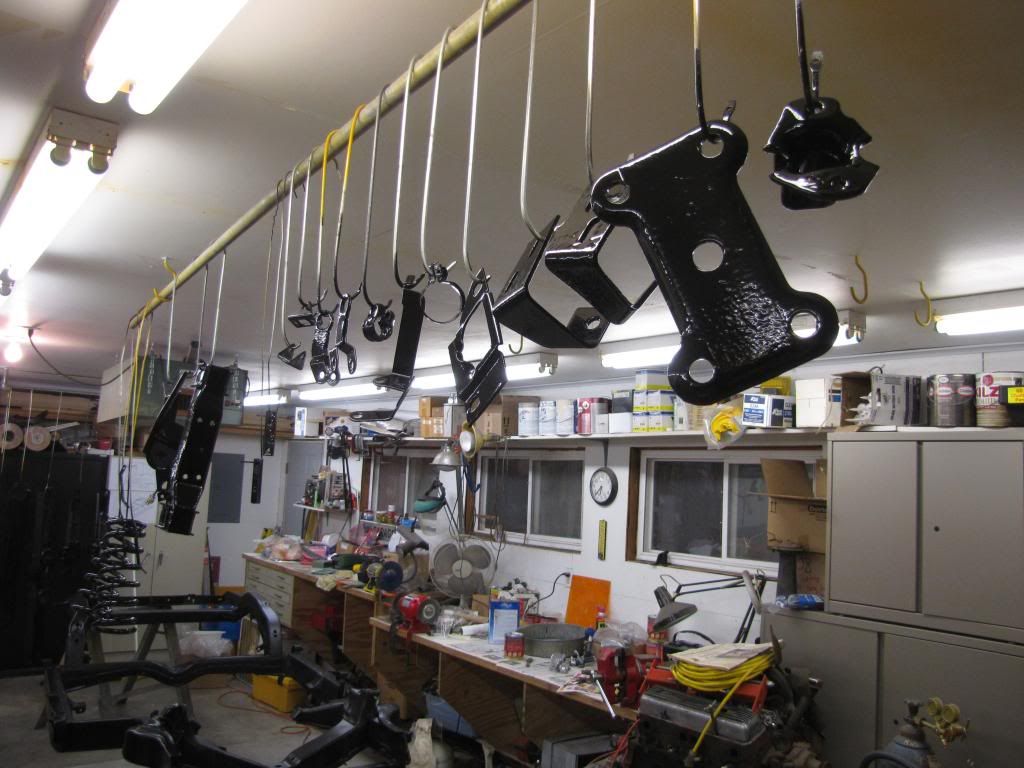
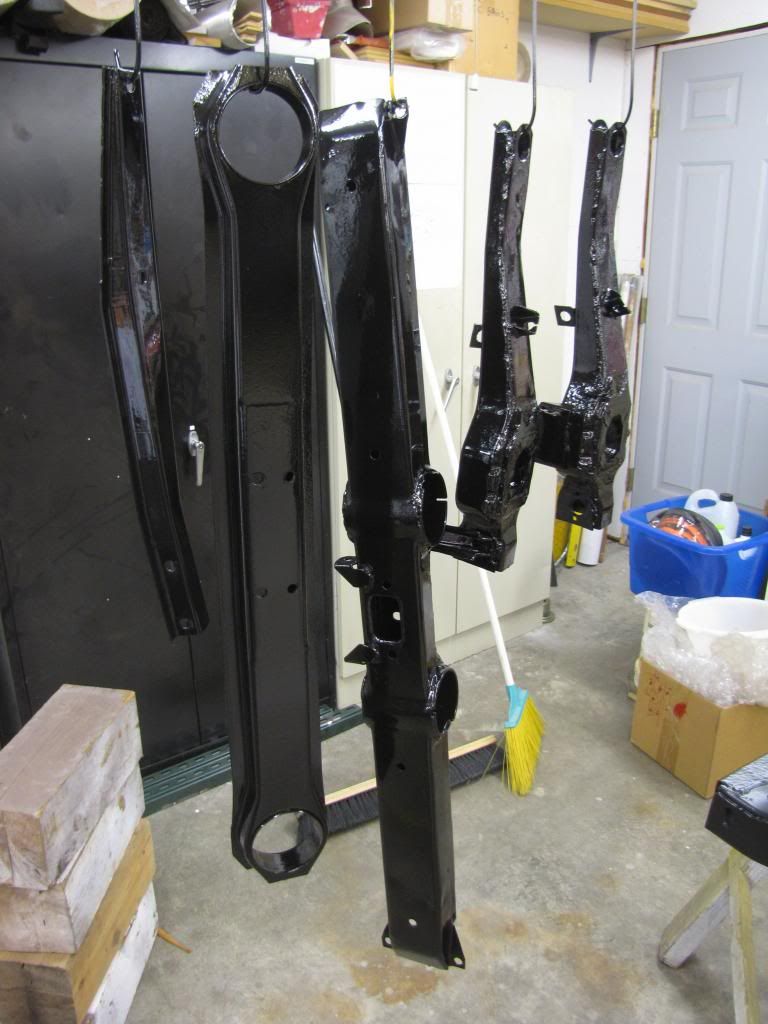
Since all the frame welding/grinding was done, all I have been waiting for was a nice day to spray paint. Yesterday was 75 and sunny so I shot Por15 inside the frame with the degreaser gun. Only issue was I had to hold the can of paint above the gun because it didn't siphon real well. Once I taped the siphon hose into the can and held it higher than the gun, it worked fine. Real messy, but at least I know it's coated in there pretty good. Then sprayed the frame Chassis Black and a bunch of suspension parts Gloss Black. Now comes time to buy some new parts...
Next nice day I'll get the other parts painted Silver and Cast.
great work, very inspiring for what I am working on my 64 body off.
Did you have a spray boot for the POR on chassis? Or do you spray where I see it in the picture?
alexandervdr, I sprayed the frame outside on the driveway on a calm/warm day about 10am then let it sit in the sun and cure. It was dry to the touch by 5pm when I moved it in and set on the sawhorses.
Tom - can't slow down to have toooo many, have to keep pushing to paint in March!! I'll surely put a few down then!!
Jim - thanks for the kind words, I'm just a bit of a perfectionist at times. Down side is it takes me a bit longer so I'd probably starve if I had to do it for a living!!
Working on some filler feather work along the rear deck lid edges, will post pics soon...
The white dust gets everywhere! Filler work and gapping is progressing nicely. The driver door top/rear deck area is done as well as most of the rear deck edges to body. The body panels on this car line up really nice, most of the feather work along the edges is 1/32" or less. Would probably look fine without the extra work but I want them to line up all along the edges.
I have also rebuilt most of the rear body line peaks, just have to radius them prior to primer.
We're having a birthday dinner for my wife this evening so I got the garage all cleaned up. Have to remember to tell the guests not to give in to the temptation of running their hands along the car... Probably a few more days and I'll move on to the front clip.
Last edited by slalomfiend; Dec 22, 2017 at 10:20 AM.
When doing the front clip, be sure to fit the cowl vent grills in with the hood on. I never did until my car was all painted, and it was REAL close.
Good advice Ken. Many people paint parts ''off the car'' like doors, deck lids, hood etc. Then the paint never matches. I have seen even white paint have different look on each panel. PAINT the WHOLE CAR at the same time. PEBBLE BEACH cars are disassembled, and reassembled many, many times for fit and finish.
It's the prep work that takes all the time. Cars I have done were 6 months of body prep and 2 hours to actually paint it.
I'm not quite finished with the rear filler work but it's close. I started to move forward now that the front clip has cured. Did the fiberglass overlay work at the top of the doors body lines to match the front clip. They would have been just a bit too thick to do in filler so I used glass. Now the lines are true.
I also glassed in the bond line on the front quarter that I had to separate to make the clip match up to the body correctly.
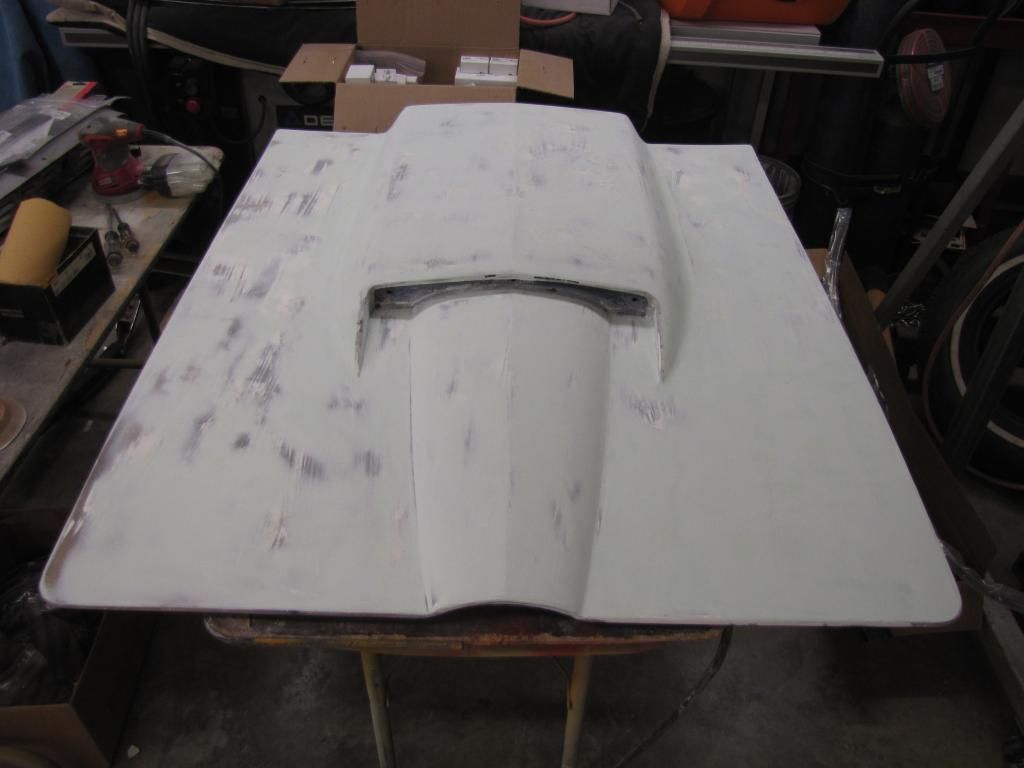
My repro BB hood is a really nice one but had the rough/hairy fiberglass texture on the underneath side so I did a light sanding, cleaned it real good and skim coated so it will be nice and smooth when painted.
I also got the lower windshield track/fiberglass sanded while I was grinding the other glass. The lower stainless lays in there really nice now.
And last but not least, I'm glassing in the A pillars so I can do the final gapping at the front of the doors. Once this is done, I'll be able to move on to the final filler work where the doors and front clip meet.
Last edited by slalomfiend; Dec 22, 2017 at 10:26 AM.
Haven't posted in a while because it's the same ol' thing...sanding and white dust. Getting excited though, feels like I'm nearing the end of this phase but trying hard to resist the temptation to rush!
I finished gapping/leveling the front of the doors so now it's on to the front clip and hood. Everything from the A pillars back is complete except for a couple hours work around the back up lights.
Couldn't help myself adding a thin skim coat to the underside of the hood. Will be really level and smooth now once painted. A little sanding on the top side and then I'll mount it and get it gapped/leveled to the surround.
Last edited by slalomfiend; Dec 22, 2017 at 10:29 AM.
Seems that everyone who is a DYI person gets "Dusty" before that time when the engine roars to life and everyone else is left in the dust!
I've been searching for bird cage information and ask if you know where I can find it? I want to get the rear clip assembled as a way to start measuring forward and it seems that the filler metal between the B pillars should be welded in. Having it wobble while fitting the doors and covers is making things difficult. Do you know where I could find something to go by for the bird cage? I'm trying to figure out the position of the B pillars and if they should be vertical and parallel to each other from left to right. I posted a sketch of my hold up going forward but from the B pillars to the rear all measurements match.
Lots of snow here, again. Really thinking of the South for a better retirement!
I'm super stoked!! Got the headlights put together and installed, amazed at how close the line ups are. I was expecting the worst I guess but now all they will need is a little gap/skim coat work to be really SCHWEET!! I've also been sanding on the hood some and will do a test fit to the body soon. That should be the last major hurdle on the body work.
Last edited by slalomfiend; Dec 22, 2017 at 10:31 AM.
I'm super stoked!! Got the headlights put together and installed, amazed at how close the line ups are. I was expecting the worst I guess but now all they will need is a little gap/skim coat work to be really SCHWEET!! I've also been sanding on the hood some and will do a test fit to the body soon. That should be the last major hurdle on the body work.
Designer Imagines A Corvette That Looks More Like a Corvette Than the Corvette
Slideshow: A Jaguar designer's personal project imagines what a modern front-engined Corvette might look like if Chevrolet revisited the golden age of the Stingray.