When you click on links to various merchants on this site and make a purchase, this can result in this site earning a commission. Affiliate programs and affiliations include, but are not limited to, the eBay Partner Network.
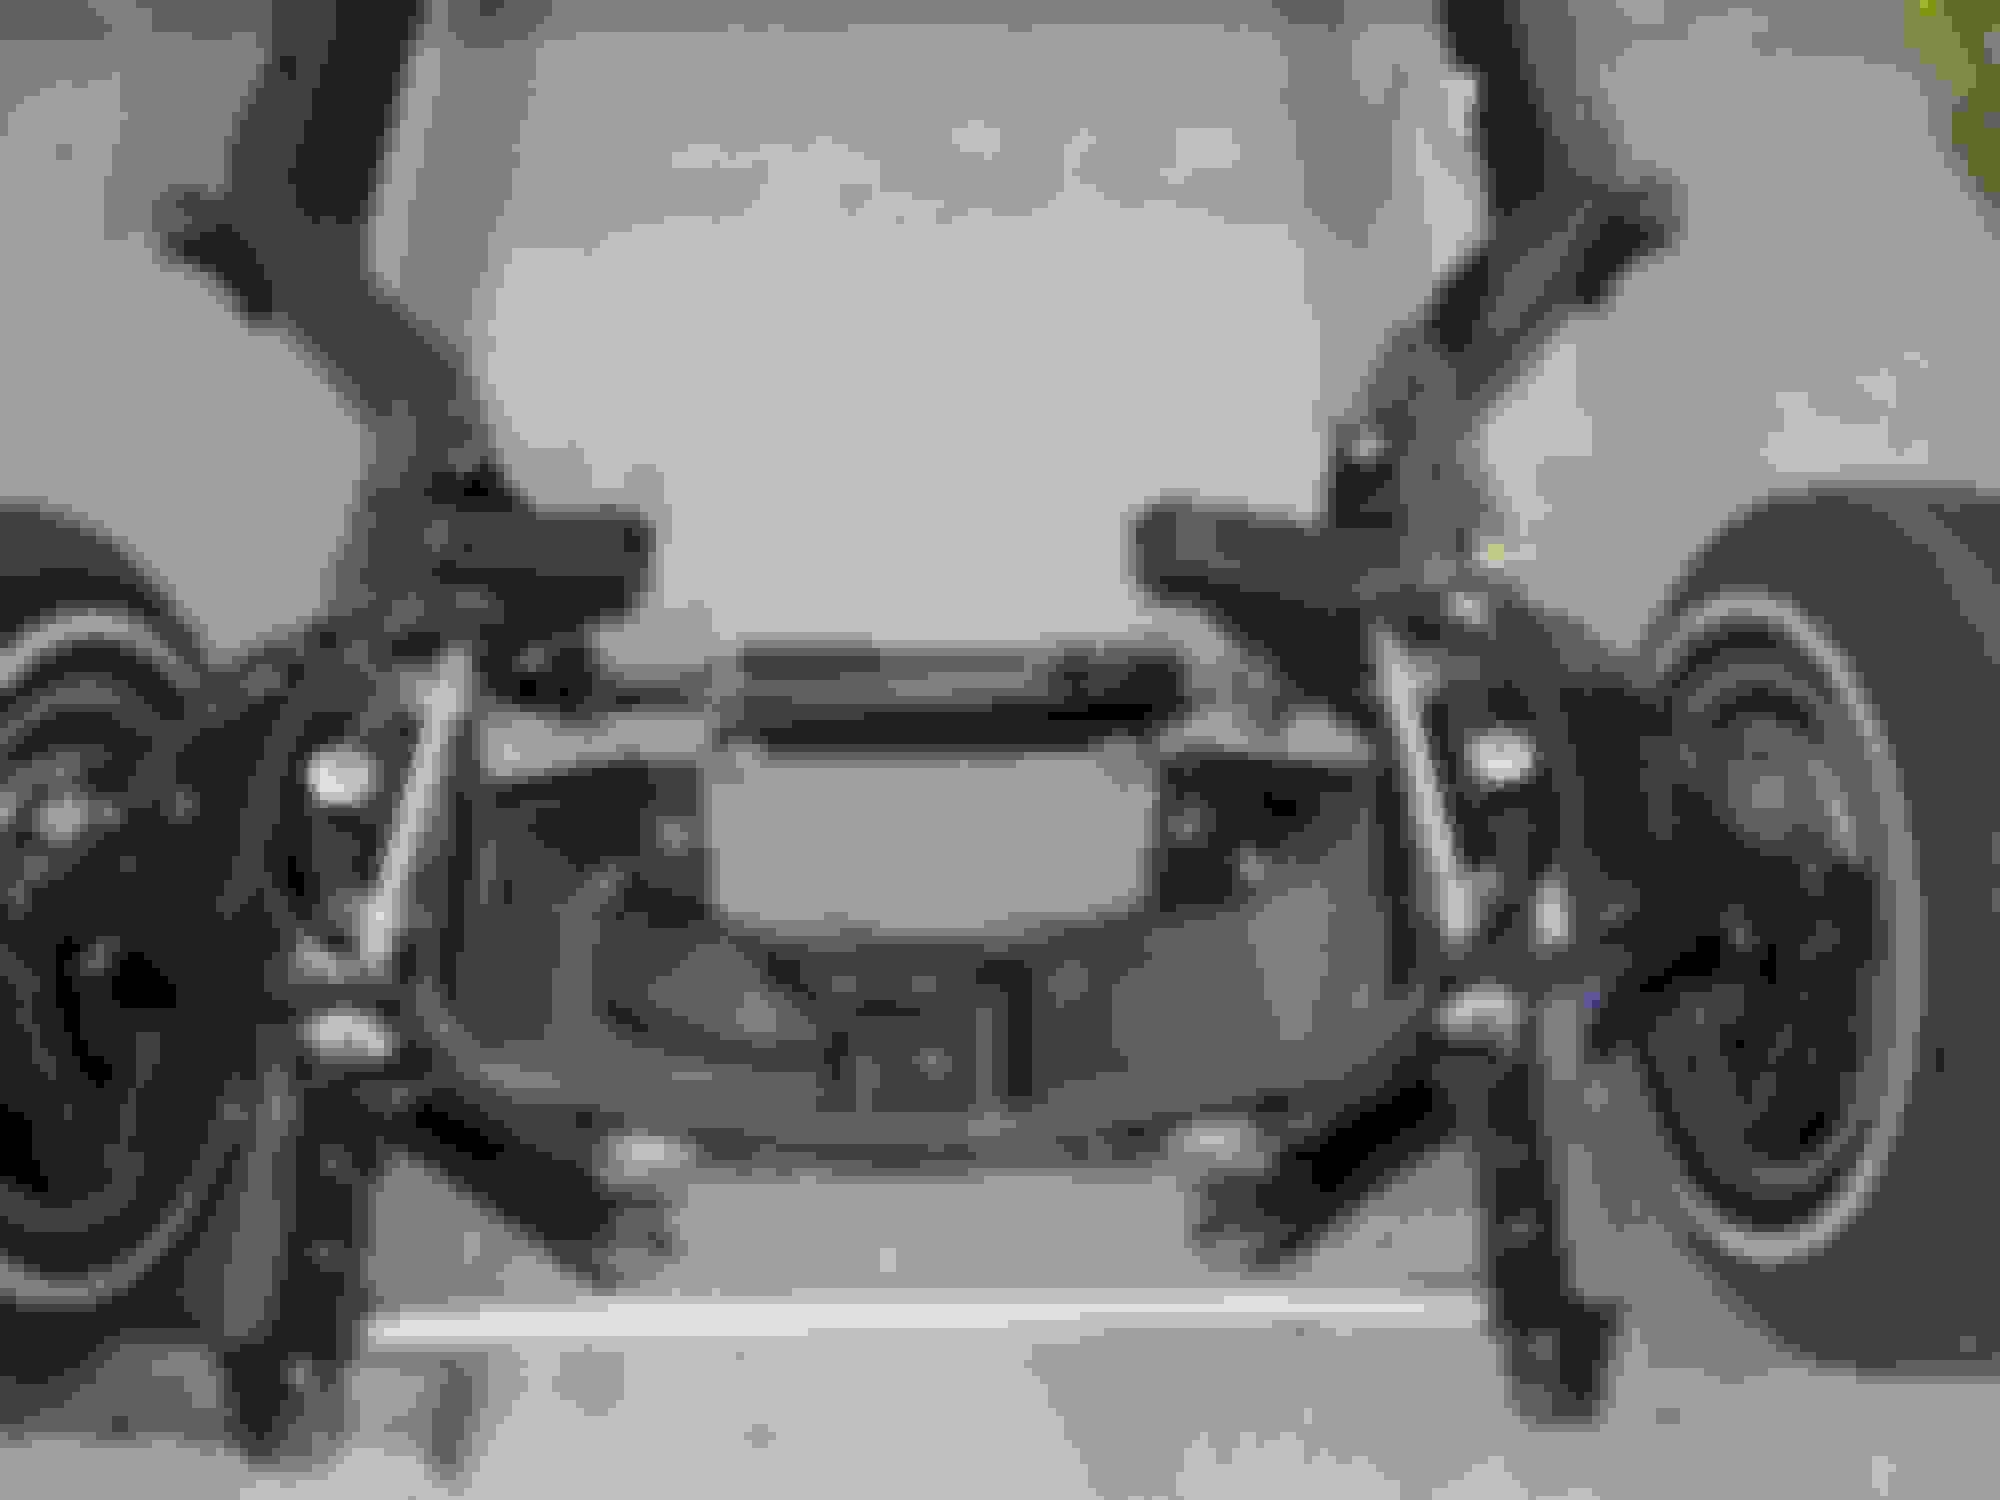
Another three hours on Saturday yielded some progress. Got the a-arms bolted on, the rear crossmember sombreros installed and bolted to the pumpkin as well as the front pumpkin mount.
The trailing arms are all ready for install, Stephen at Duntov did a great job of assembly for me. The bushings are in the rear sway bar and brackets and strut rods, so those are ready for install as well.
Won't be long now and I'll have a rolling chassis again!
Last edited by slalomfiend; Dec 20, 2017 at 12:52 PM.
Yes Ganzman, I must honestly say that these things make fools out of us when we hurry. I'm just humming along, getting things all ready to bolt back together and patting myself on the back for everthing looking and going back together so nicely - then I look at the pics and notice that I had put those ball joints on upside down - glad to be reminded to slow down with this and not a three hour retrofit task!!
Helped by best friend install the hemi in his '59 Century Coranado, what a beast - 1100 lbs dry (with trans). Then he and others helped me with some more chassis install work.
Was glad to get the extra hands loading up the rear pumpkin, made it SO much easier!
Took a while to figure out the best way to compress the springs so they would tuck up into the frame but finally got 'em!
Put the original A-arm shims back in after cleaning them, will do a final alignment when complete but this should get it close.
Here's where she sits today, shouldn't be long before it's back on the ground.
Last edited by slalomfiend; Dec 20, 2017 at 01:41 PM.
I mentioned that I'm tracking my time spent on this. To date, I have 331 hours in total. That includes building the body cart, body removal prep, dismantling both chassis, cleaning, parts procurement, painting and chassis re-assembly to this point. My friends are starting an over/under wager on the total number of hours at completion...
Brought the boat home from storage today...garage is in some severe need of re-organizing! I'll pull it out when I'm working on the car but some walking around room would be nice. Still trying to sell the '67 Chevelle engine which would help but should be able to get the chassis on tires and carts in a couple weeks. Anybody else have to reshuffle stuff when working on "the project"?
Last edited by slalomfiend; Dec 20, 2017 at 01:43 PM.
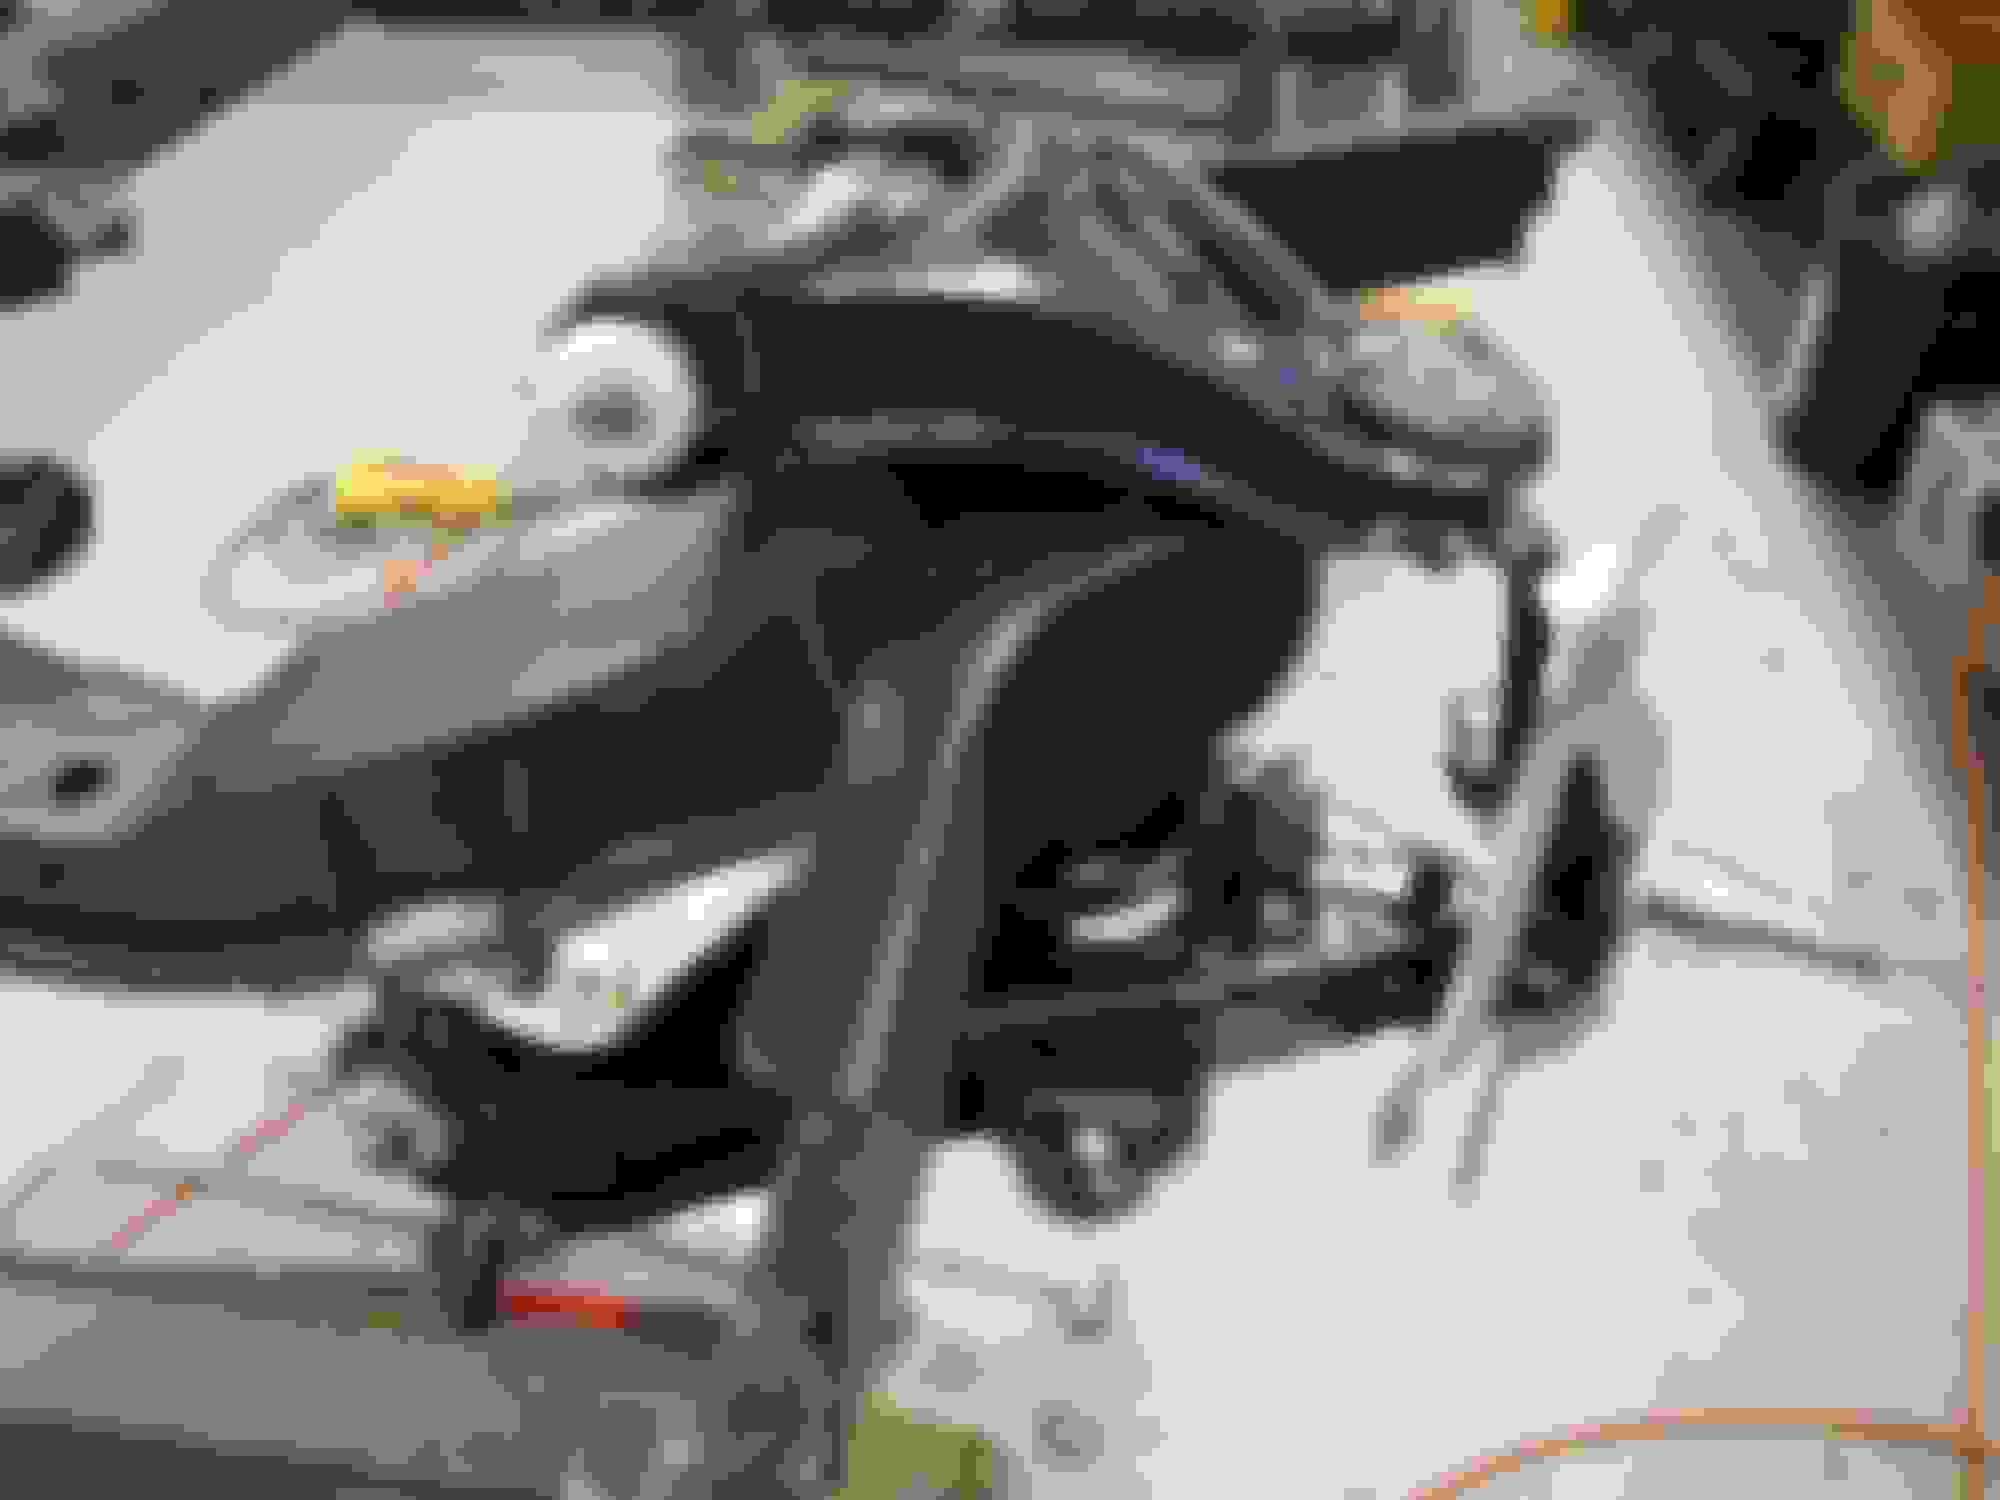
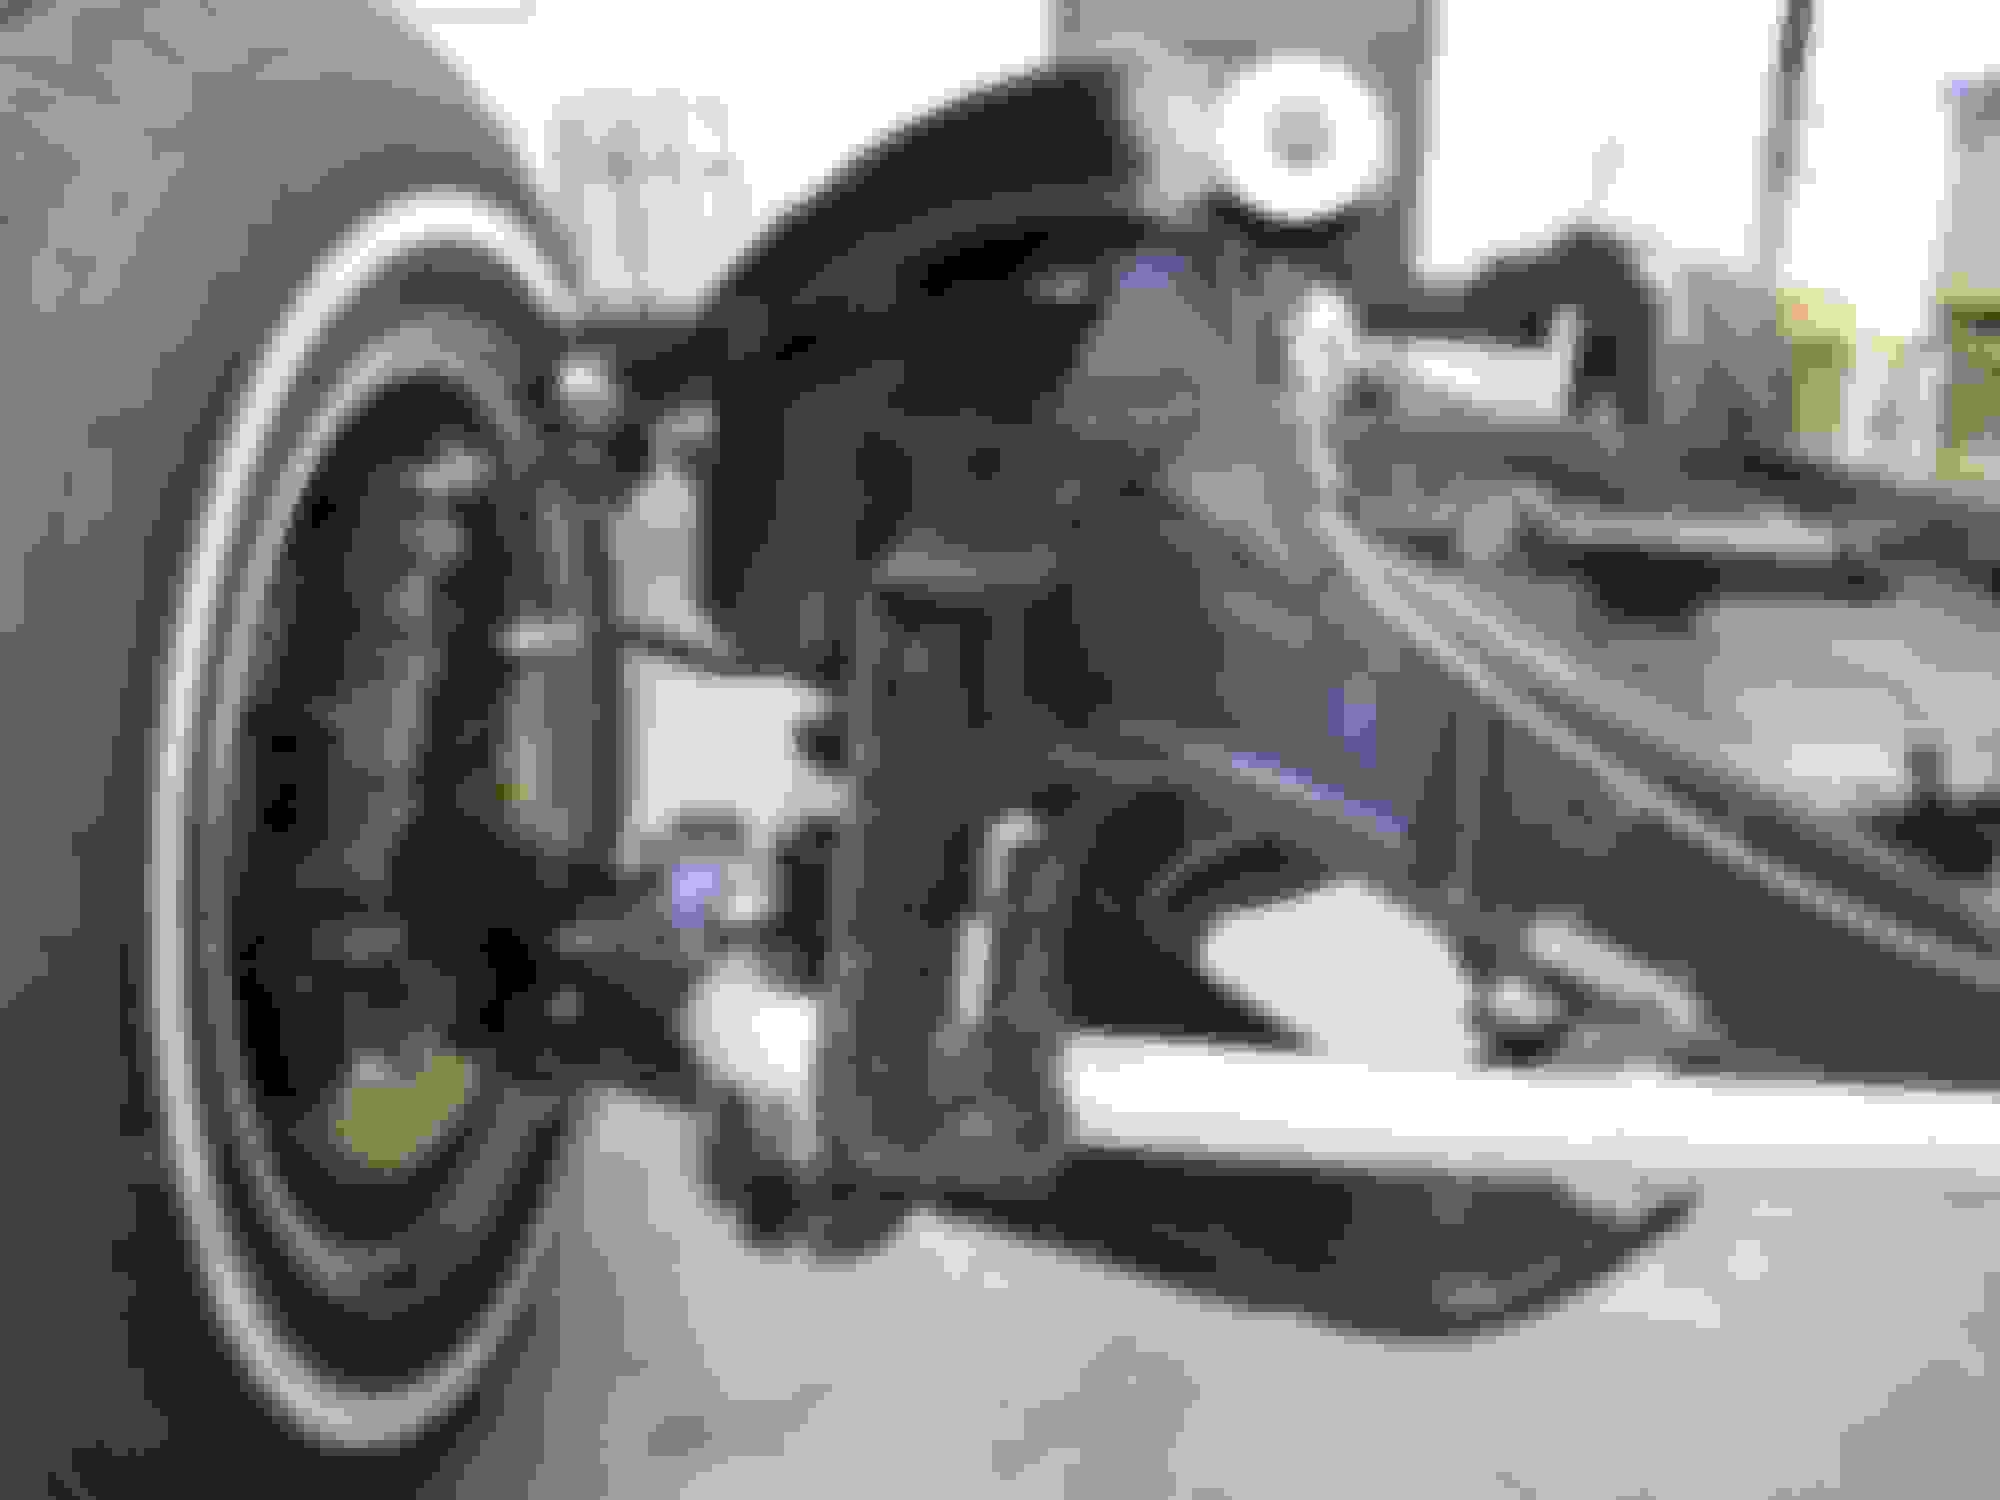
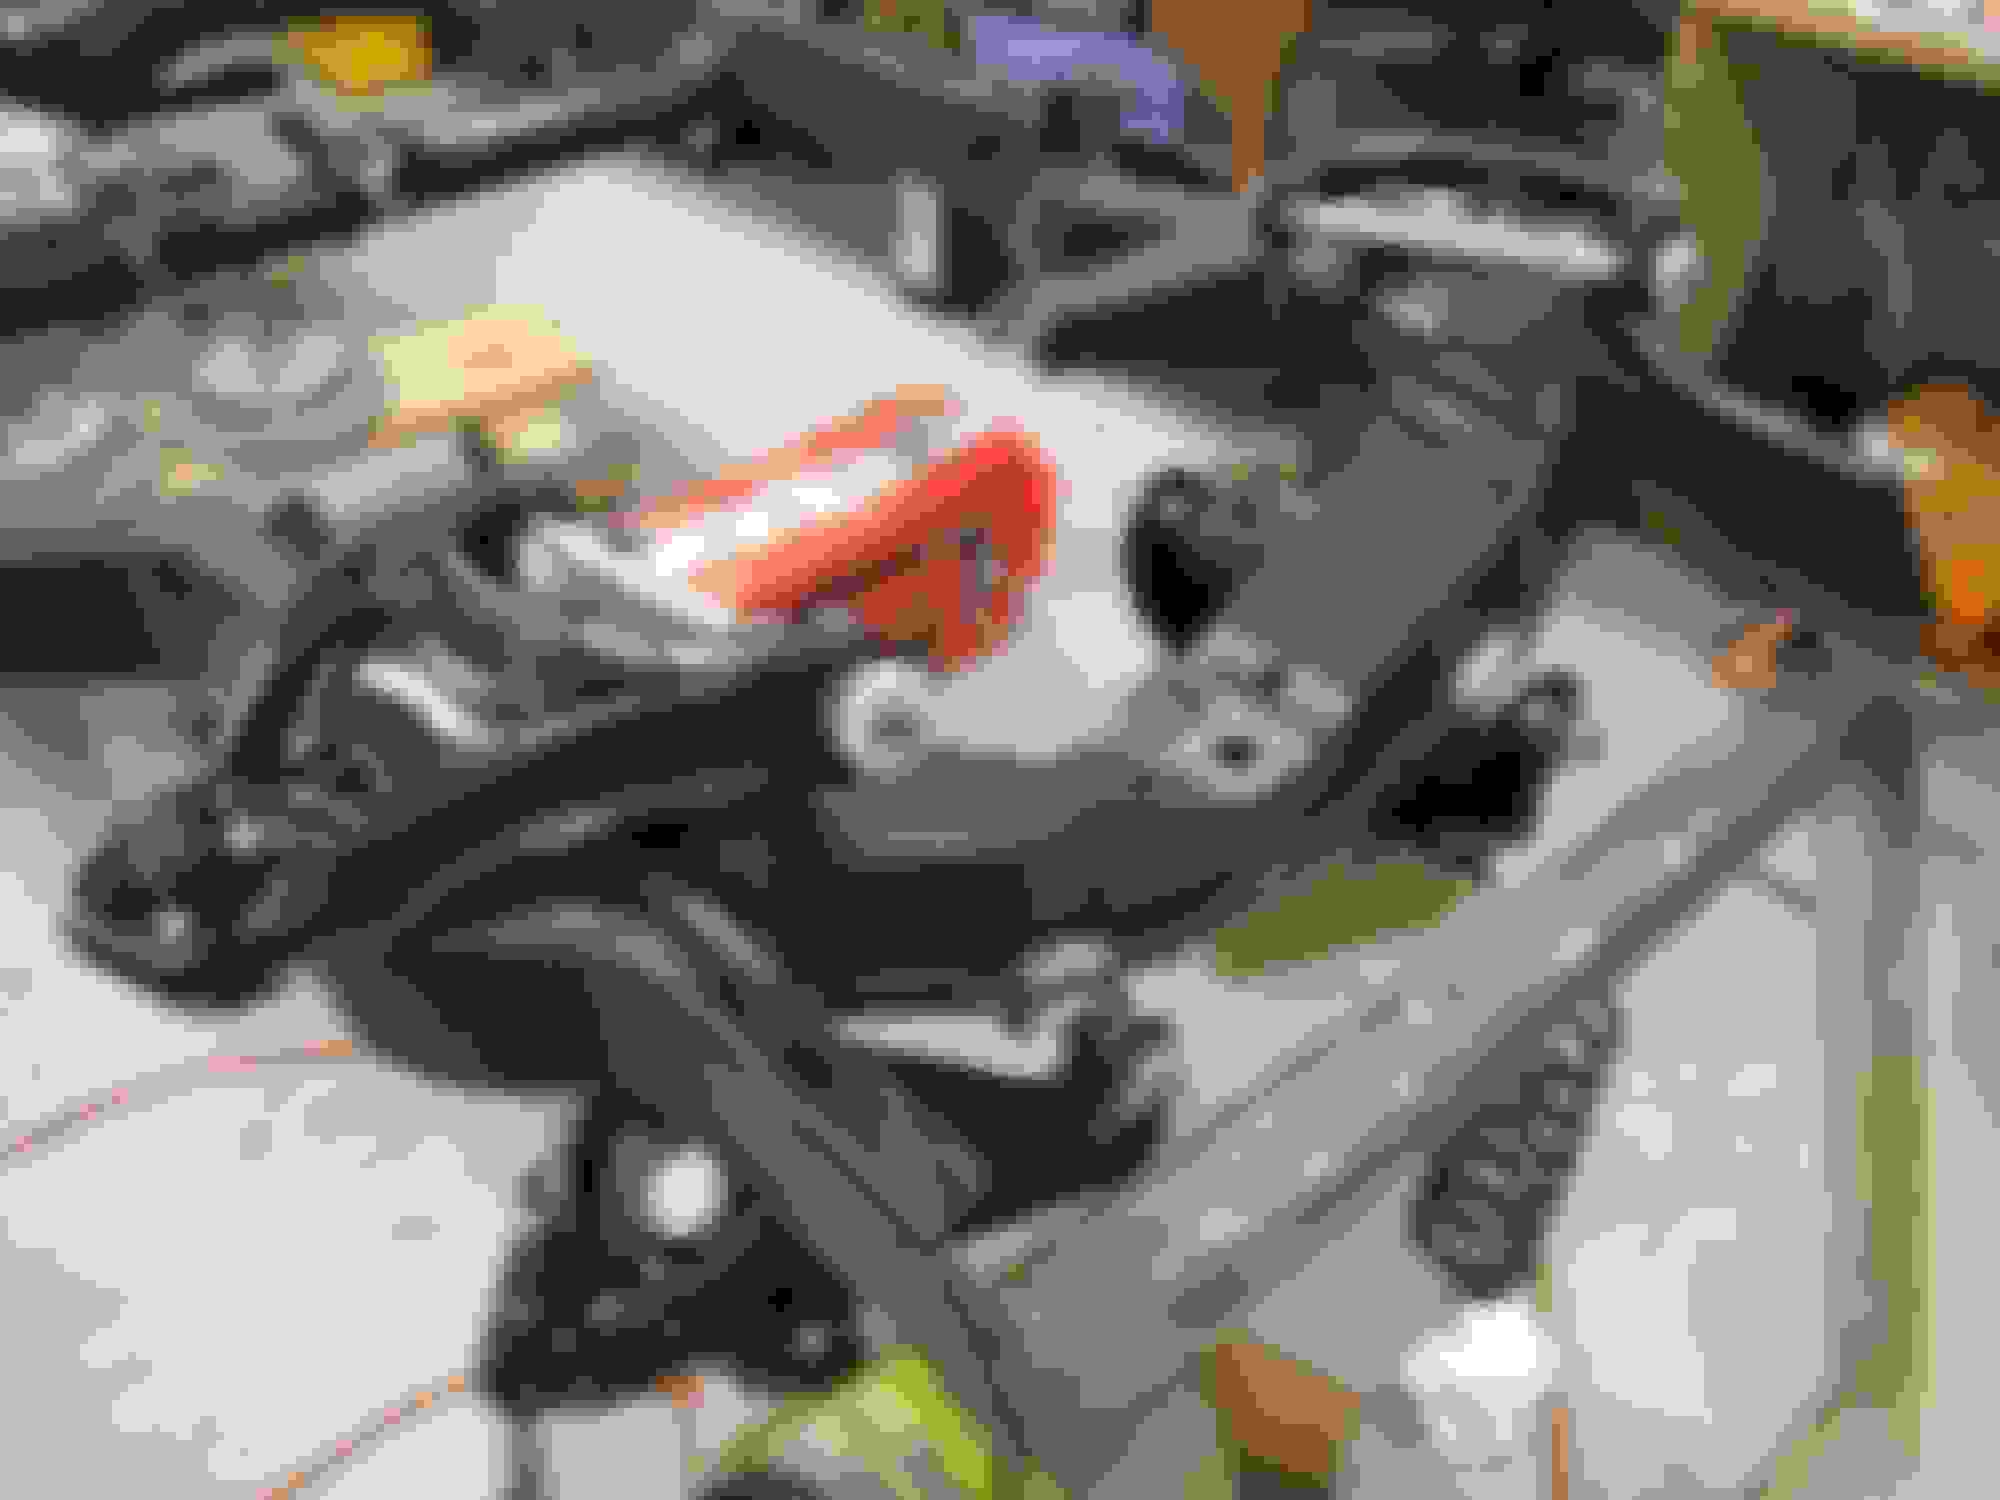
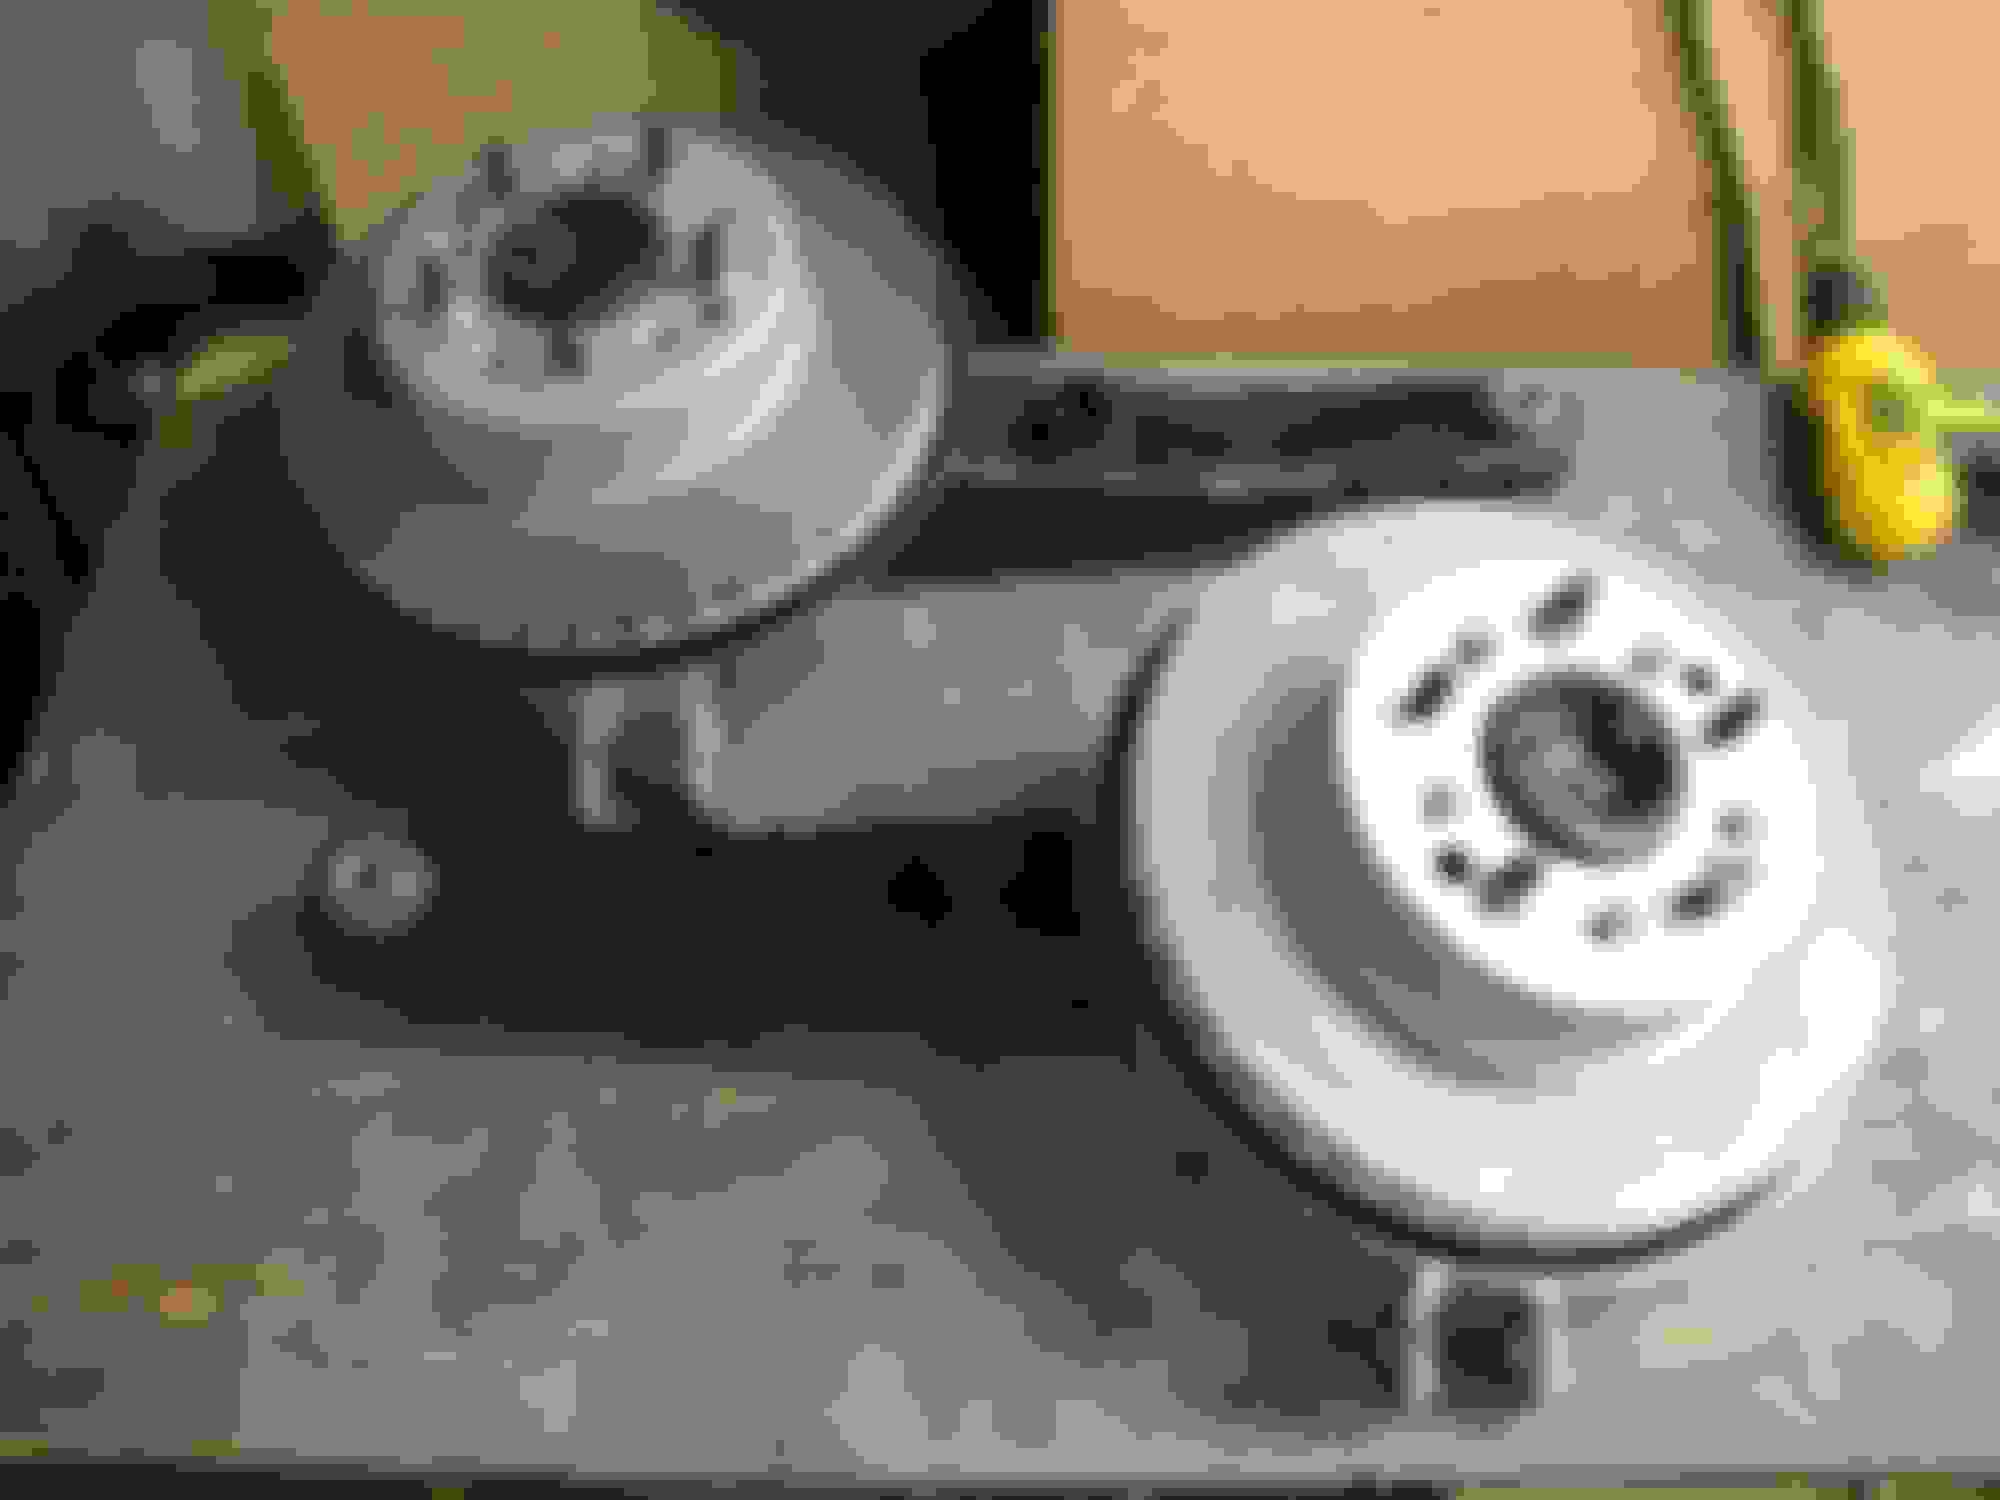
Friday evening I finally dealt with the elephant in the garage, the chaos on my workbench!! I hadn't cleaned it up for over four months so I just had to tell myself to stop and clear some space to work. Ended up being a very freeing experience and made it so much easier to get organized for the last part of the frame work - brakes. I got the races, seals and bearings in the front hubs put in and greased. The front calipers/pads and hoses.
I also got the front sway bar as well.
Only thing left to do up front is the brake lines and torque the a-arms once it's on the ground and under load.
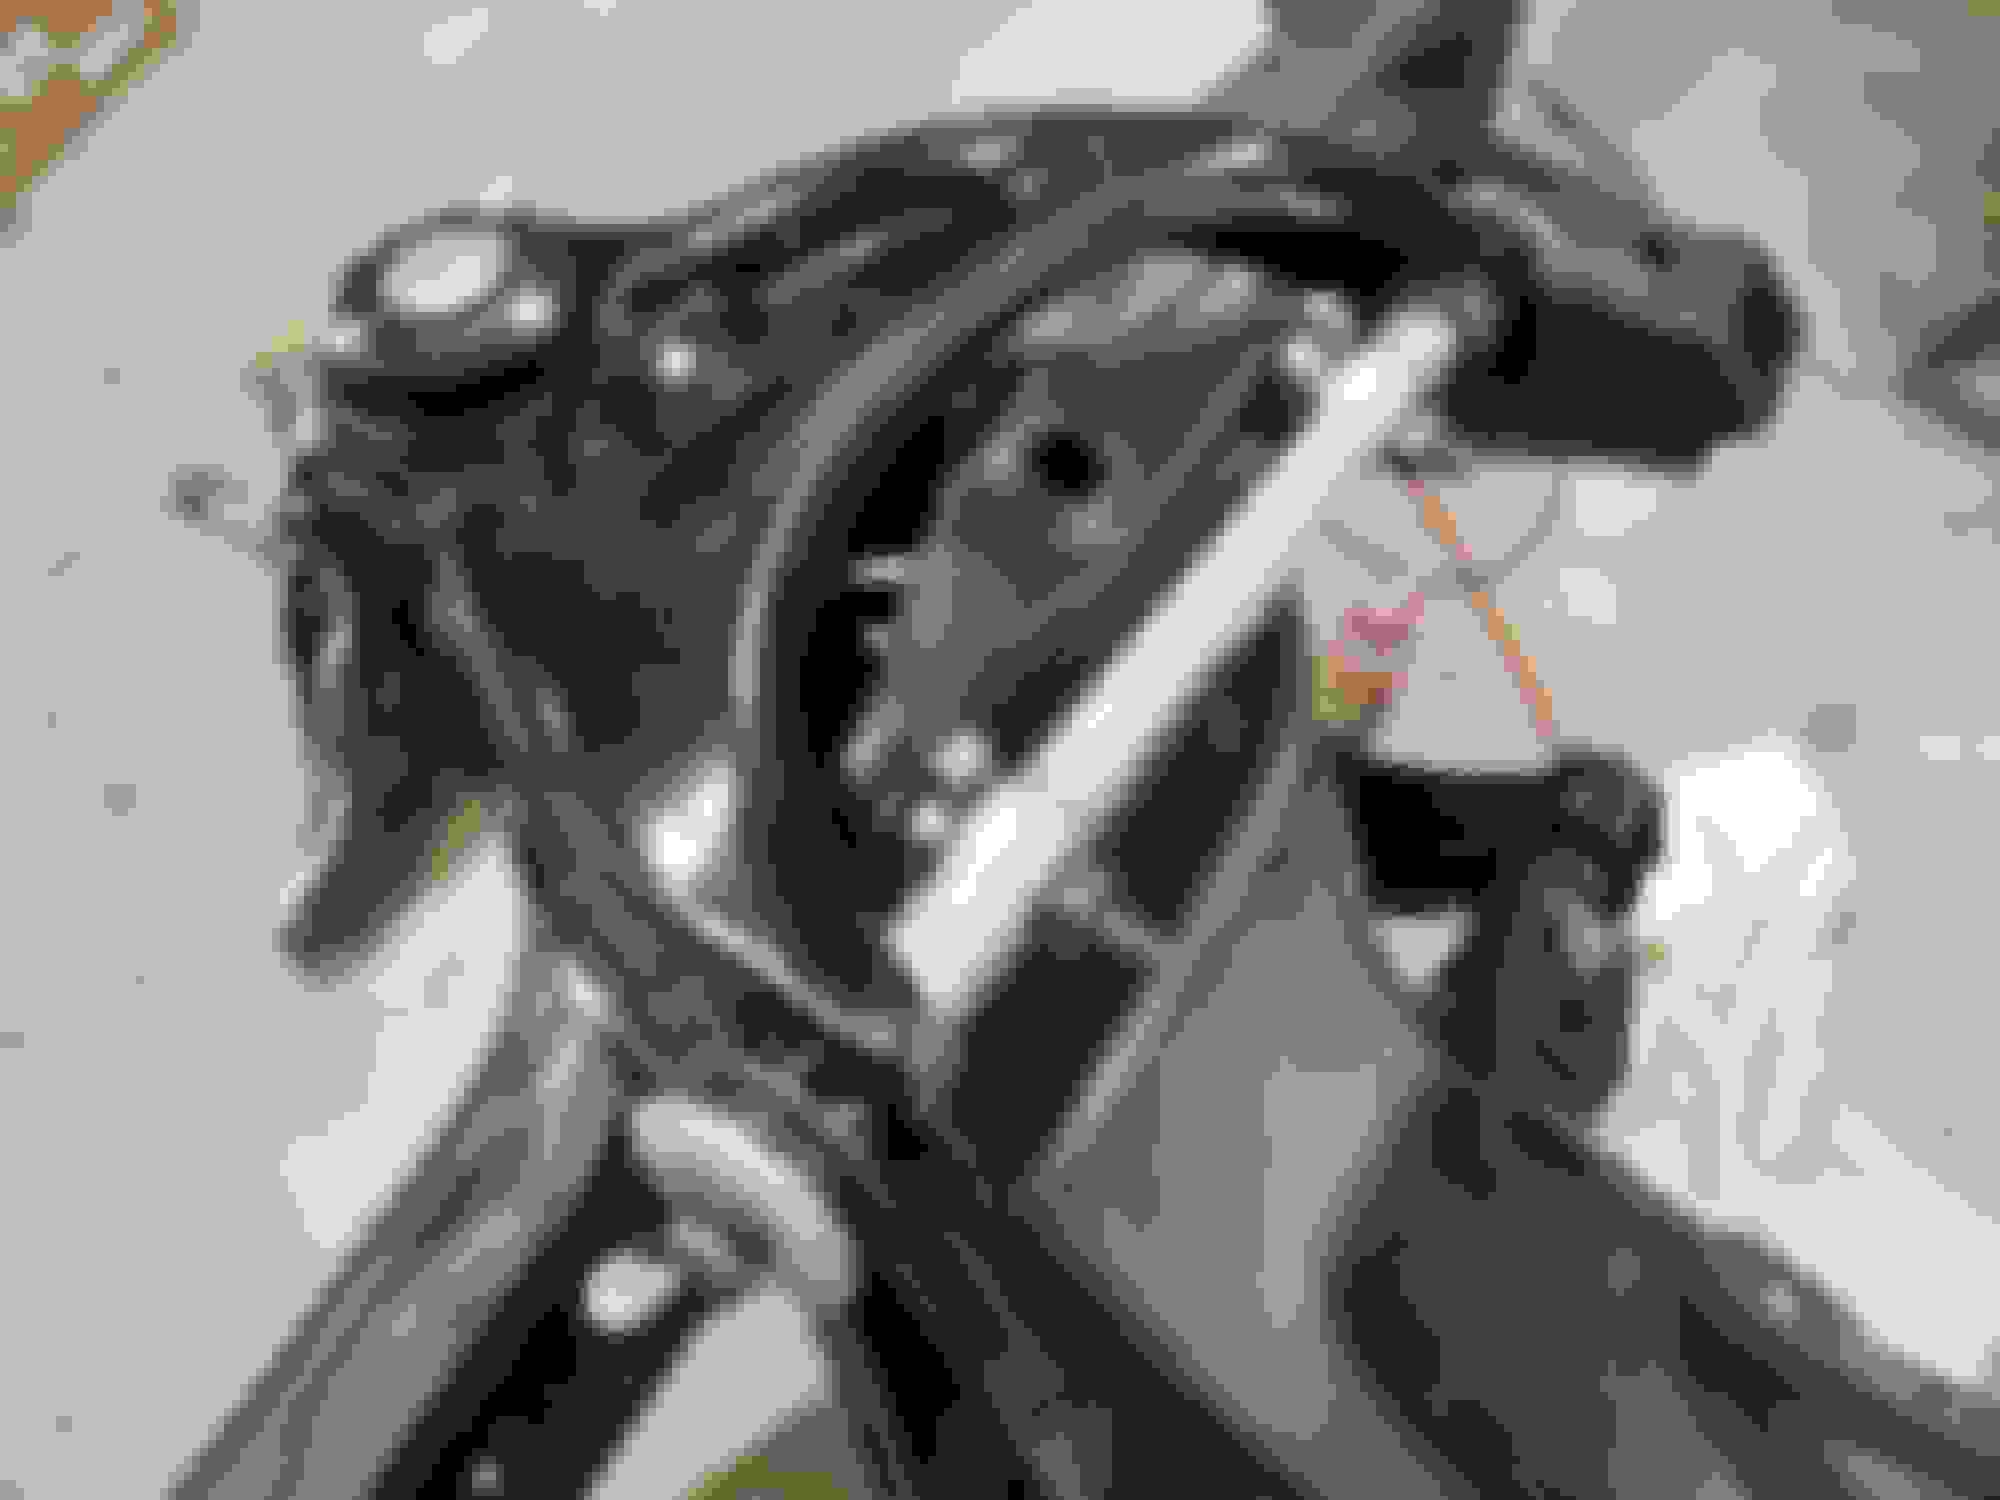
Next was the rear, got the u-joints installed, everything torqued and greased up.
Then I loaded up the rear to compress the leaf spring and got it fastened up.
Emergency brake line went in and then I got the rear trailing arm line installed before calling it quits.
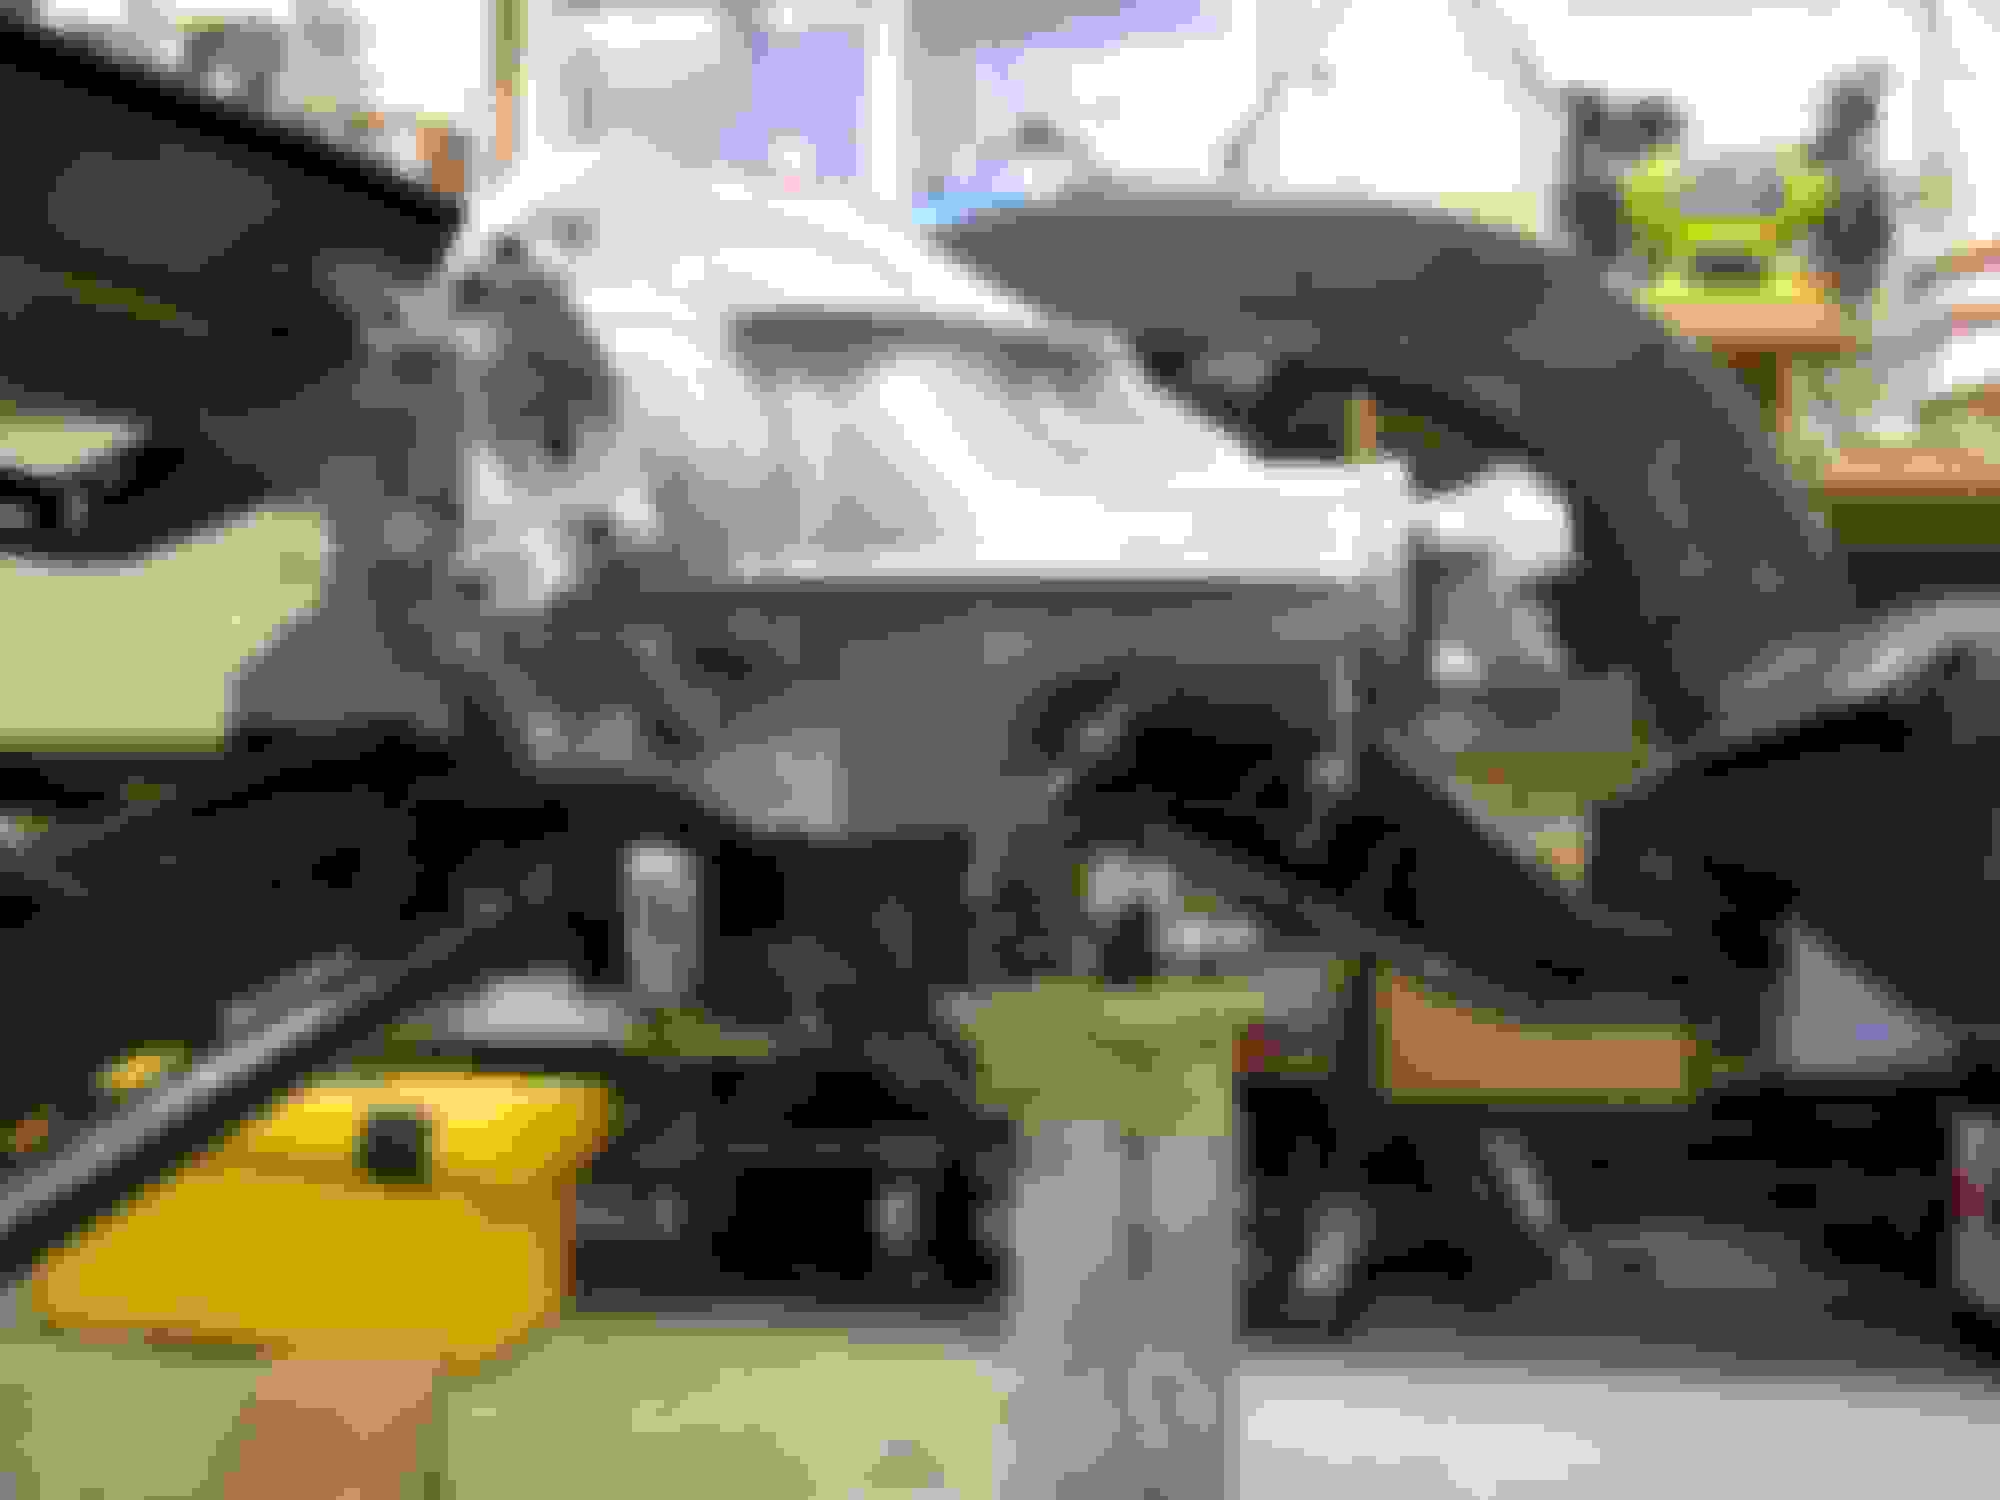
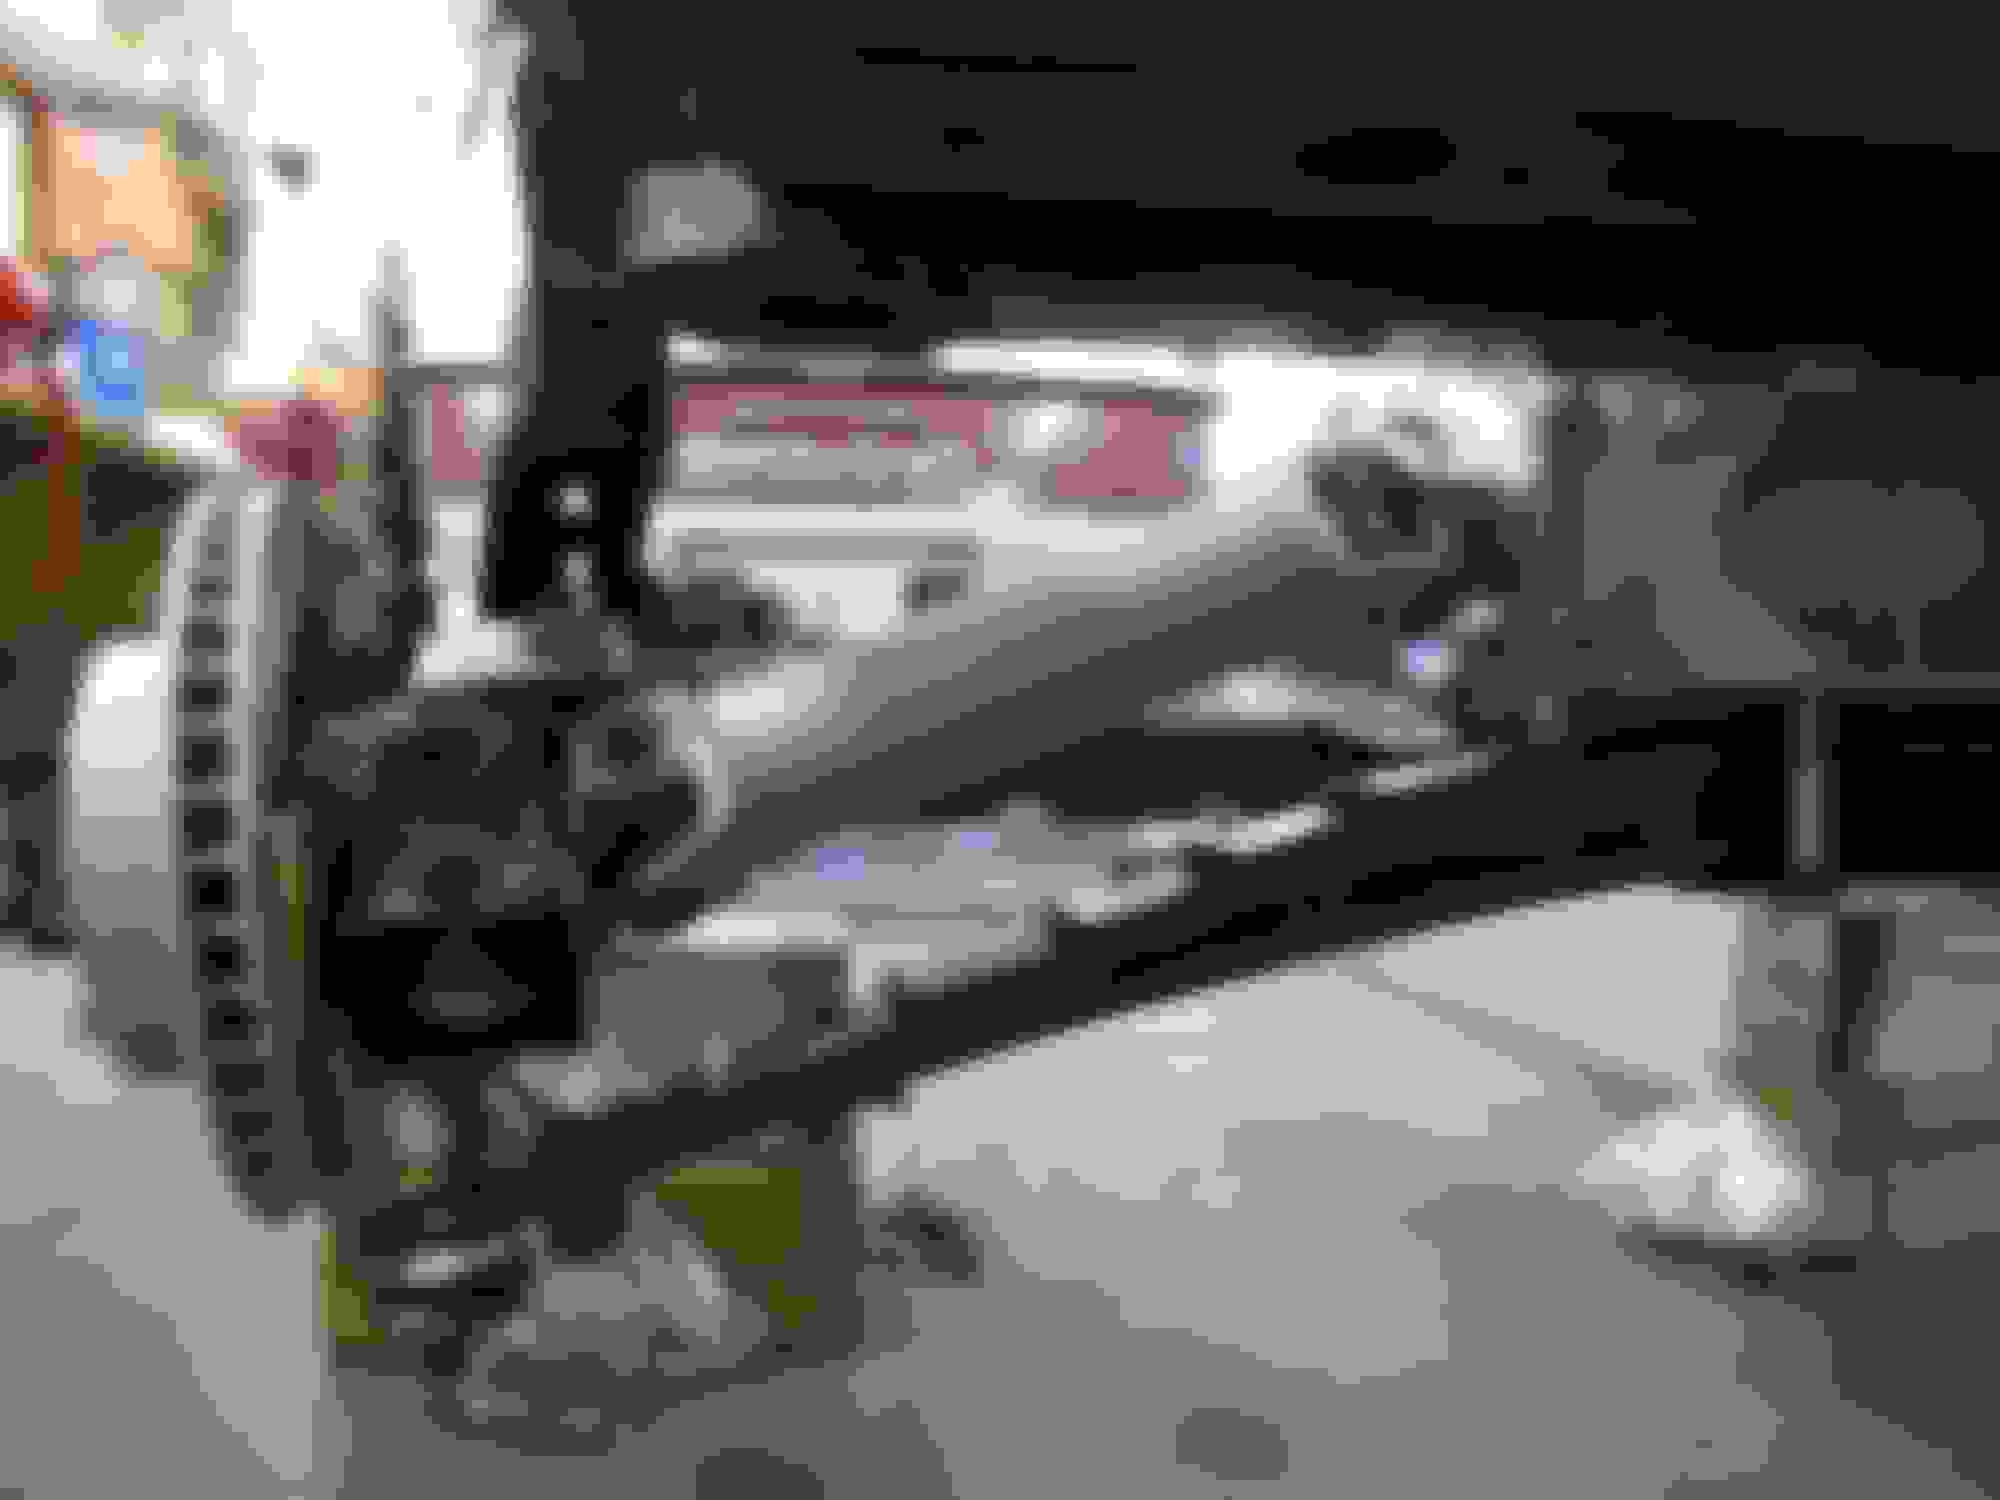
So here is where I am now, just a little brake line work and the two rear shocks to go and then it will be a "rolling chassis" once again. Hasn't been on the ground since last October.
Last edited by slalomfiend; Dec 20, 2017 at 01:51 PM.
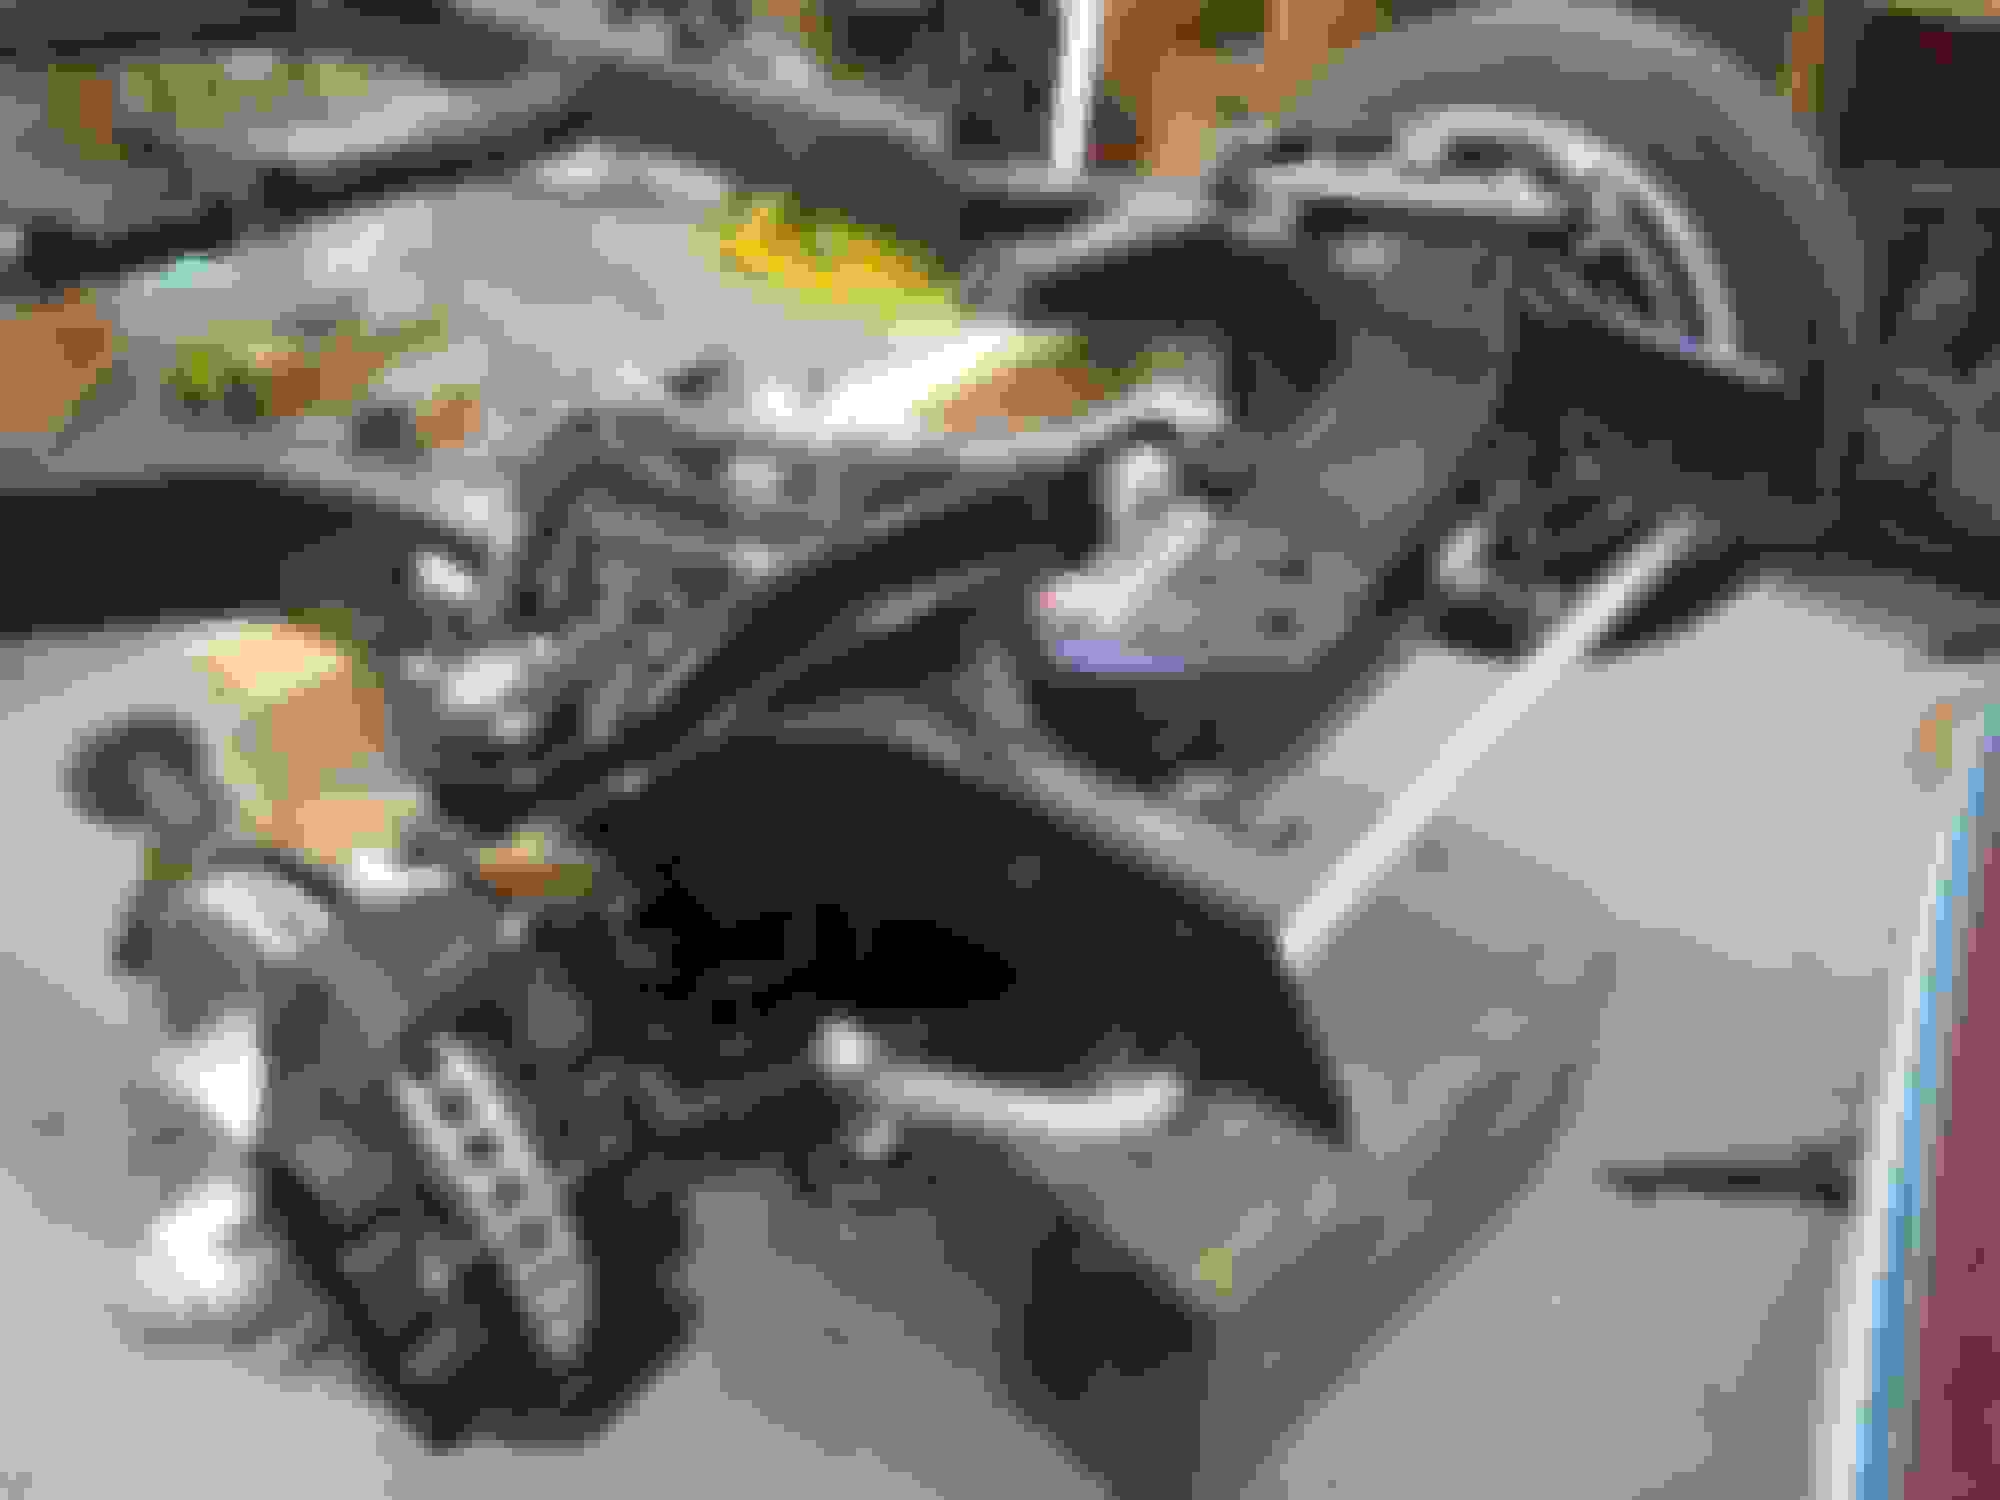
Got home late last night from a business trip, kissed the wife and unloaded the suitcase. Took a walk out to the garage and ended up spending an hour putting on the driver side trailing arm brake line and the crossover rear brake line. Washed up and went to bed with a smile on my face...progress in little bites!
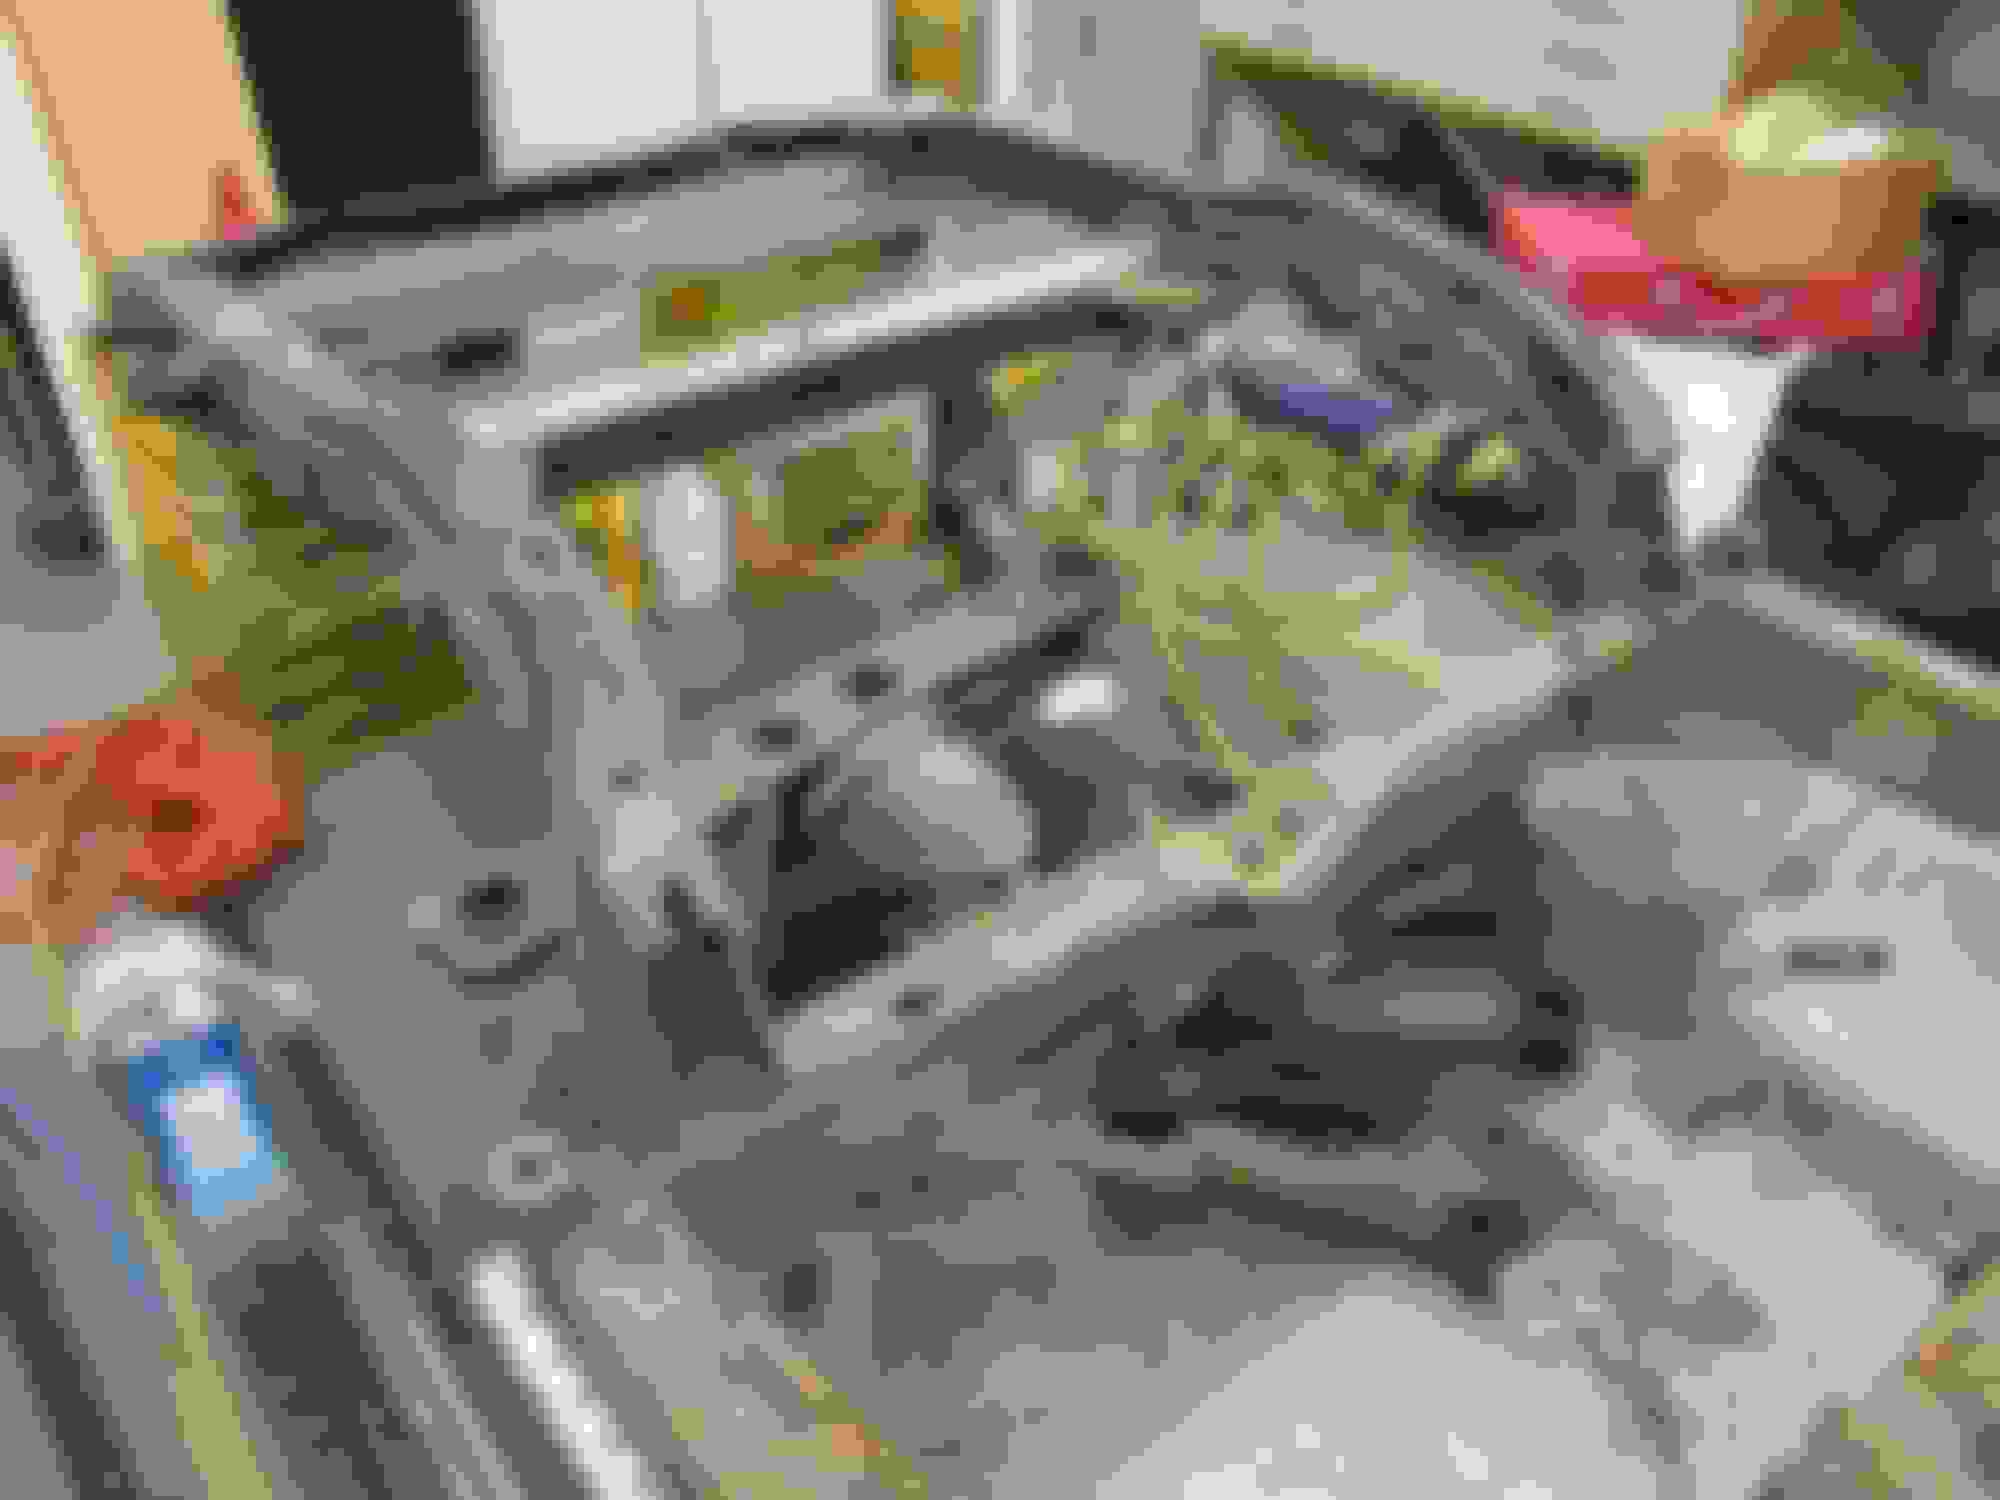
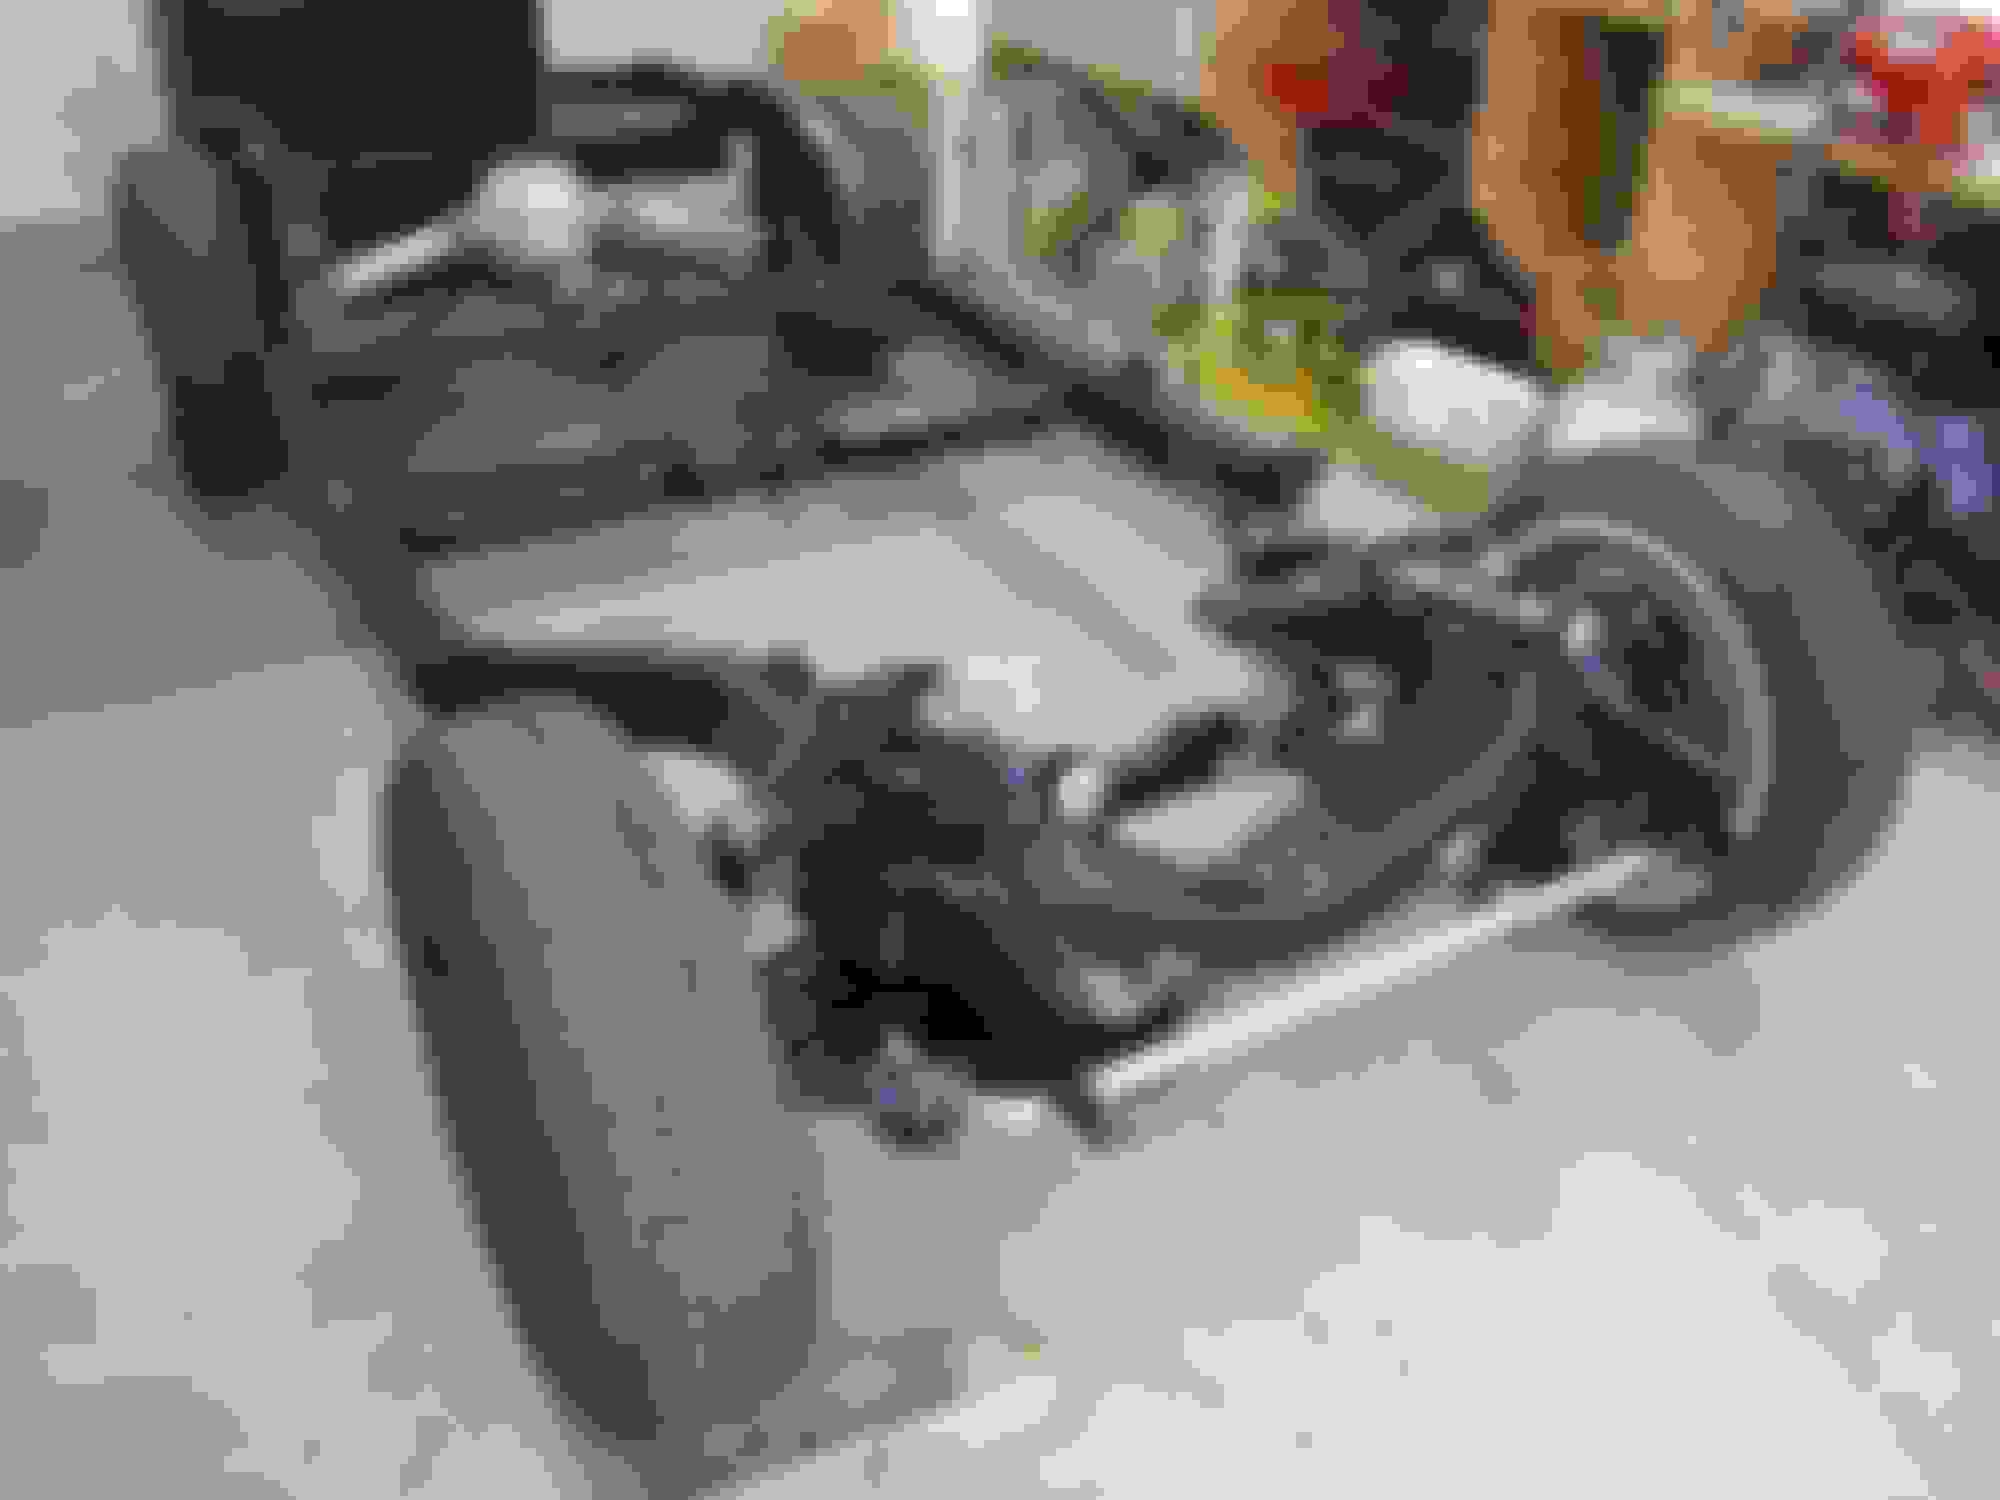
First time since last November, rolling chassis again. Brake lines are done as well as all the suspension, shocks and trailing arm shims. Here are some before/afters...
I just received my Steeroids boxes so will hopefully get it on this week.
Last edited by slalomfiend; Dec 20, 2017 at 01:58 PM.
Got the Steeroids rack installed on Saturday and had to spend a bit of time finding a 15" tire that would hold air - they are getting harder to find! Also picked up the first installment of fiberglass supplies to get the next phase started (that would be the DUST phase)! I'm getting really stoked now that this part is done. It took 7 months and about 340 hrs to get to this point. NEXT!!
Has anyone wrapped their frame with shrink wrap to keep it clean while working on the body? Thought I remember seeing a comment about the benefits.
Anyway, here are the last intallment of chassis pics before I cover it up and start the body...
Last edited by slalomfiend; Dec 20, 2017 at 02:00 PM.
Wow, you are doing great and I can tell you enjoy time in the shop. I am wondering how you measured to know where those holes went in the new frame and such, that takes some 3d measurements, right? How in the world do you get that right?
Thanks Dirk, take a look at the pictures on the first post of the thread and pics 5-8 show the datum level frame I set up using unistrut. It was very simple to do and worked like a charm. I used the frame diagrams for the '67 and '75 to note the dimensional differences. The body to frame mounts came out perfect.
So I ended up with a '75 frame/chassis/suspension with the '67 body mounts and rear frame section. I modified the front frame horns as well but will have to see if the holes for the core support are close or need modified once the body is mounted.


 - glad to be reminded to slow down with this and not a three hour retrofit task!!