When you click on links to various merchants on this site and make a purchase, this can result in this site earning a commission. Affiliate programs and affiliations include, but are not limited to, the eBay Partner Network.
this is a tremendous thread...highly detailed and informative. Like everyone else reading, we wish we had your skills. Keep up the great work!! Realize you're in the DFW area...I live in Richardson and have a '67 Coupe that went through a 4 year body off resto (not by me) two years ago. Hope to meet you someday and shake your hand for a job well done. Frisco in October for NCRS??
Last edited by leif.anderson93; Mar 15, 2014 at 11:08 PM.
Love that Stevie Ray... While it rained here yesterday I played with cleaning up the exhaust manifolds. I had tried some walnut shells but they still pitted the metal a bit. So I went back to the soft wire wheel method. I know they won't stay nice like this but at least it'll look nice for a while. One of the engines I bought had these SS Hooker Header Shorties on it and just have to use them!! Here's a few shots showing the before and after. Took about 20 mins each between the wire buffer and dremel.
BTW, I agree with you guys on the Teal top - much more memorable than the white and thanks for the kudos Lief, my Dad always told me "if you can take something apart, you can put it back together". PM me your phone # and I'll give you a ring and meet.
Last edited by slalomfiend; Dec 21, 2017 at 02:40 PM.
The body work should all be done in a few weeks so I get some "gap" time to clean up and prep some other items that I need to paint or send out. I am cleaning the bumpers and finding that the bolts are just breaking off in the holes - time for some heat and "easy out" time!
Also taking all the original clips off the SS trim and removing all the past 47 years of caulk and sealer before starting the buffing process.
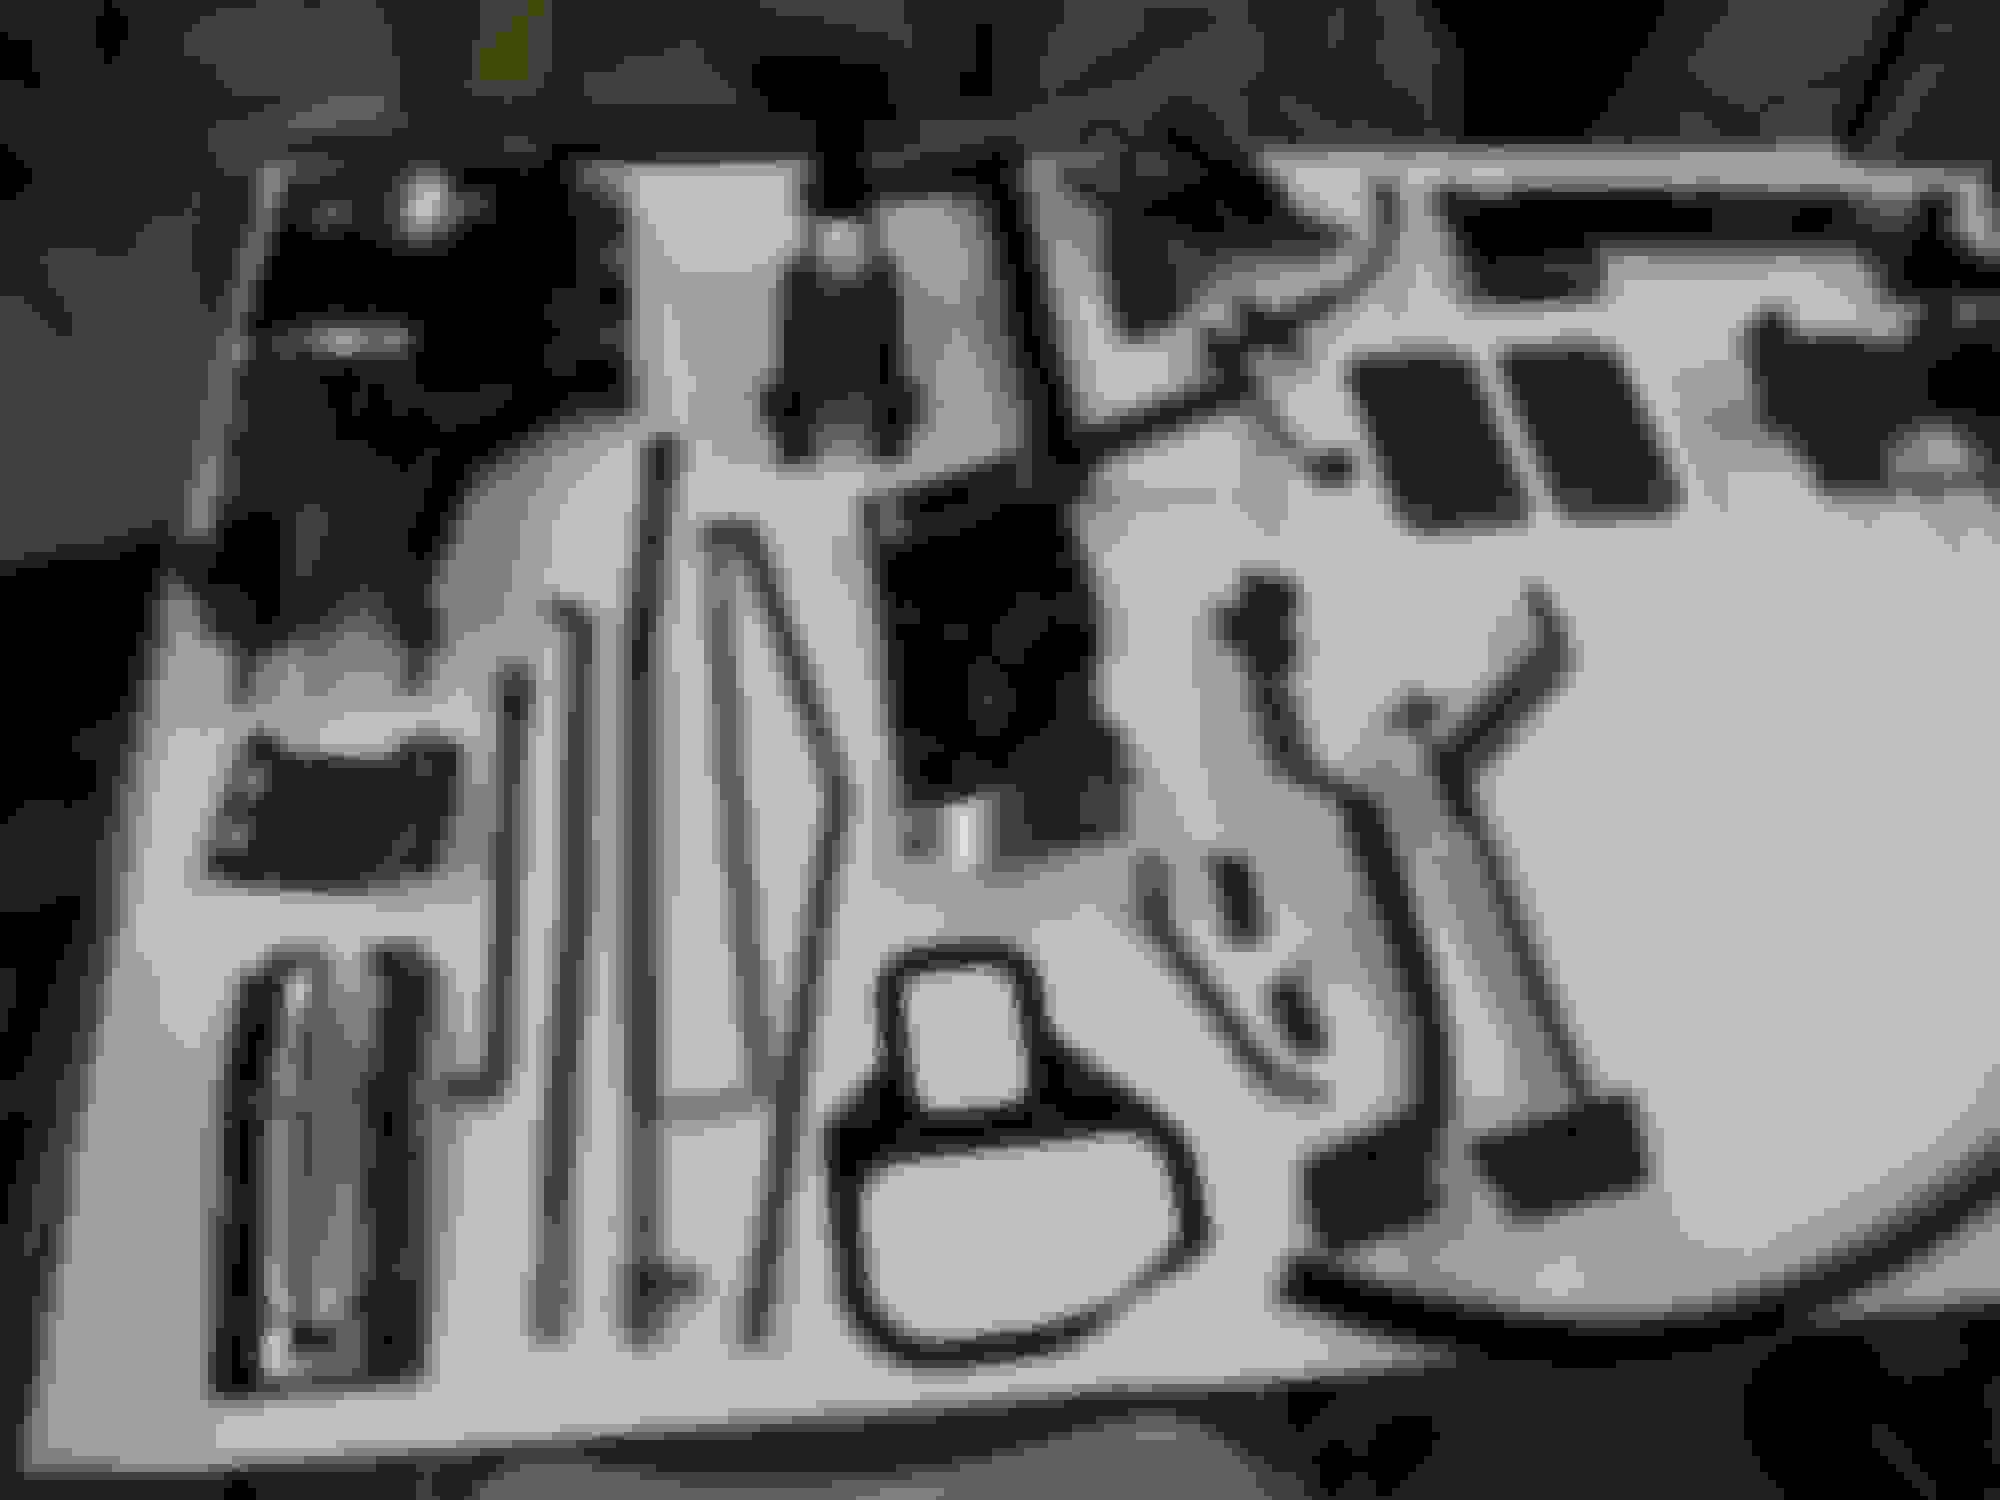
Misc brake/accelerator parts to sandblast as well. Got them blasted, will post pics when I paint. Boring stuff, I know but that's where I'm at for now...
Last edited by slalomfiend; Dec 21, 2017 at 02:44 PM.
Here are the parts that I got sandblasted last week. I might get them epoxy primed and painted this weekend but getting the front clip bonded is the priority for now - hopefully I'll be able to post pics of that early next week.
I've also got the clock, radio and dash cluster cleaned up and ready for shipping to the respective shops. The dash cluster still has the original date stamp on the back of May 26, 1967 - correct for a June build date car.
I had already sent my seatbelts off to see if they were worth restoring. They were toasted from sitting in a humid climate WAY too long. Just got these in from Charlie Santorelli - Christmas in April!!! They are immaculate to say the least.
Last edited by slalomfiend; Dec 21, 2017 at 02:50 PM.
Sorry to have been so long in posting but life happens. Had to help a friend with a project/prep the boat for the summer and then tore a muscle in my shoulder while skiing about 5 weeks ago that is still not healed completely. That has REALLY put a damper on the garage time to say the least!! I did get the radio back from Jerry Rudbeck, he did a fabulous job and even added the MP3 jack for my tunes.
I haven't been wasting my time though, I found a super deal on craigslist - original '67 rocker panels with the attachment strips! An older fellow had taken them off his '67 about 20 years ago to add side pipes. Sold the car years ago and just found these in his attic, I can't tell you what I paid as you would scream and threaten me with grand theft auto...
The paint scratches are so minor, I'm not sure I'll try and touch them up.
I also got my stainless windshield trim all buffed as well as the rear aluminum license frame.
The stainless came out great, almost mirror smooth.
Oh yeah, I also got the misc parts sprayed black. Some get other color so they are just black epoxy primer.
I'm going to try and get the clutch/brake assembly back together soon but also need to keep moving forward on the body when the shoulder is ready for action...
Last edited by slalomfiend; Dec 21, 2017 at 02:56 PM.
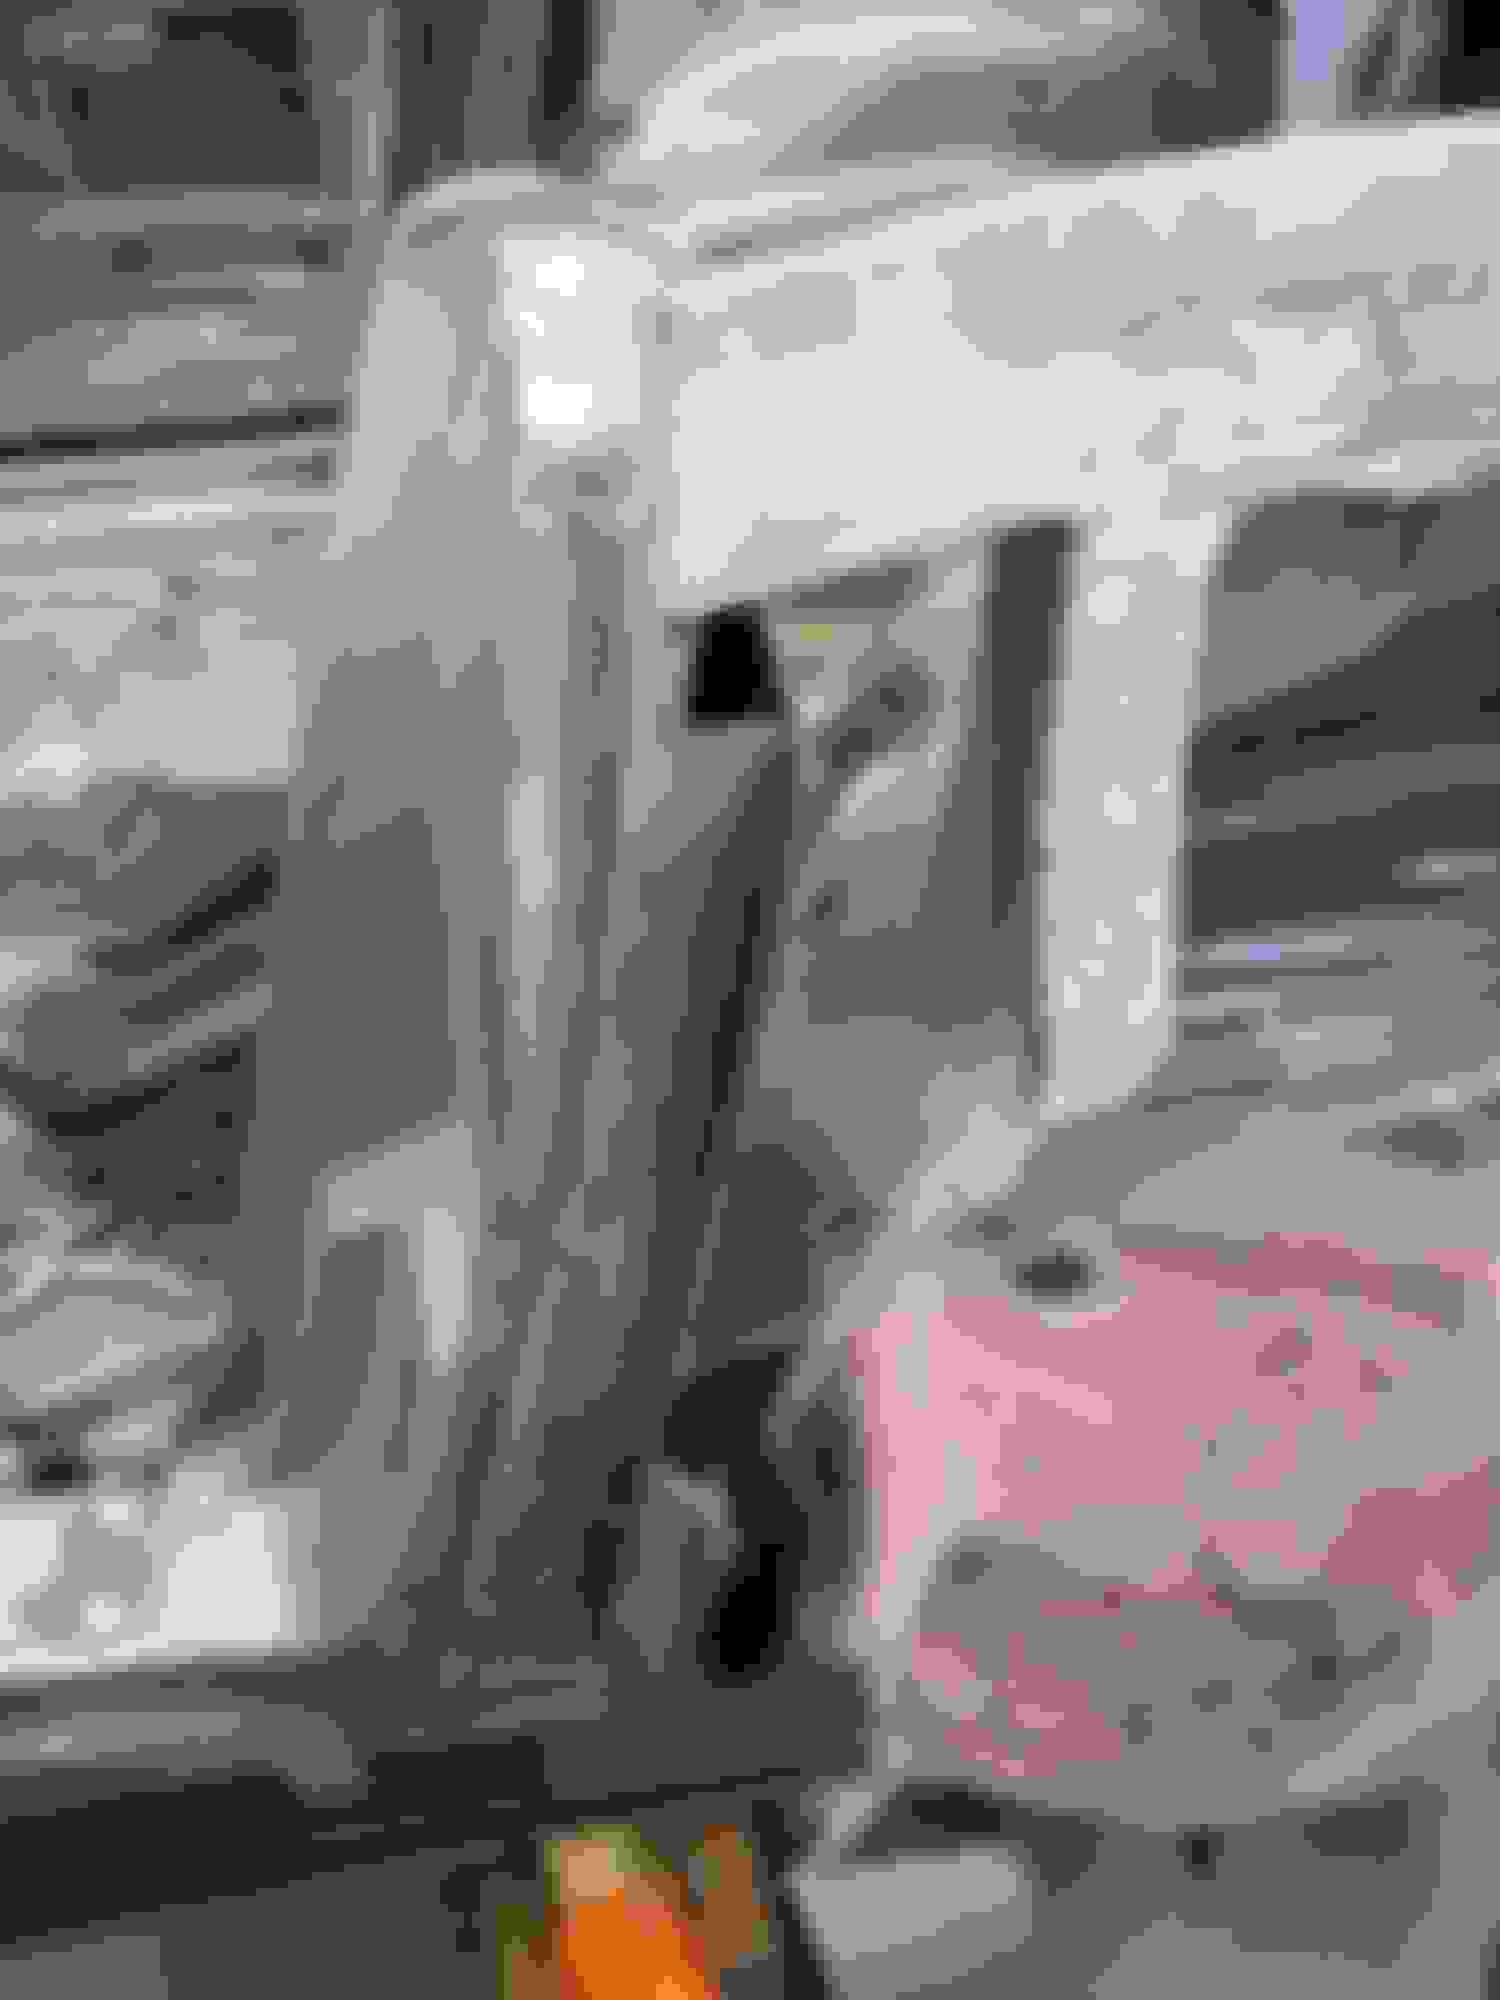
Sorry for the lull in activity, I've had a pinched nerve in my neck and haven't been able to get much accomplished this summer. I have removed the nasty front clip though and working towards getting the final fit on the new front clip set up. One of the little things that I had to keep reminding myself to do is put new captured nuts in the windshield frame for the convertible top latches. The original ones were either gone or cross threaded. So here's a pic of the opening in the frame. I put in new 1/4" NC20 square nuts, tightened the cages and then tack welded them so they won't open up again. The frame is now welded solid again so I'm working on the front clip alignment.
Last edited by slalomfiend; Dec 21, 2017 at 02:58 PM.
I really admire your attention to detail. I noticed that your cutouts in steel are very clean, would mind sharing your technique with us? I noticed a 4" angle grinder in the background which I assume is your main starting point, but how are you getting the edges so crisp?
Wishing you GOOD HEALTH. This aging process isn't for sissys. I love your detail.
Please explain the front clip. Is it a used original, or a reproduction, and if so what brand?
I was at FRISCO, TEXAS last week. Did we meet? I met so many nice people it was a blur, but exciting. Really enjoyed watching the judging with three old friends and owners of 65 fuel injection Corvettes of many years. The team were judging two 65 fuel injecion cars as we three ''watched''. I think the team was intimadated, as they kept asking ''us'' questions. It was FUN !! And that's what this hobby is suppose to be.......FUN !
Last edited by jimgessner; Oct 30, 2014 at 03:18 PM.
Miked16, yes, the 4" angle grinder is my cutting tool of choice. I use the .045" blades, DeWalt 8851, the Extended Performance ones last longer. As they wear down, I keep the smaller ones for the tighter areas. For the finer cuts, I use a Dremel with blades 420 and 426. They do the corners nicely.
Last edited by slalomfiend; Dec 21, 2017 at 03:00 PM.
Jim, I bought a new jig assembled front clip from Corvette Image. So far, it is fitting nicely except for the passenger side. The lower panel with the 5 grills in it was bonded 1/4" too high and I had to separate it at the bond seam to allow it to fit the side. Now the line up is pretty close, but the clip needs to slide back another 3/8" on the passenger side and 1/8" on the driver side. I have the front core support mount height really close so it won't be long now and I'll start the dry fit clamping/screwing and set the spacing for the adhesive depths.
I'm almost finished with the body mount shimming as well, here is a picture of the door gap. Just one more shim at the rear should do it.
I have the frame set level and am using the unistrut to set my measure line for the body lines. So far front to back, they are no more than 1/8" out of tolerance to the dimensions in the AIM.
Last edited by slalomfiend; Dec 21, 2017 at 03:03 PM.
Thanks LouieM, my Dad always taught me that if you can take something apart, you can put it back together! True most of the time, but when it's not, it's great to be able to tap into the extensive knowledge on this Forum!!
Thanks LouieM, my Dad always taught me that if you can take something apart, you can put it back together! True most of the time, but when it's not, it's great to be able to tap into the extensive knowledge on this Forum!!
The factory was never this close. You have done a perfect fit. If the car is ever judged, they will say, ''over restored'' which is a great NCRS compliment.
My best friend Jim came over on Saturday as our wives went out of town together, we had Whataburger and dove into the fiberglass work. We got the passenger door alignment fixed, looks great!!
The driver rear quarter had a really nasty repair with an overlay lap patch from a '63/'64 and lots of resin/adhesive. The body contours were not right so I found a nice '67 original quarter from a guy in NM that had put on flares. Here's the bad quarter, which we removed with the heat gun process. Now have to grind down to the bonding strips...
Here's the inside of the old panel. The rear corner is still in decent shape - that's all.
Bubba shattered the bonding lip on the back side of the B Pillar strike panel beyond repair so I bought a new piece and will get that corrected first so the quarter has something to bond to. It also gives me plenty of room to clean up the bird cage B pillar and re-prime it.
We then did a bunch more grinding on the bonding surfaces for the front clip and now have it so the line ups are nice and workable. As I mentioned before, we had to separate the lower panel in front of the passenger door because it was bonded about a 1/4" too high. Everything else is very close on the clip from Corvette Image. I have both hoods so we'll use the SB hood to set the cowl bonding line ups/heights, the surround gaps are very close to 1/8" for the BB hood so hopefully there won't be a ton of work there. Now that the doors are set, the body lines on the sides are looking like they're supposed to.
Last edited by slalomfiend; Dec 21, 2017 at 03:14 PM.
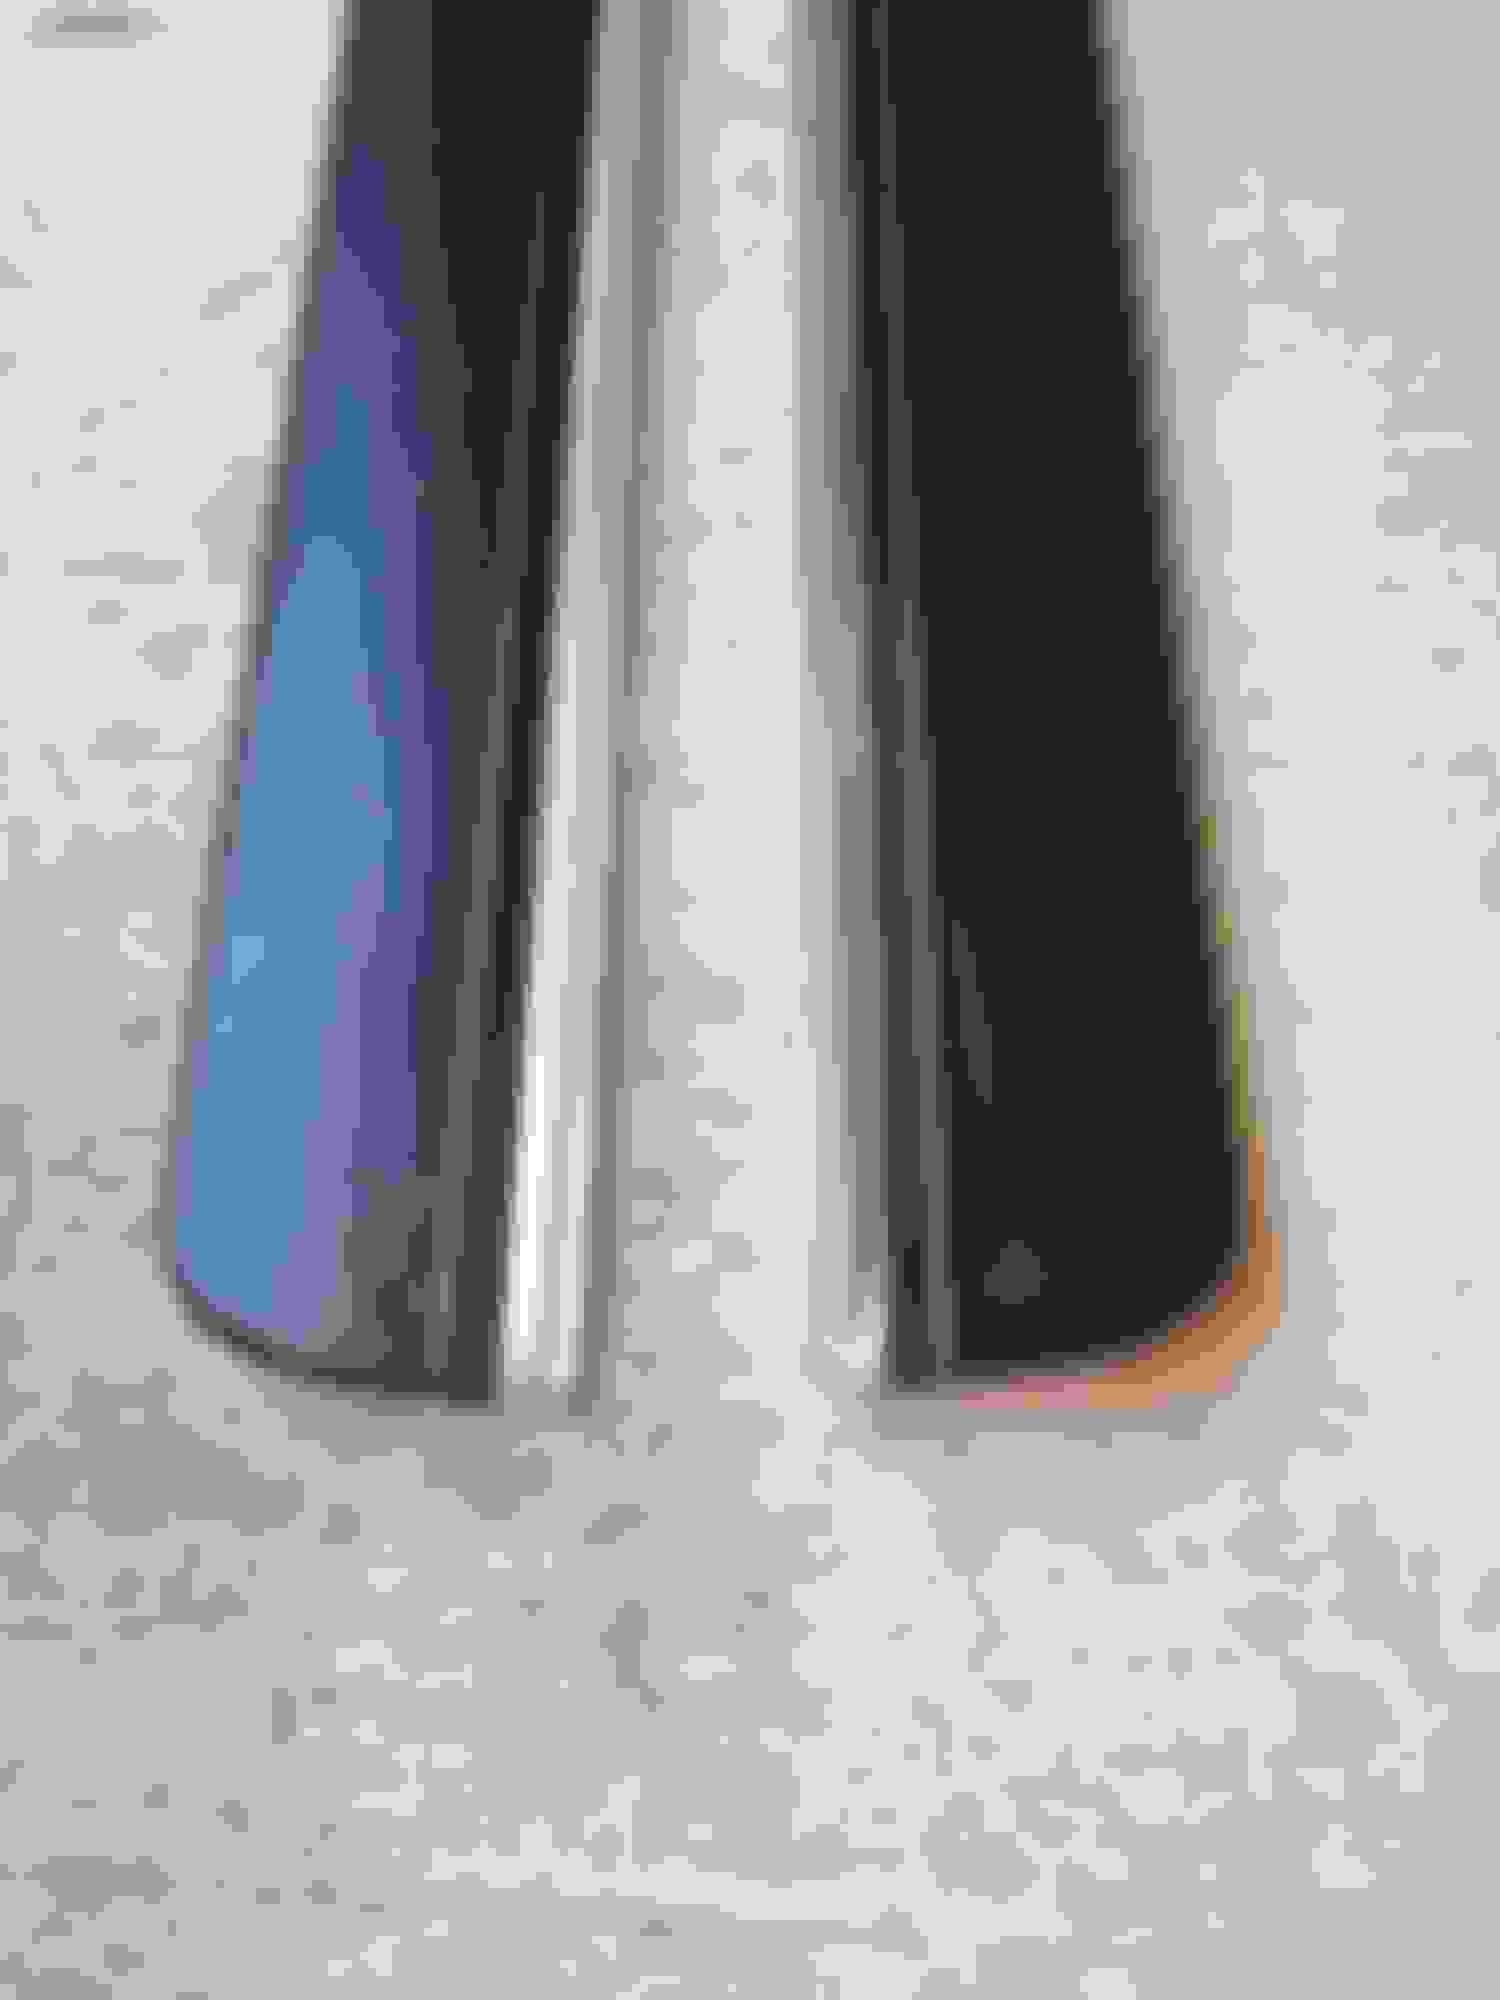
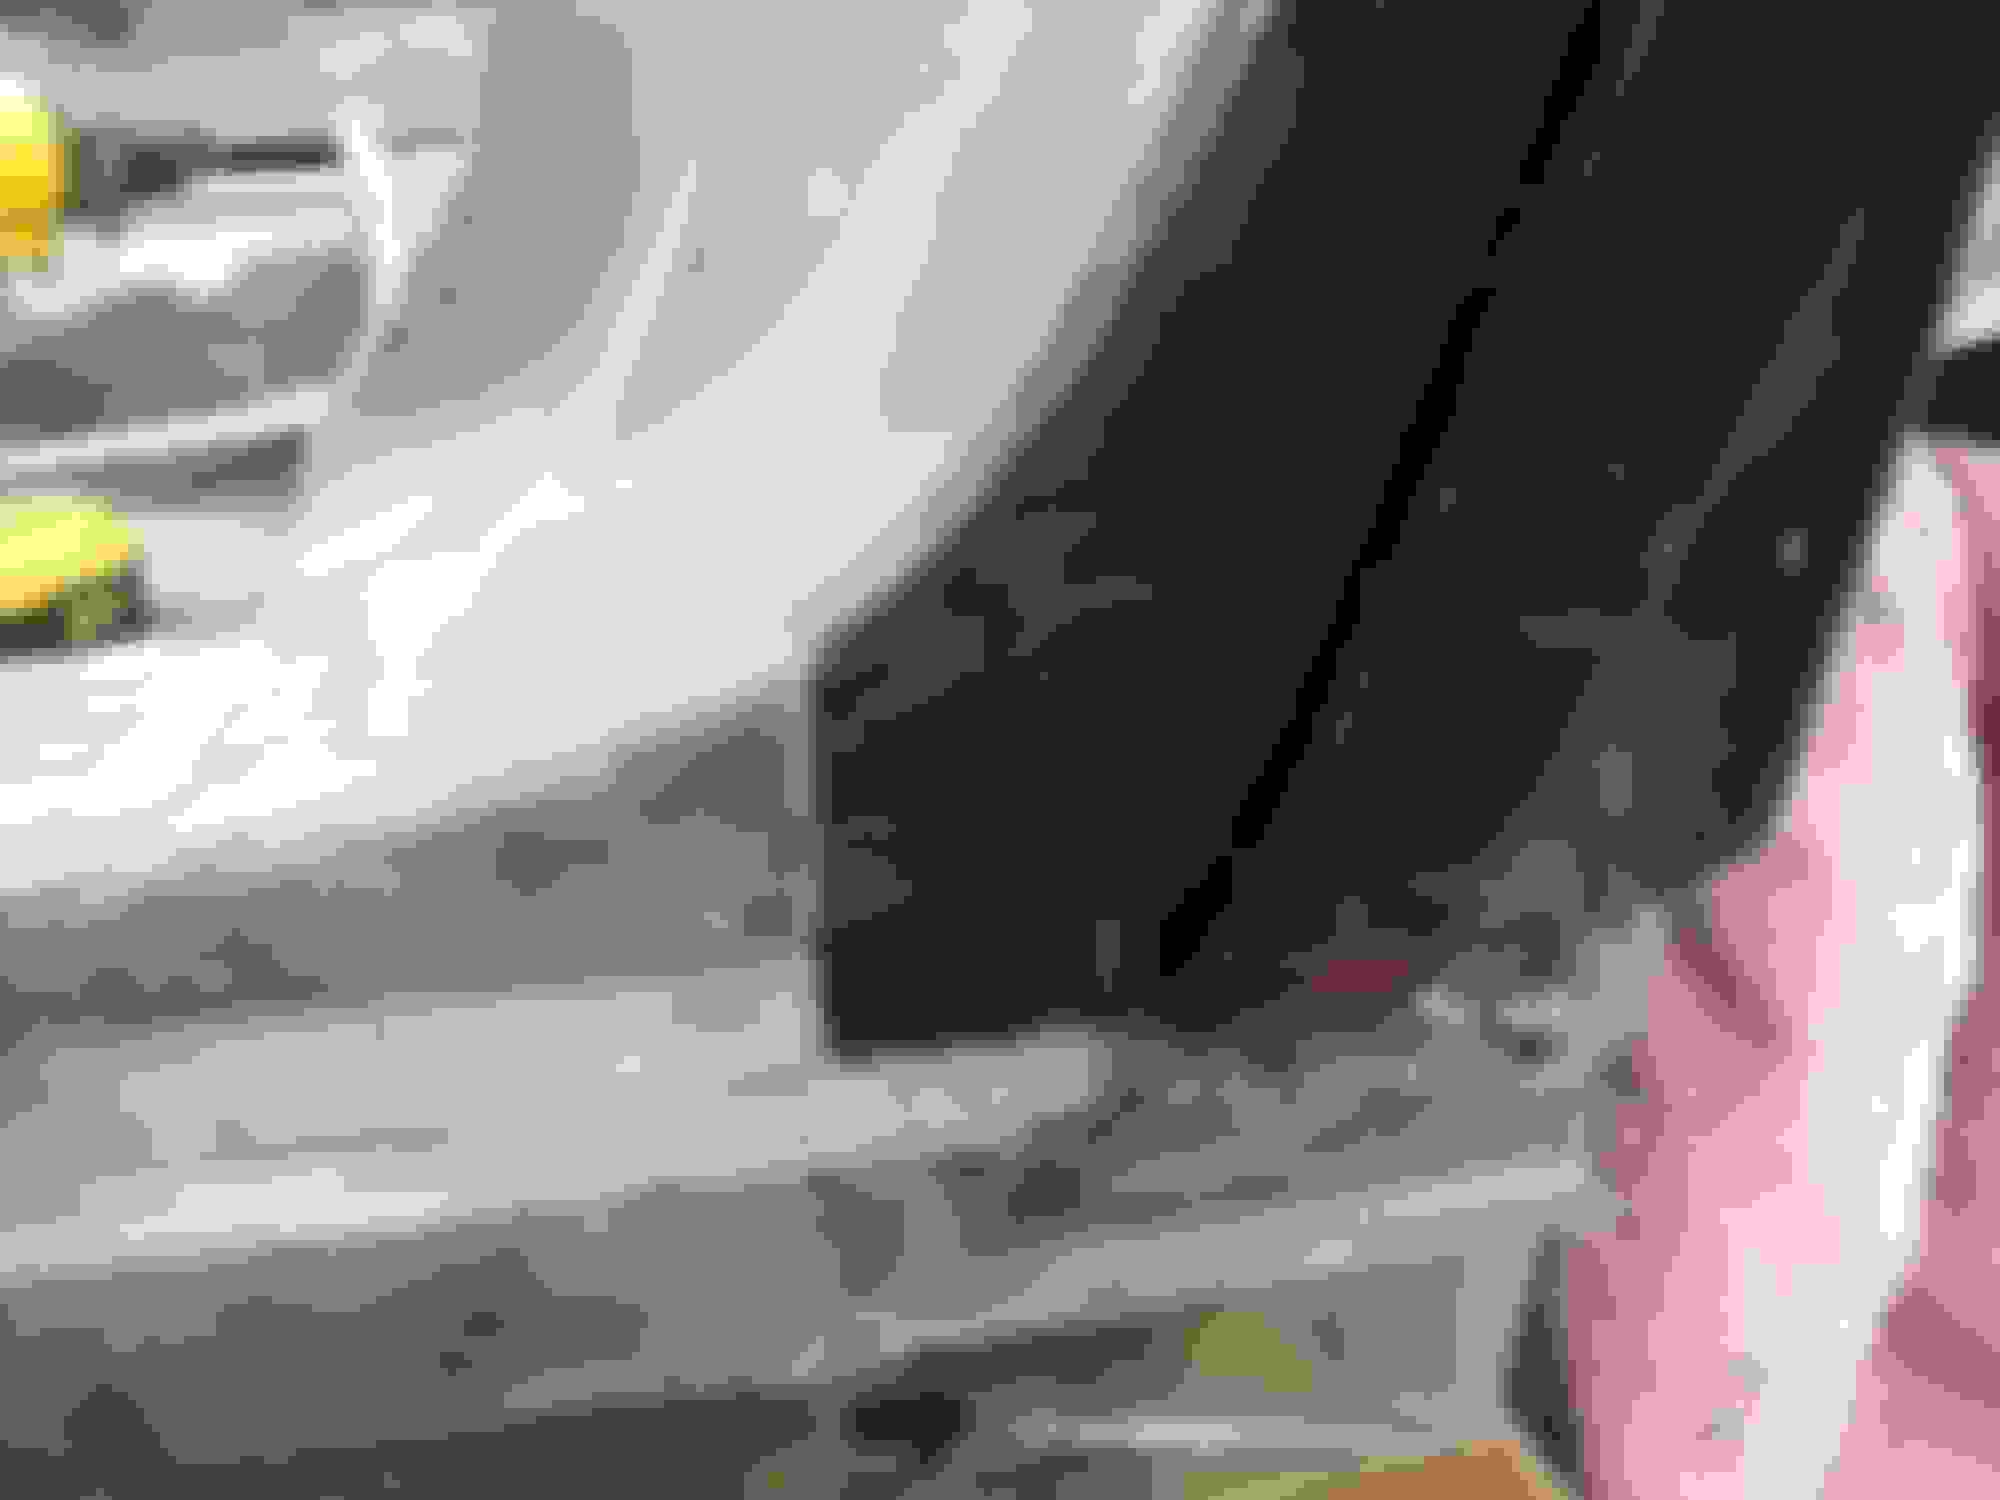
As I posted last time, the bonding edge on the back lip of the driver's B pillar was GONE. I cut out the existing cracked up lip area and cut a replacement patch so I could keep the same profiles in both directions.
Here are detail pics of the fit at top and bottom.
I'll get this bonded and glassed in this weekend and then start prepping the rear qtr for dry fit.
Last edited by slalomfiend; Dec 21, 2017 at 03:18 PM.