1971 Journey

Thread Starter
Melting Slicks


Joined: Apr 2010
Posts: 2,795
Likes: 1,196
From: Canberra Australia
2025 C3 of the Year Finalist - Modified
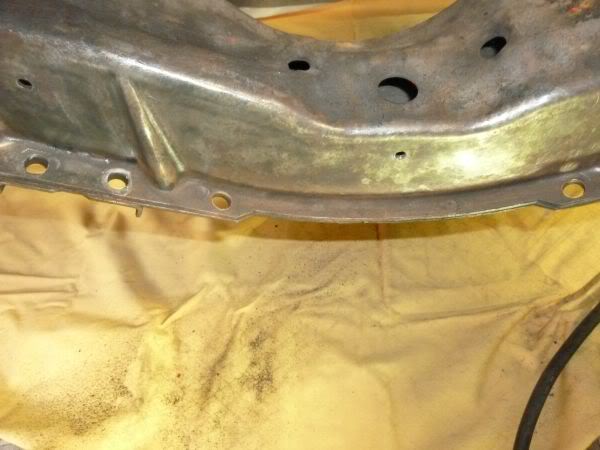
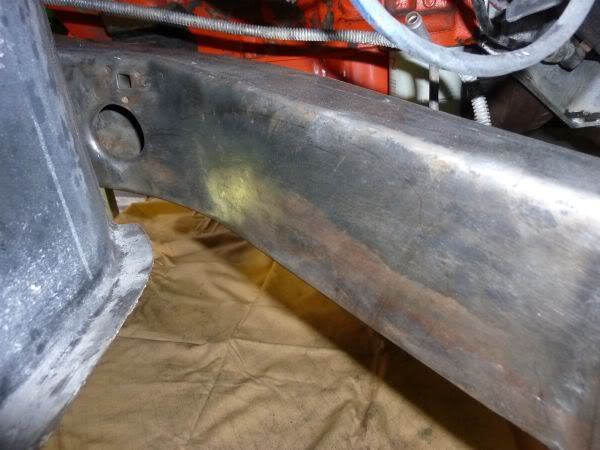
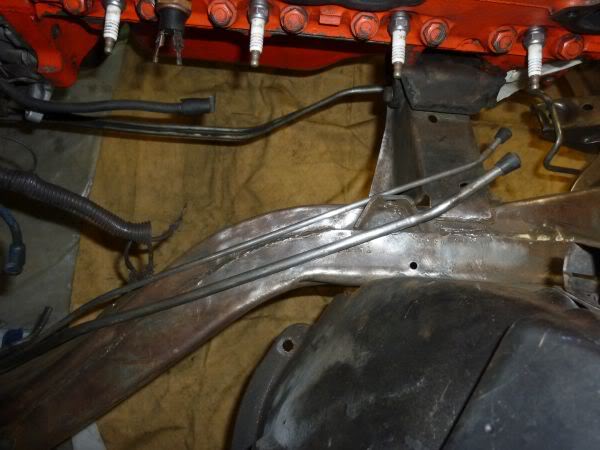
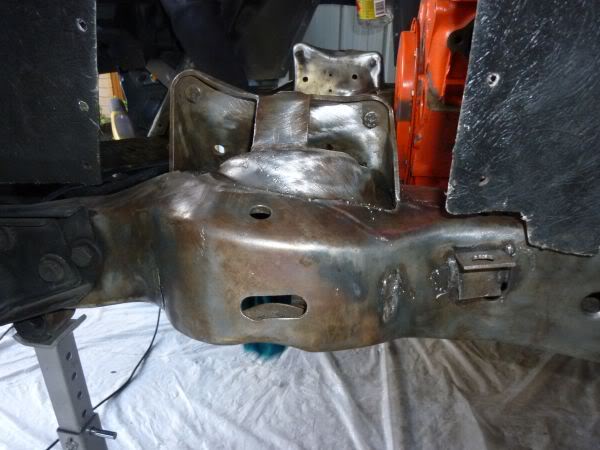
Spent this morning cleaning up one half of the front frame.
Will need another go over but its getting a step closer to be preped for paint.
Will need another go over but its getting a step closer to be preped for paint.
Last edited by CraigH; Apr 9, 2023 at 09:21 PM.
Thread Starter
Melting Slicks
Joined: Apr 2010
Posts: 2,795
Likes: 1,196
From: Canberra Australia
2025 C3 of the Year Finalist - Modified
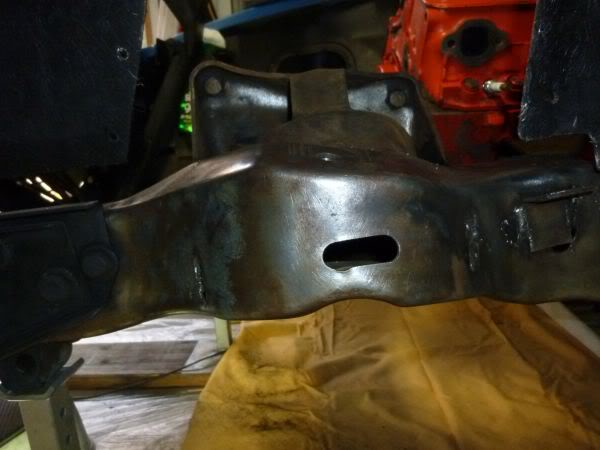
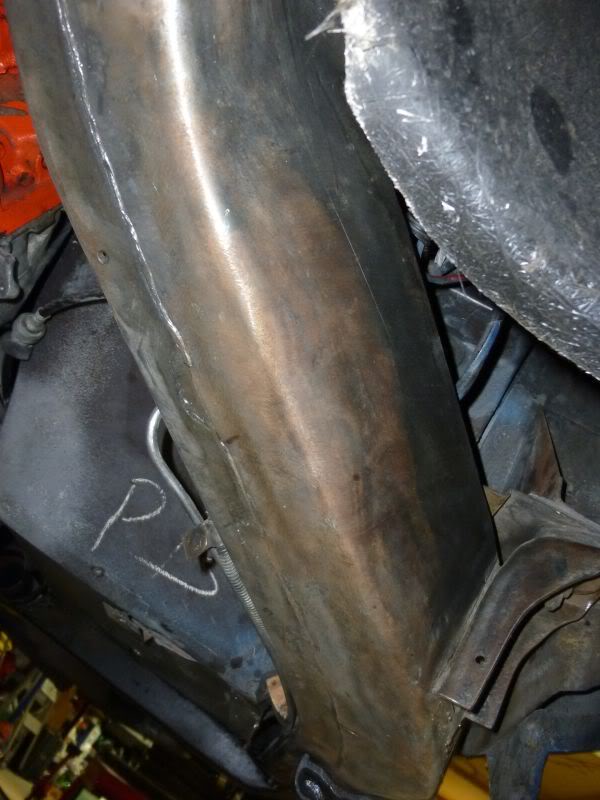
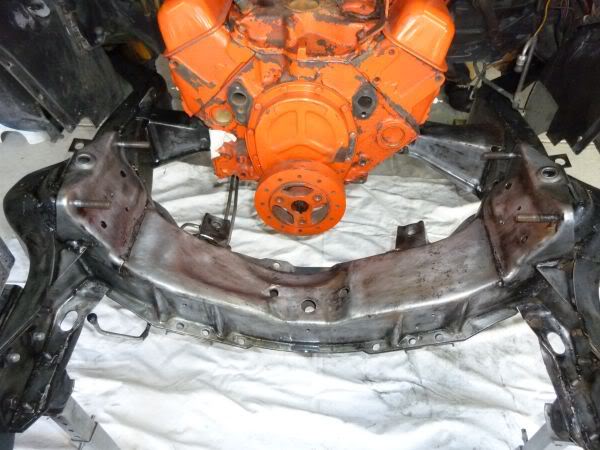
Spent some more time today cleaning up frame forward of the firewall.
In fact I managed to destroy the bearings in my Aldi air drill in the process. Oh well for $20 it did well.
Tomorrow I will go over it all again and hopefully it will be close to being ready for paint.
In fact I managed to destroy the bearings in my Aldi air drill in the process. Oh well for $20 it did well.
Tomorrow I will go over it all again and hopefully it will be close to being ready for paint.
Last edited by CraigH; Apr 9, 2023 at 09:21 PM.
Thread Starter
Melting Slicks
Joined: Apr 2010
Posts: 2,795
Likes: 1,196
From: Canberra Australia
2025 C3 of the Year Finalist - Modified
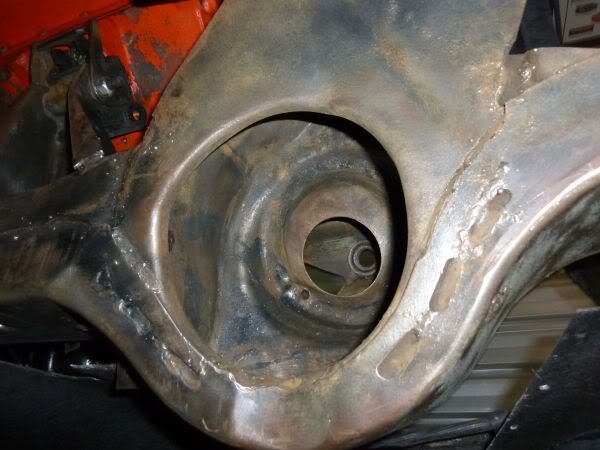
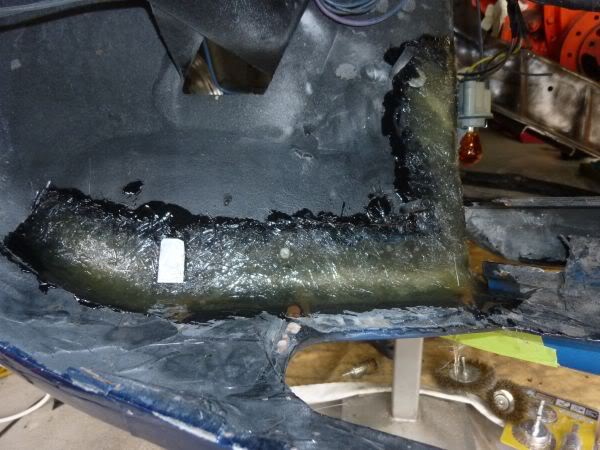
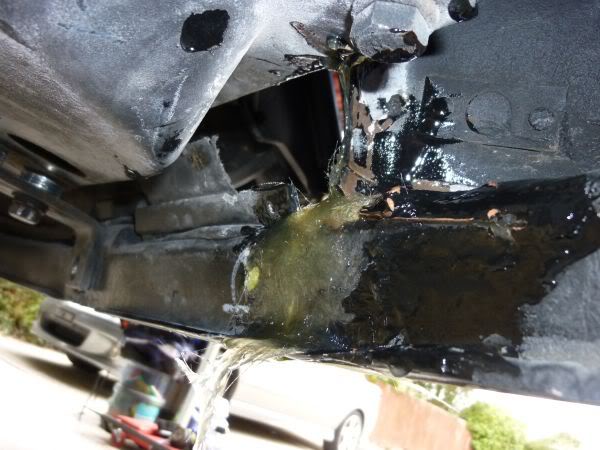
The vette has been very rust free so far, but......................
While cleaning up the frame I notices the radiator support.
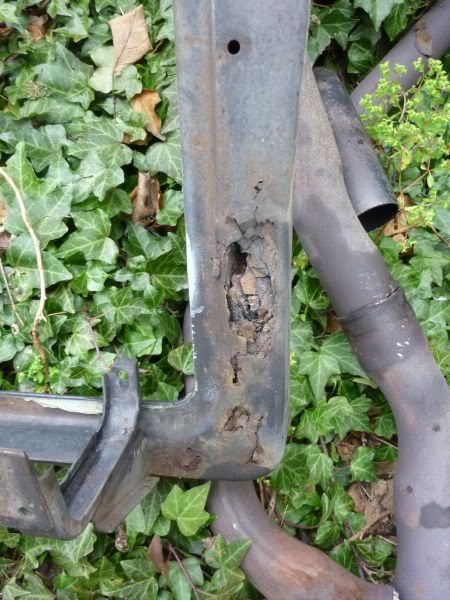
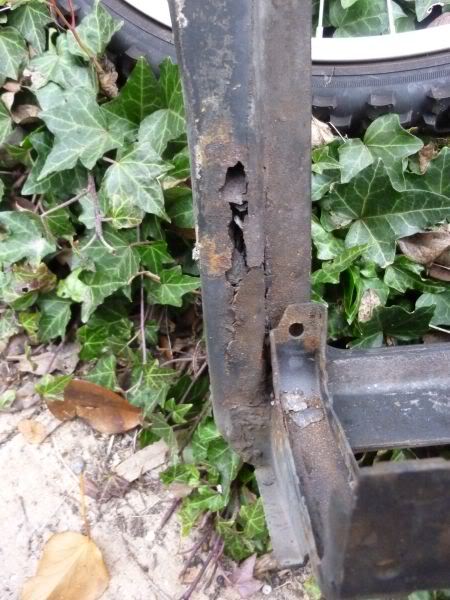
Rusted through on both sides at the bottom.
While cleaning up the frame I notices the radiator support.
Rusted through on both sides at the bottom.
Last edited by CraigH; Apr 9, 2023 at 09:21 PM.
Thread Starter
Melting Slicks
Joined: Apr 2010
Posts: 2,795
Likes: 1,196
From: Canberra Australia
2025 C3 of the Year Finalist - Modified
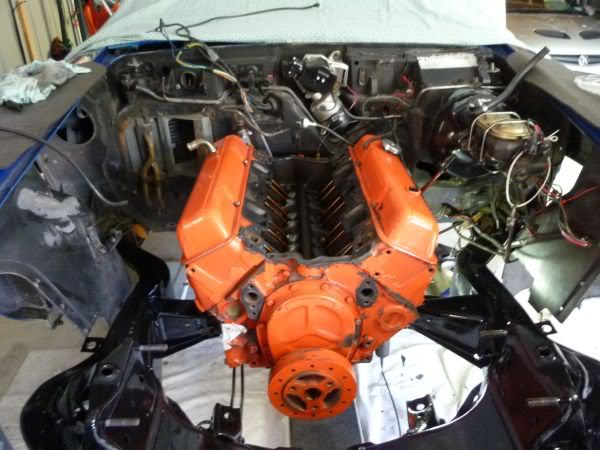
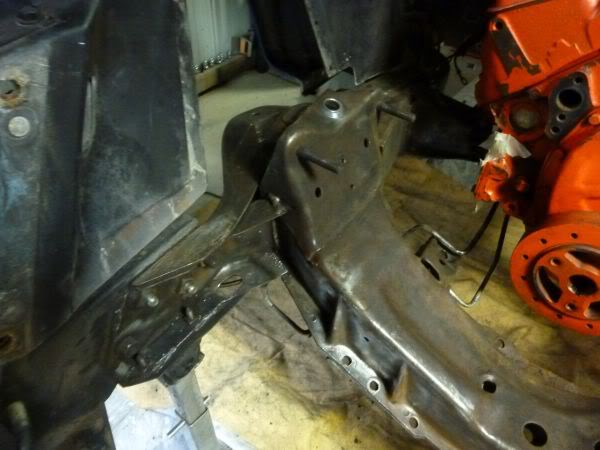
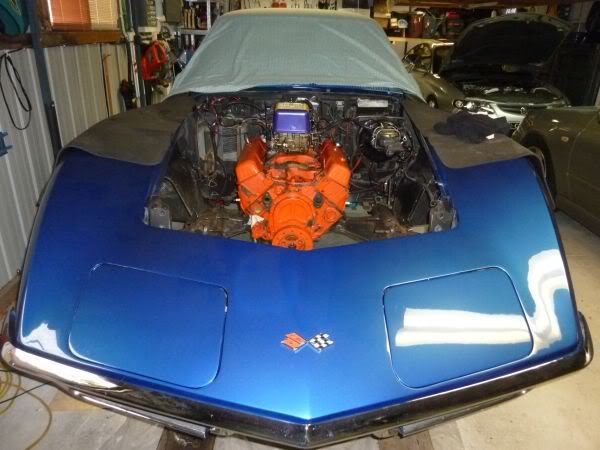
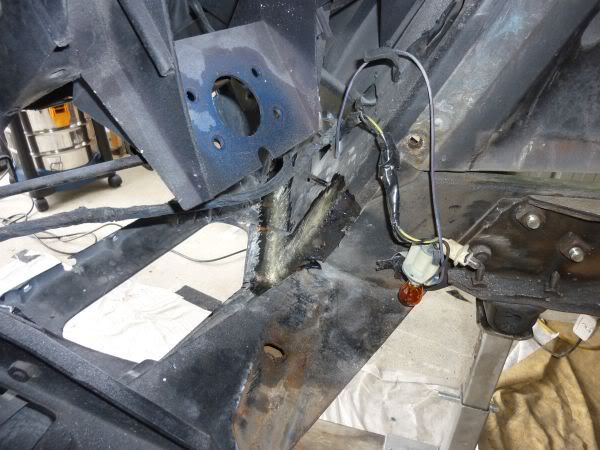
Pulled the radiator support out and will now have to look to import a new one.
At least I now have more access to cleaning up the engine bay :-)
At least I now have more access to cleaning up the engine bay :-)
Last edited by CraigH; Apr 9, 2023 at 09:21 PM.
Thread Starter
Melting Slicks
Joined: Apr 2010
Posts: 2,795
Likes: 1,196
From: Canberra Australia
2025 C3 of the Year Finalist - Modified
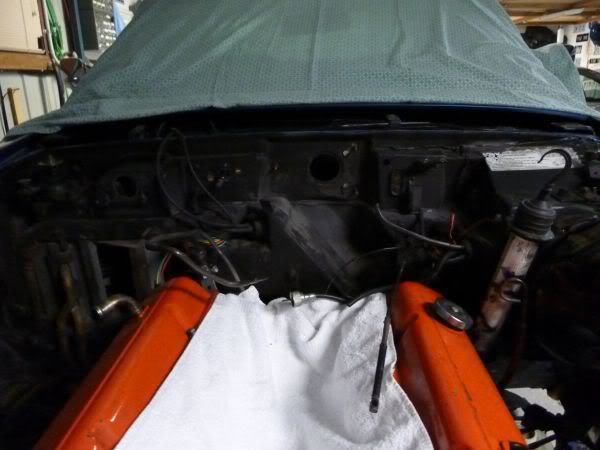
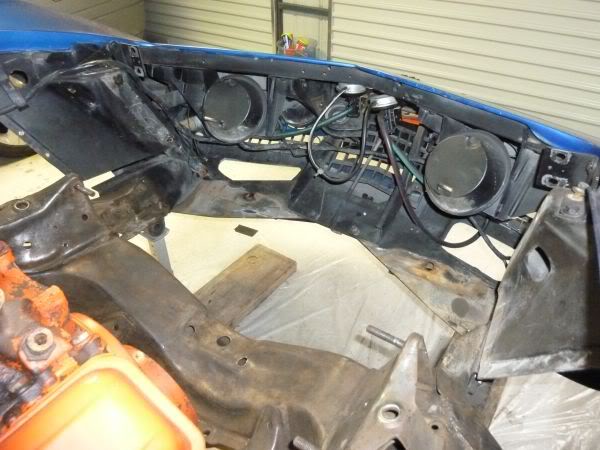
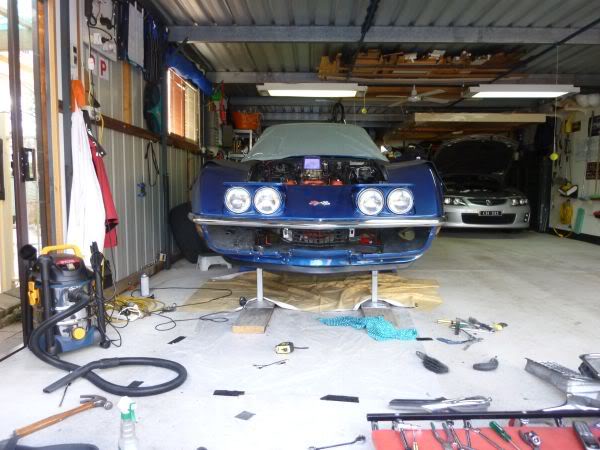
I had hoped to spend a day cleaning the frame but got side tracked.
First I removed all the headlight solenoids and actuators.
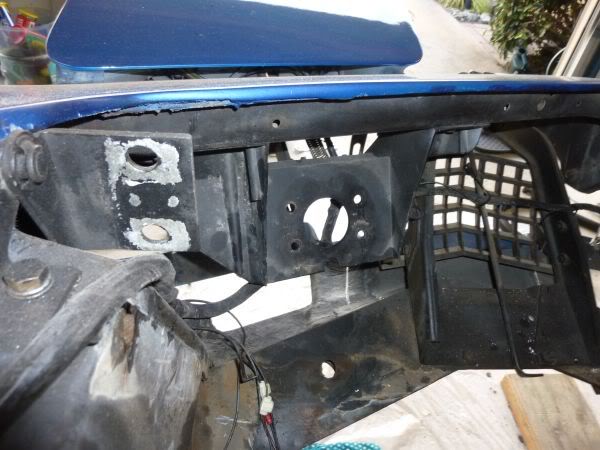
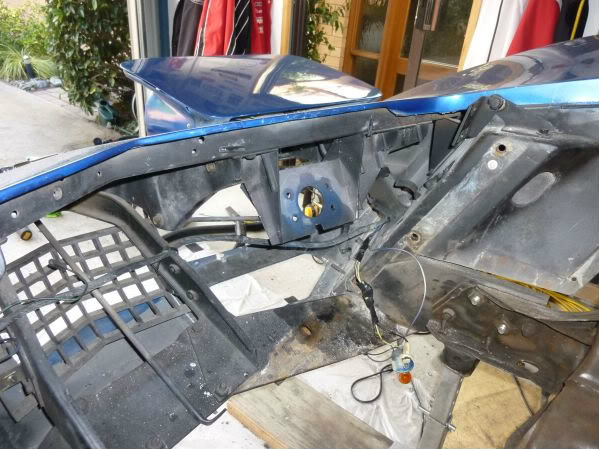
I want to add new actuators and re run the wiring harness at the top rather than where it is now.
First I removed all the headlight solenoids and actuators.
I want to add new actuators and re run the wiring harness at the top rather than where it is now.
Last edited by CraigH; Apr 9, 2023 at 09:21 PM.
Thread Starter
Melting Slicks
Joined: Apr 2010
Posts: 2,795
Likes: 1,196
From: Canberra Australia
2025 C3 of the Year Finalist - Modified
Then I started on what took up most of my day.
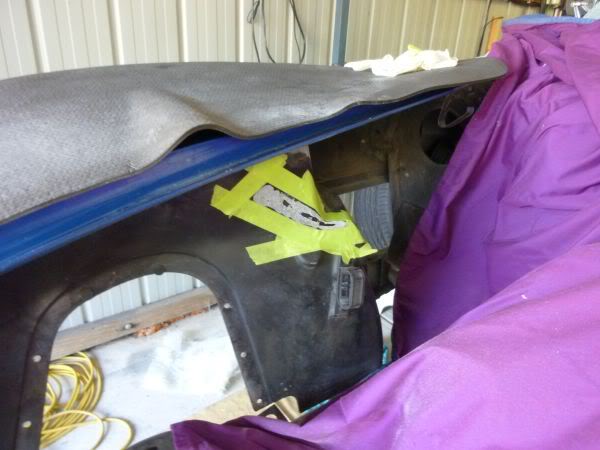
Have always been less than happy with the front apron on the vette.
The drivers fender had been replaced at some stage and it sat perfect up the top and around the hood however they did not do as good a job on the front apron.
It sat over a centimeter lower on the drivers side.
Not much you may say but it annoyed me so i decide to look at how to fix it.
Now that the vette is on stands I can do good measurements.
I decided it was going to be easier to lower the passenger side than raise the drivers.
First a cut where the apron connects to the uprights.
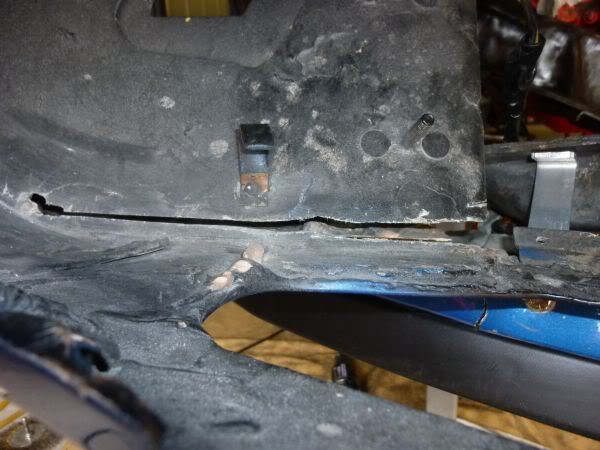
Then I was able to move it down a centimeter.
Fabricated a bracket to hold it in the new position. then went about adjusting the other brackets etc.
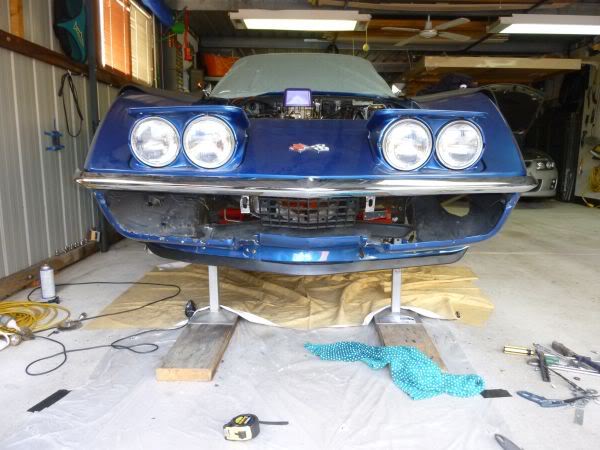
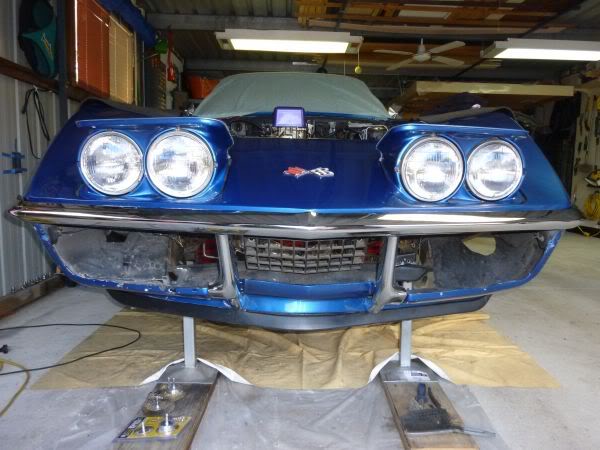
A bit hard to see but it is now much better.
Next step is to glass it all back together.
Played with the bumperettes and grills for a few hours and will have some more fun there after i glass it up.
Have always been less than happy with the front apron on the vette.
The drivers fender had been replaced at some stage and it sat perfect up the top and around the hood however they did not do as good a job on the front apron.
It sat over a centimeter lower on the drivers side.
Not much you may say but it annoyed me so i decide to look at how to fix it.
Now that the vette is on stands I can do good measurements.
I decided it was going to be easier to lower the passenger side than raise the drivers.
First a cut where the apron connects to the uprights.
Then I was able to move it down a centimeter.
Fabricated a bracket to hold it in the new position. then went about adjusting the other brackets etc.
A bit hard to see but it is now much better.
Next step is to glass it all back together.
Played with the bumperettes and grills for a few hours and will have some more fun there after i glass it up.
Last edited by CraigH; Apr 9, 2023 at 09:21 PM.
Thread Starter
Melting Slicks
Joined: Apr 2010
Posts: 2,795
Likes: 1,196
From: Canberra Australia
2025 C3 of the Year Finalist - Modified
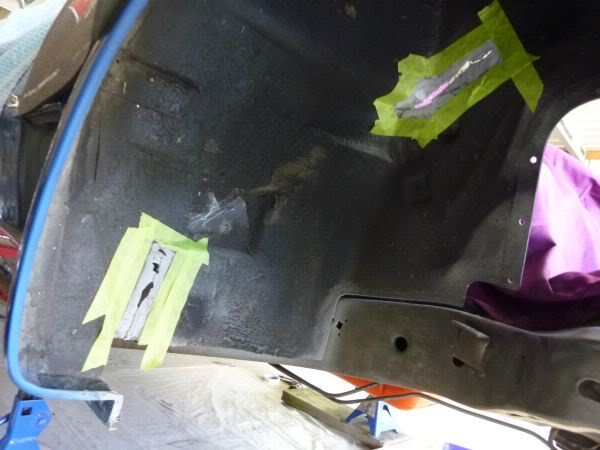
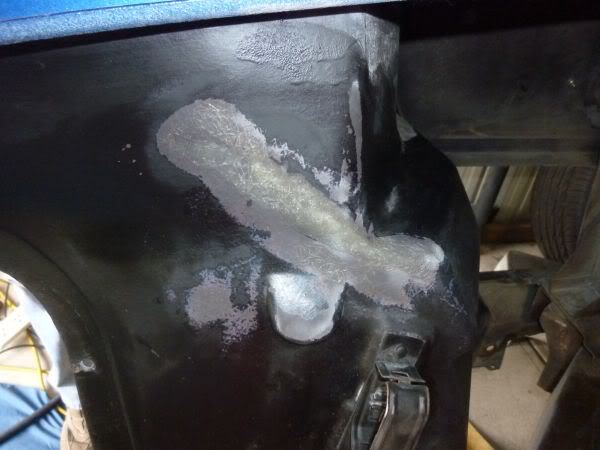
Did a bit of glass work today on the front apron.
This is what it looked like before I sanded back all the glass ready for new matt.
Then started to add layers of glass.

Built up with a number of layers.
Some reinforcement behind the crack in the lower lip.
Once it dries I will start to do the back of the same panels
This is what it looked like before I sanded back all the glass ready for new matt.
Then started to add layers of glass.
Built up with a number of layers.
Some reinforcement behind the crack in the lower lip.
Once it dries I will start to do the back of the same panels
Last edited by CraigH; Apr 9, 2023 at 09:20 PM.
Thread Starter
Melting Slicks
Joined: Apr 2010
Posts: 2,795
Likes: 1,196
From: Canberra Australia
2025 C3 of the Year Finalist - Modified
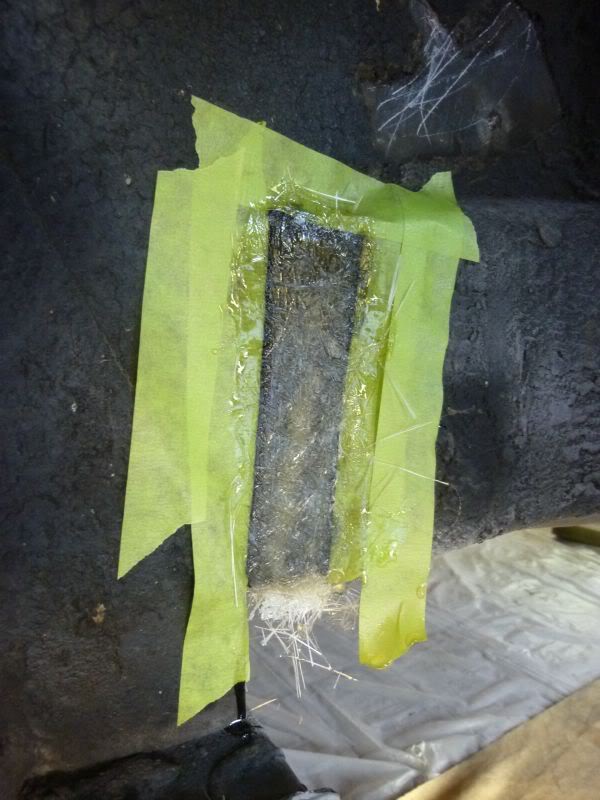
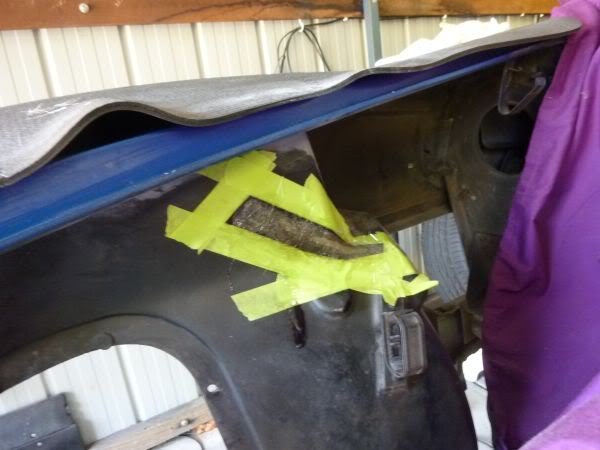
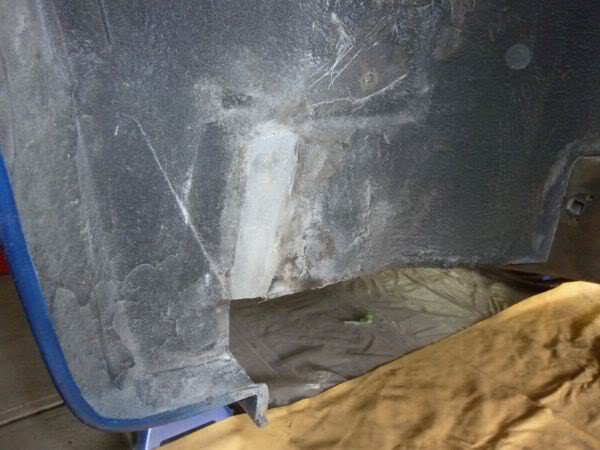
I have cut and adjusted both sides and re-glassed them in.
There were two hairline cracks in the passenger side inner guards to glass as well.
I taped around them, ground down the existing glass around the cracks.
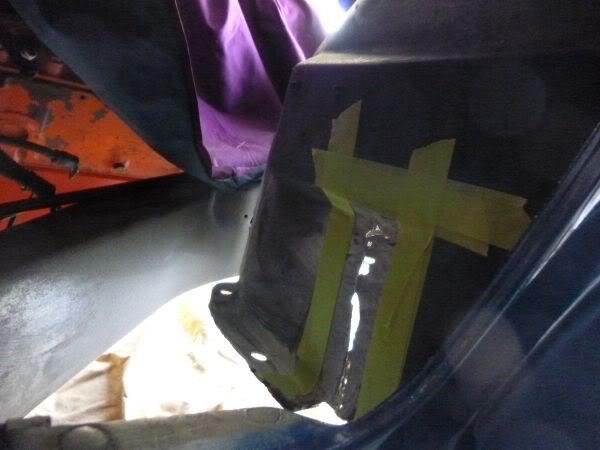
Then did the other side as well.
Then I glassed both sides.
There were two hairline cracks in the passenger side inner guards to glass as well.
I taped around them, ground down the existing glass around the cracks.
Then did the other side as well.
Then I glassed both sides.
Last edited by CraigH; Apr 9, 2023 at 09:20 PM.
Corvette Stories
The Best of Corvette for Corvette Enthusiasts

Top 10 Most Expensive Corvettes Ever Sold on Bring A Trailer
Brett Foote
10 Things Every Corvette Owner Needs (2026 Edition)
Michael S. Palmer
8 Most "Only Corvette Owners Understand" Quirks and Problems
Pouria Savadkouei
10 Reasons the C6 Z06 is Still A Performance Benchmark After 20 Years
Joe Kucinski
How Much Horsepower Every Corvette Engine "LOST" in 1972
Joe Kucinski
Top 10 DOs and DON'Ts for Protecting Your Convertible Top!
Michael S. Palmer
Top 10 Most Explosive Corvettes Ever Made: Power-to-Weight Ratio Ranked!
Joe Kucinski
150 hp to 1,250 hp: Every Corvette Generation Compared by the Specs That Matter
Joe Kucinski
8 Coolest Corvette Pace Cars (and Replicas) of All Time
Verdad Gallardo
Thread Starter
Melting Slicks
Joined: Apr 2010
Posts: 2,795
Likes: 1,196
From: Canberra Australia
2025 C3 of the Year Finalist - Modified
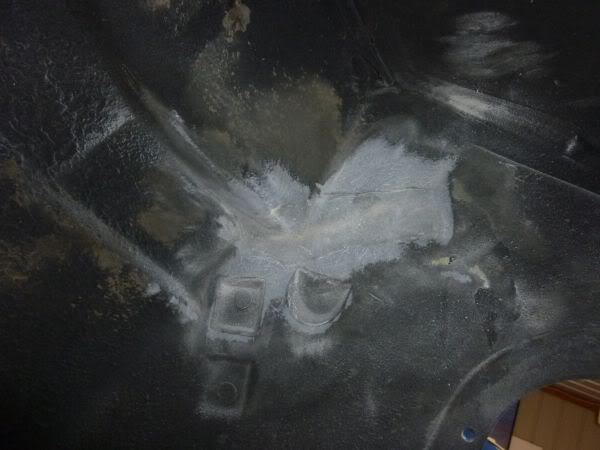
Sanded down some of the crack repairs.
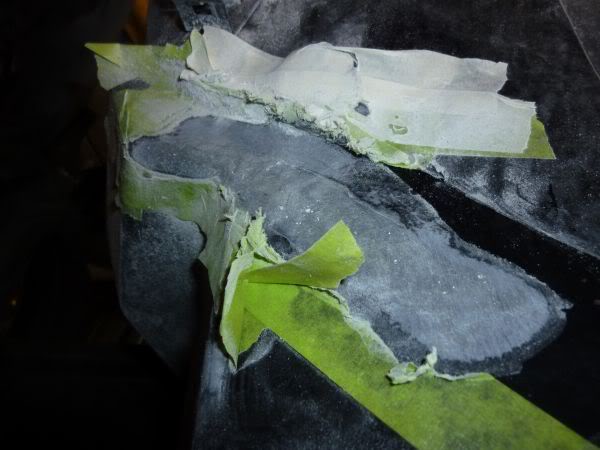
Once it eats away the tape your down to the level of the adjoining glass.

And in the guard.
Once it eats away the tape your down to the level of the adjoining glass.
And in the guard.
Last edited by CraigH; Apr 9, 2023 at 09:20 PM.
Thread Starter
Melting Slicks
Joined: Apr 2010
Posts: 2,795
Likes: 1,196
From: Canberra Australia
2025 C3 of the Year Finalist - Modified
To get in and do a good clean up front I pulled the front wiring harness out.
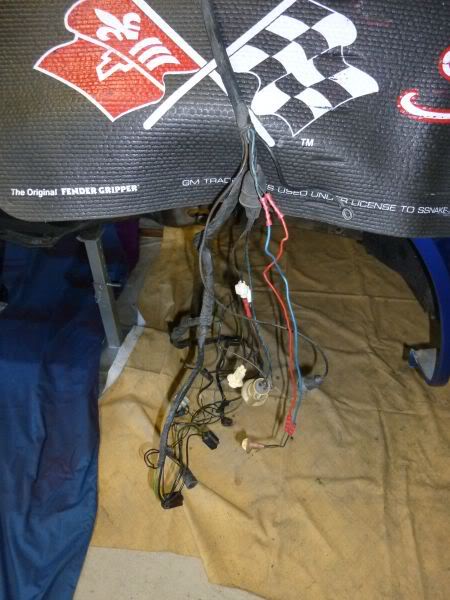
After removing all the electric tape i found heaps of scotch locks and crimp connectors.
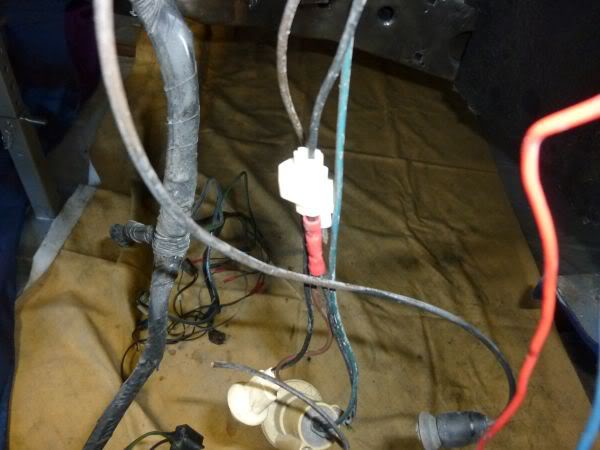
A combination of getting it ready for rego here and some butchery in its past.
I will take them all out and solder and shrink wrap all the joints.
May even re wrap the entire harness with new harness tape.
After removing all the electric tape i found heaps of scotch locks and crimp connectors.
A combination of getting it ready for rego here and some butchery in its past.
I will take them all out and solder and shrink wrap all the joints.
May even re wrap the entire harness with new harness tape.
Last edited by CraigH; Apr 9, 2023 at 09:20 PM.
Thread Starter
Melting Slicks
Joined: Apr 2010
Posts: 2,795
Likes: 1,196
From: Canberra Australia
2025 C3 of the Year Finalist - Modified
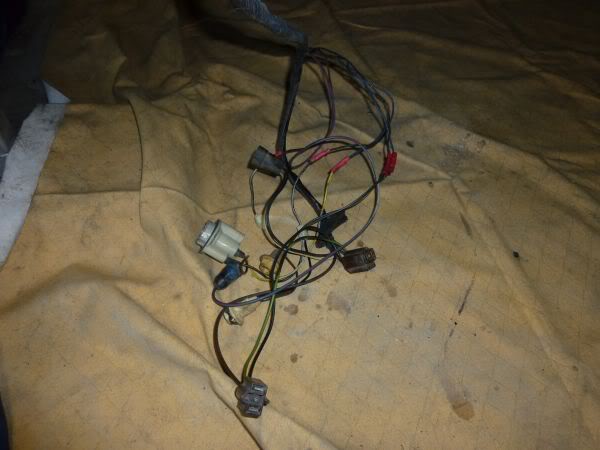
I stripped the harness down the other day to get a better look
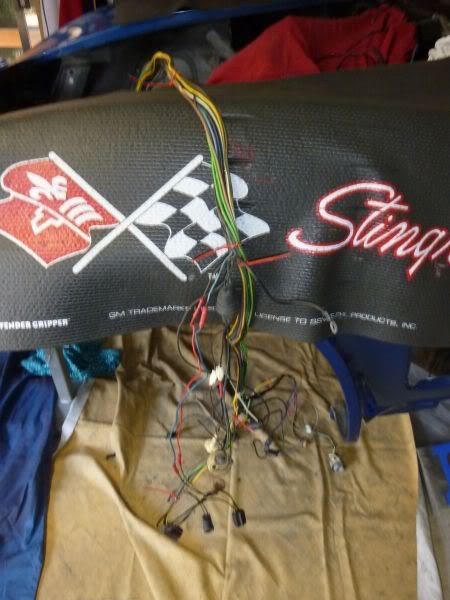
Wires are in great condition for 40 years of use.
Wires are in great condition for 40 years of use.
Last edited by CraigH; Apr 9, 2023 at 09:20 PM.
Thread Starter
Melting Slicks
Joined: Apr 2010
Posts: 2,795
Likes: 1,196
From: Canberra Australia
2025 C3 of the Year Finalist - Modified
I dropped off the radiator earlier this week to get it boiled out and checked for leaks.
They found a small one that was repaired then they media blasted the tanks and repainted it.
Was not totally happy with the paintwork so I spent an hour sanding it back and gave it a new coat ?
Probably a waste of time as it wont be seen but :-)
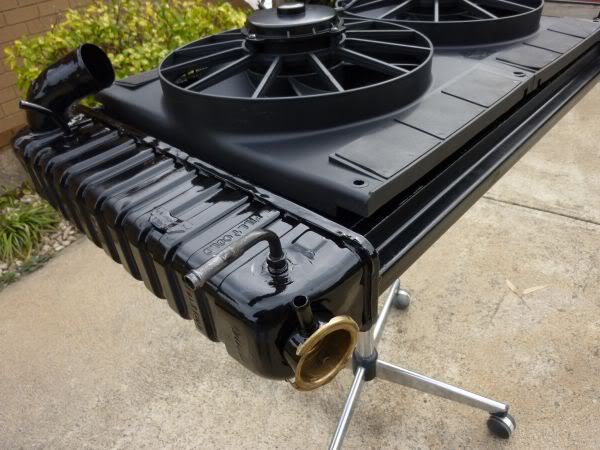

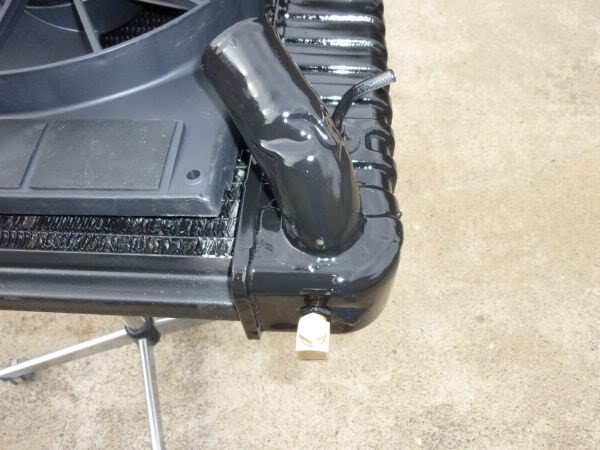
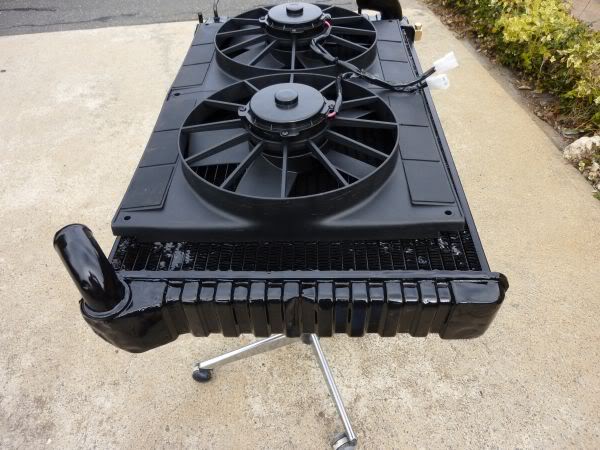
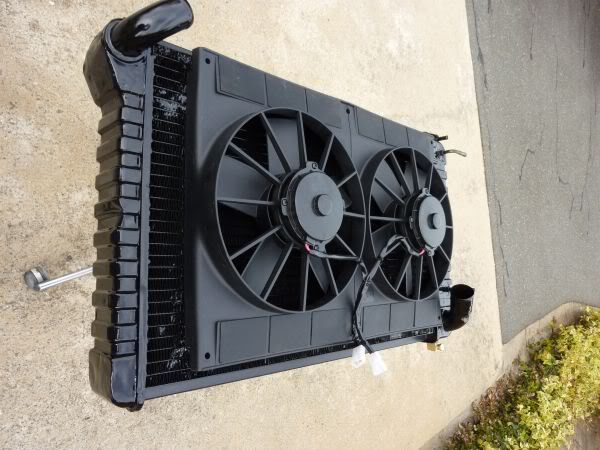
Need to replace the trans cooler outlets with adapters to AN fittings as I am going to add an extra cooler and use AN-6 connectors and hose and build the brackets for the fans
They found a small one that was repaired then they media blasted the tanks and repainted it.
Was not totally happy with the paintwork so I spent an hour sanding it back and gave it a new coat ?
Probably a waste of time as it wont be seen but :-)
Need to replace the trans cooler outlets with adapters to AN fittings as I am going to add an extra cooler and use AN-6 connectors and hose and build the brackets for the fans
Last edited by CraigH; Apr 9, 2023 at 09:20 PM.
Thread Starter
Melting Slicks
Joined: Apr 2010
Posts: 2,795
Likes: 1,196
From: Canberra Australia
2025 C3 of the Year Finalist - Modified
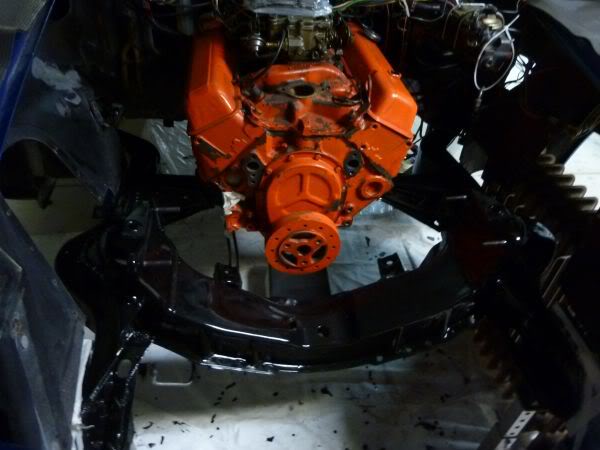
Engine bay frame has now had another round of wire brushing and is as good as it will get.
I then wiped it all down with prepsol and applied a rust treatment to the surface.
Now it is ready for painting :-)
I then wiped it all down with prepsol and applied a rust treatment to the surface.
Now it is ready for painting :-)
Last edited by CraigH; Apr 9, 2023 at 09:20 PM.
Thread Starter
Melting Slicks
Joined: Apr 2010
Posts: 2,795
Likes: 1,196
From: Canberra Australia
2025 C3 of the Year Finalist - Modified
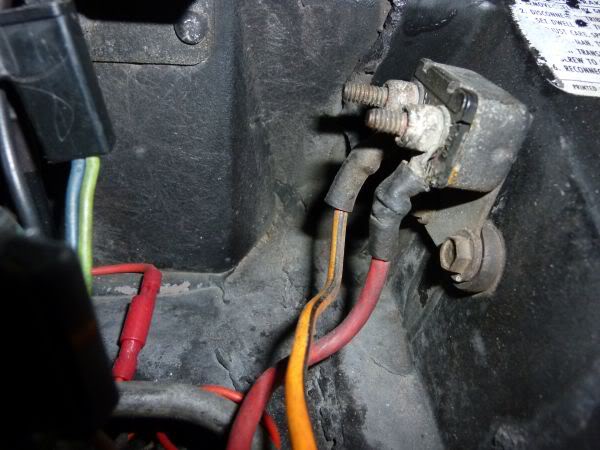
To paint the engine bay I need to get everything out.
The Breaker near the brake booster needed its bolts cut as I could not work out how to get up under and hold them from spinning in the cabin.
The Breaker near the brake booster needed its bolts cut as I could not work out how to get up under and hold them from spinning in the cabin.
Last edited by CraigH; Apr 9, 2023 at 09:19 PM.
Thread Starter
Melting Slicks
Joined: Apr 2010
Posts: 2,795
Likes: 1,196
From: Canberra Australia
2025 C3 of the Year Finalist - Modified
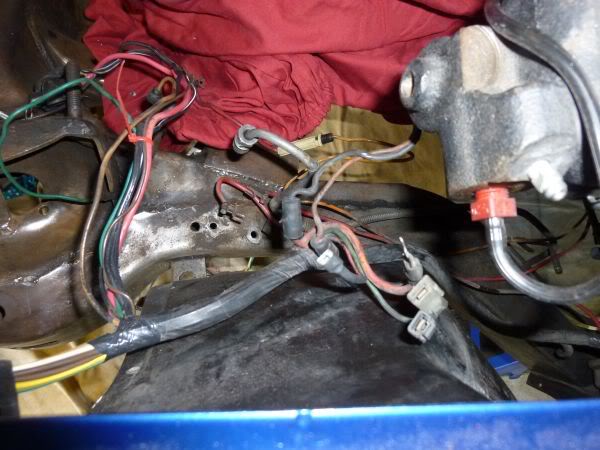
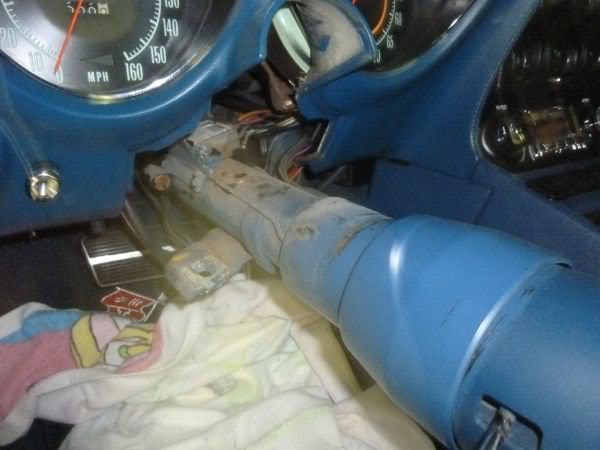
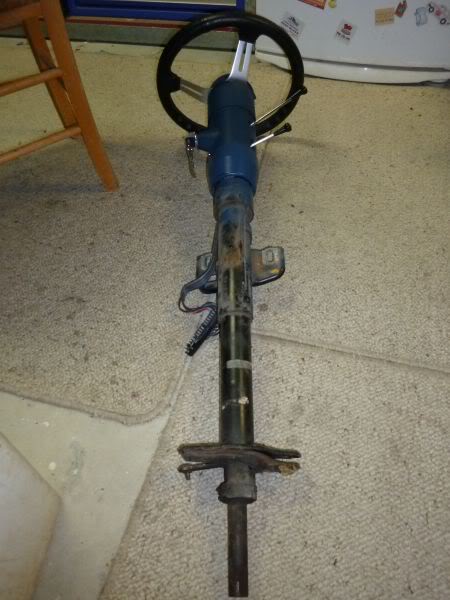
The column needs to come out so I can shorten it a couple of inches for the new steering box.
Very easy to get out
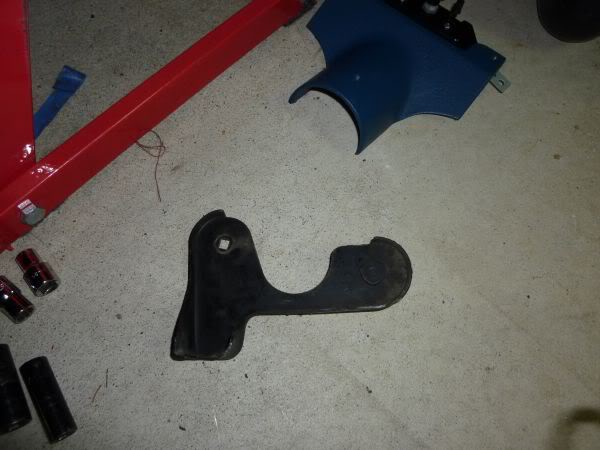
Remove the two nuts on the firewall from inside car.
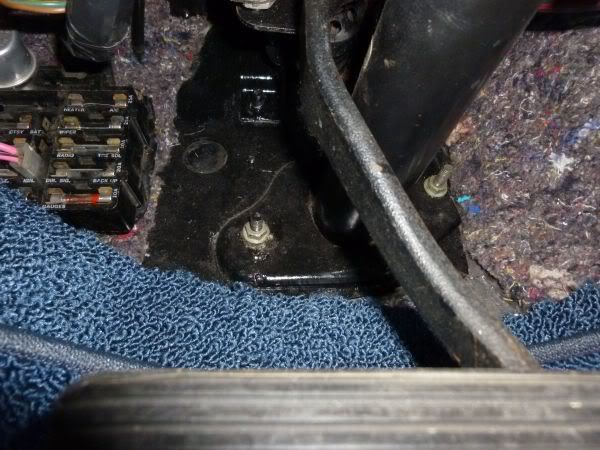
One is a coach bolt so pull it out from engine bay and rotate the firewall plate that holds column in place then remove it.

Then undo the 2 bolts where column connects to dash.
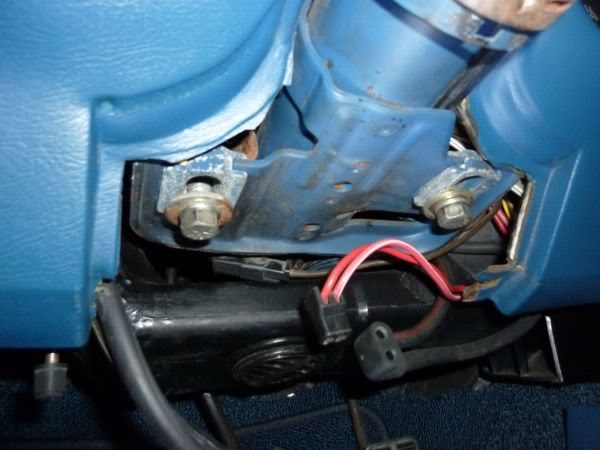
Undo the wiring harness and pull it back
Very easy to get out
Remove the two nuts on the firewall from inside car.
One is a coach bolt so pull it out from engine bay and rotate the firewall plate that holds column in place then remove it.
Then undo the 2 bolts where column connects to dash.
Undo the wiring harness and pull it back
Last edited by CraigH; Apr 9, 2023 at 09:19 PM.
Thread Starter
Melting Slicks
Joined: Apr 2010
Posts: 2,795
Likes: 1,196
From: Canberra Australia
2025 C3 of the Year Finalist - Modified
Picked up the a-Arms from having the old bushes etc removed .
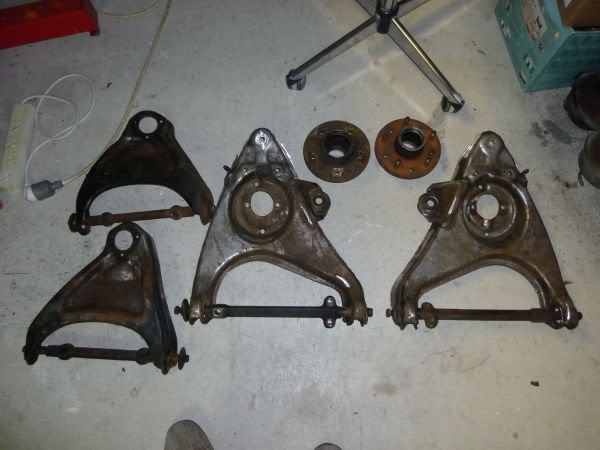
The front rotors still had the original rivets in place.
A bit of clean up then off to be media blasted and powder coated.
The front rotors still had the original rivets in place.
A bit of clean up then off to be media blasted and powder coated.
Last edited by CraigH; Apr 9, 2023 at 09:19 PM.