When you click on links to various merchants on this site and make a purchase, this can result in this site earning a commission. Affiliate programs and affiliations include, but are not limited to, the eBay Partner Network.
Hi Craig,
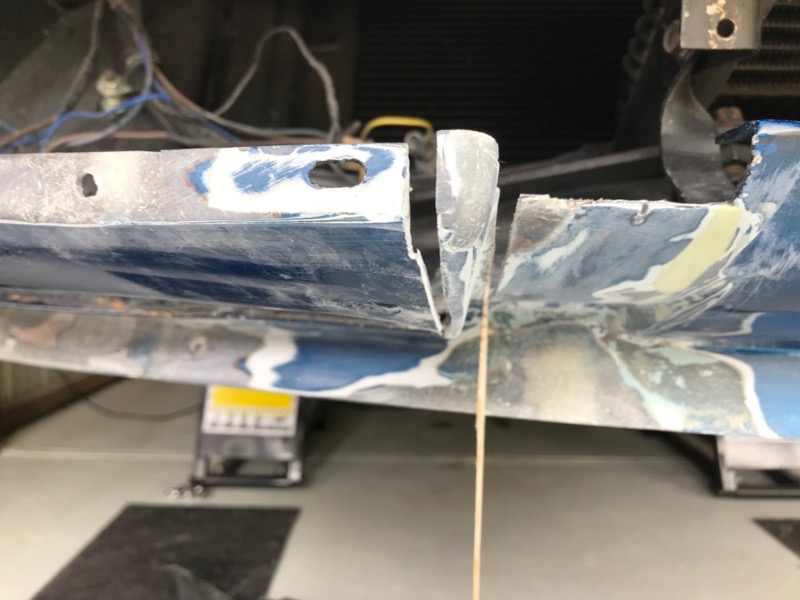
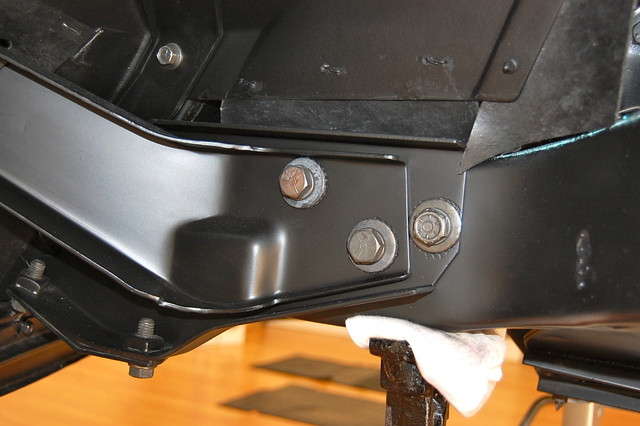
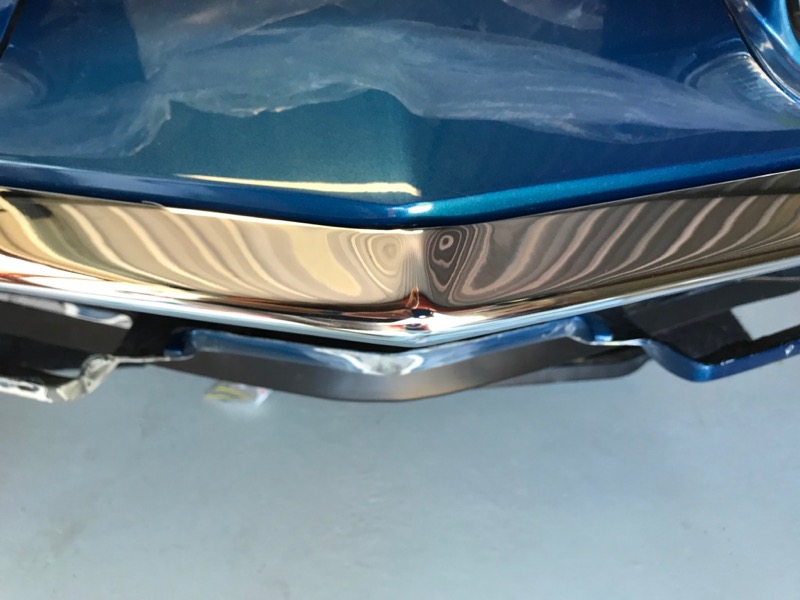
Remember although the center bumper bracket has some built in adjustment the front crossmember it bolts to has some adjustment too.
The front cross member can be 'tipped' too because of it's attachment to the frame rail extensions.
This can affect the bracket's angle when it meets the center of the bumper.
There are SO many fact actors that affect the fit of the bumper it's pretty difficult to know just what to look at.
Regards,
Alan
Yes that's so true Alan, there are so many flow on adjustments that could put things out for the bumper.
What seemed relatively simple becomes so complex.
Hopefully I can avoid the front crossmember needing to be adjusted as well but let's see how it goes.
Will get back to it next weekend.
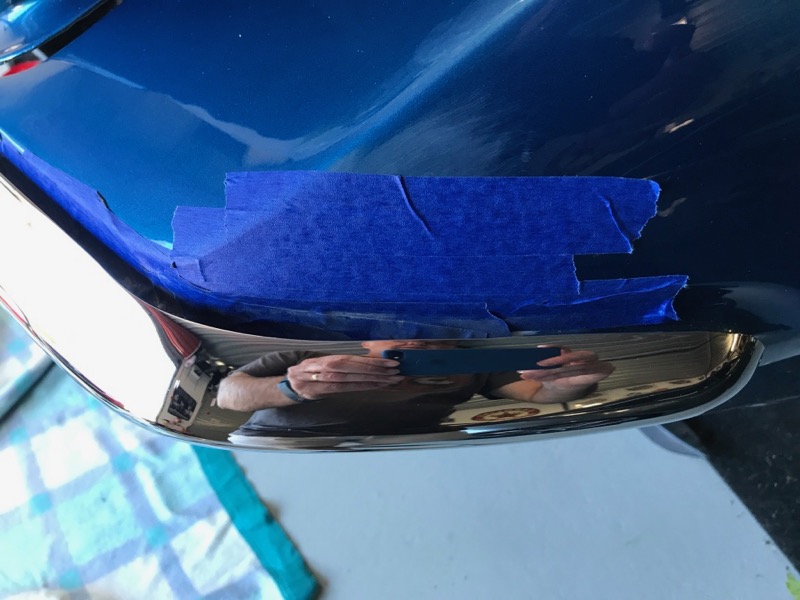
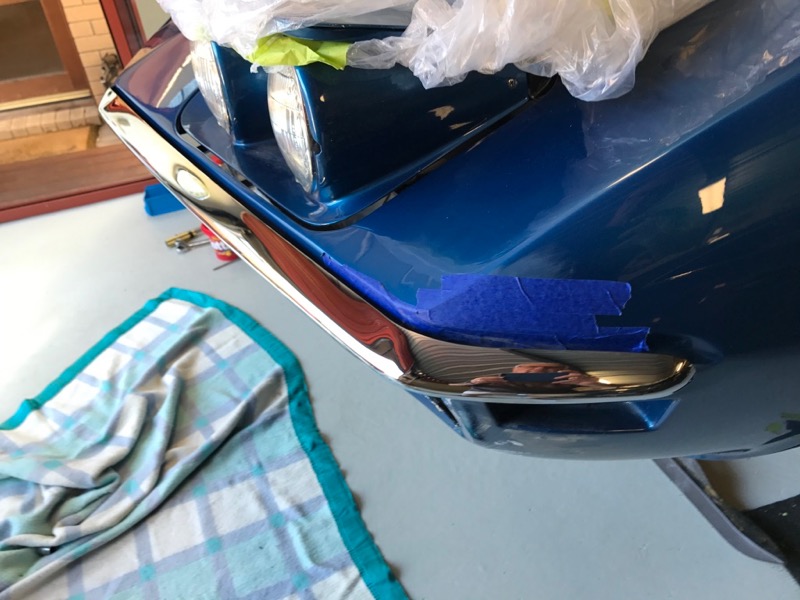
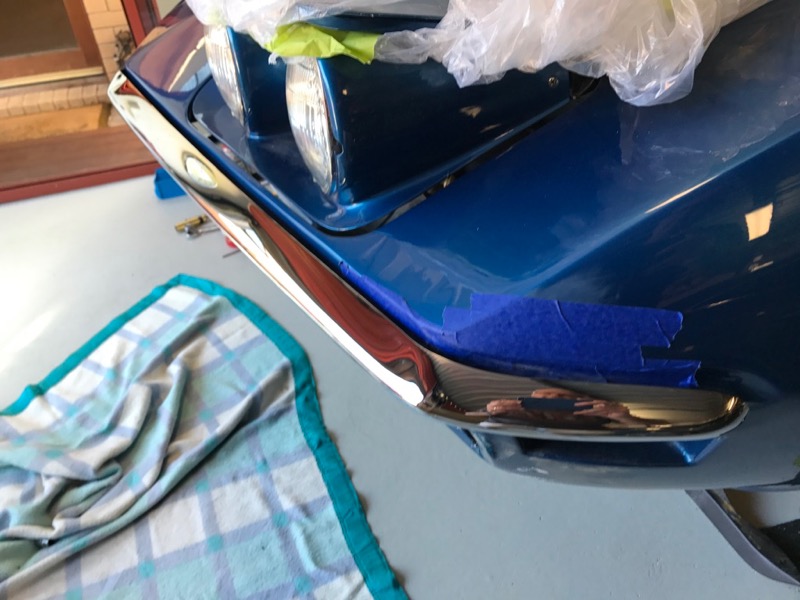
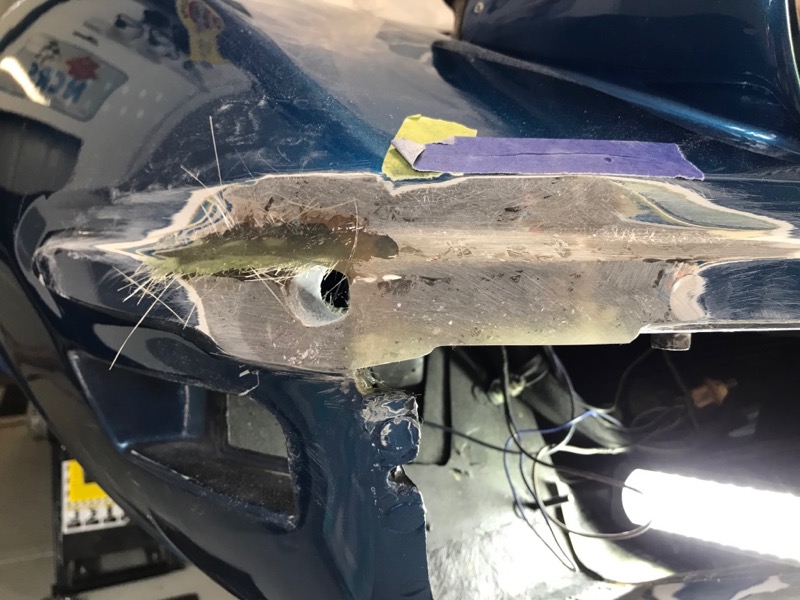
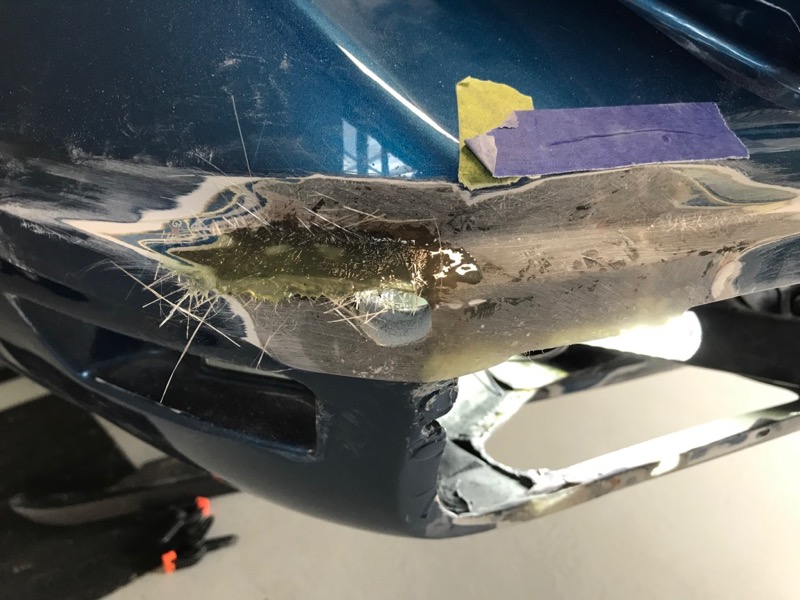
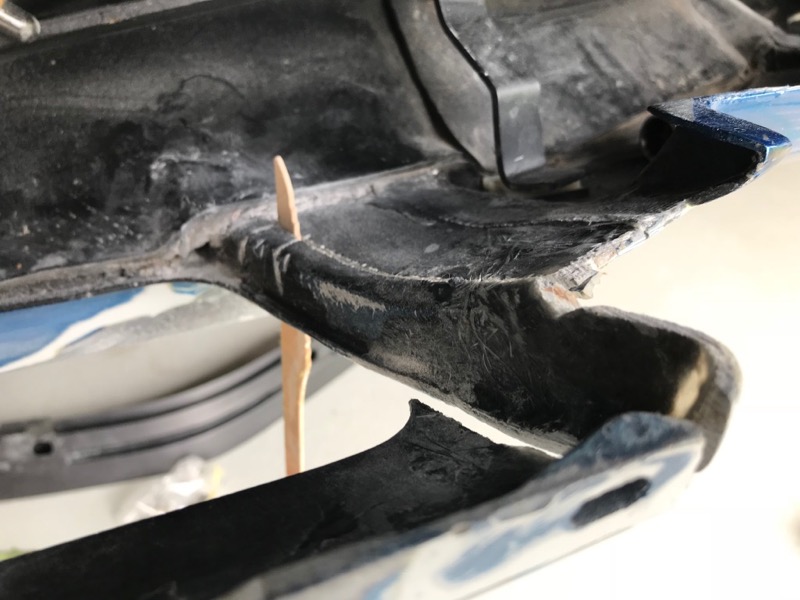
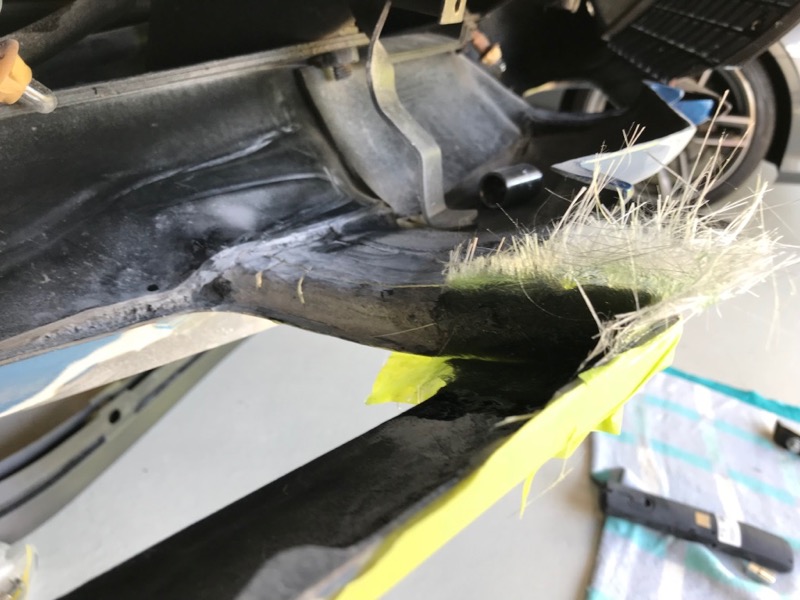
However after pushing the horseshoe bracket back just a bit there was way less tension in the bar to fit up.
That has to be good for less future stress fractures 😀
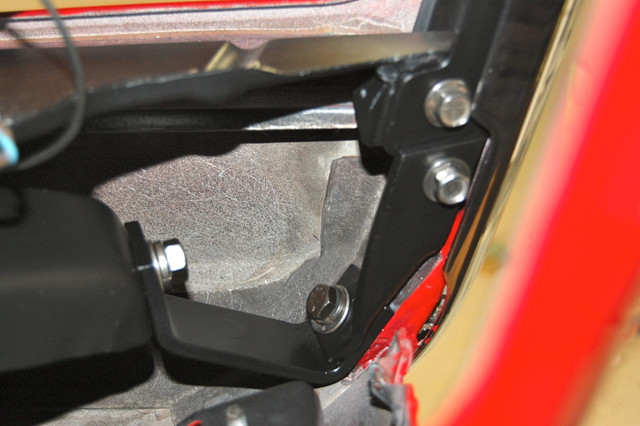
Also your pictures of the inner brackets helped heaps for angles etc.
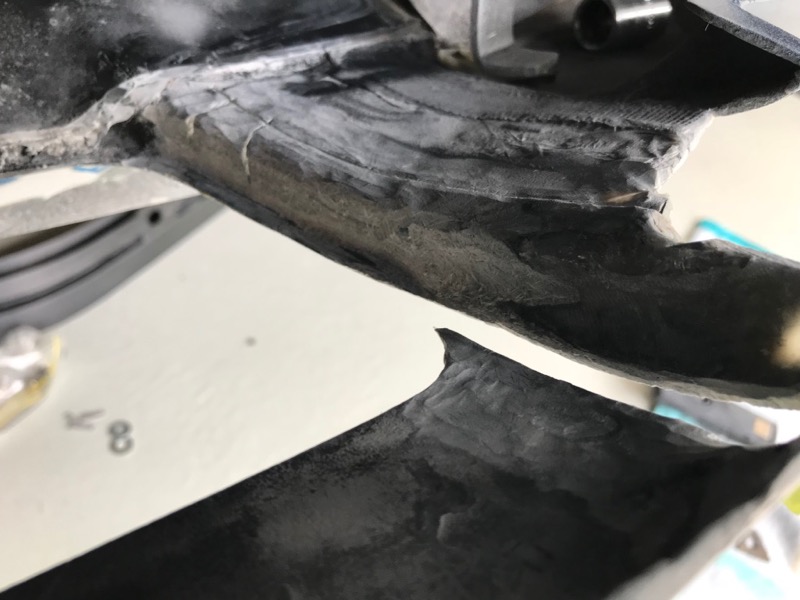
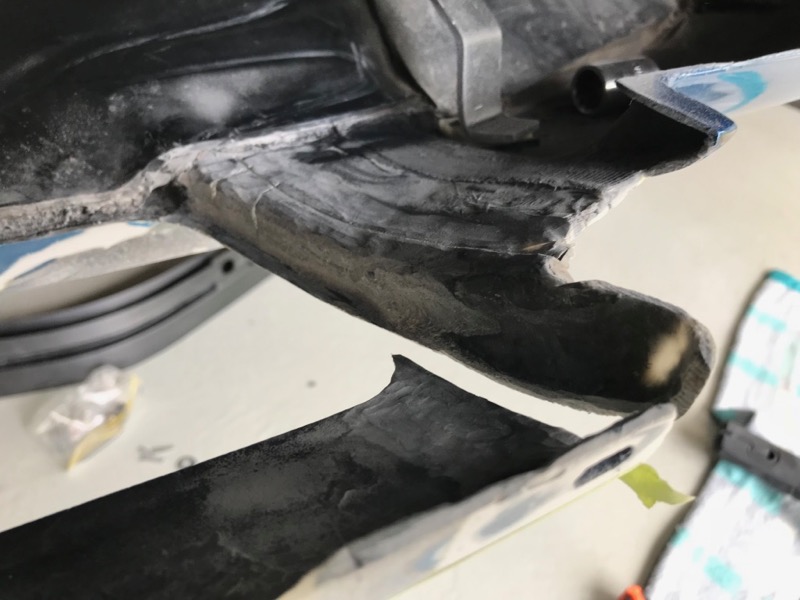
Ok, that's great Alan, my Vette had the two corner bracket sets overlapping in opposite way to your photos. The large u shaped one was on top of the smaller one. Will try reversing them.
Hi Craig,
Well that's the way I put mine back together originally.
Someone mentioned it when I posted a photo in another thread a while back.
The AIM clearly shows the bracket running from the larger bumper bracket to the rear of the fiberglass and THEN the twisted bracket being put into place.
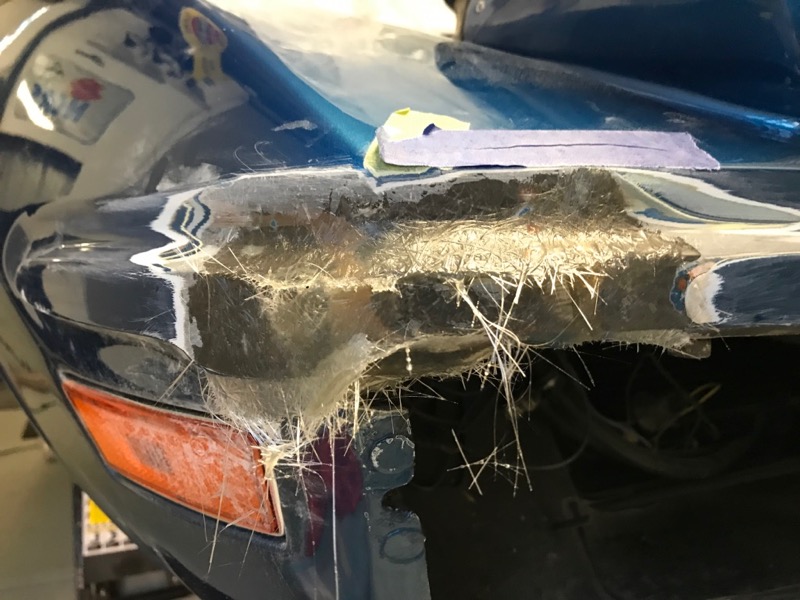
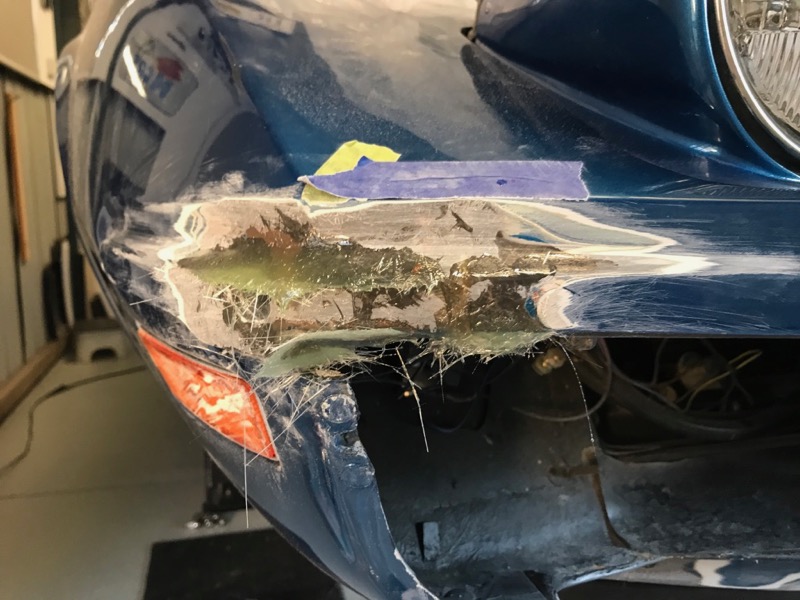
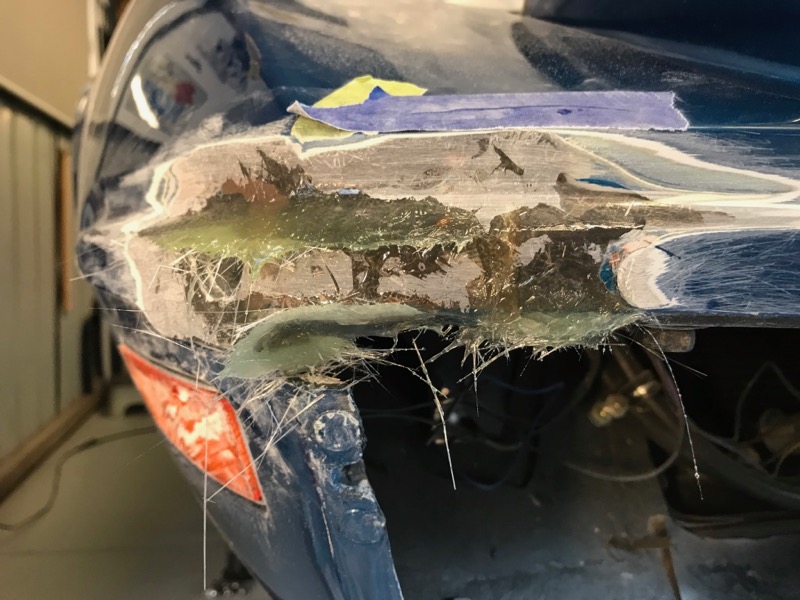
I finally did that yesterday and today�. of course what should have been a 15 minute job,� turned into repainting the brackets and the ends of the steel support and then dealing with all the bolts stretched it to 2 half days of work.
Regards,
Alan
Hi Craig,
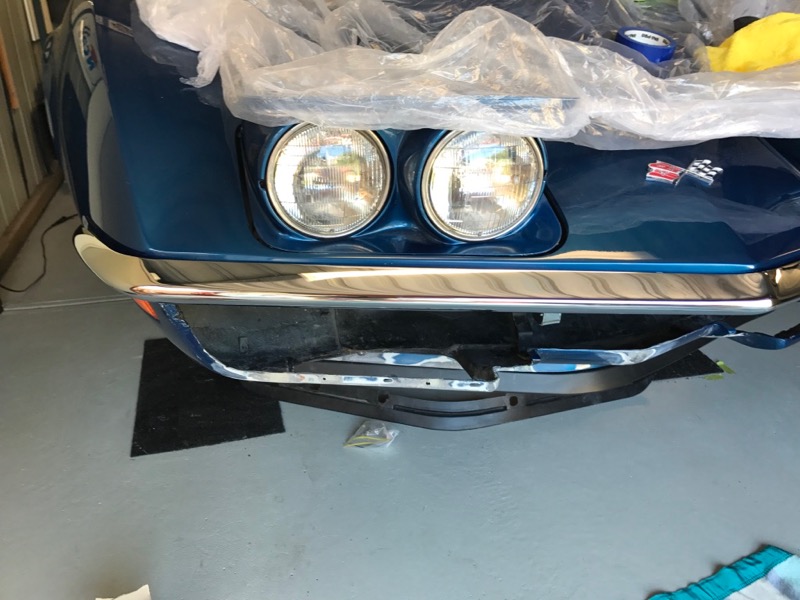
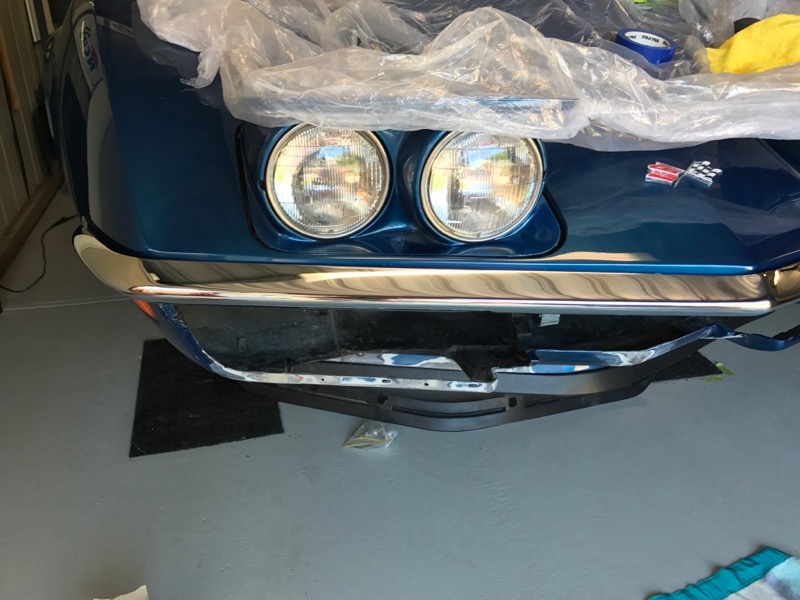
Things look like they're certainly improving!
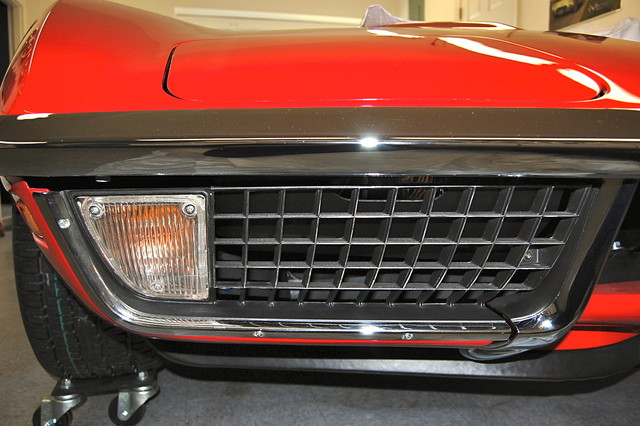
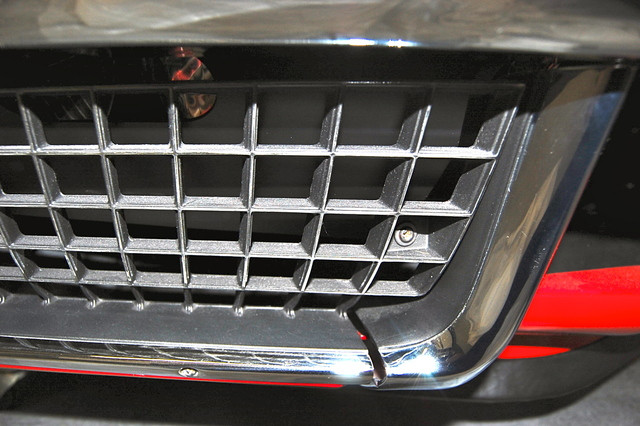
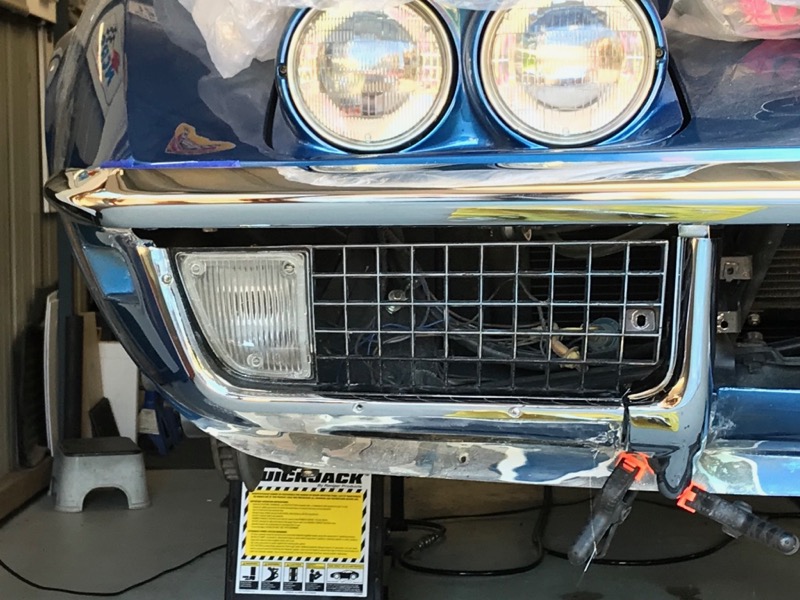
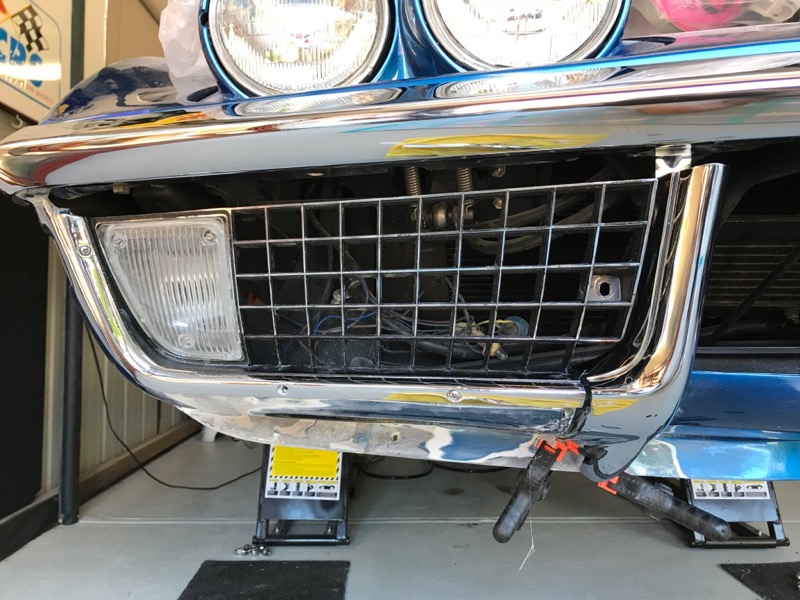
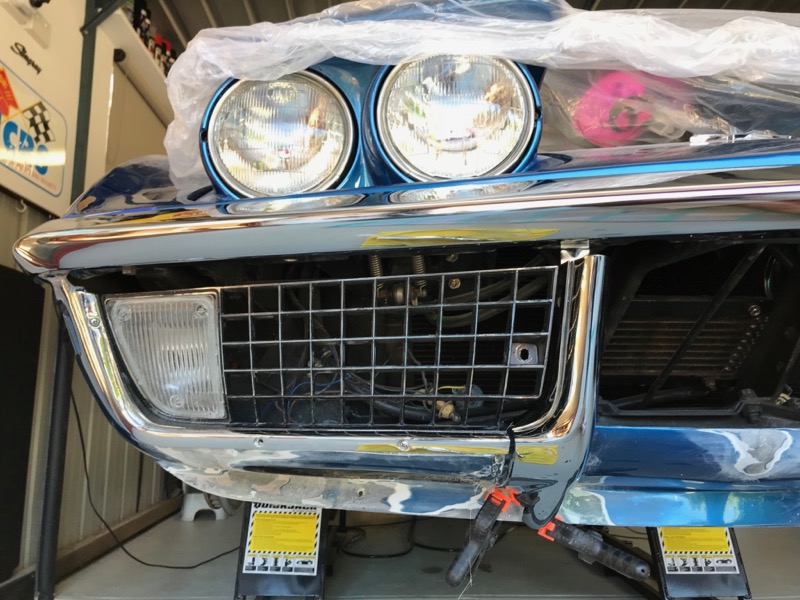
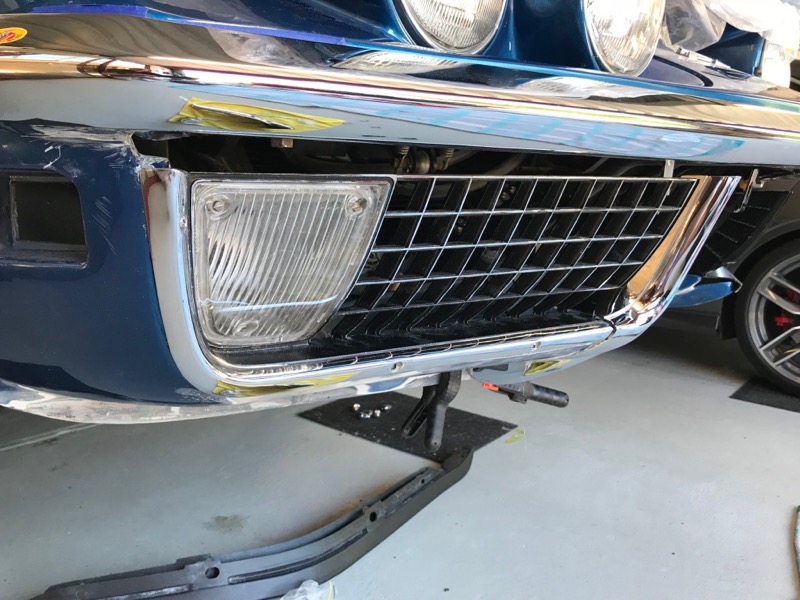
Have you remembered to continue to test fit the bumper-ettes and grills as you refine the bumper's fit?
(The holes in the fiberglass for the lower bolts for the bumper-ettes are pretty large and quite 'forgiving', but getting the grill to match the bumper-ette is often more tedious work.)
Carry On!!
Regards,
Alan
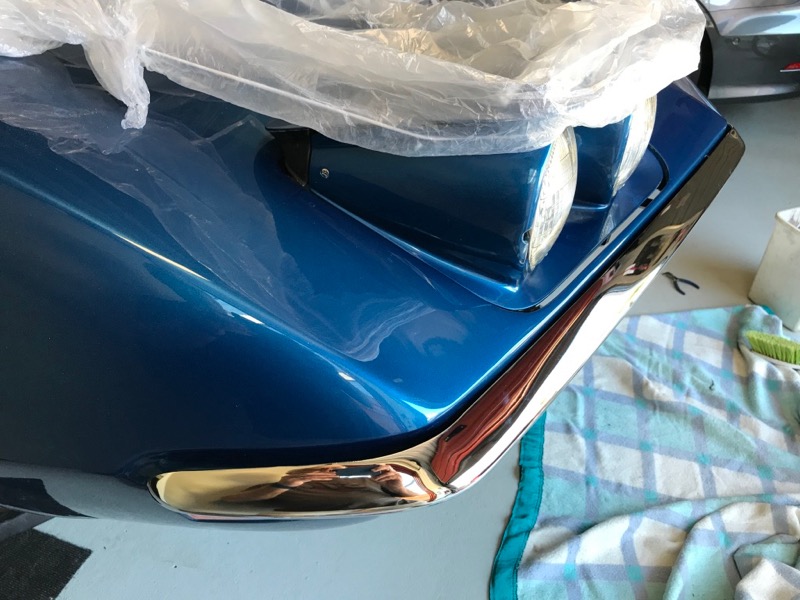
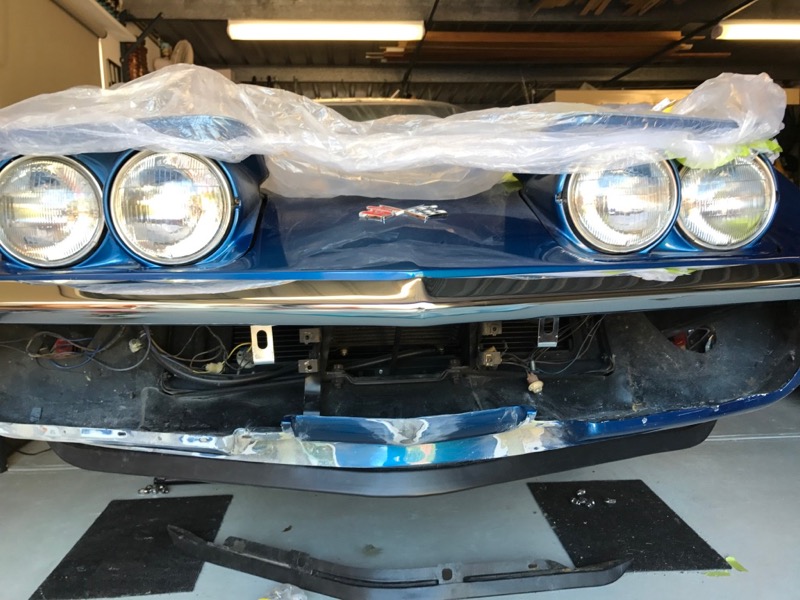
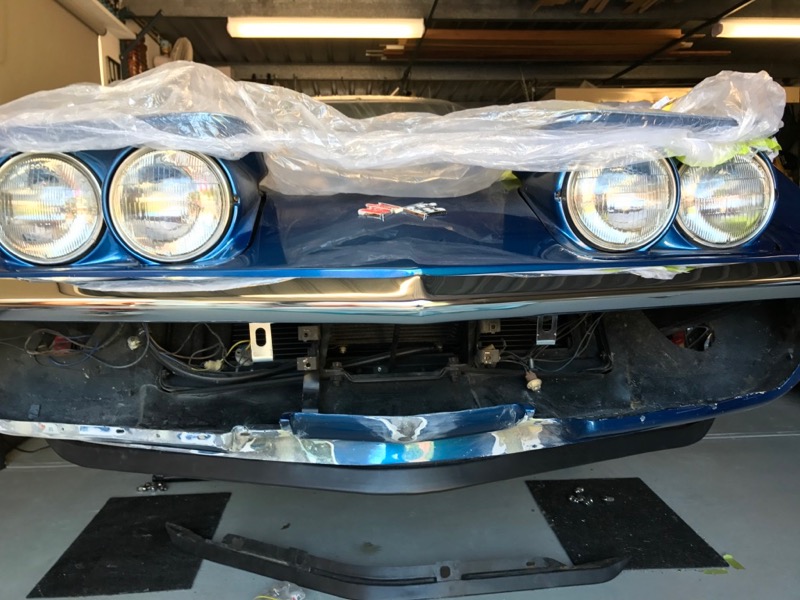
The bumpers have so many adjustments that it seems a bit over engineered. I guess it's required as each car is slightly different.
I have just re-fitted the front bumper and grills to my car today. As Alan said test fit the grills and bumper-ettes to make sure everything lines up.
On my car I have quite a large gap between the bottom of the bumper and top of the bumper-ette. If I move the bumper-ettes up closer to the bumper then the grills will tilt up towards the centre. I have seen quite a few cars with grills angled like this.
I think it's a matter of getting the grills to sit parallel to the bumper and then getting the bumper-ettes to match the inside ends of the grills. Regardless if there is a gap between the bumper and bumper-ettes.
I agree with your point that the bottom of the bumper-ettes should align with the the bottom of the grills.
The space between the top of the bumper-ette and bottom of the bumper is secondary since it's difficult to see that space unless someone gets on their knees.
Regards,
Alan
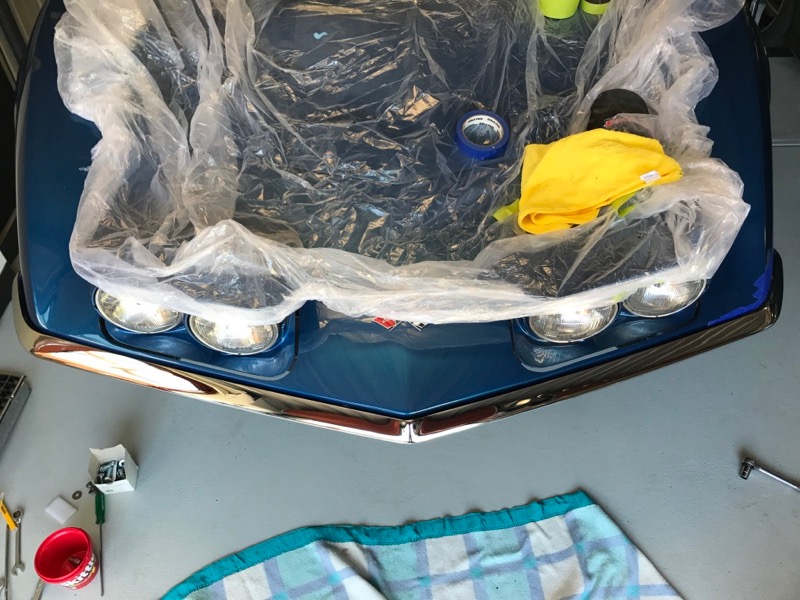
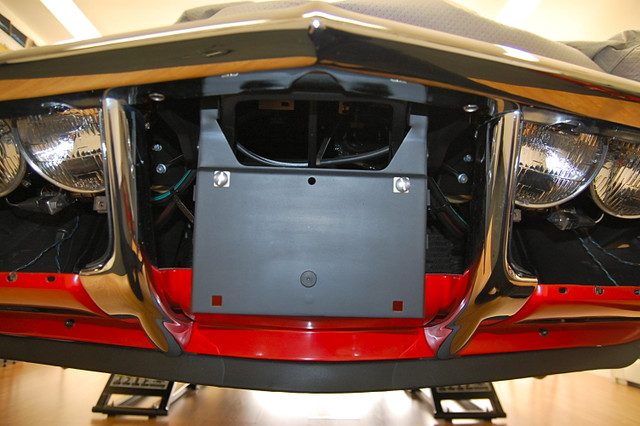
Do you know about the black plastic shields that are installed behind the grills… they hide the headlamps.
I agree with your point that the bottom of the bumper-ettes should align with the the bottom of the grills.
The space between the top of the bumper-ette and bottom of the bumper is secondary since it's difficult to see that space unless someone gets on their knees.
Regards,
Alan
Do you know about the black plastic shields that are installed behind the grills� they hide the headlamps.
Thanks Alan,
Your right it's hard to see the gap unless your down low looking for it. I was even thinking at one stage to weld in more metal prior to getting them chromed but decided to leave them as is.
I have the plastic shields and had them fitted previously but I have been debating wether to fit them or not as I don't mind the look. The jury is still out on this!!!
One step at a time, and slow steps at that, but I will certainly be aiming to get the grills parallel then add the bumperettes to match.
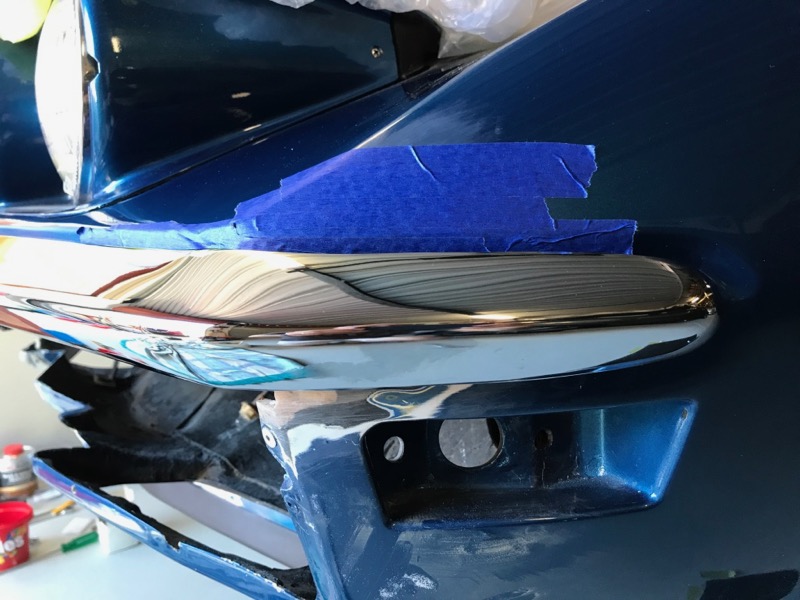
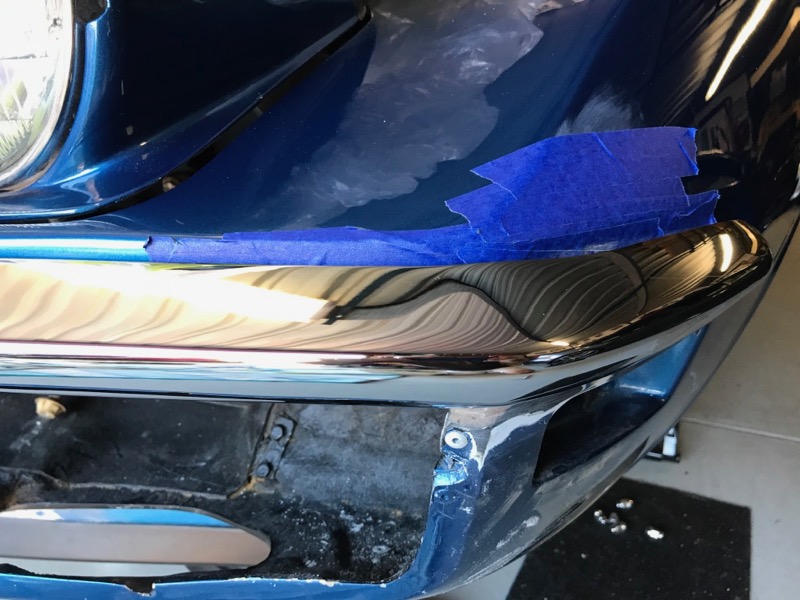
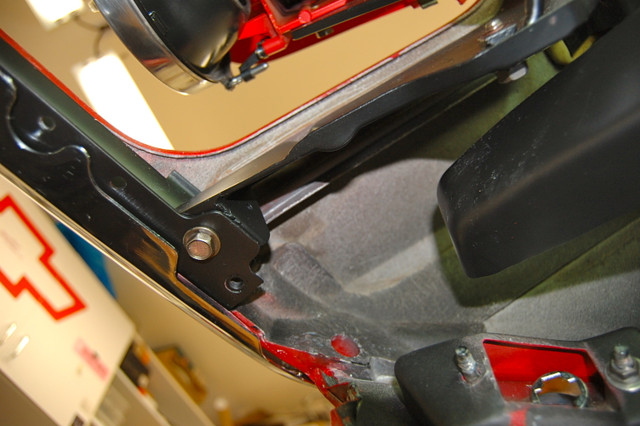
With the old bar and bumperettes (Below) It was able to be fairly close but needed to modify brackets etc to do so.
We will see with a new bar and bumperettes what happens.
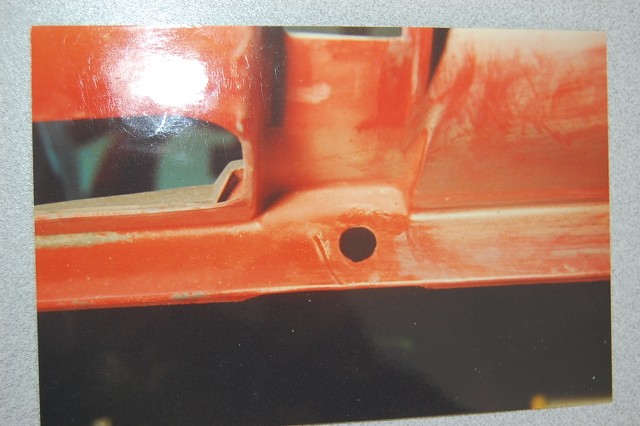
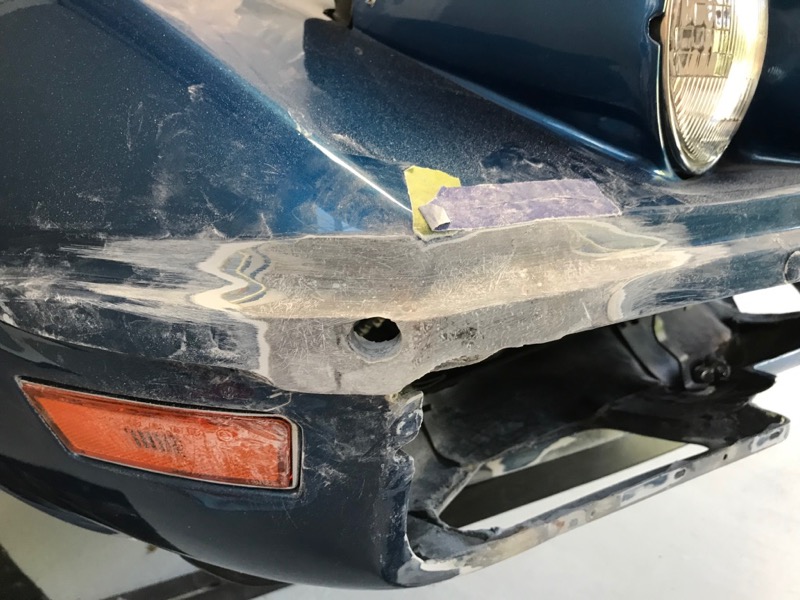
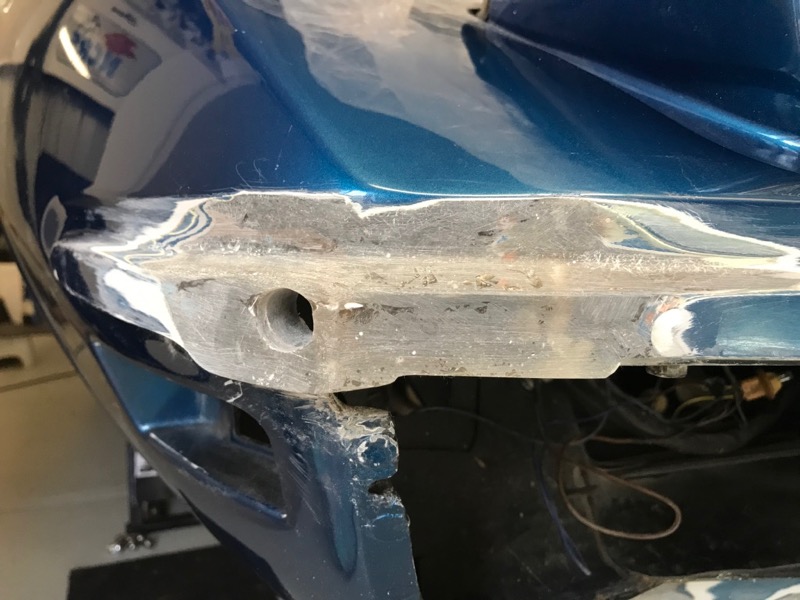
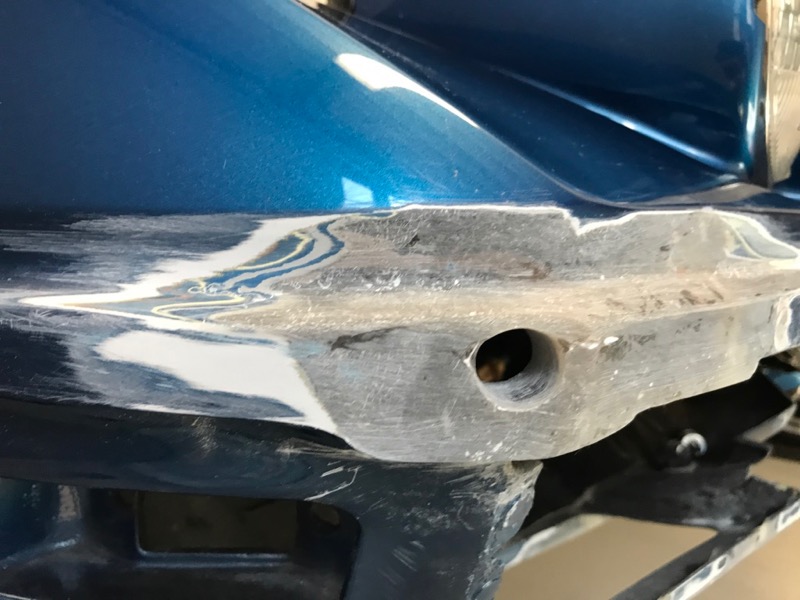
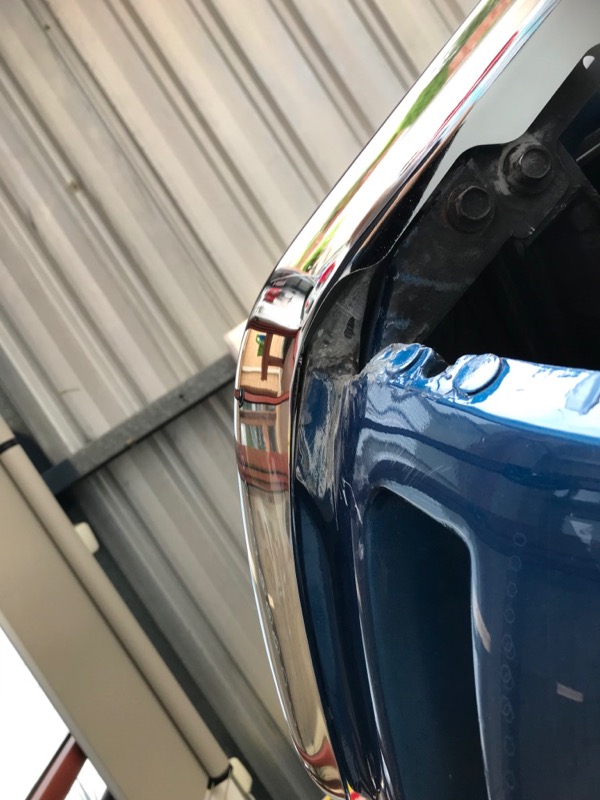
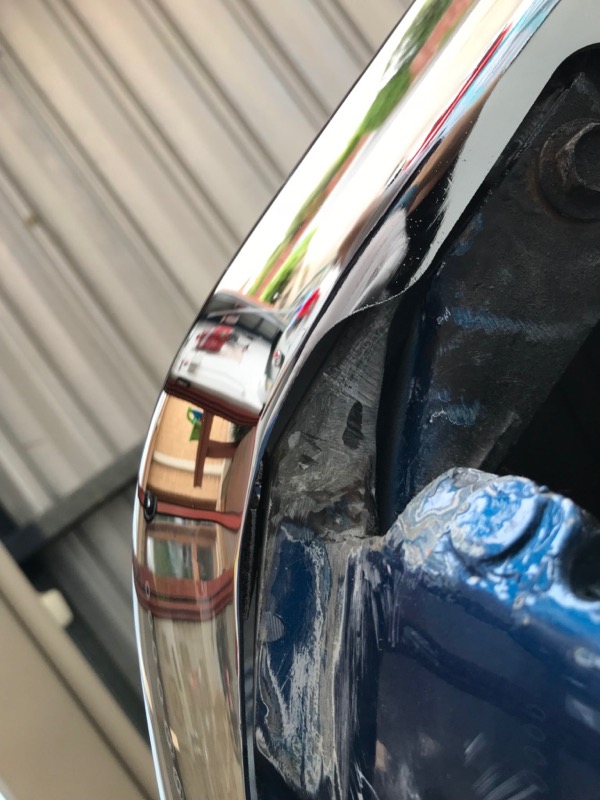
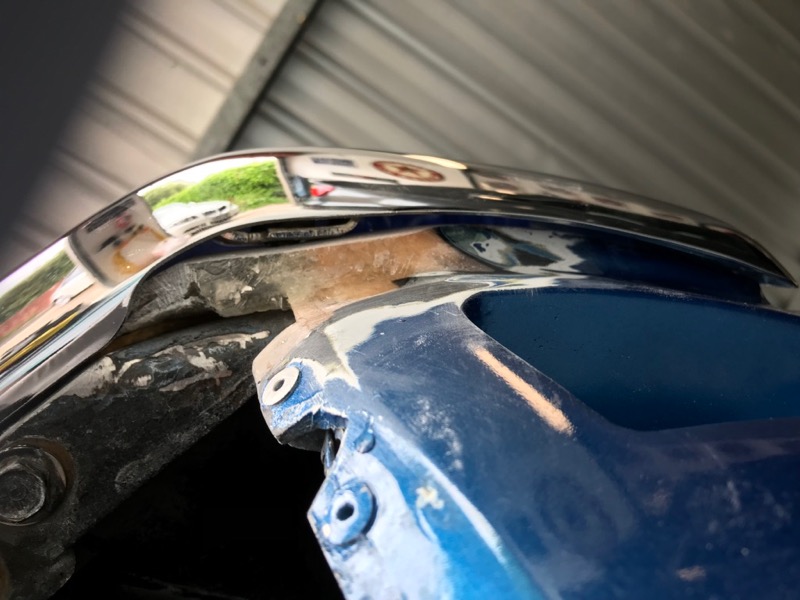
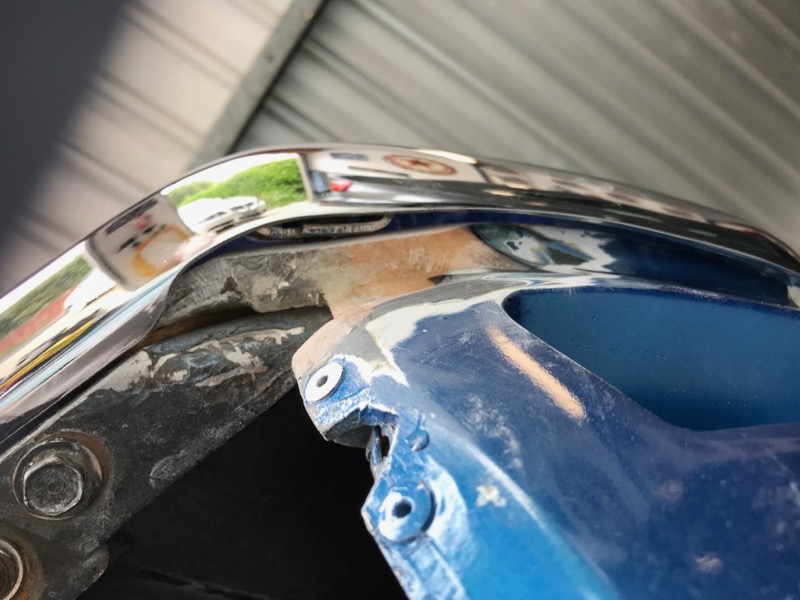
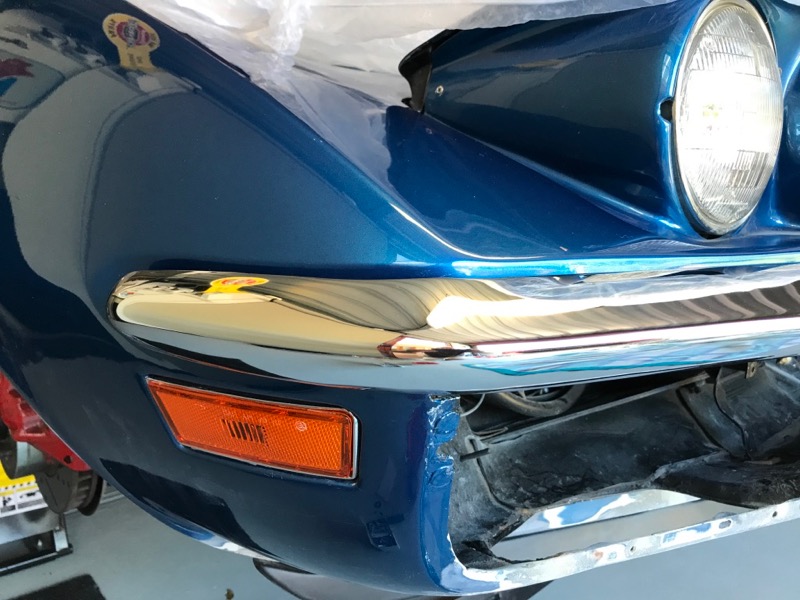
I notice Alan that the bottom hole for the bumperette is not centred in the fibreglass recess, will keep that in mind and also the fact that the bolt was contained in a washer/tube to stop stress on the glass.
Hi Craig,
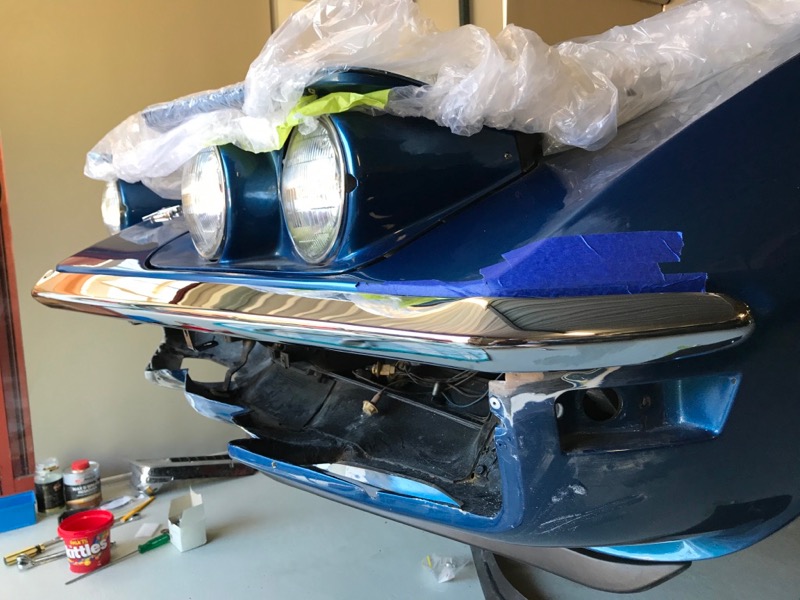
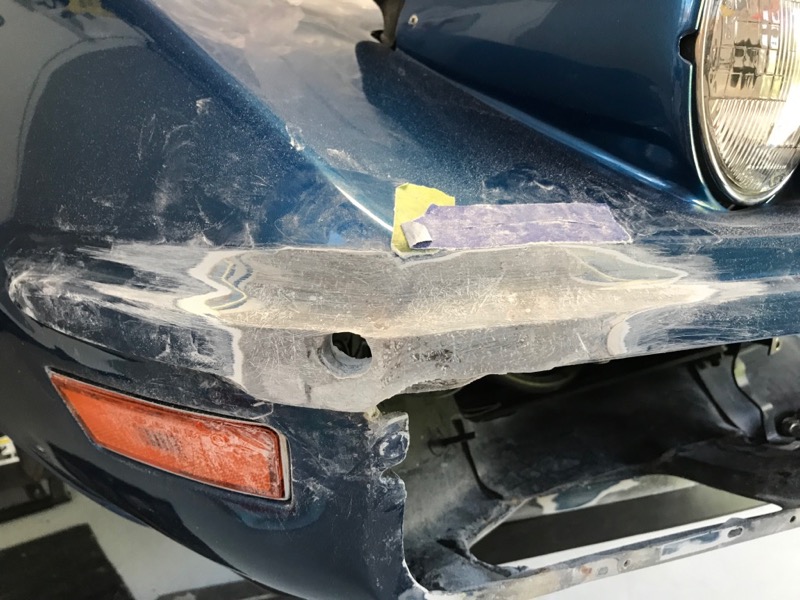
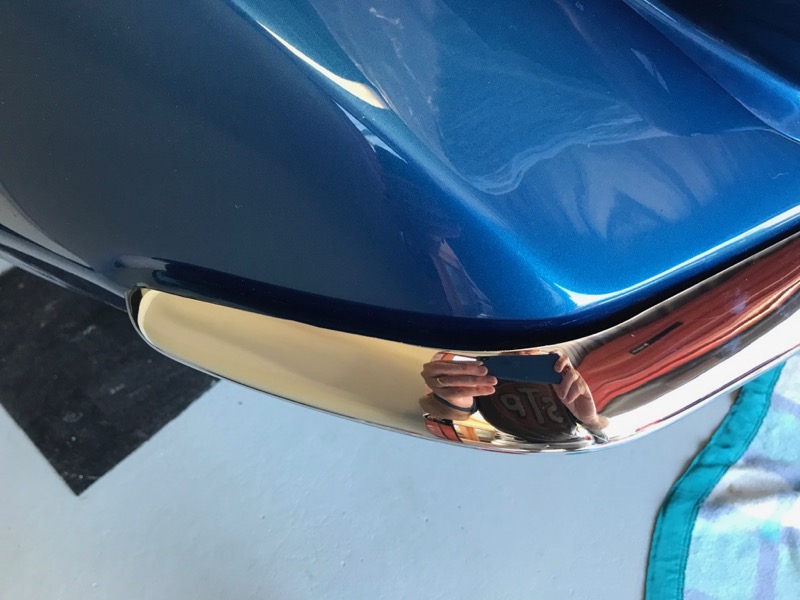
If you look carefully in that last photo you can see the impression the back-side of the bumpe-rette made in the fiberglass when the lower bolt was originally torqued in St.Louis.
Here's one with the bumper-ettes but not the grills installed.
Regards,
Alan
Hi Craig,
If you look carefully in that last photo you can see the impression the back-side of the bumpe-rette made in the fiberglass when the lower bolt was originally torqued in St.Louis.
Here's one with the bumper-ettes but not the grills installed.
Regards,
Alan
That happened to me also, when I was reassembling the car after paint. The bumperretes left a mark on the fiberglass/paint.
The lower part of the bumperretes is very sharp and without proper allignment of the lower bracket and without the spacer that comes with the lower bolts the paint is easily damaged.
Really nice work. Looks like you have the process down for nice results. Must be very rewarding. The color blue of your car is a beauty.
Nice job.
RVZIO
Really nice work. Looks like you have the process down for nice results. Must be very rewarding. The color blue of your car is a beauty.
Nice job.
RVZIO
Thanks Roger, I now feel much more relaxed about cutting into panels than I did before. 😀
Never noticed how it was so out before and when it is back together a lot of this will not be seen, but I will know 😀


 '
'