When you click on links to various merchants on this site and make a purchase, this can result in this site earning a commission. Affiliate programs and affiliations include, but are not limited to, the eBay Partner Network.
Don`t kick yourself.... you`re not alone! You`re not the only one who regrets selling a car!
63 Impala--69 Camaro--66 El Camino--66 GTO--57 Chevy--72 Chevelle--31 Chevy-- all slipped through my hands!
Wish I`d have kept some of those!
65 GTO vert i left for junk on navy base in memphis. 67 firebird vert i couldn't get running well enough to get me up the east coast so i traded it to a junkyard for 300 bucks (6 times what i paid for it) and a trans for my 65 mustang.
Can you tell me a little bit about your hood. It's hard to see the contours. Is it a replica Baldwin Motion Stinger style hood? How much clearance does it give you?
I'm not sure what brand it is.....the previous owner installed it/I had it repainted recently. It has a 3" rise/perfect for nearly any type of air cleaner with 1/2" clearance to spare.
Tony, I sold my 3 1/2 year old 69 Camaro coupe to buy my 68 Corvette coupe. I did not want to sell it, but since I borrowed money from my first wife, she made me sell it to pay her back. Lou.
Tony, I sold my 3 1/2 year old 69 Camaro coupe to buy my 68 Corvette coupe. I did not want to sell it, but since I borrowed money from my first wife, she made me sell it to pay her back. Lou.
You got a Corvette to replace the Camaro......your sin is forgiven my son!
Originally Posted by derekderek
the price you pay for having a woman...
EXACTLY!
(oooops....I hope my wife doesn't find my password )
Derek......whatever you think is the best way concerning the clip/nose you are fabricating....keep me updated.
Now......as for my nose modification......I'll wait until you design a workable nose-piece before I go any further.........
in the meantime......I'm taking my roll of blue masking tape to the garage.....
I'll measure and begin taping off the cut lines in order to remove the '76 tail light clip!
i just evicted my 75 from the garage and put the nose in. tried to do glass work out in the wind but chasing cloth across the yard is a PITA. i am starting with an inside piece to make sure it will release from the nose. and it is looking good so far...
Piece number 1. Backing piece that will go behind the add-on piece to provide the bonding strip to the existing nose. Even in rough unfinished back side, it released right nice-like. My biggest worry was that it wouldn't un-stick from the nose. But looks like no worries...
Everyone thought that I was crazy to get a year older car, but as much as I loved my new 69 Camaro, Nothing handles like the C-3's did back then. I don't know about the newer, rubber body mount C-3's, but you go around a corner and the car does not lean at all. Ordinary cars try to roll over and play dead! Lou.
There are some "technical difficulties" to work out before I can continue with the Front Bumper Modification.
Derekderek is working on some patch pieces for his project/I will use his spare pieces to experiment with my front grill when he sends me the pieces to work with.
In the meantime I will go to the rear of the car and start the conversion from the '76 rear taillight clip (previous owner installed) to the donor '70-'73 tail light clip that I recently bought.
Last edited by doorgunner; Jul 11, 2021 at 08:00 PM.
(All future REAR Bumper modification-pics will be added to THIS post to make following along easier)
This is the object of the game (sample pic by Sigforty)...................
The donor chrome bumper tail light clip is waiting patiently for its turn..........
The clip is temporarily taped "in place" so I can get a measurement of how much '76 fiberglass I need to cut off/it's not even close to where it should be because of the bulge of the '76 tail light panel............................
A rough measurement shows that I need to remove at least 4" of the '76 clip where the '68 clip is taped to the car....................
Both sides of the car are marked and a strip of blue tape shows where the cut across the top needs to be................................
The P(revious) O(wner).....bless his soul...............filled in the gap between the rear deck and the lid making the deck one piece (apparently he was content with just the hardtop). The hinges are still mounted on the lid underneath!
Also.............All the braces/brackets/bolts are still in place to bolt the soft top frame onto.
Technically......I could use a dremel tool with a cut-off wheel and "free the lid" from the deck/cut and sand the opening to look original and have a functioning lid....then it would open with the hinges! That will be a "later on UN-MODIFICATION"......LOL!
As for the rear bumper..........the braces/brackets/etc for the '68 chrome bumpers are still attached to the rear frame crossbar...all I need to do is unbolt them/blast and paint them!
Brace yourself......more pics are ready..........................
I am making the cut much closer to the tail lights than necessary in order to have plenty of rear deck fiberglass to work with.......
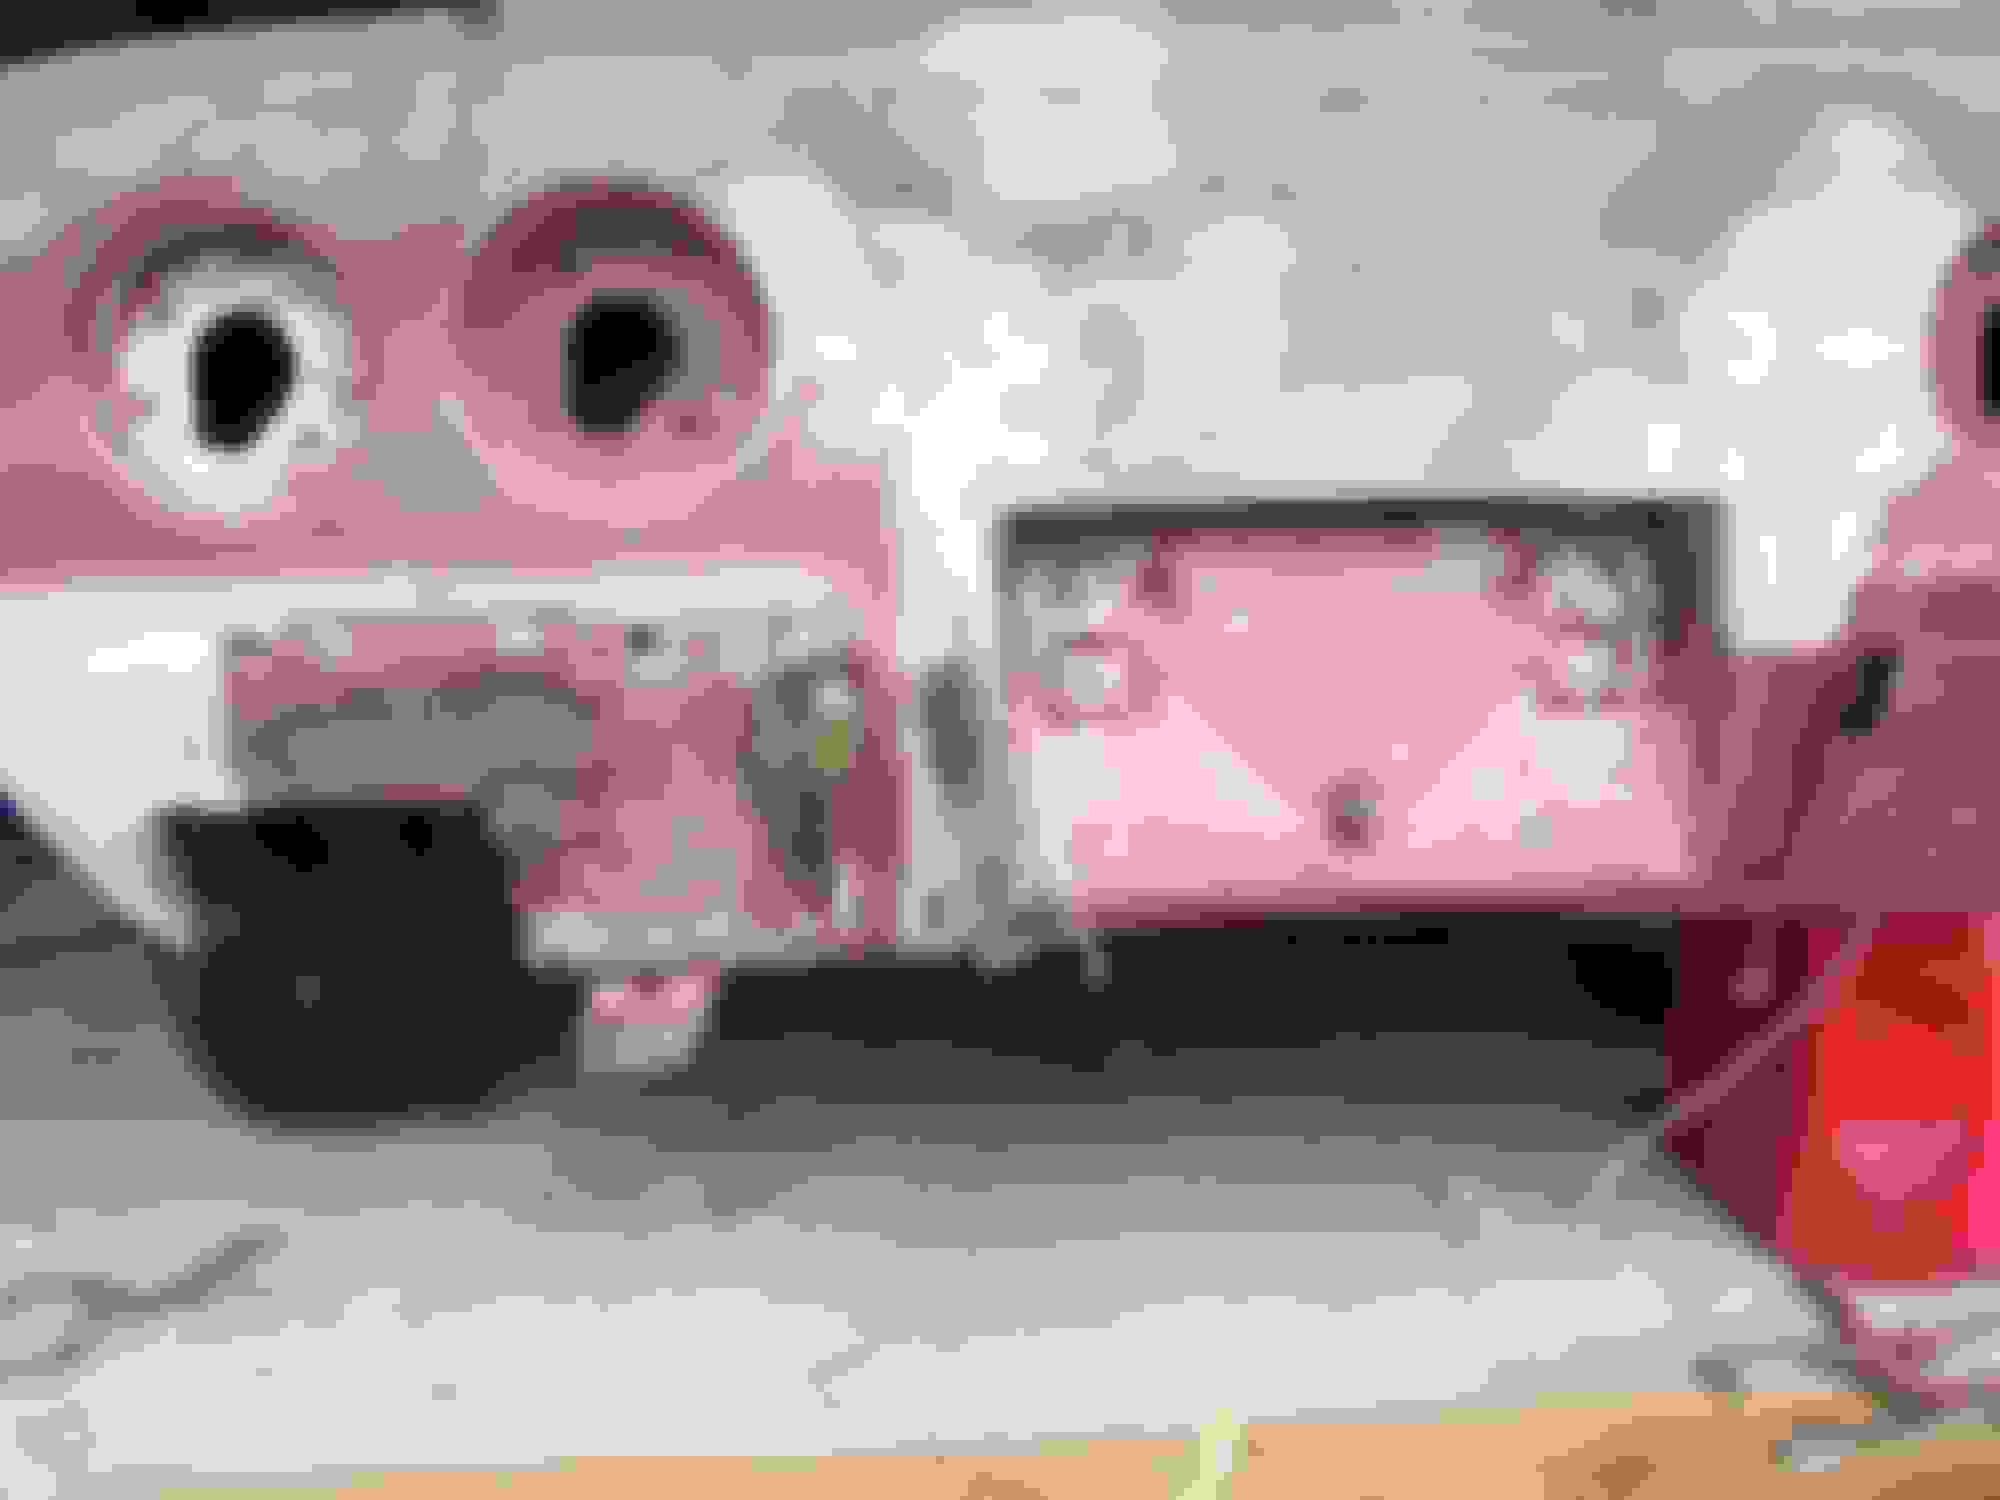
About 45 minutes later the tail light clip is loose from the body........
Good news................I didn't cut too much.....there is about 3" of '76 deck fiberglass to spare!
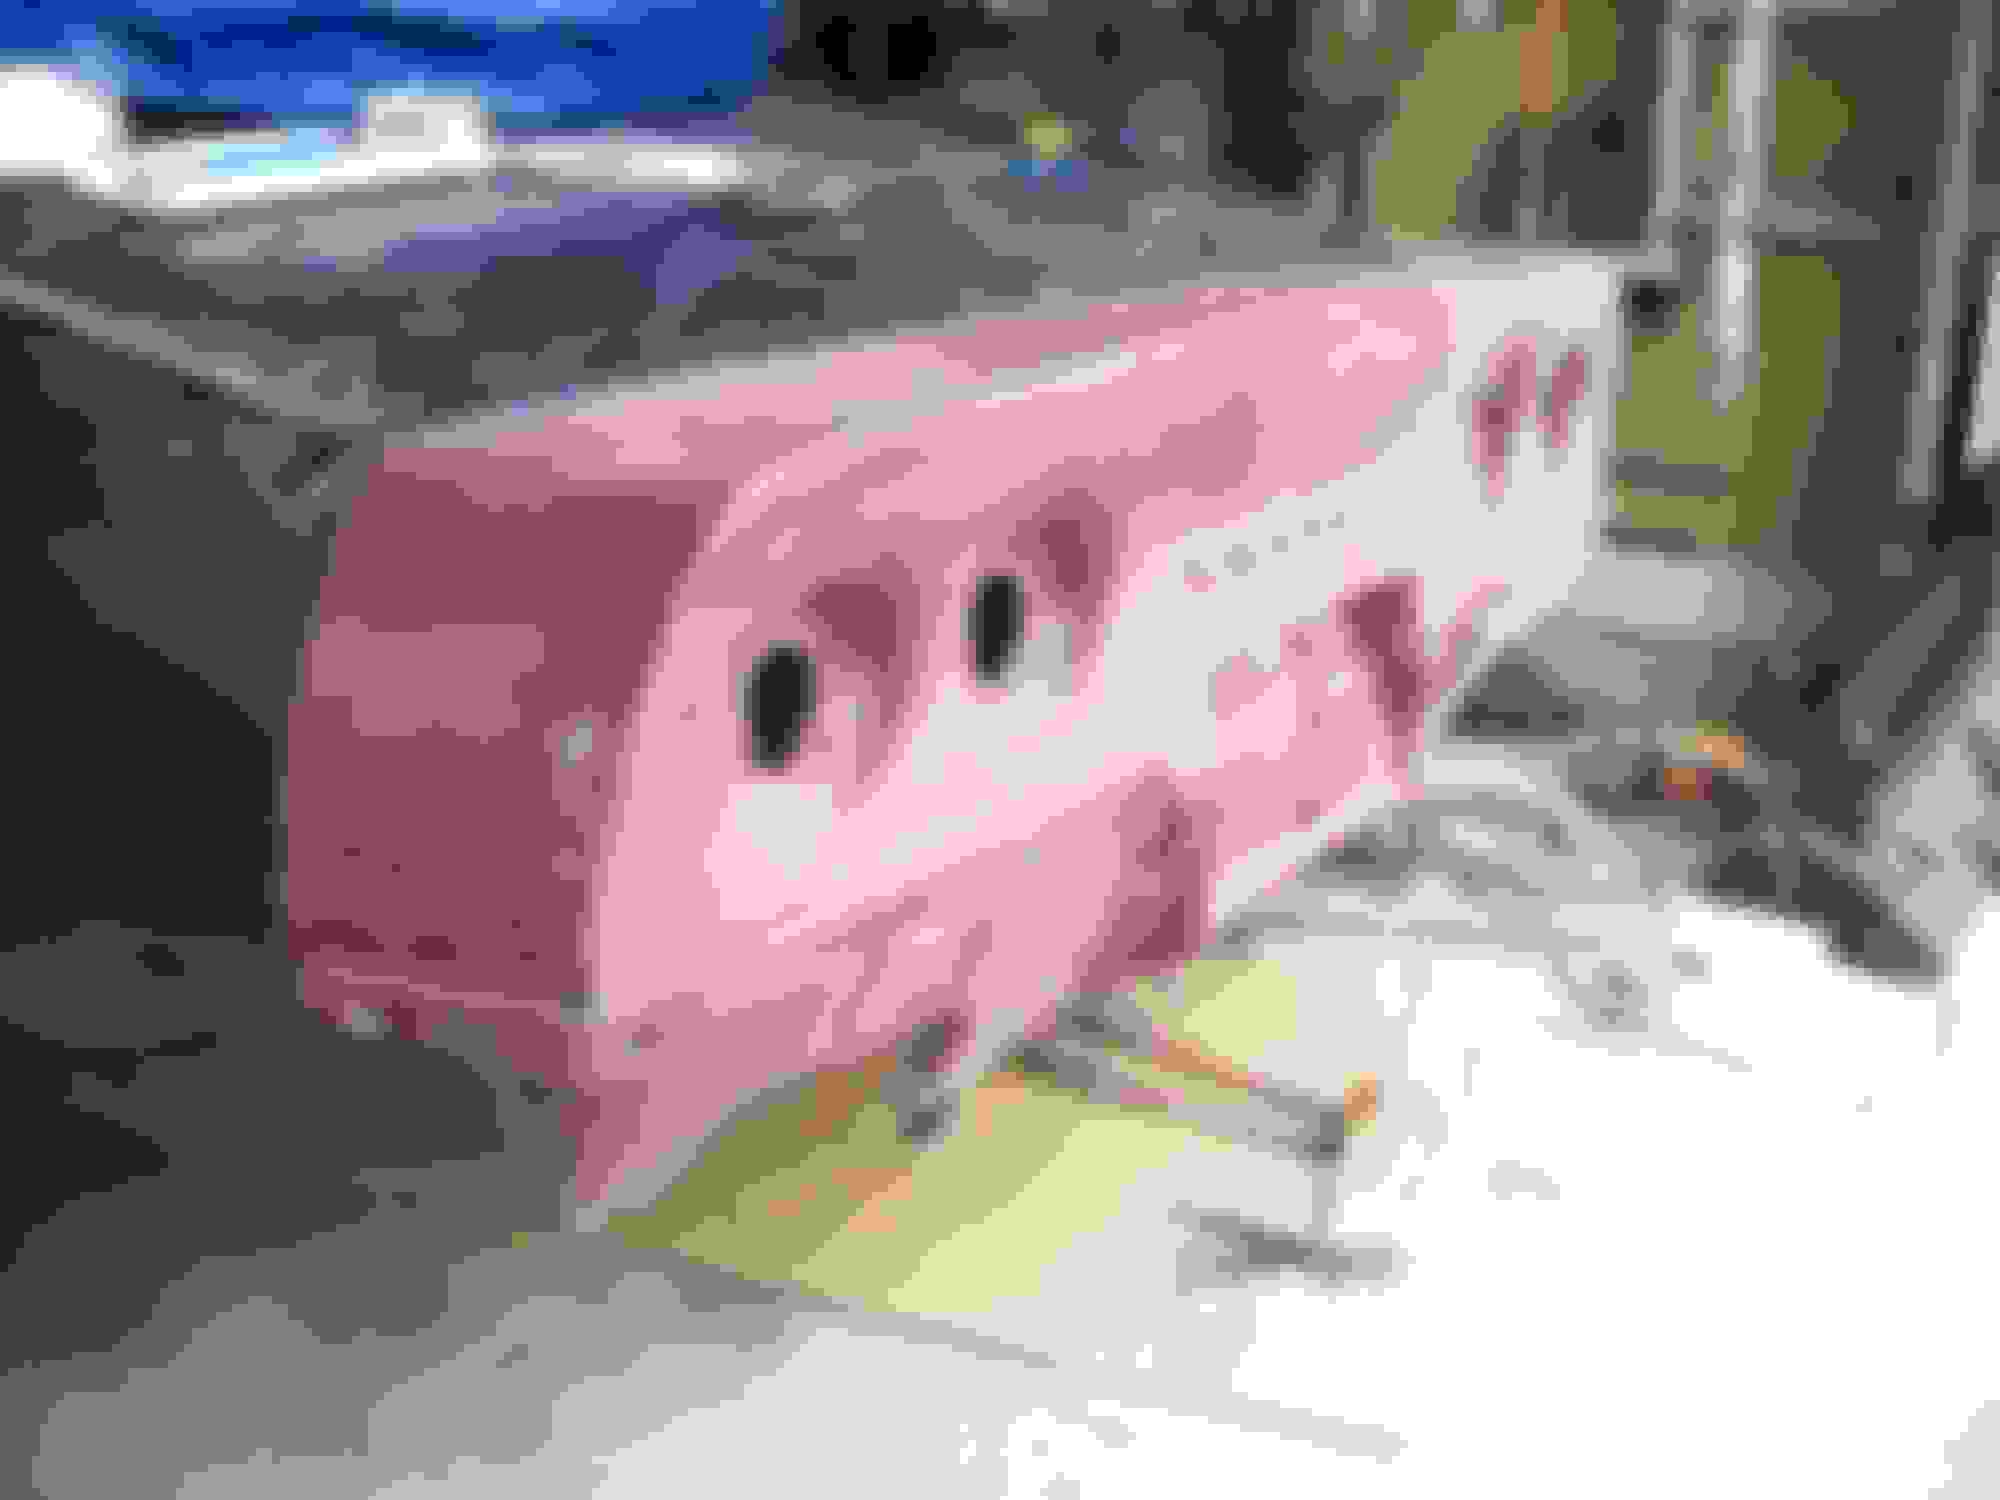
The '76 tail light clip is removed....I'll save the tail light assemblies since they are dated as '68.......................
It looks as though the main braces for the chrome bumpers are here.....I'll need to check the AIM to be sure.................
I taped the donor tail light clip onto the deck....it's starting to fit a little better than before............................
The angle of the deck is 11*......very close to the sample pic of 10*...........
I still need to adjust the negative angle of the panel----it's showing 10* and it needs to be 20*.......no big deal/a little more trimming will let it slide into place.........................
There was a problem.....which turned out to be a benefit: The driver-side marker light was completely missing from the tail light clip......
BUT, it made positioning the clip a lot easier/I used a dremel with cut-off wheel to trim the ragged edges......and since the car is a resto-mod/the P.O. glassed over the front markers anyway.
Now the driver-side panel is set at 20*........
I did the same thing to the passenger-side of the tail light panel. Then I scribed a line into the paint along the edge of the tail light clip in order to cut the excess off the deck and fenders to prevent overlap bulges.
Now to double-check the scribe lines.....then cut the excess off.
The top of the clip is nice and flush with the deck all the way across......
The driver-side fender fits fflush but needs a little trimming for the bottom half to pop into place...............
The rear view (starting to really look like the title now {1968}........
I spent several hours (and a couple Aleve) sanding and feathering the edges of the donor tail light clip. I see that I will need to repair a few holes and bond a couple broken-off pieces before I bond it to the car.....may as well do the repairs while the piece is easy to manipulate!
Here are a few pics/not very clear of the work done this afternoon until dark.....mostly sanding and feathering edges that will be bonded later...................
Driver-side of clip.............................
Passenger-side clip/a broken piece needs to be patched-in.........
The top edge and underneath side are cleaned/the top edge is feather about 1&1/2"...............
The underside is not feathered, but is cleaned for the bonding strip.......................
The top of the clip has all the old paint removed.................
2 of several heaps of body filler that had to be removed.........
3 quart cans of bonding adhesive for the bonding strips.................
One can of panel adhesive to fill in exterior visible seams................
The gas tank had to be removed to get to all the un-necessary filler that the previous body shop applied........
The car is sitting about 100 pounds lighter for a few days..........
I did a couple hours of sanding and tapering on the repairs today....rookie work at best, but the golfball/baseball-size holes where I ground out bondo patches are filled and sturdy...........
The nasty looking oversized antenna mounting hole is filled in........................
I sanded/attempted to smooth out the inner years of repairs rather than leave all the lumps and bumps.....................
I did another test-fit of the tail light clip per Dub's advice/good thing that I did....I added too much fiberglass to the driver-side quarter panel when I made the repair/no problem---I'll trim 2" off the trailing edge.......
So........I "pried myself" off the chair and into the garage to do an hour's work........rookie style.......it looks terrible, but both edges are now flush excluding the tapered edges............
This pic is taken looking up and to the rear of the deck and the tail light clip.....I used only one screw in the seam to pull the upper and lower slats against the fiberglass parts.....this is the first layer of woven cloth cut to fit between the slats....once these patches cure I will remove the stats and then add the next layers which will be full-length.......
I managed to remove most of the wooden slats across the top of the deck.....then go underneath and patch the gaps left by the slats. I'll try to work my way down the quarter panels with mat/resin tomorrow...
I was surprised how strong one layer woven mat can be....once the whole underside seam is covered I will scrub it, then add another layer of woven mat. I decided to go with 5" wide patches.
The more at look at that frame, the more I am positive that it will get a heated bath to remove the internal and external rust (in my younger days I worked at a company that was licensed to "boil" frames.....they came out of the tank solid grey after a day or two submerged in the huge heated vat.
And......Yes......I'm being highly optimistic at the moment about getting some work done tomorrow
8/18/2017 Adding more pics...................................
OOOOOOOOOPS.......I side-tracked myself into enlarging the trunk/cargo area!
The carpet at the rear of the cargo area was damp.....So.........while I had the tank out I decided to check out the rear drain tubes/NOT pretty or useful.....................
If I added 14 more inches to the cargo area...........(think Resto-mod).....................
So........3 hours and two burns-on-the-arm later................
Maybe this pic of the drain tray will make more sense.............
The "full view".......(remember......Resto-Mod!)......................
I will add 14" of new fiberglass panels to the sides and the bottom of the cargo area and close off the vent openings/leaving the grills intact.........I will also have a 38" X 20" X 7" 15 gallon tank made to fit under the cargo floor with supports/crash-bars to protect the tank which will not be visible when looking at the car from the sides or the rear.
Last edited by doorgunner; Aug 19, 2017 at 12:31 AM.
ok, the slope on your back deck looks different from 68-72 vert back decks, but i could be wrong. is that the orig 68 body that has been altered? or have you no idea? one thing we know for sure is it isn't a 76 convertible body. does it have the back hatch folds up for the top to go inside? look underneath and see if you can see any sign of where the rear bumper attaches to the body. cuz you NEED to research the whole area where the cut off wheel is gonna go through anyway. it is possible that the later clip was put on your body much farther north than the piece you have now...
ok, the slope on your back deck looks different from 68-72 vert back decks.... it is possible that the later clip was put on your body much farther north than the piece you have now...
ok, the slope on your back deck looks different from 68-72 vert back decks, but i could be wrong. is that the orig 68 body that has been altered? or have you no idea? one thing we know for sure is it isn't a 76 convertible body. does it have the back hatch folds up for the top to go inside? look underneath and see if you can see any sign of where the rear bumper attaches to the body. cuz you NEED to research the whole area where the cut off wheel is gonna go through anyway. it is possible that the later clip was put on your body much farther north than the piece you have now...
The P(revious) O(wner).....bless his soul...............filled in the gap between the rear deck and the lid making the deck one piece (apparently he was content with just the hardtop). The hinges are still mounted on the lid underneath!
Also.............All the braces/brackets/bolts are still in place to bolt the soft top frame onto.
Technically......I could use a dremel tool with a cut-off wheel and "free the lid" from the deck/cut and sand the opening to look original and have a functioning lid....then it would open with the hinges! That will be a "later on UN-MODIFICATION"......LOL!
As for the rear bumper..........the braces/brackets/etc for the '68 chrome bumpers are still attached to the rear frame crossbar...all I need to do is unbolt them/blast and paint them!
Brace yourself......more pics are ready..........................
I am making the cut much closer to the tail lights than necessary in order to have plenty of rear deck fiberglass to work with.......
About 45 minutes later the tail light clip is loose from the body........
I'm going back to the garage to completely remove the '76 tail light section from the body so that I can mock up the chrome bumper tail light clip closer to where it should actually fit.
Last edited by doorgunner; Oct 5, 2015 at 10:45 AM.
i think what you just cut into is the more downward slope of a 78-up deck lid. look farther forward and find where the 68 deck to later deck seam is. you might hafta go back and cut more out of the boneyard one you cut the taillight panel from. i HOPE i am wrong. on the other hand, you could probably carry the upslope of the taillight panel forward (downward) a bit and have a slightly diff spoiler effect than stock, but nobody would notice diff but you, me and DUB...
i think what you just cut into is the more downward slope of a 78-up deck lid. look farther forward and find where the 68 deck to later deck seam is. you might hafta go back and cut more out of the boneyard one you cut the taillight panel from. i HOPE i am wrong. on the other hand, you could probably carry the upslope of the taillight panel forward (downward) a bit and have a slightly diff spoiler effect than stock, but nobody would notice diff but you, me and DUB...
BIG LOL!
I'll have more pics with the angle-finder......maybe the situation will look better then.......I'll be back in an hour or so.
Also remember...................Resto-Mod....If I had a spare $6,000 I would have bought the correct front cap and one-piec rear clip..........LOL


 )
)