C3 General General C3 Corvette Discussion not covered in Tech
Sponsored by:
Sponsored by:

Doorgunner's '68 Convertible Project

Thread Tools
 
Search this Thread
 
Old Oct 5, 2015 | 08:08 PM
  #1961  
derekderek's Avatar
derekderek
Race Director
 
Joined: Jul 2015
Posts: 13,082
Likes: 3,399
From: SW Florida.
Default

Ok, that pic of the cut off rear. That is the rear bumper mount flange? Can you see the seam where that clip wae bonded to the 68 clip? You might wanna try to scare up ur borrow some clamps with a really long reach. Another cheater method. Get everything lined up and trimmed. Then get bonding strips bonded to the car. Then using tiny bolts, 8/32 or so, get the taillight panel attached and lined up. Then remove the bolts and goop it up with the correct adhesive and reattach the bolts to hold ot in the correct location and provide clamping effect. Way up high you might need to drill and put in a couple of pop rivets where you can't bolt or use a couple of sheet metal screws. Then when he is dry and hard amd in place, pull the screws and you have a couple of small holes to fill...
Reply
Old Oct 5, 2015 | 08:36 PM
  #1962  
derekderek's Avatar
derekderek
Race Director
 
Joined: Jul 2015
Posts: 13,082
Likes: 3,399
From: SW Florida.
Default

Ok, i have a couple of flaws but all in all a decent mold.
Attached Images  

Last edited by derekderek; Oct 5, 2015 at 08:41 PM.
Reply
Old Oct 5, 2015 | 08:43 PM
  #1963  
derekderek's Avatar
derekderek
Race Director
 
Joined: Jul 2015
Posts: 13,082
Likes: 3,399
From: SW Florida.
Default

Meanwhile this part which is the definition of front and center came out real nice...
Attached Images  

Last edited by derekderek; Dec 6, 2015 at 08:51 PM.
Reply
Old Oct 5, 2015 | 08:43 PM
  #1964  
doorgunner's Avatar
doorgunner
Thread Starter
2026 Loser of the Year
Supporting Member
10 Year Member
Veteran: Army
Photogenic
Photoriffic
 
Joined: Sep 2013
Posts: 36,601
Likes: 7,048
From: New Or-leens Loo-z-anna
Default

Originally Posted by derekderek
Ok, that pic of the cut off rear. That is the rear bumper mount flange? Can you see the seam where that clip wae bonded to the 68 clip? You might wanna try to scare up ur borrow some clamps with a really long reach. Another cheater method. Get everything lined up and trimmed. Then get bonding strips bonded to the car. Then using tiny bolts, 8/32 or so, get the taillight panel attached and lined up. Then remove the bolts and goop it up with the correct adhesive and reattach the bolts to hold ot in the correct location and provide clamping effect. Way up high you might need to drill and put in a couple of pop rivets where you can't bolt or use a couple of sheet metal screws. Then when he is dry and hard amd in place, pull the screws and you have a couple of small holes to fill...
No wonder I was having such a hard time cutting the '76 tail light clip off the body......I was ACCIDENTALLY splitting the bonding seam that the previous owner placed in that spot!

ROOKIES

Last edited by doorgunner; Oct 7, 2015 at 09:51 AM.
Reply
Old Oct 5, 2015 | 08:51 PM
  #1965  
Mike21175's Avatar
Mike21175
Instructor
Supporting Gold
 
Joined: May 2013
Posts: 122
Likes: 18
From: Trenton Ontario
Default

Originally Posted by doorgunner
No wonder I was having such a hard time cutting the '76 tail light clip off the body......I was ACCIDENTALLY splitting the bonding seam!

ROOKIES
I saw that too, but I figured you knew what you were doing and man, did you ever hit the mark on that one.

Mike
Reply
Old Oct 5, 2015 | 08:52 PM
  #1966  
derekderek's Avatar
derekderek
Race Director
 
Joined: Jul 2015
Posts: 13,082
Likes: 3,399
From: SW Florida.
Default

File it under great minds think alike... you instinctively picked a disassemble line right where they put the assemble line.
Reply
Old Oct 5, 2015 | 09:00 PM
  #1967  
derekderek's Avatar
derekderek
Race Director
 
Joined: Jul 2015
Posts: 13,082
Likes: 3,399
From: SW Florida.
Default

ok, i am out of rubber gloves and beer. time to put the mold back on the nose to cure overnight. then some trimming and waxing and start pulling a bumper lip tomorrow...BTW, johnsons paste wax is an excellent mold release agent.
Reply
Old Oct 5, 2015 | 09:16 PM
  #1968  
doorgunner's Avatar
doorgunner
Thread Starter
2026 Loser of the Year
Supporting Member
10 Year Member
Veteran: Army
Photogenic
Photoriffic
 
Joined: Sep 2013
Posts: 36,601
Likes: 7,048
From: New Or-leens Loo-z-anna
Default

Originally Posted by Mike21175
I saw that too, but I figured you knew what you were doing and man, did you ever hit the mark on that one.

Mike
Originally Posted by derekderek
File it under great minds think alike... you instinctively picked a disassemble line right where they put the assemble line.
Originally Posted by derekderek
ok, i am out of rubber gloves and beer. time to put the mold back on the nose to cure overnight. then some trimming and waxing and start pulling a bumper lip tomorrow...BTW, johnsons paste wax is an excellent mold release agent.
Originally Posted by oldgto
"ANYBODY can restore a car.... but it takes a REAL man to cut one up!"
TEAMWORK!
Reply
Corvette Stories

The Best of Corvette for Corvette Enthusiasts

story-0

10 Ugly Corvettes That We Still Kinda Love

 Joe Kucinski
story-1

Top 10 Most Expensive Corvettes Ever Sold on Bring A Trailer

 Brett Foote
story-2

10 Things Every Corvette Owner Needs (2026 Edition)

 Michael S. Palmer
story-3

8 Most "Only Corvette Owners Understand" Quirks and Problems

 Pouria Savadkouei
story-4

10 Reasons the C6 Z06 is Still A Performance Benchmark After 20 Years

 Joe Kucinski
story-5

How Much Horsepower Every Corvette Engine "LOST" in 1972

 Joe Kucinski
story-6

Top 10 DOs and DON'Ts for Protecting Your Convertible Top!

 Michael S. Palmer
story-7

Top 10 Most Explosive Corvettes Ever Made: Power-to-Weight Ratio Ranked!

 Joe Kucinski
story-8

150 hp to 1,250 hp: Every Corvette Generation Compared by the Specs That Matter

 Joe Kucinski
story-9

8 Coolest Corvette Pace Cars (and Replicas) of All Time

 Verdad Gallardo
Old Oct 6, 2015 | 07:40 AM
  #1969  
doorgunner's Avatar
doorgunner
Thread Starter
2026 Loser of the Year
Supporting Member
10 Year Member
Veteran: Army
Photogenic
Photoriffic
 
Joined: Sep 2013
Posts: 36,601
Likes: 7,048
From: New Or-leens Loo-z-anna
Default

The pulled muscle" on my right side kept me from the garage last night/no trimming was done on the rear fiberglass.

A couple Aleve should "kick in" soon though and it will be time to get the downward angle on the tail light panel adjusted.


Reply
Old Oct 6, 2015 | 08:28 AM
  #1970  
derekderek's Avatar
derekderek
Race Director
 
Joined: Jul 2015
Posts: 13,082
Likes: 3,399
From: SW Florida.
Default

Ok, before you final cut, go back and get reference angles off the other car. That angle measurement is a plumb bob. Measures against gravity. If his ride height or body on frame height or even tire pressures are different from yours, the angle can be off a degree or 2. So i am thinking door sills, top of hatch, top of front doors. Both sides on both cars will tell you if you need to add or subtract a tiny bit to compensate. It could also tell you it is dead on, but that is a good thing to know too. Now we need more homework on the bonding strips. Do we use the front side or the back side of the old panel? What sanding grit provides the best surface to bond to? If front side, do we remove paint to bare glass? Or prep the existing surface?
Reply
Old Oct 6, 2015 | 08:55 AM
  #1971  
doorgunner's Avatar
doorgunner
Thread Starter
2026 Loser of the Year
Supporting Member
10 Year Member
Veteran: Army
Photogenic
Photoriffic
 
Joined: Sep 2013
Posts: 36,601
Likes: 7,048
From: New Or-leens Loo-z-anna
Default

Originally Posted by derekderek
Ok, before you final cut, go back and get reference angles off the other car. That angle measurement is a plumb bob. Measures against gravity. If his ride height or body on frame height or even tire pressures are different from yours, the angle can be off a degree or 2. So i am thinking door sills, top of hatch, top of front doors. Both sides on both cars will tell you if you need to add or subtract a tiny bit to compensate. It could also tell you it is dead on, but that is a good thing to know too. Now we need more homework on the bonding strips. Do we use the front side or the back side of the old panel? What sanding grit provides the best surface to bond to? If front side, do we remove paint to bare glass? Or prep the existing surface?
His body was on a wooden frame......the frame was level.

I need to measure from the garage floor to the bottom of the frame near the wheel wells and use jack stands under the front frame rails to level my car.

Then I will trim to get the 20* angle........

I will have to bond the front/top-side of the strip that I cut off the '76 deck and fenders onto the body since the strip contours completely from fender to fender.EDIT: AFTER READING DUB'S THREADS ABOUT BONDING....IT'S A BAD IDEA TO USE OLD FIBERGLASS SECTIONS AS BONDING STRIPS---THERE IS TOO MUCH CONTAMINATION ON THE FIBERGLASS, AND THE STRIPS ARE TOO UNEVEN TO GET A SMOOTH SEAM LATER!


Last edited by doorgunner; Oct 7, 2015 at 09:56 AM.
Reply
Old Oct 6, 2015 | 09:29 AM
  #1972  
derekderek's Avatar
derekderek
Race Director
 
Joined: Jul 2015
Posts: 13,082
Likes: 3,399
From: SW Florida.
Default

I think you want a much rougher grit for better bond. 36 i have heard. Let's find out for sure.
Reply
Old Oct 6, 2015 | 10:12 AM
  #1973  
doorgunner's Avatar
doorgunner
Thread Starter
2026 Loser of the Year
Supporting Member
10 Year Member
Veteran: Army
Photogenic
Photoriffic
 
Joined: Sep 2013
Posts: 36,601
Likes: 7,048
From: New Or-leens Loo-z-anna
Default

There was a problem.....which turned out to be a benefit: The driver-side marker light was completely missing from the tail light clip......

BUT, it made positioning the clip a lot easier/I used a dremel with cut-off wheel to trim the ragged edges......and since the car is a resto-mod/the P.O. glassed over the front markers anyway.

Now the driver-side panel is set at 20*........


I did the same thing to the passenger-side of the tail light panel. Then I scribed a line into the paint along the edge of the tail light clip in order to cut the excess off the deck and fenders to prevent overlap bulges.

Now to double-check the scribe lines.....then cut the excess off.


Last edited by doorgunner; Oct 6, 2015 at 02:40 PM.
Reply
Old Oct 6, 2015 | 11:09 AM
  #1974  
loup68's Avatar
loup68
Melting Slicks
Supporting Lifetime
10 Year Member
Veteran: Army
Liked
Community Favorite
 
Joined: Jan 2012
Posts: 3,039
Likes: 504
From: myrtle beach sc
Army
Default

Tony, just to clarify, the 68 date molded into the tail light lens is a date signifying that the lens complies to federal standards at that time. All 68-69 OEM lenses and replacement ones have the 68 cast into them. It is not a date code. Lou.
Reply
Old Oct 6, 2015 | 12:30 PM
  #1975  
doorgunner's Avatar
doorgunner
Thread Starter
2026 Loser of the Year
Supporting Member
10 Year Member
Veteran: Army
Photogenic
Photoriffic
 
Joined: Sep 2013
Posts: 36,601
Likes: 7,048
From: New Or-leens Loo-z-anna
Default

Originally Posted by loup68
Tony, just to clarify, the 68 date molded into the tail light lens is a date signifying that the lens complies to federal standards at that time. All 68-69 OEM lenses and replacement ones have the 68 cast into them. It is not a date code. Lou.
Who would have thought.............

Thanks Lou!
Reply
Old Oct 6, 2015 | 02:06 PM
  #1976  
doorgunner's Avatar
doorgunner
Thread Starter
2026 Loser of the Year
Supporting Member
10 Year Member
Veteran: Army
Photogenic
Photoriffic
 
Joined: Sep 2013
Posts: 36,601
Likes: 7,048
From: New Or-leens Loo-z-anna
Default

Modus Interuptus!

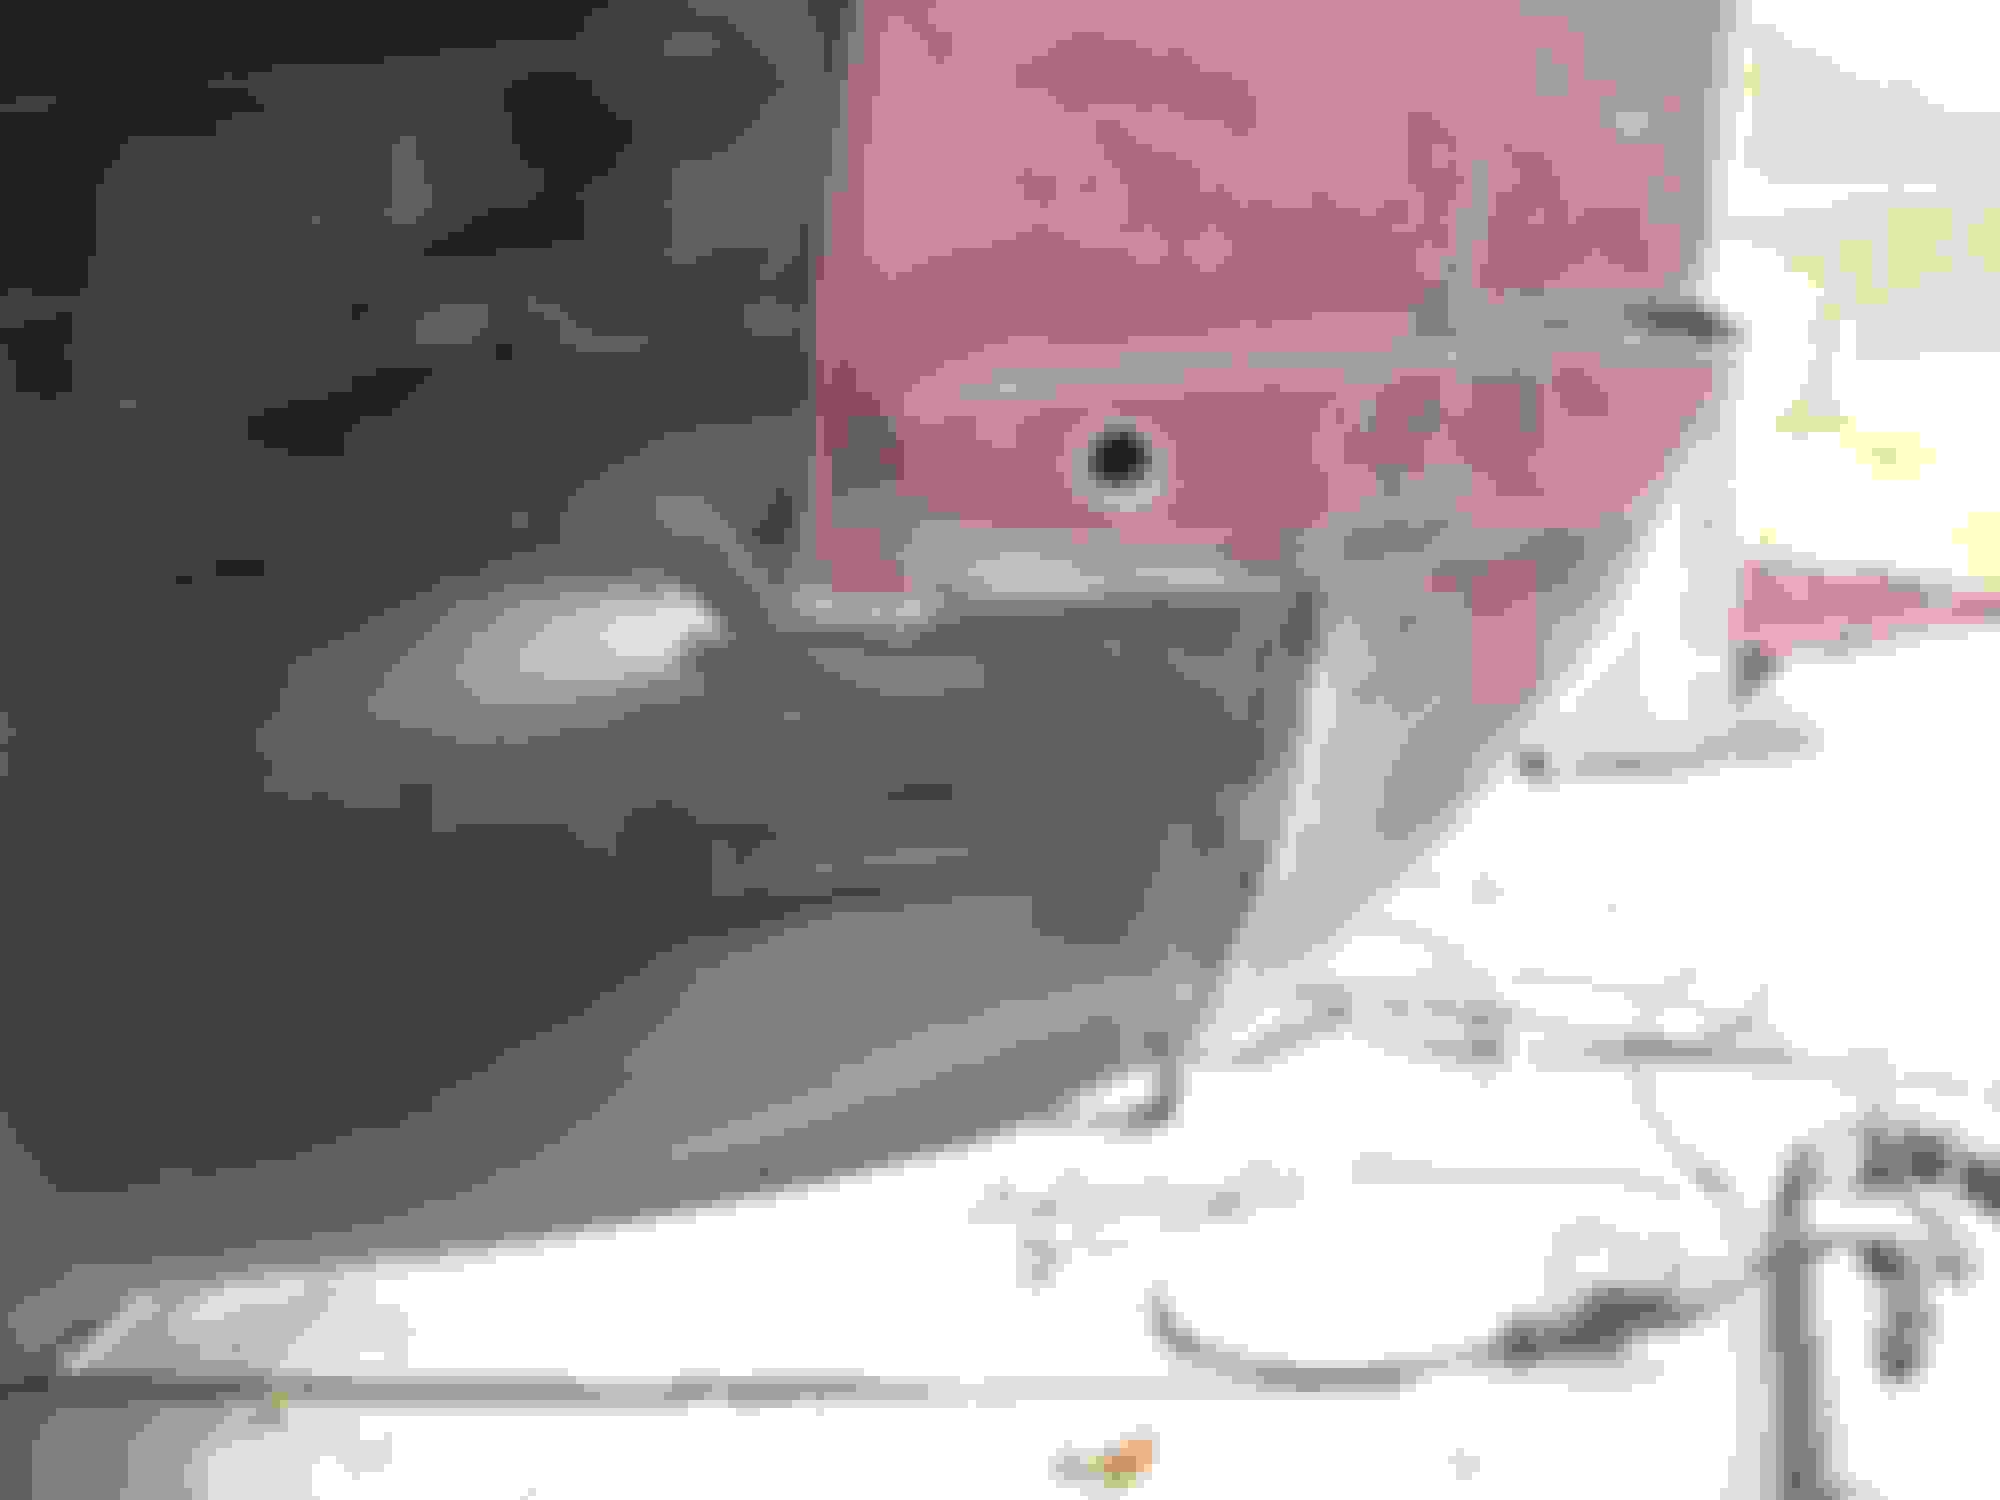
I'm back from running morning errands and managed to make the final cut across the deck and fenders for the tail light clip (other members who make this modification will need to determine WHERE THEIR CUT NEEDS TO BE MADE/I had to work with the damaged donor piece...so my cut is irregular and close to the gas tank).


The remaining extra deck length is cut off using a jigsaw/I slid 1" thick slats of wood between the top of the gas tank and the fiberglass deck to have clearance for the jigsaw blade........


Here is the deck waiting to have the tail light clip clamped in place in order to see how the bonding strips will be placed........


Last edited by doorgunner; Oct 6, 2015 at 02:25 PM.
Reply
Old Oct 6, 2015 | 02:14 PM
  #1977  
AirborneSilva's Avatar
AirborneSilva
Melting Slicks
10 Year Member
 
Joined: Aug 2012
Posts: 3,487
Likes: 83
From: Titusville Florida
Default

Just a thought from one Tony to another, but why don't you drop the tank? It will make life easier for bonding the new piece in...
Reply

Get notified of new replies

To Doorgunner's '68 Convertible Project

Old Oct 6, 2015 | 02:21 PM
  #1978  
doorgunner's Avatar
doorgunner
Thread Starter
2026 Loser of the Year
Supporting Member
10 Year Member
Veteran: Army
Photogenic
Photoriffic
 
Joined: Sep 2013
Posts: 36,601
Likes: 7,048
From: New Or-leens Loo-z-anna
Default

Originally Posted by AirborneSilva
Just a thought from one Tony to another, but why don't you drop the tank? It will make life easier for bonding the new piece in...
Exactly! I dodged one by using the wooden slats with the jigsaw/I SHOULD have removed the tank first....but now I will HAVE to remove the tank to do a good bonding job on the deck underside before installing the tail light clip!


It's time to clamp that clip into place....will be back in a couple...................

Last edited by doorgunner; Oct 6, 2015 at 02:24 PM.
Reply
Old Oct 6, 2015 | 04:20 PM
  #1979  
doorgunner's Avatar
doorgunner
Thread Starter
2026 Loser of the Year
Supporting Member
10 Year Member
Veteran: Army
Photogenic
Photoriffic
 
Joined: Sep 2013
Posts: 36,601
Likes: 7,048
From: New Or-leens Loo-z-anna
Default

Originally Posted by derekderek
I think you want a much rougher grit for better bond. 36 i have heard. Let's find out for sure.
No problem.....I will get what I need tomorrow.

In the meantime I got a little more done on the clip fitment..............


The top of the clip is nice and flush with the deck all the way across......


The driver-side fender fits fflush but needs a little trimming for the bottom 4 inches to pop into place...............


The rear view (starting to really look like the title now {1968}........

Last edited by doorgunner; Oct 12, 2015 at 09:13 AM.
Reply
Old Oct 6, 2015 | 04:25 PM
  #1980  
derekderek's Avatar
derekderek
Race Director
 
Joined: Jul 2015
Posts: 13,082
Likes: 3,399
From: SW Florida.
Default

Now you can't even use that view in your avatar...unless you change rescue to past tense...
Reply


All times are GMT -4. The time now is 03:24 PM.

story-0
10 Ugly Corvettes That We Still Kinda Love

Slideshow: 10 ugly Corvettes that we still kinda love.

By Joe Kucinski | 2026-06-03 10:34:17


VIEW MORE
story-1
Top 10 Most Expensive Corvettes Ever Sold on Bring A Trailer

A lot of money has changed hands at the online auction house over the years.

By Brett Foote | 2026-06-03 10:21:50


VIEW MORE
story-2
10 Things Every Corvette Owner Needs (2026 Edition)

Slideshow: 10 great gifts Corvette enthusiasts actually want for Father's Day!

By Michael S. Palmer | 2026-06-03 15:43:40


VIEW MORE
story-3
8 Most "Only Corvette Owners Understand" Quirks and Problems

Slideshow: These are the quirks, annoyances, and oddly lovable problems that every Corvette owner eventually learns to live with.

By Pouria Savadkouei | 2026-05-28 09:31:39


VIEW MORE
story-4
10 Reasons the C6 Z06 is Still A Performance Benchmark After 20 Years

Slideshow: 10 reasons why the C6 Z06 is still a performance benchmark after 20 years.

By Joe Kucinski | 2026-05-27 17:20:09


VIEW MORE
story-5
How Much Horsepower Every Corvette Engine "LOST" in 1972

Slideshow: How much horsepower every Corvette engine lost in 1972.

By Joe Kucinski | 2026-05-27 16:54:53


VIEW MORE
story-6
Top 10 DOs and DON'Ts for Protecting Your Convertible Top!

Slideshow: How to Protect A Convertible Top: 10 DOs & DON'Ts

By Michael S. Palmer | 2026-04-03 00:00:00


VIEW MORE
story-7
Top 10 Most Explosive Corvettes Ever Made: Power-to-Weight Ratio Ranked!

Slideshow: The 10 most explosive Corvettes ever built based on power-to-weight ratio.

By Joe Kucinski | 2026-05-20 07:23:03


VIEW MORE
story-8
150 hp to 1,250 hp: Every Corvette Generation Compared by the Specs That Matter

Slideshow: From C1 to C8 we compare every Corvette generation by the numbers.

By Joe Kucinski | 2026-05-12 16:54:12


VIEW MORE
story-9
8 Coolest Corvette Pace Cars (and Replicas) of All Time

Slideshow: Some Corvette pace cars became collectible legends, while others perfectly captured the look and attitude of their era.

By Verdad Gallardo | 2026-05-11 09:50:51


VIEW MORE