When you click on links to various merchants on this site and make a purchase, this can result in this site earning a commission. Affiliate programs and affiliations include, but are not limited to, the eBay Partner Network.
2020 Corvette of the Year Finalist (performance mods)
2019 C3 of Year Winner (performance mods)
2016 C3 of Year Finalist
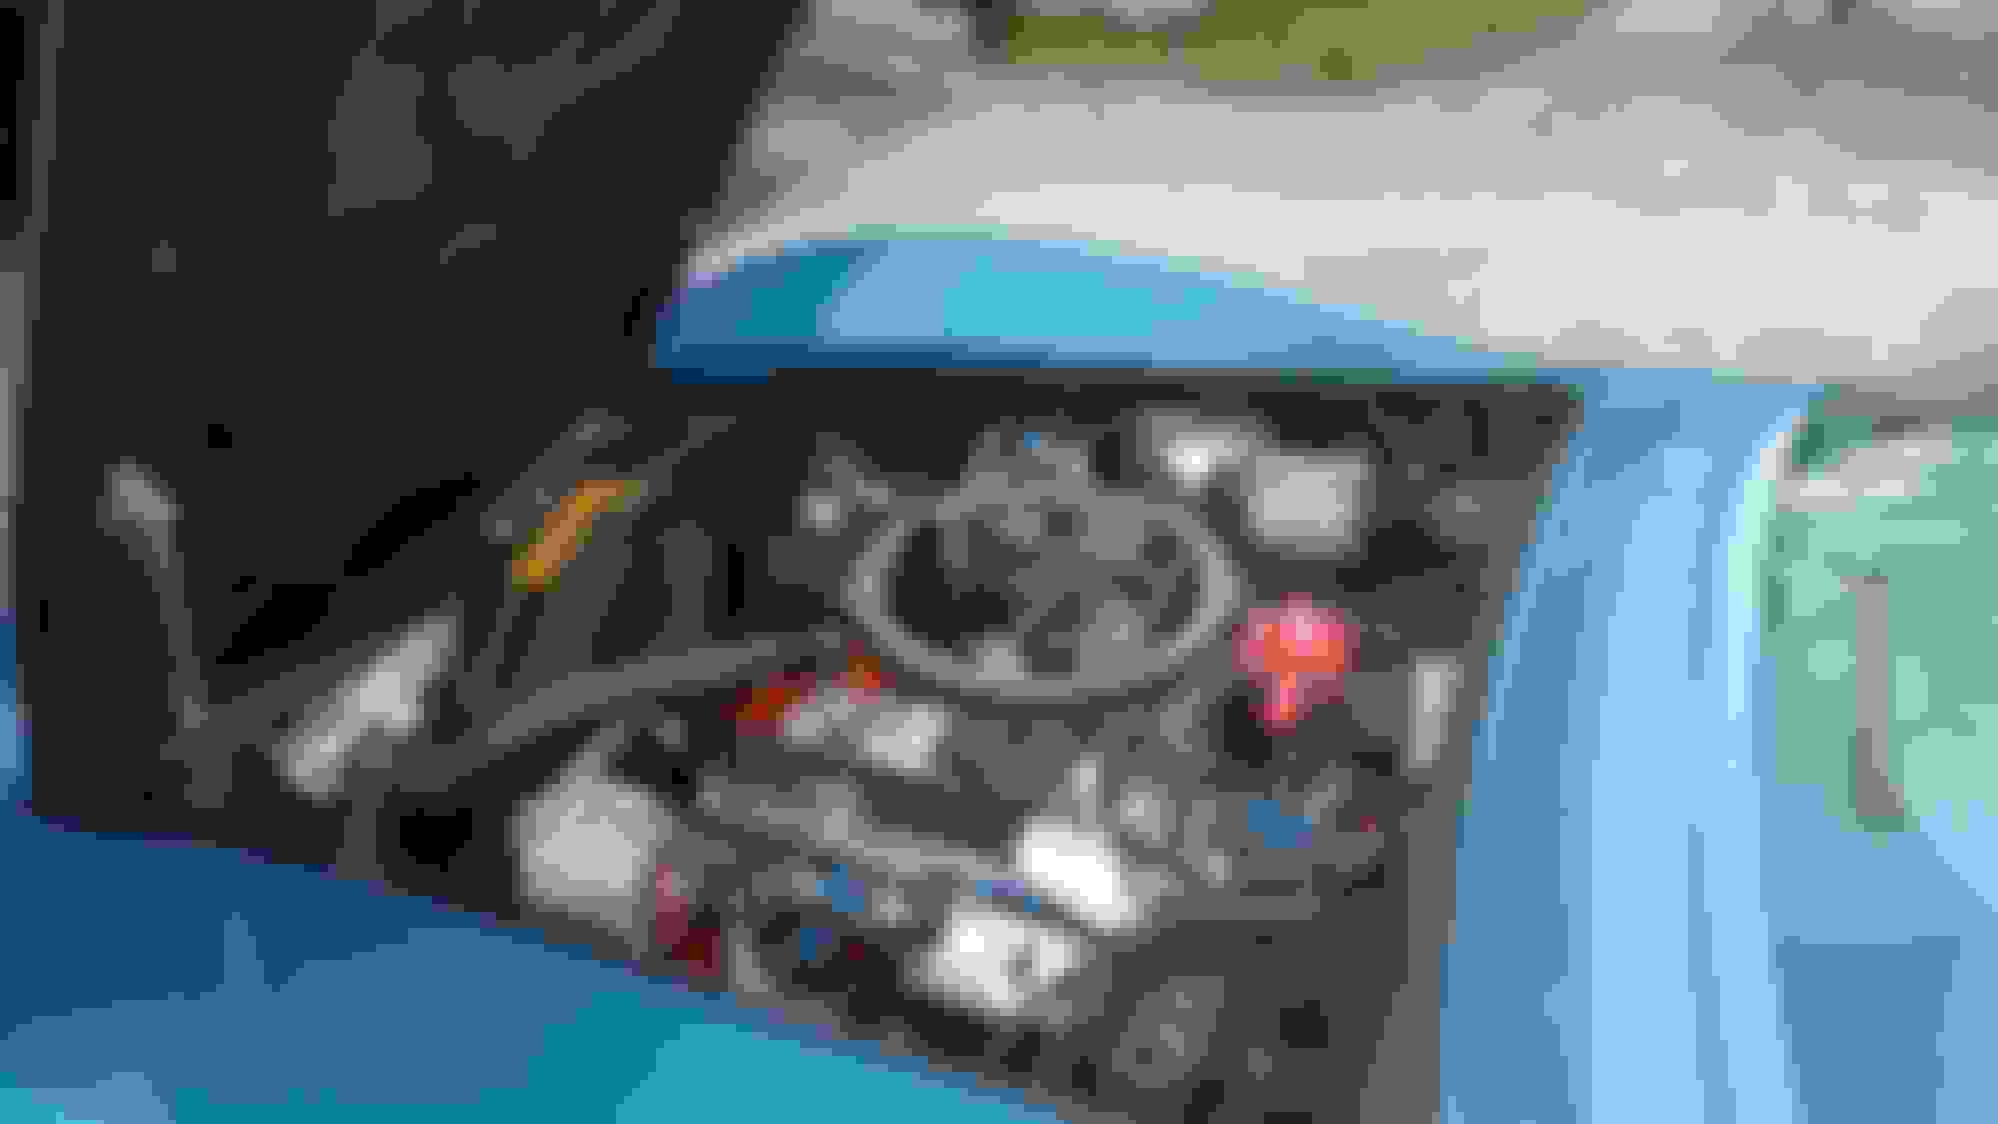
Put them in they're stock locations. Hopefully Alan will post a pic of his beautiful engine compartment. I'm slowly getting mine together and a little work makes a big difference
Before
After
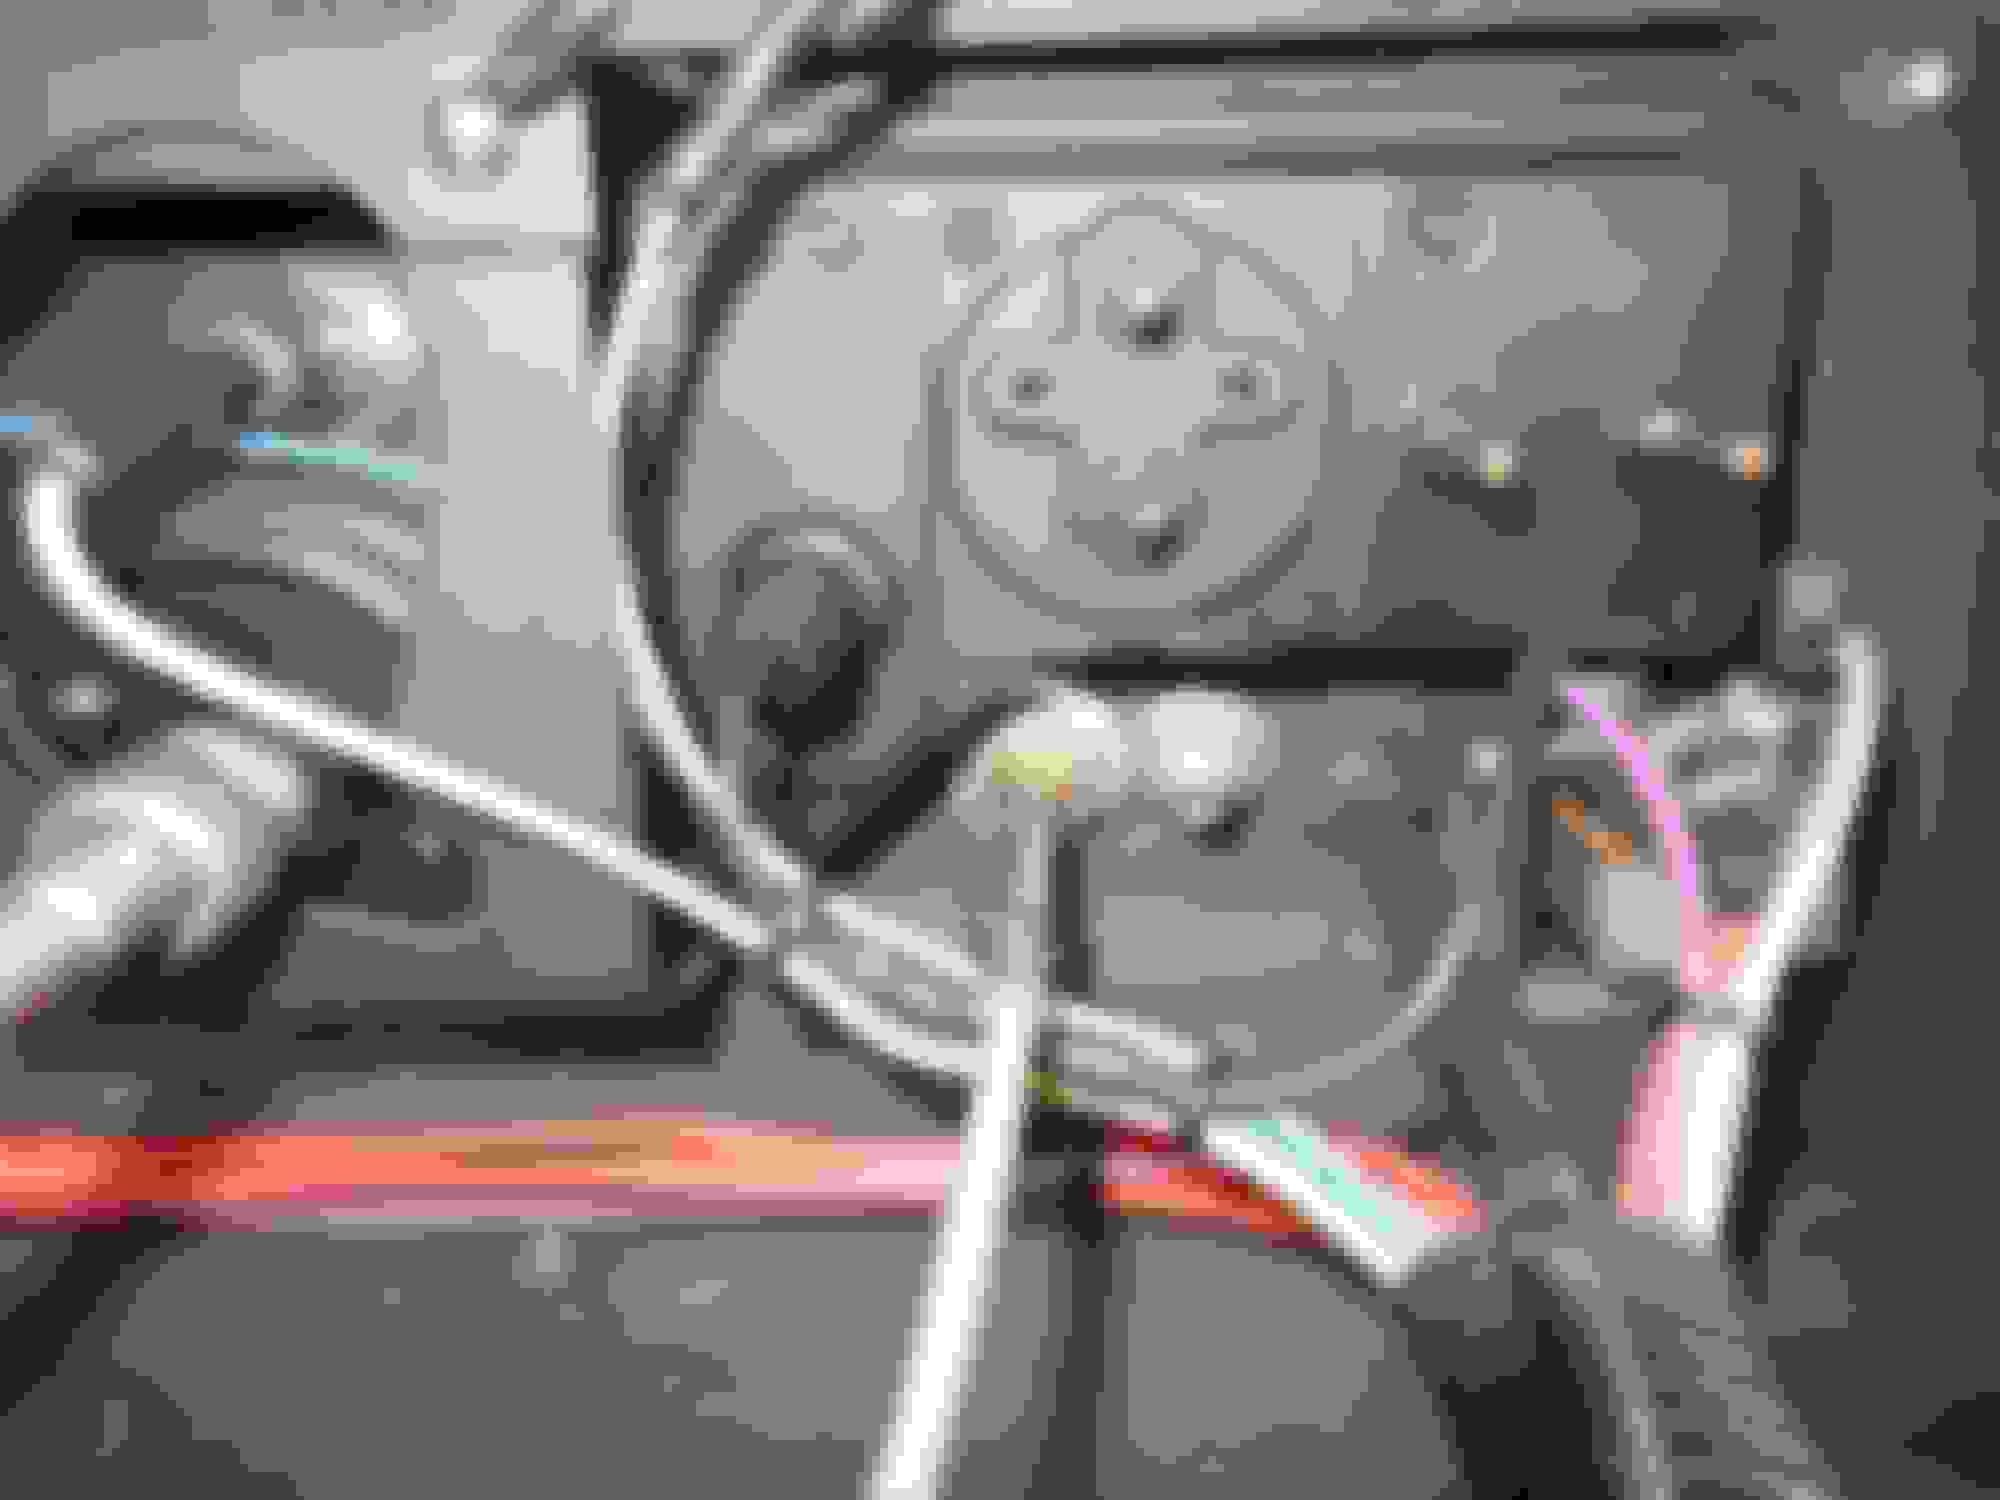
A work in progress. I have wirelooms now that help. Just needs some paintng and hose shining
Last edited by Rescue Rogers; May 3, 2016 at 08:22 AM.
I love seeing what others have done. Mine is a mess too. Everytime i start to tackle out i get overwhelmed and end up not much better off.
The key is to make it look good. And how do you do that? I put the answer to that question in two categories, a) dressing and combine the wires and b) combining them and securing them.
Often, old car wiring looks really bad, because it's been kinked, folded, bent and mishandled. To fix this, you would take a single strand close to whatever end it terminates at, and with your hands, pull it through your fingers, forcing the kinks and bends out of it, until it's nice and straight. Practice with a leftover beat-up strand on the bench and you'll see really good results. Do this to as many of the wires as possible. It is physical work, that's for sure, but the wire mess, will look much better.
Next, you want to take the straightened wires and sub-harnesses out and start laying them out and seeing how they might combine together in a good looking way, with sensible routing. Start combing the wires that want to seem to run together, keeping them straight along their combined length. Use small zip ties to organize them, as you go along. You will use a lot of zip ties! Often, you'll redo them, cutting off the zip ties and redoing it, because you found an even better way to organize them and route them. It just takes time and patience and you'll be pleased with the results.
Caveat: If your engine compartment wiring harness, has been totally 'Bubba'd, with a ton of butt splices, black tape and home twist-on connectors, you might just consider, getting an entirely brand new one. But if it's salvagable, the above might do the trick.
Some examples, including non-Corvette wiring:
See how the wiring is combined, combed and straightened out and then tied up?
Old 50's International that we did, a long while back. We were only paid to do the wiring, the owner was going to clean up the engine compartment himself, but again, note how we did it:
Also.....I read in another thread that vendors sell rolls of black (non-adhesive) tape. You could remove the old wrap/tape and rewrap the wires following suggestions from other members if you want to hide any exposed wires.
Hi,
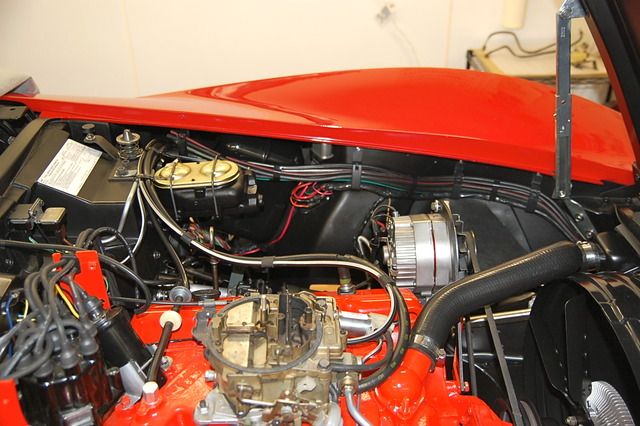
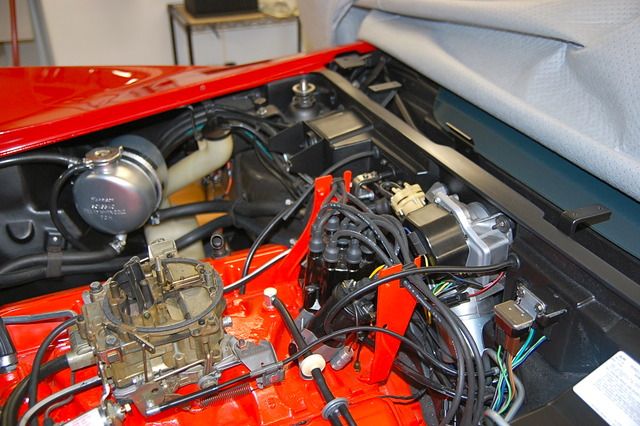
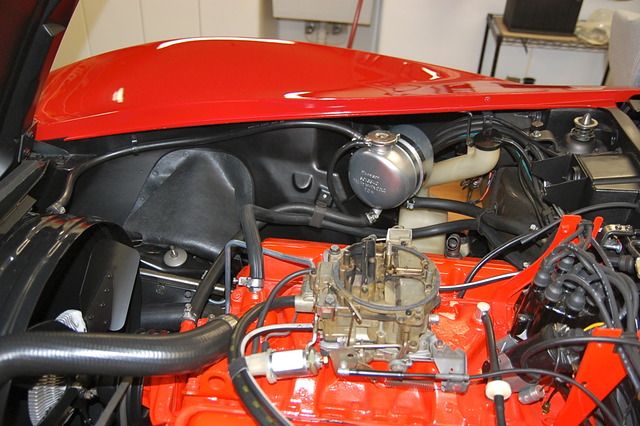
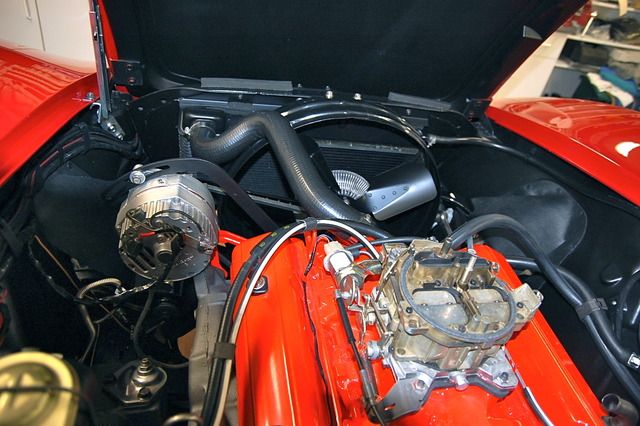
Here a a few pictures of the engine compartment in my 71 currently.
I think a good appearance can be had if some work is put into seriously cleaning everything, painting parts as is appropriate, and then being careful in the routing of electrical harnesses/wiring, vacuum lines, and hoses.
I realize this appearance isn't right for many folks but the cleaning, painting and 'neatness' works in ANY compartment.
Regards,
Alan
So I've pulled my engine cleaned up the place but don't care for how the wires n such look.
Anybody got any ideas on what to do with them?
How they look is all up to you...but I often times come across Corvettes that I am working on where the wiring harness(es) need to be replaced...and this is due to when I bend the wire that has taken shape and is hard as a rock...the insulation splits can cracks.
Keep in mind I work on other peoples Corvettes...so...I have to consider potential problems in the future..and the last thing I need to hear from a customer is that: "You should have told me....I would have installed new wiring instead of having these wiring issues all the time."
I don't see the "mess" you see, but the question is what do you want to do with the wiring? Hoses and harnesses can be cleaned.
I guess I want the wires n such to not look so haphazardly thrown in there. After reading a few replies, I have been trying to group things together and it does look 5% better.
I wish I had the ability and confidence and patience to remove them
completely and just start over but alas it is not meant to be just yet.
Also.....I read in another thread that vendors sell rolls of black (non-adhesive) tape. You could remove the old wrap/tape and rewrap the wires following suggestions from other members if you want to hide any exposed wires.
Yes. I have done some of that and it makes a noticeable difference!
I actually went to the junkyard and pulled a lot of the plastic wire looms. Cleaned them up and used them.
I guess my main complaint is the routing. It looks so 70's.
The key is to make it look good. And how do you do that? I put the answer to that question in two categories, a) dressing and combine the wires and b) combining them and securing them.
Often, old car wiring looks really bad, because it's been kinked, folded, bent and mishandled. To fix this, you would take a single strand close to whatever end it terminates at, and with your hands, pull it through your fingers, forcing the kinks and bends out of it, until it's nice and straight. Practice with a leftover beat-up strand on the bench and you'll see really good results. Do this to as many of the wires as possible. It is physical work, that's for sure, but the wire mess, will look much better.
Next, you want to take the straightened wires and sub-harnesses out and start laying them out and seeing how they might combine together in a good looking way, with sensible routing. Start combing the wires that want to seem to run together, keeping them straight along their combined length. Use small zip ties to organize them, as you go along. You will use a lot of zip ties! Often, you'll redo them, cutting off the zip ties and redoing it, because you found an even better way to organize them and route them. It just takes time and patience and you'll be pleased with the results.
Caveat: If your engine compartment wiring harness, has been totally 'Bubba'd, with a ton of butt splices, black tape and home twist-on connectors, you might just consider, getting an entirely brand new one. But if it's salvagable, the above might do the trick.
Some examples, including non-Corvette wiring:
See how the wiring is combined, combed and straightened out and then tied up?
Old 50's International that we did, a long while back. We were only paid to do the wiring, the owner was going to clean up the engine compartment himself, but again, note how we did it:
Hi,
Here a a few pictures of the engine compartment in my 71 currently.
I think a good appearance can be had if some work is put into seriously cleaning everything, painting parts as is appropriate, and then being careful in the routing of electrical harnesses/wiring, vacuum lines, and hoses.
I realize this appearance isn't right for many folks but the cleaning, painting and 'neatness' works in ANY compartment.
Regards,
Alan
Thanks for the reply. I guess I cannot post another pic of my engine compartment ever again. I am so embarrassed.
Thanks for the reply. I guess I cannot post another pic of my engine compartment ever again. I am so embarrassed.
Believe me, you're not alone
I love the line above " it looks so 70's.". I remember my Mom getting a brand new 75 Olds Omega that died after a few days. Turns out the engine harness was essentially wrapped around an exhast pipe. Rather than replacing the harness, the dealer spliced in individual wires (all the same color too) and called it good. Guess that's the way things were done then.
Hi,
REALLY, no one needs to be embarrassed!
My pictures show what is obviously just a very ORDINARY engine in a compartment with all the ODDs and ENDS needed to make it an actual car, but everything been carefully prepared and assembled.
It's a matter of taking the time to do it.
Regards,
Alan
Hi,
REALLY, no one needs to be embarrassed!
My pictures show what is obviously just a very ORDINARY engine in a compartment with all the ODDs and ENDS needed to make it an actual car, but everything been carefully prepared and assembled.
It's a matter of taking the time to do it.
Regards,
Alan
with Alan,
I KNOW what it takes to make an engine compartment look like what Alan's looks like. COUNTLESS HOURS. I spent 6 hours ona 1970 I restored routing and positioning the headlight vacuum and headlight washer hoses along the left inner fender so you could clearly see all the colored stripes on the hoses. And correctly applying the tape where it was required to hold them also.
SO...when I get customer who comes in and I raise the hood becasue I need to check out what they came by for....and they feel embarrassed of their engine compartment when they have sen what I do and have done. I tell them this. "I do not care on how your engine compartment looks because you are driving and enjoying your Corvette on a regular basis. I am ONLY concerned that everything is in working order and that you are safe."
SO..if anyone posts a photo of their engine compartment....I will not pick it to death when it comes to 'how it looks'...BUT I will comment if I see something that is NOT RIGHT and can effect your safety. A rusty air cleaner lid means nothing to me as long as your air filter is CLEAN. But putting a new chrome air cleaner on and still using the old dirty air filter....THAT is when I would comment that you need to get your priorities in CHECK. Wouldn't you all agree???


 DSCN5151 by Richard Hayes, on Flickr
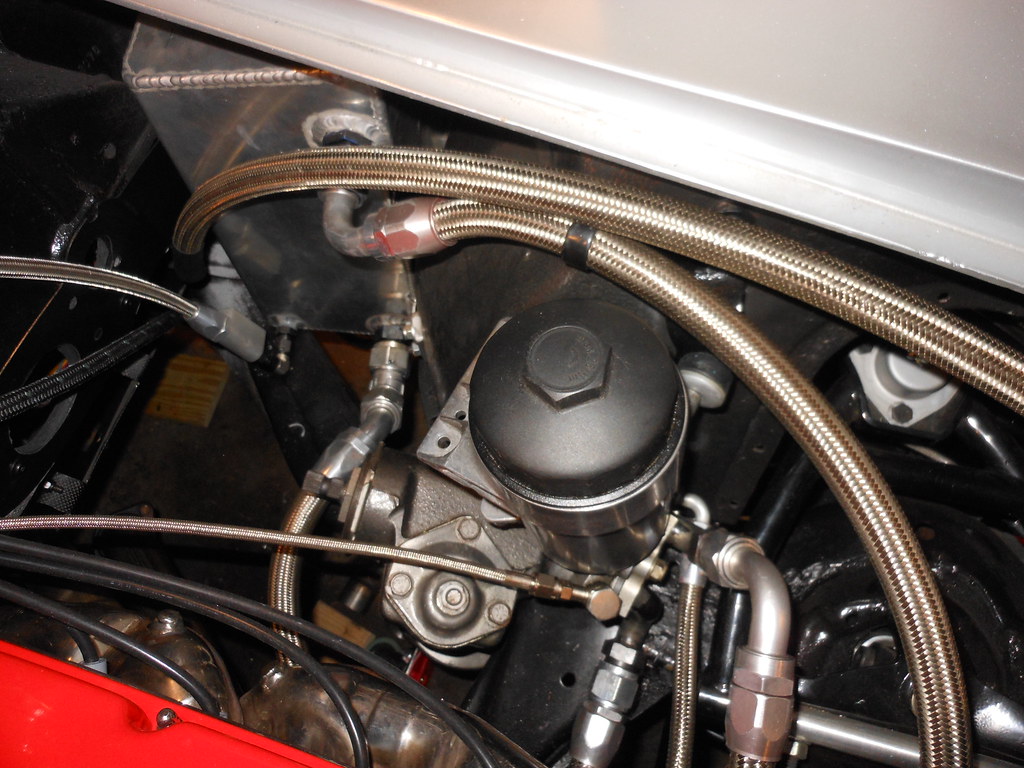 DSCN5154 by Richard Hayes, on Flickr
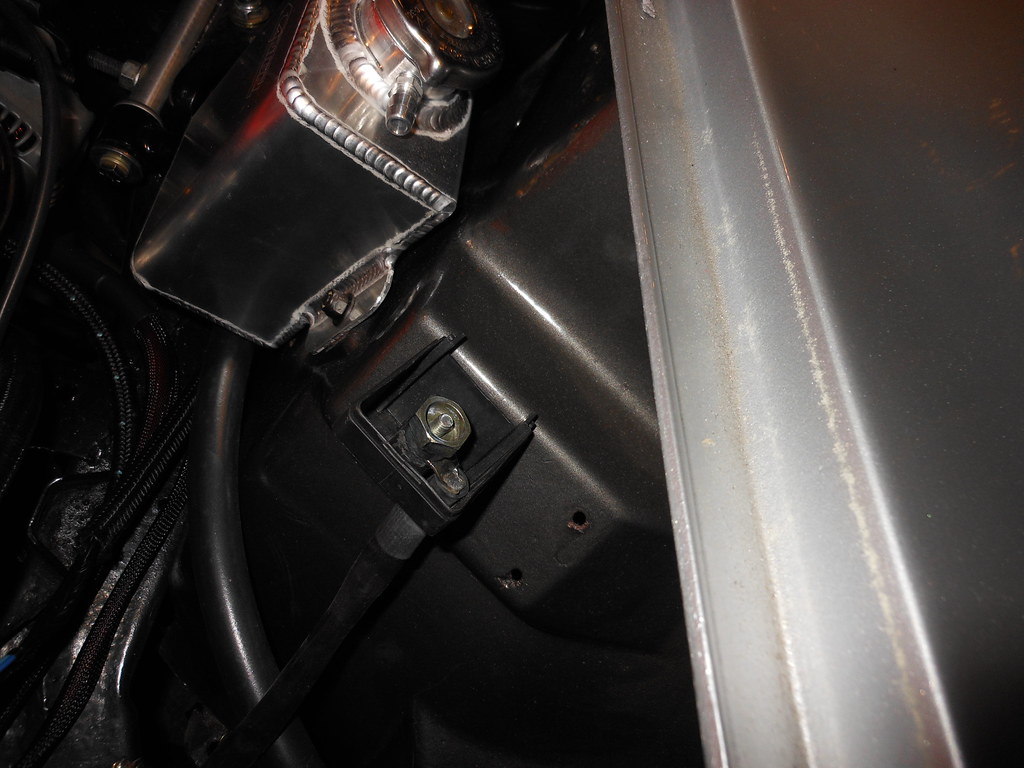 DSCN5182 by Richard Hayes, on Flickr
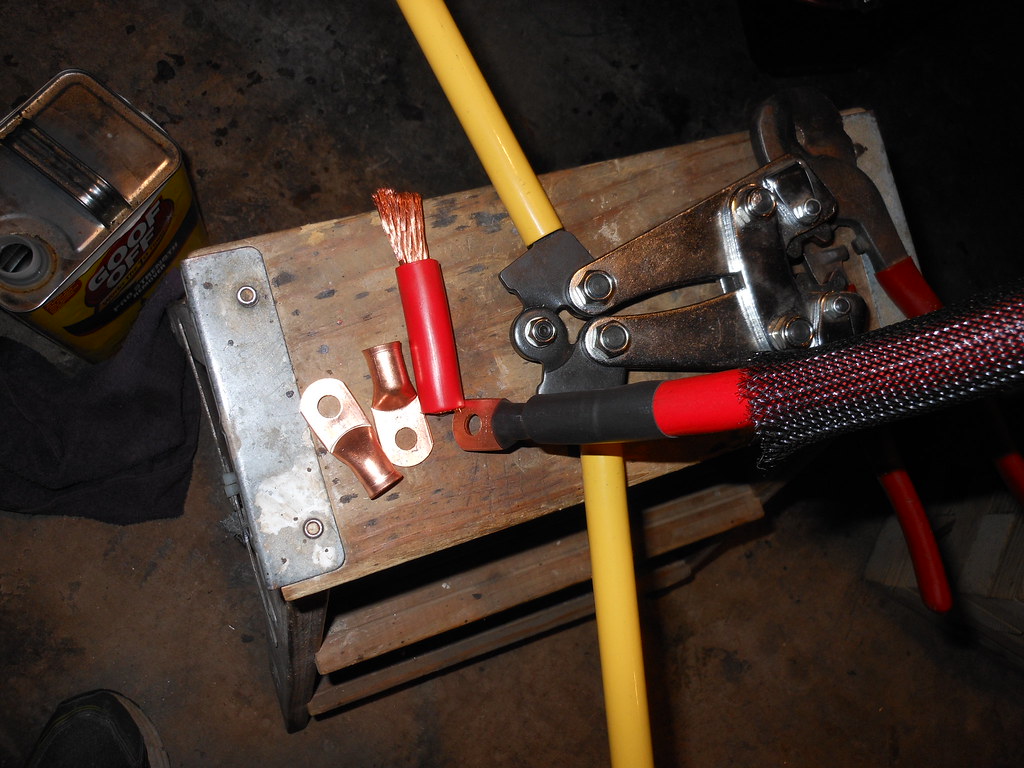 DSCN5079 by Richard Hayes, on Flickr


 with Alan,