When you click on links to various merchants on this site and make a purchase, this can result in this site earning a commission. Affiliate programs and affiliations include, but are not limited to, the eBay Partner Network.
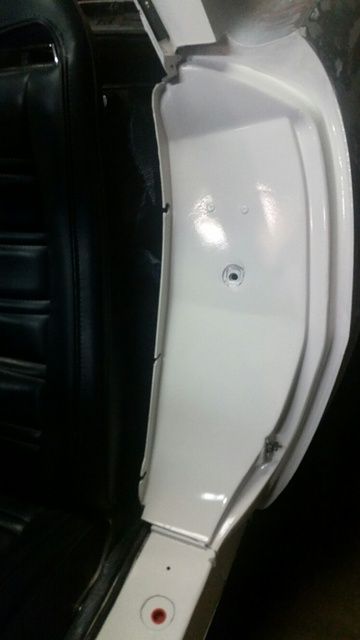
Removed the doors from the '73 so as to clean them and the jams up a bit and paint.
Now it's time to hang the doors and have a theory on doing it, but want your opinions.
Just raising them up and onto their hinges bring me bad results. Like a hit or miss, and I'm missing much more that hitting.
Has anyone here installed the Latch in the door, installed the Striker Bolt on the door jam and adjusted it to set the correct height of the door's aft top to the body, AND THEN positioned the door's front to the hinges? Work from back to forward, instead of forward to back.
Thanks for your thoughts guys.
Steve
Steve,
You've apparently not disturbed the hinge attachment to the door jamb, so that's half the battle. Mount the doors onto the hinges and loosely fit all of the bolts. Raise the door slowly using your floor jack (protected with some padding - I made a wooden fixture that bolts to the saddle and supports the weight of the door) and tighten 1 or 2 hinge bolts. Lower the jack, close the door and look at the fit. Repeat until the front upper edge and rear upper edge follow the body contours and the rear door gap is even. Then firmly tighten all of the 8 bolts (suggest that you then spray the cavities with a contrasting paint - this will leave a witness mark should you ever need to adjust the doors again.)
Hi Steve,
Jambs look nice!!
I agree with R's method of using a floor jack to support the door while you fit it and tighten the hinge bolts.
The door should open and close in the exact alignment you want WITHOUT the striker in place.
After installing the latch in the door and the striker in the lock pillar you can then adjust the striker so that the latch closes on it and releases from it easily.
You don't want to use the striker to improve the fit of the door. This leads to putting undo pressure on the striker and latch which can then lead to the door closing but the latch not releasing the striker when you try to open it.
Good Luck!
Regards,
Alan
My experience and what I did as I just did this job a few days ago. In my case on my 68, I removed both doors, removed and cleaned latches and replaced the striker bolts. Also installed new springs, pins and bushings in the removed hinges. Paint was nearly new, so I was extremely careful as I did not want to chip the paint. Also, my door panels were off, seats out and most the interior out, including steering column.
I used my engine hoist with a couple of straps to position the doors.
I loose fitted and installed all of the hinge bolts in the frame and the door.
With the latch and striker bolt removed (I suppose you could just remove your striker bolt if you do not have the latch mechanism out), I carefully removed the straps and positioned the door in the door opening.
I then shimmed from the inside the bottom of the door frame to the body (under the door sill plates) to position the door with equal gaps all around and height correct. I reused the hinge shims which got the door surfaces in line with the body surfaces which was lucky for me.
I then got inside and tighten all of the hinge bolts to AIM spec. (I thought for awhile my better half was going to have to call 911 to get me out at this point but being highly motivated to eat supper gave me renewed energy and I escaped, twice no less!)
I then opened the door and closed it a few times to check for fit.
Next installed latch and striker bolt to catch properly.
Hope this might help, I had my seats, steering column and most of the interior out also. I think it would be very difficult to access the top hinge bolts on the driver side with all of the interior installed. Good luck!
Last edited by 20mercury; May 2, 2016 at 02:33 PM.
Hi Steve,
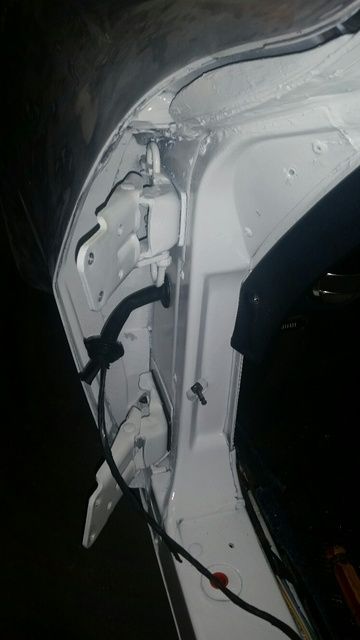
This is a little of topic but I am about to do the same job. I noticed that you disconnected the power window wire inside the door rather than inside the car is that the way to go?
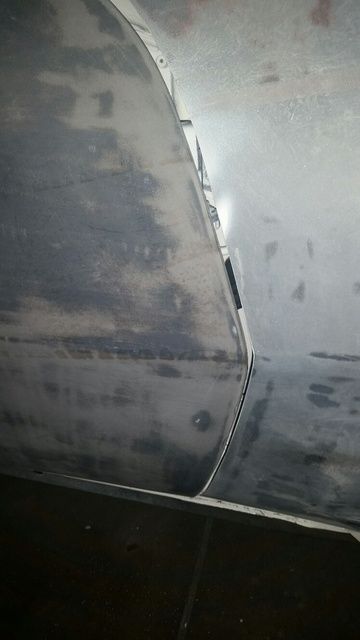
To those of you that might be contemplating removing your doors (capriguy?), a simple trick is to first drill holes through the hinge and door while still installed. A 1/8" drill is fine. Reinstall is obviously trivial.
My experience and what I did as I just did this job a few days ago. In my case on my 68, I removed both doors, removed and cleaned latches and replaced the striker bolts. Also installed new springs, pins and bushings in the removed hinges. Paint was nearly new, so I was extremely careful as I did not want to chip the paint. Also, my door panels were off, seats out and most the interior out, including steering column.
I used my engine hoist with a couple of straps to position the doors.
I loose fitted and installed all of the hinge bolts in the frame and the door.
With the latch and striker bolt removed (I suppose you could just remove your striker bolt if you do not have the latch mechanism out), I carefully removed the straps and positioned the door in the door opening.
I then shimmed from the inside the bottom of the door frame to the body (under the door sill plates) to position the door with equal gaps all around and height correct. I reused the hinge shims which got the door surfaces in line with the body surfaces which was lucky for me.
I then got inside and tighten all of the hinge bolts to AIM spec. (I thought for awhile my better half was going to have to call 911 to get me out at this point but being highly motivated to eat supper gave me renewed energy and I escaped, twice no less!)
I then opened the door and closed it a few times to check for fit.
Next installed latch and striker bolt to catch properly.
Hope this might help, I had my seats, steering column and most of the interior out also. I think it would be very difficult to access the top hinge bolts on the driver side with all of the interior installed. Good luck!
20mercury,
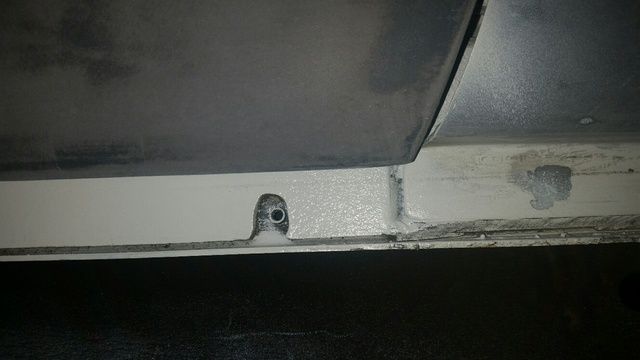
I went with this method.
I ended up countersinking that Jack Anchor Bolt (yellow) with a Forstner bit.
Hi Steve,
This is a little of topic but I am about to do the same job. I noticed that you disconnected the power window wire inside the door rather than inside the car is that the way to go?
Thanks Anderw
Andrew,
I wanted to clean up the contacts on the terminals in these plugs anyway, so I just took a Jeweler's Screwdriver and removed the terminals/wires from the plug that way, noting their polarity beforehand.
Also, I'm workin' with a pinched nerve in a leg lately and didn't wanna lay down under the dash and go through all that. Getting old.
To those of you that might be contemplating removing your doors (capriguy?), a simple trick is to first drill holes through the hinge and door while still installed. A 1/8" drill is fine. Reinstall is obviously trivial.
Someday, I hope to have drill bits that sharp ignatz, where I can tackle a drilling-a-hole job without hesitation.
Thanks for your advice Steve, I tackled the job today. I also took Ignatz,s advice and drilled 4mm holes through the hinge.
Here's my approach as you can see I don't like bending either.


 but being highly motivated to eat supper gave me renewed energy and I escaped, twice no less!)


 Getting old.

