When you click on links to various merchants on this site and make a purchase, this can result in this site earning a commission. Affiliate programs and affiliations include, but are not limited to, the eBay Partner Network.
Today I finally got the Carravaggio rear spoiler installed. Used several rows of 3M tape and was thorough making a good seal all along the front edge of the spoiler.
The result was very good, and IMO the spoiler supports the C5 design very well (as it should being a part of the skunk werkes package). The 2 tone paint scheme also helps minimize the visual "height" of the rear.
I also installed the home made frame savers. I would have loved to support the vendors as it took quite some time to fabricate and was neither cheap. But the shipping and tax costs sending 2 pieces of aluminum from the US to me would be way to high.
Its solid aluminum with the lifting points welded on and mounts with stainless hardware. They mounts in 4 threaded bushings each side that is pressed in the frame. I do plan to paint them satin black later, but for now I�ll just keep them raw.
Corvette season is just about to begin in Denmark - and while having it lifted up for the annual oil change I finally got the CAGS bypass installed. Looking forward to have the transmission in totally control
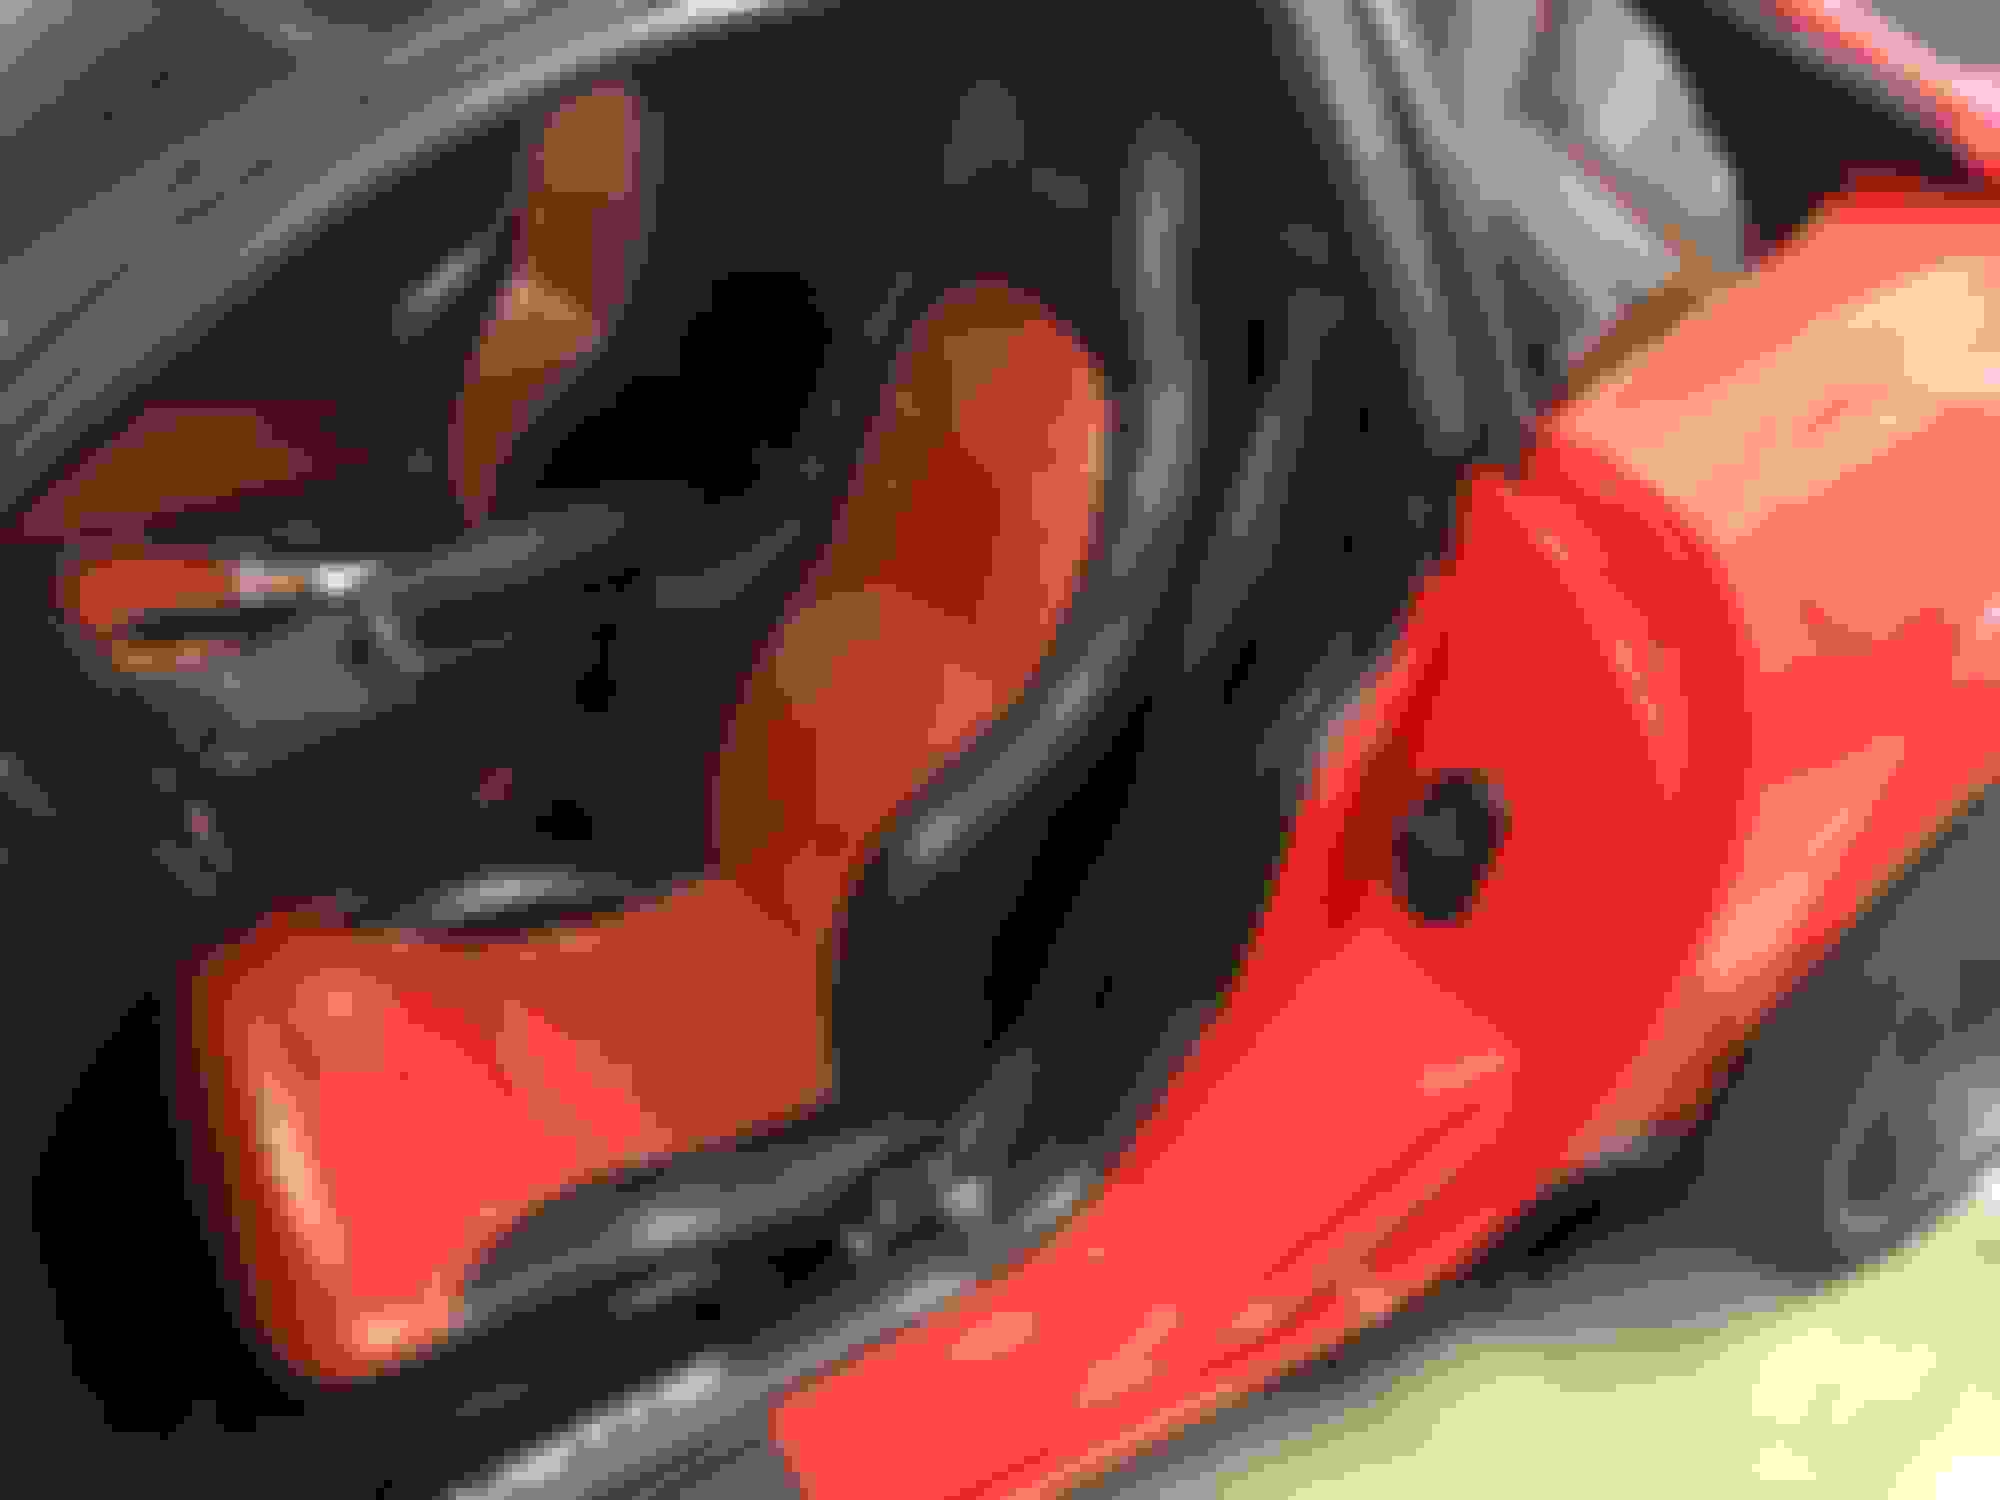
I still have the OEM Z06-seats but decided to perform the "seat mod" as I�m not sure what to do with the interior. I�ll properbly end up doing a full custom leather interior - but first I�ll need to fit some new seats with more support (looking at carravaggio, recaro�s and others).
Taking the seats apart I discovered that one of the driver seat side supports was broken. It was not all apart - but only attached in the fiber glass treads. I made a stainless steel support bracket and attached it with rivets. Then covered in tape for protection and then glued some foam on top to make it soft against the seat cover.
Now I need to sit in it for a while and then stretch the seat cover a bit - but the difference is amazing. The costs is almost zero - and it took approx. 1 hour included the SS bracket. This is so far my best "value to money" mod
Great build thread, master work friend, the black roof reminds me of the 68 vert we had that had a venial cover (black) on hardtop with a red body. I may go with a black wrap on my top someday. I am surprised that you were not required to ad a splash guard at the rear of your wheel-wells for more coverage of the tires.
Its time for "part 2" (as this build most certainly will never come to an end...;-) and for now it�s all about interior:
New custom seat covers from Ridies (along with a few other trim parts) and new cushions
DIY modified center console for a double DIN
Double DIN headunit install with lots of accesories (backup camera, forward camera, apple carplay etc.)
New front and rear speakers - front tweeters installed behind the door handle
AC controls relocated to the glove box
Interior plastic parts painted gloss black (as part of my red/black theme)
My goal is to hide as much as possible by having a clean look and keep the interior tasteful. Its a succes if anybody not familiar with Corvettes would say: "wauw - I didn�t know that GM actually made them like this in 2001"...
My vette still had the OEM seat covers, and especially the drivers seat had lots of small cracks in the surface. The seat cushions also had the common problems (falling apart and being cut up by the bottom wires.
The new covers from Ridies was ordered to look almost like the OEM. I did choose the "standard leather" instead of the Nappa - as I like the texture - and then added red seams as a minor custom touch. They made a matching cover for the center console box, shifter boot and hand brake.
OEM seat covers vs the new from Ridies
I�m very satisfied with both their service and the final product. The perforated inserts gives a nice OEM appearance � and it�s stretched pretty well over the new cushions. There is still a few wrinkles, but I think they will disappear when the seats are installed and I start using them.
Lots of disassembling. Removing the radio is pretty straight forward but the top metal support was a pain to cut out (managed to drill out the rivets).
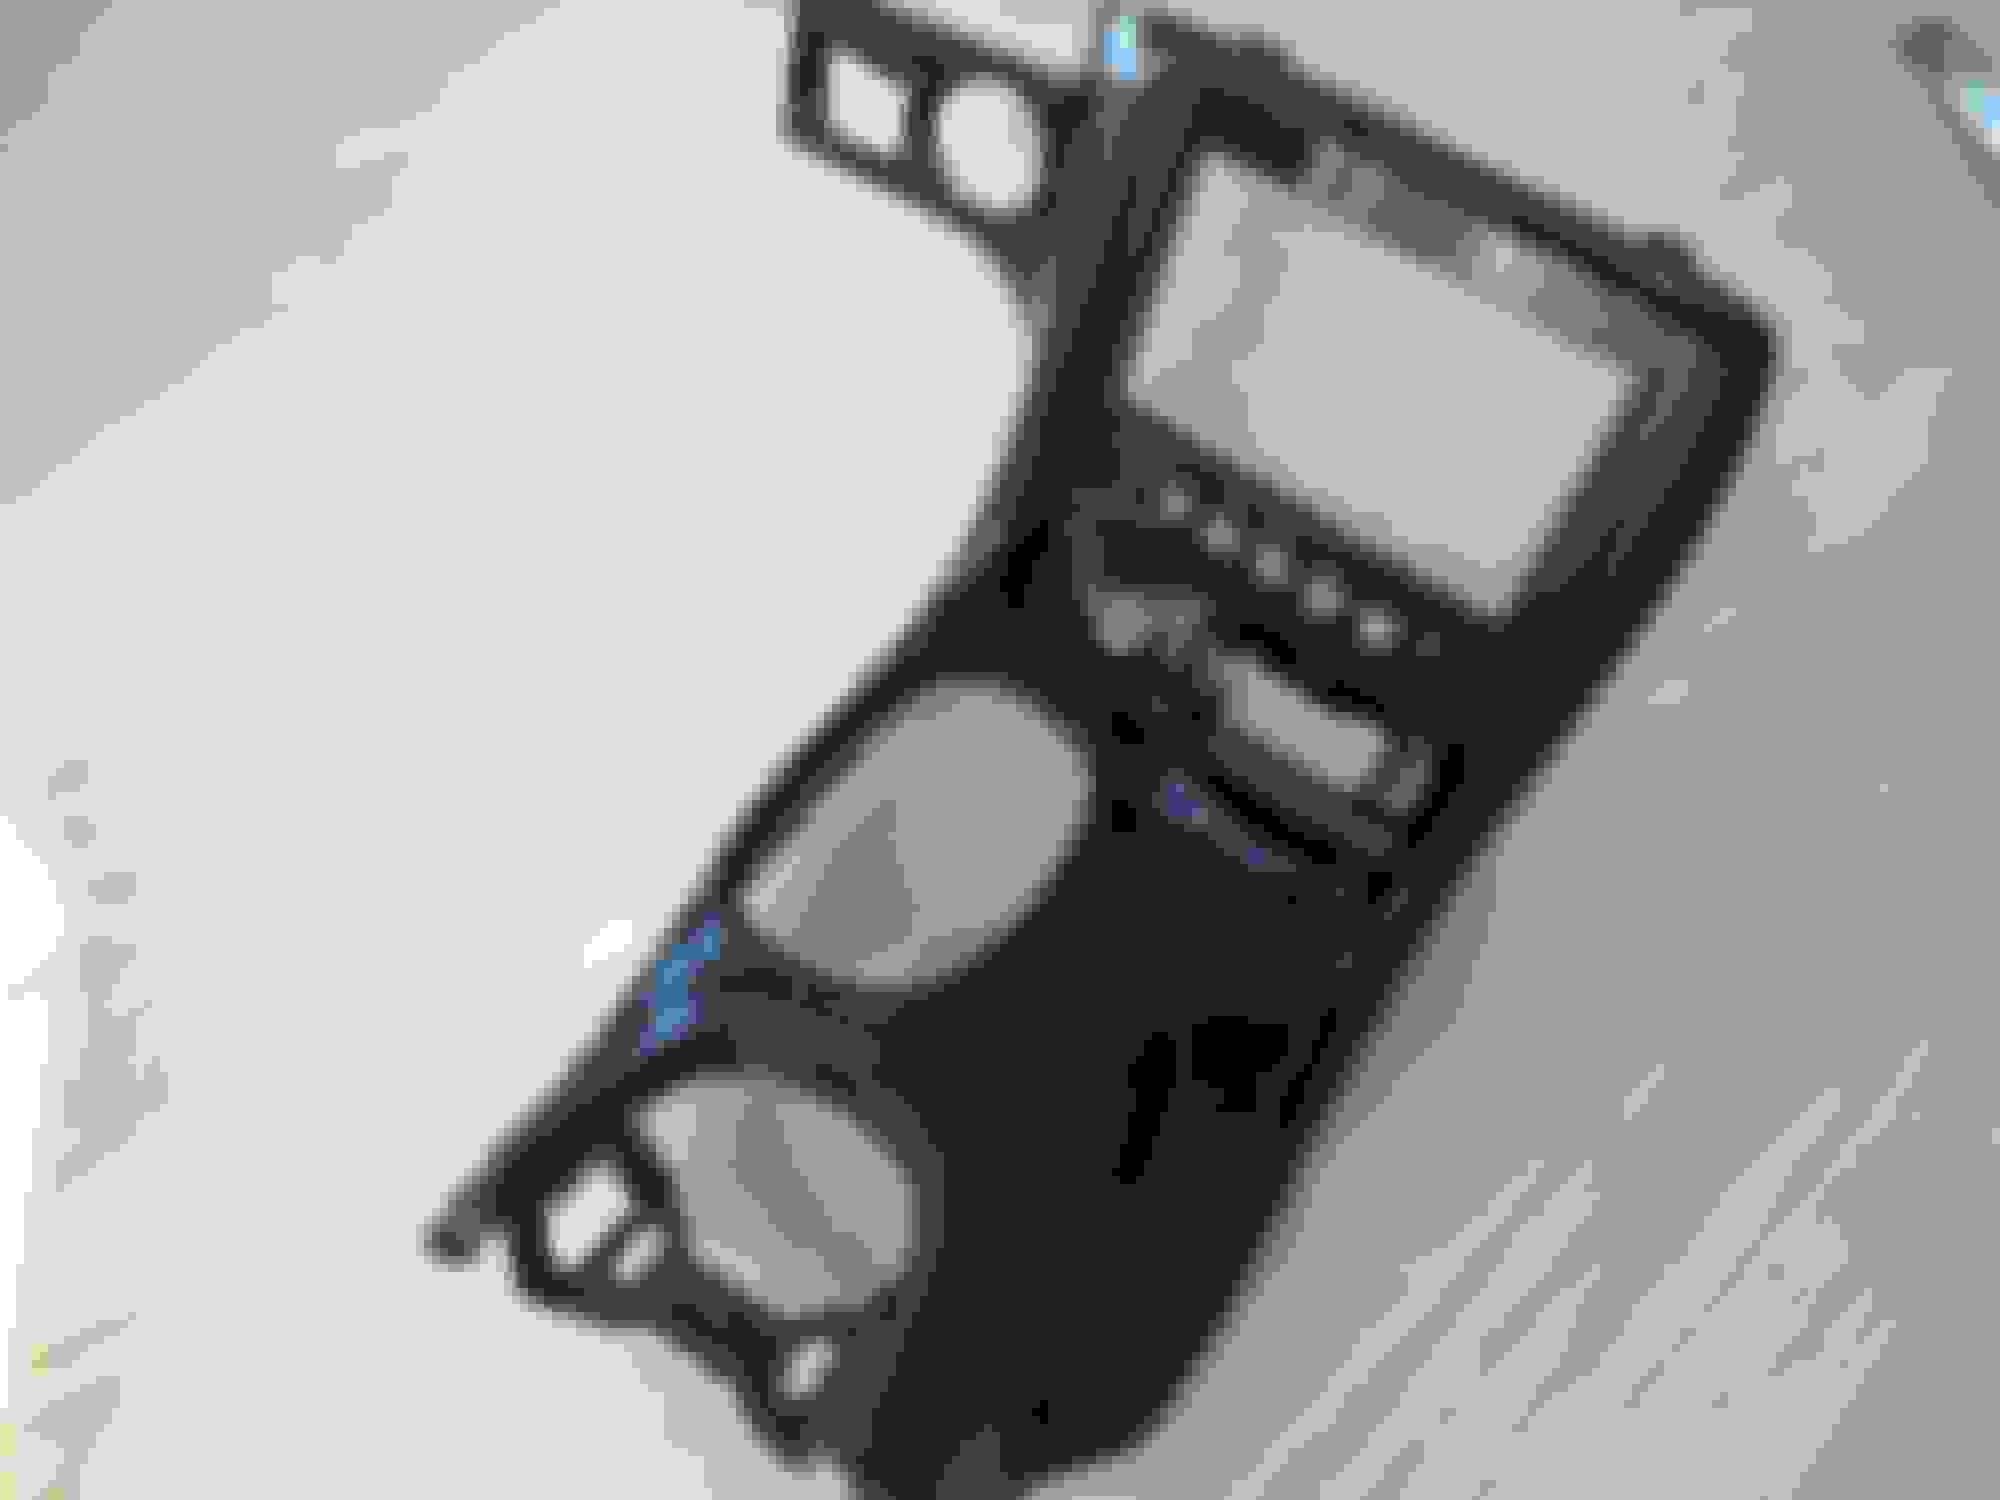
Previously I had installed the Cool-IT hard wire fan controller with the switch and LED mounted next to the active handling button. The new center bezel will be painted, and in order to achieve the �clean look� I re-position all the switches and LED�s to the new bezel (except for the AH-button � don�t want to mess with those wires�;-)
The center bezel will have a double USB power outlet instead of the old 12V outlet � and I�ll install a USB data socket in the center box to connect with apple car play features in the new 2DIN head unit.
Right now I�m doing a lot of cutting, filling and sanding as I�m prepping the bezel before paint. The painter will add the light spray filler, but I know that my effort will improve the final result. I re-use the lower lid as it will hide the USB power outlet � and then everything above is removed. I�ve shaped a 5 mm clear plastic board to fit the, and trimmet it to fit the head unit and start shaping holes for the new buttons and LED�s. Both head unit, buttons and LED�s will be flush mounted.
I�m sure that the proces will be much more time consuming than expected - but I�m also pretty confident about the result in the end
The bezel is finally done (at least as good as I can make it before the painter takes over). I did a test-fitting of both the switches and LED�s - and I can�t wait to see those installed in the finished gloss black bezel. The switches are made of aluminum and have a red halo light around the push button.
I have now started to install new cables for the speakers (as I dont want to cut into the OEM harness). The tweeters are mounted and I think it will look pretty nice and clean, when the interior is assembled again. I didn�t use the flush mount frame for the tweeters - but cut the hole for a tight fit and then fastened the tweeter with some special rubber sealant (very strong but easy to remove with a knife carefully).
No, the HVAC control will be relocated to the glove box. The buttons controls some of my accessories:
on/off switch for the Cool-IT fan controller (the hard wired version) and the left LED light up when fans are on
optional off switch for the Radioflyer DRL LED strip in the front marker lights (not allowed to be on according to Danish inspection, so I have to be able to turn them off)
optional off switch for my custom light in the engine bay (my hood insulation is removed along with the OEM light, and the switch can turn off the lights at shows, when hood is opened for at long time. I didn�t want to cut into the OEM harness, and therefore the lights don�t react on the OEM power cut off after a few minutes).
on/off switch for added interior lights (none at the moment, but next step is to make custom trunk partition with a few LED�s - and any future added interior lights will use this switch)
on/off switch for added exterior lights (none at the moment, but plan to make a rear plate - but for show only)
right LED indicates passenger air bag off (relocated from the traction control "lid" at the center console)
My main concern is to prepare the wirering as much as possible, so I only have to deal with it once.
Mounting plates for the new front speakers. The rear speakers fits the OEM location.
A custom 3-axis mounting frame was made for the new head unit. Makes it much more easy to line up with the new center bezel.
Test fitting before everything goes to the painter. I�m confident that it will look awesome with gloss black paint and the flush mount head unit.
Next up is the wirering. Lots of new cables, soldering and crimping - as everything will be wired to a new accessory harness (I don�t want to tab into the OEM harness).
Hopefully everything will be ready for a test drive within a month...
As always I�m pretty optimistic about my time schedule�- and my projects always end up being more time consuming than expected
I�ve finished up the "main harness" and made all connections for the new head unit, speakers and back-up camera. Lots of wires but everything is tied up and labeled.
I really wanted to hide as much of the ugly stuff as possible (gps-antenna, DAB-antenna, remote microphone and front view camera). So I removed the headliner and was able to hide a lot behind it. With the headliner re-installed only the stick-on antenna will be visible from the inside - and from the outside you cannot se anything because off the tintet top. By the way: that is not a task for one person only - dont ask how I know...
The back-up camera fits very nice. As the pictures show, it almost invisible from "rear spoiler height" and 3-4 feet away from the rear end. Right now it�s powered by the back-up lights, but I�ve already pre-wired another power source (ignition) so it�s easy to switch connectors, if the camera is too slow to power up.
All the interior parts is ready for paint - except the armrest console, that needs to be sanded for the last time. Then the painter will do his final prep before the gloss black paint.
Right now I�m working on the extension for the A/C control panel harness - as I relocate it to the glove box. At a local auto salvage company I was able to remove a nearly complete interior wire harness from a totalled car, and from that I could manage to make a correct color coded extension (yes - it was quite a work for that little 80 cm piece of harness, but I believe that is the minor difference that makes custom work "perfect"). Now I just need to cut the harness - solder in the extension and modify the A/C control panel to fit nicely in the glove box.
I wish someone would create a app and module to control HVAC from the head unit. If you can control HVAC with a GM Tech II through the OBD II port then why not with an Android?
Update: Finished the HVAC relocation to the glove box today and I�ve gathered a few advices for those who want to do it too (I�ve seen several threads about doing it, but I haven�t found one yet that describes the procedure).
First you need to extend the HVAC harness about 80 cm. to make a good fitment in the glove box. The connector has two lines of wires (20 wires), and the colors needed are:
First line: pink, white, light green, purple, light green, dark green, light green with black stripe, dark green, light grey with black stripe
Second line: black, light blue with black stripe, dark blue, brown, white with black stripe, dark blue, light blue, yellow, beige, orange, yellow
It is a great help if you mark the position of each wire, as some of them have the same color, which makes it difficult to re-solder the right ones, when everything is extended to the glove box. It is also a great help if you remove the glove box assembly as it will give you much more space to route the new harness.
So you cut the harness in the center console and connect your extension wires (I soldered the wires, but some connector would work too). Then you route the harness as shown in the following pictures. There is actually plenty of room over the glove box assembly, so the wires can be fixed without touching the glove box. Notice the little wire loom at the last picture - glued in next to the bolt. It will secure the harness along the top of the glove box compartment.
I made a little shelf out of some plastic (a piece from a cheap tool box tray). All I needed was a piece 21 cm wide, 6 cm deep and with 2,5 cm raise in front. Its glued in place so it is removeable if I one day choose to do something else. I removed the mounting brackets on the HVAC (cut with a dremel tool) in order to make a nice and good fitment.
The glove box is re-assembled again and ready to install the HVAC.
HVAC mounts with 3M tape (the acrylic "plus" tape - partno. 06382 - that also works for BSM�s, wheel flares and other exterior trim).
I know this mod is not in everyone�s taste - but I think it looks pretty OEM, and the glove box opens without interferens with any wires.
I also received the center console from paint today. The paint needs to cure a few days more, but I think it looks awesome in gloss black, and I cant wait to start soldering all the flush switches and finish up the interior.