


LS2 FAST 102 install (with pics)
Thread Starter
Melting Slicks


Joined: Jul 2007
Posts: 2,052
Likes: 14
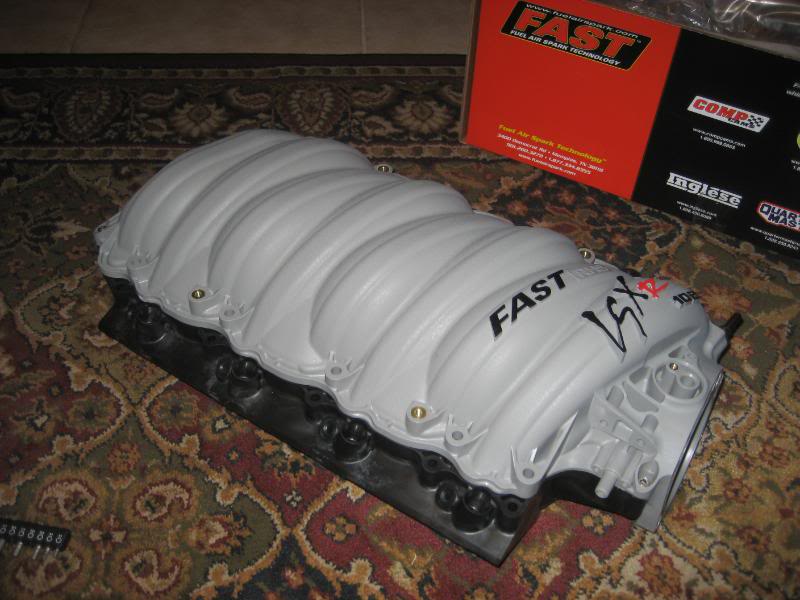
I just got it today, thanks Seth (Hinson). 
I'll be doing it Saturday-
It's pretty simple but I'll take a few pics of removal and replacement if it would help inspire a few guys to do this who would normally pass on doing it themselves.
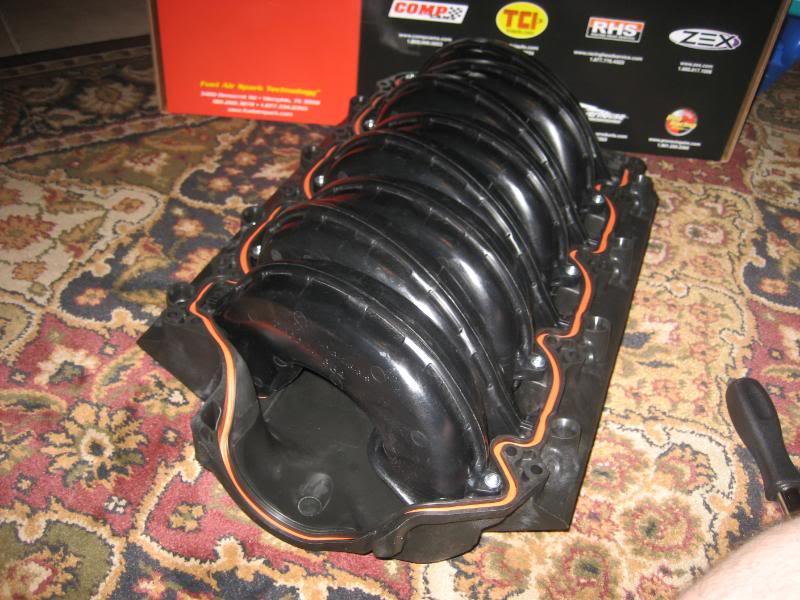
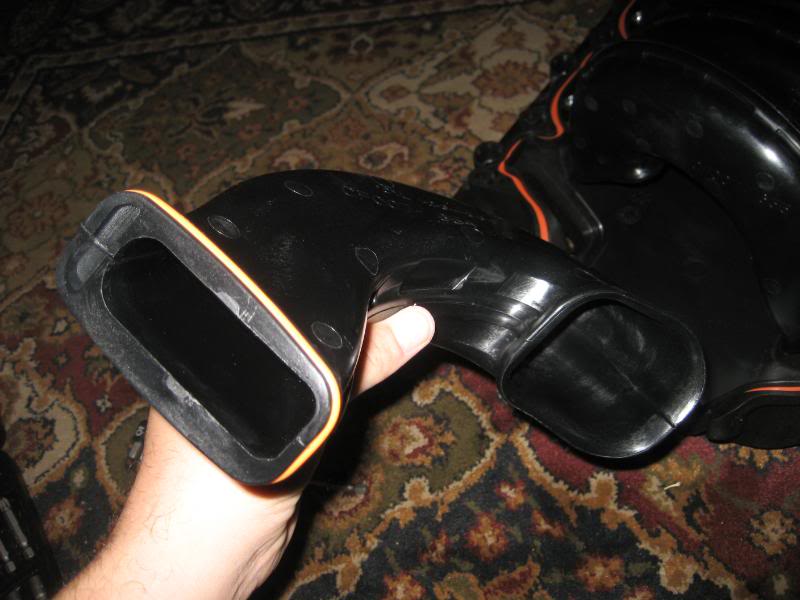
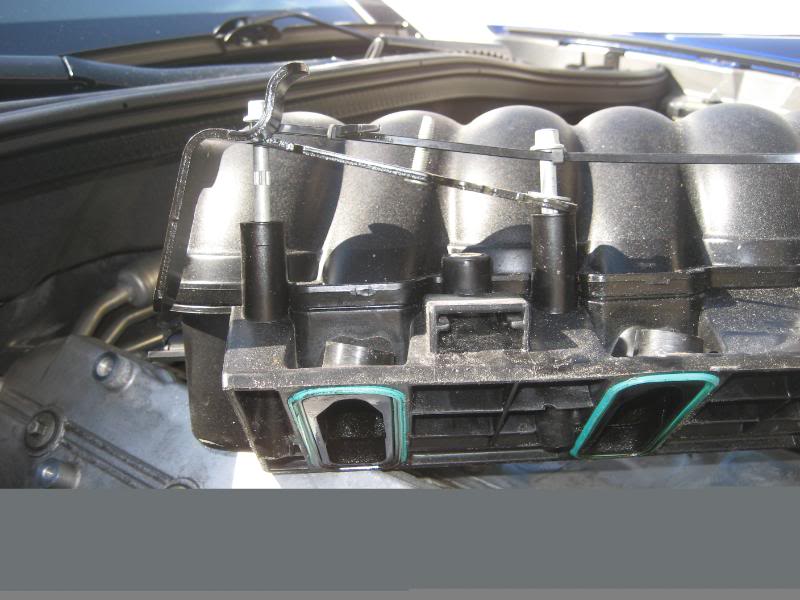
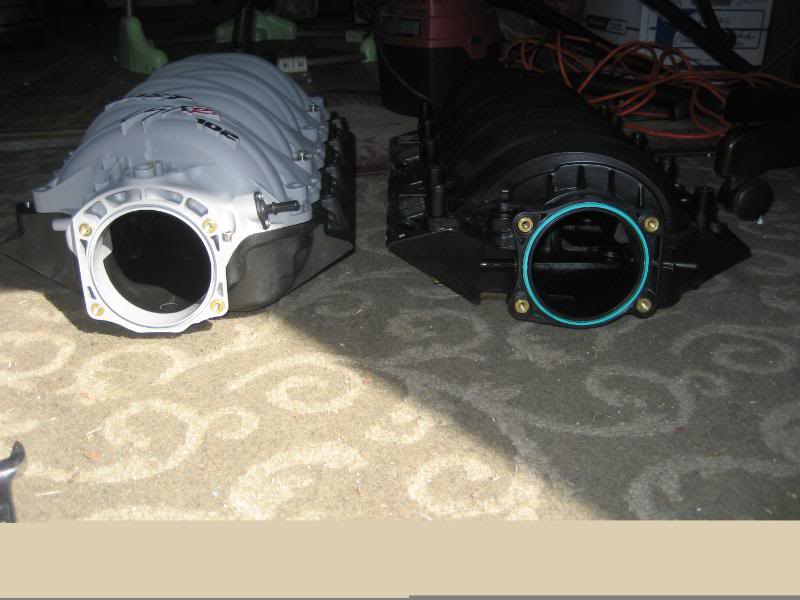
I am considering doing the port work now OR just do it when I swap the heads in a few months, not sure. Each runner could use some attention though since you can see the actual runner is a bit smaller than the base of the maifold. I would save port matching the base until I decide on my heads, TFS 225's or 235's depending on what size shortblock I go with... so many options.
Now I gotta come up with $150 for my ECS tune! Damn, it never ends-
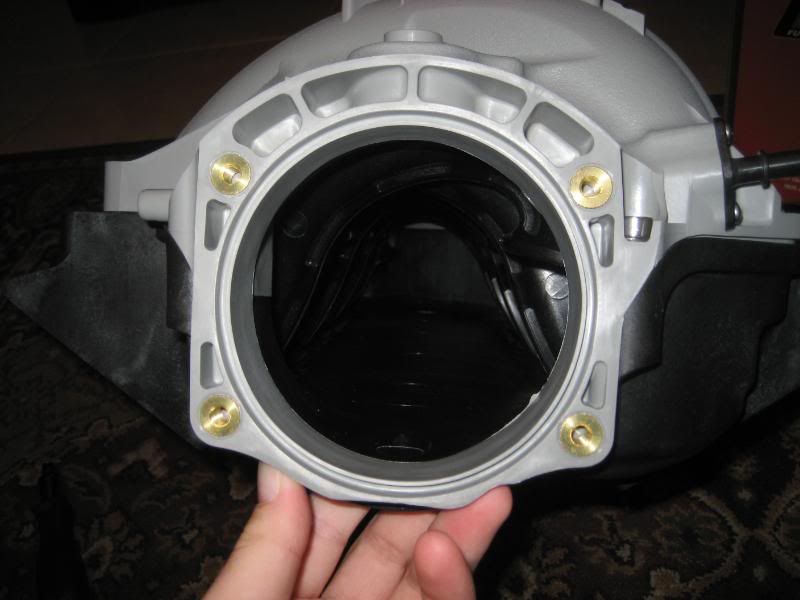
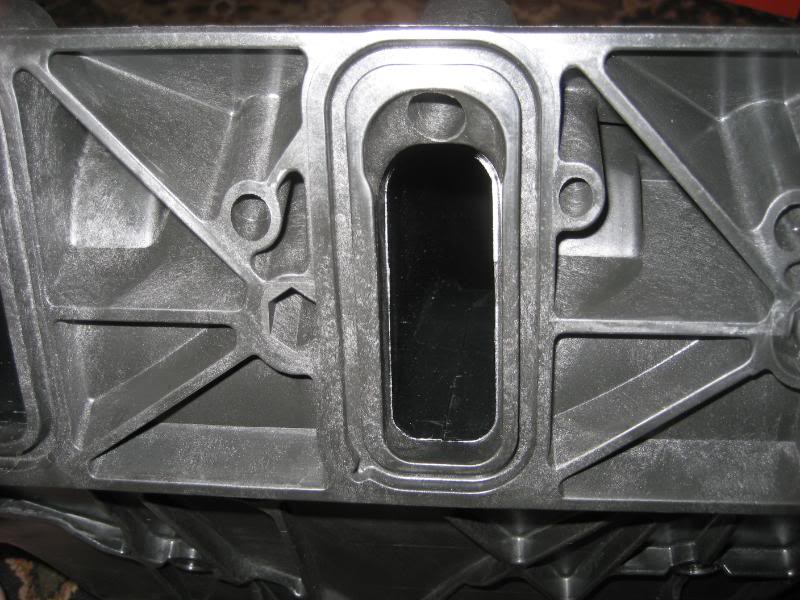
Below, you will see the smaller runner through the base port.
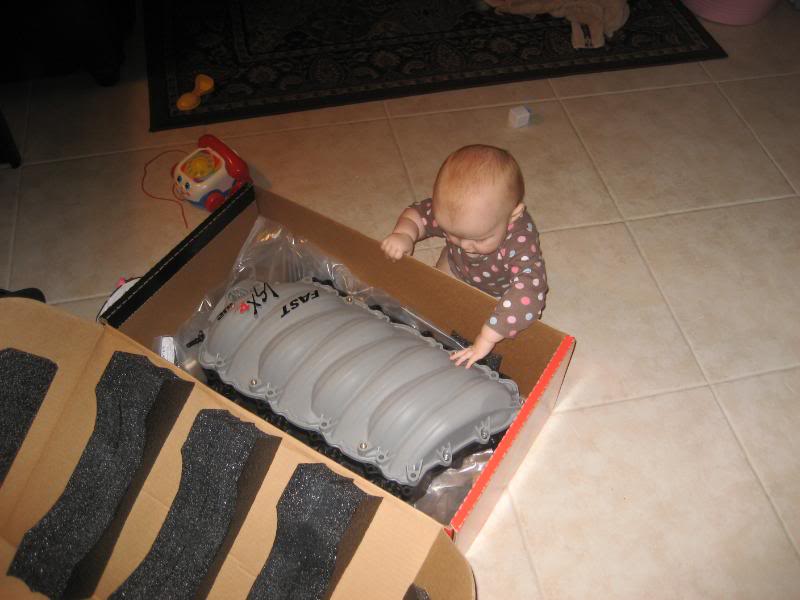
My little one as curious as ever!
Have a good night fellas-
I'll be doing it Saturday-
It's pretty simple but I'll take a few pics of removal and replacement if it would help inspire a few guys to do this who would normally pass on doing it themselves.
I am considering doing the port work now OR just do it when I swap the heads in a few months, not sure. Each runner could use some attention though since you can see the actual runner is a bit smaller than the base of the maifold. I would save port matching the base until I decide on my heads, TFS 225's or 235's depending on what size shortblock I go with... so many options.
Now I gotta come up with $150 for my ECS tune! Damn, it never ends-
Below, you will see the smaller runner through the base port.
My little one as curious as ever!
Have a good night fellas-
Last edited by JayplaySS2; Jan 27, 2011 at 11:30 PM.
Melting Slicks

Joined: Sep 2007
Posts: 2,597
Likes: 3
From: READING PA
St. Jude Donor '08-'09-'10
Nice Pics. One thing to keep in mind if you use the TFS 225 in conjunction with the 102 you may have to clearance the underside as there are places
where it will not seat properly at least that was my case and the manifold had leaks and had to be sent back. I ported mine and eventually picked up
5 to 7 RW over the PORTED 92. Good luck with it and please keep us posted.
where it will not seat properly at least that was my case and the manifold had leaks and had to be sent back. I ported mine and eventually picked up
5 to 7 RW over the PORTED 92. Good luck with it and please keep us posted.

Racer

Joined: May 2010
Posts: 499
Likes: 5
From: Bensalem PA
Nice Pics. One thing to keep in mind if you use the TFS 225 in conjunction with the 102 you may have to clearance the underside as there are places
where it will not seat properly at least that was my case and the manifold had leaks and had to be sent back. I ported mine and eventually picked up
5 to 7 RW over the PORTED 92. Good luck with it and please keep us posted.
where it will not seat properly at least that was my case and the manifold had leaks and had to be sent back. I ported mine and eventually picked up
5 to 7 RW over the PORTED 92. Good luck with it and please keep us posted.
Melting Slicks
Joined: Sep 2007
Posts: 2,597
Likes: 3
From: READING PA
St. Jude Donor '08-'09-'10
I did back in the Summer. As soon as I got my new replacement from Hinson who stepped right up for me and got Comp to replace it. I was worried for a bit they would try to assert improper installation but they
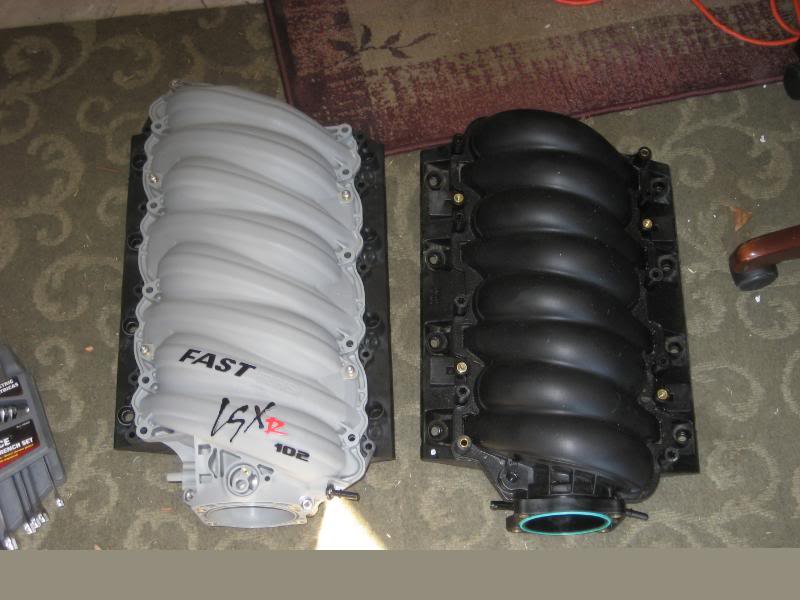
were good about that. I clearanced the Ribs with just a small half moon indentation at the suspect clearance spots. I dont know if the 235 TFS would be better. but I do know that the 102 has smaller runners and they are longer. I do however know that it should be ported otherwise the PORTED92 would have prevailed over the stock 102. There is much controversy about these manifolds but you don't see members throwing away their PORTED 92's and getting a 102 right away. Its close and the 102 best be PORTED.
Melting Slicks
Joined: Sep 2007
Posts: 2,597
Likes: 3
From: READING PA
St. Jude Donor '08-'09-'10
Thread Starter
Melting Slicks
Joined: Jul 2007
Posts: 2,052
Likes: 14
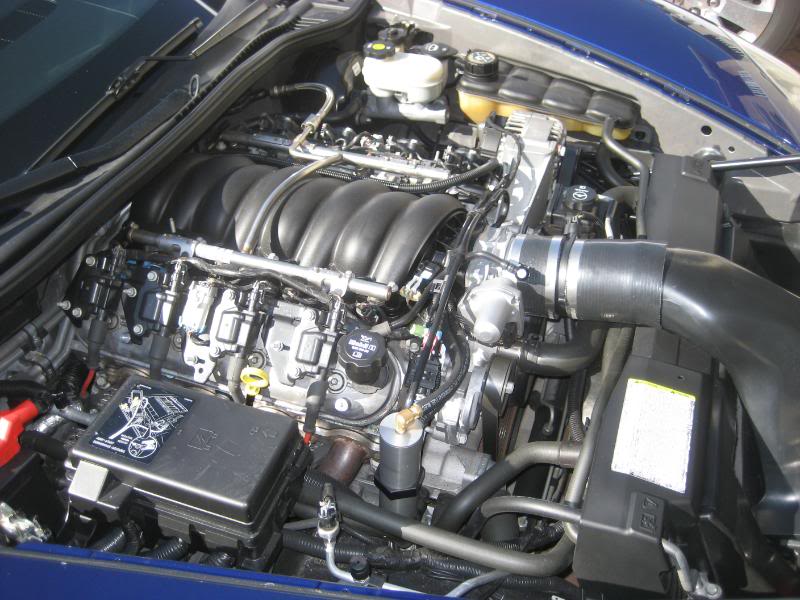
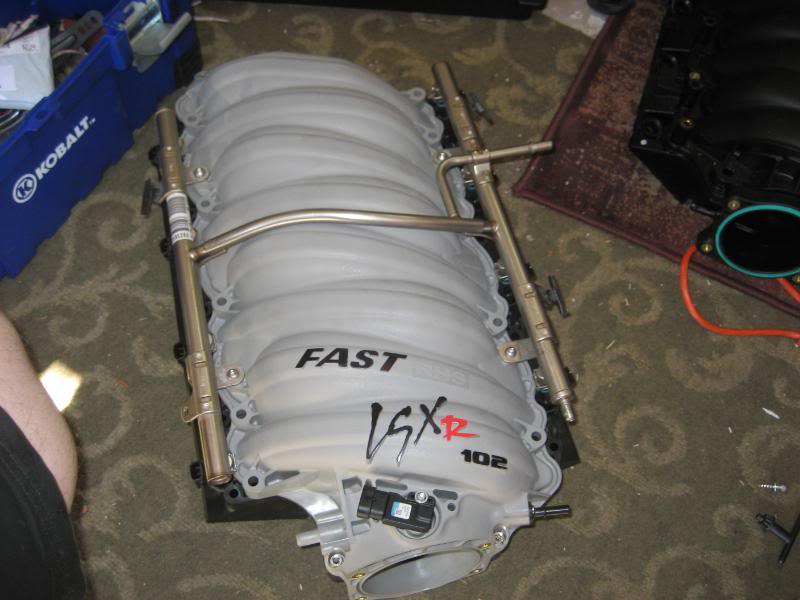
Well, for me, going from a stock LS2 intake to a FAST 102 will be pretty sweet, ported (for now) or not.
I remember when Spin ported my FAST 92 and I replaced it over my ported LS2 and I was very impressed, though I already had H/C/Bolt ons.
I remember when Spin ported my FAST 92 and I replaced it over my ported LS2 and I was very impressed, though I already had H/C/Bolt ons.
Corvette Stories
The Best of Corvette for Corvette Enthusiasts

Top 10 Most Expensive Corvettes Ever Sold on Bring A Trailer
Brett Foote
10 Things Every Corvette Owner Needs (2026 Edition)
Michael S. Palmer
8 Most "Only Corvette Owners Understand" Quirks and Problems
Pouria Savadkouei
10 Reasons the C6 Z06 is Still A Performance Benchmark After 20 Years
Joe Kucinski
How Much Horsepower Every Corvette Engine "LOST" in 1972
Joe Kucinski
Top 10 DOs and DON'Ts for Protecting Your Convertible Top!
Michael S. Palmer
Top 10 Most Explosive Corvettes Ever Made: Power-to-Weight Ratio Ranked!
Joe Kucinski
150 hp to 1,250 hp: Every Corvette Generation Compared by the Specs That Matter
Joe Kucinski
8 Coolest Corvette Pace Cars (and Replicas) of All Time
Verdad GallardoTech Contributor


Joined: Jul 2002
Posts: 14,950
Likes: 264
From: St. Louis, MO
St. Jude Donor '08
Couple of tips for a 92...but not positive they work on a 102.
On a 92 you don't have to unhook the fuel line. Just flip the rail back on the windshield and out of the way. If the ls2 fuel rail & injectors fits the 102 that should be the same. On the 92 we have to use washers to hold down the fuel rail as the holes don't line up to the tabs. I think that changed on the 102 and the ls2 fuel rail fits without washers?
92's use ls1 injector 0-rings which are available in stock at Advance Auto usually. Don't know what the 102's use, but you might want to search for that.
The 4 bolts in the back stay in the manifold as you pull it forward. Use about 1" of vacuum line, cut, to hold them up out of the way when sliding the manifold forward. I do it by hand but I've done it a bunch of times. You'll see what I mean when you do it.
Unhook the brake booster line from the booster, then when you pull the manifold forward, pull the line with the manifold, feeding it from the back. You won't be able to unhook it while the manifold is in place.
Be careful of the oil pressure sender in the back that the brake booster line snakes around. They are expensive if you break it so don't pull on the line too hard!
Hope that helps. Keep us posted.
Thread Starter
Melting Slicks
Joined: Jul 2007
Posts: 2,052
Likes: 14
Couple of tips for a 92...but not positive they work on a 102.
On a 92 you don't have to unhook the fuel line. Just flip the rail back on the windshield and out of the way. If the ls2 fuel rail & injectors fits the 102 that should be the same. On the 92 we have to use washers to hold down the fuel rail as the holes don't line up to the tabs. I think that changed on the 102 and the ls2 fuel rail fits without washers?
92's use ls1 injector 0-rings which are available in stock at Advance Auto usually. Don't know what the 102's use, but you might want to search for that.
The 4 bolts in the back stay in the manifold as you pull it forward. Use about 1" of vacuum line, cut, to hold them up out of the way when sliding the manifold forward. I do it by hand but I've done it a bunch of times. You'll see what I mean when you do it.
Unhook the brake booster line from the booster, then when you pull the manifold forward, pull the line with the manifold, feeding it from the back. You won't be able to unhook it while the manifold is in place.
Be careful of the oil pressure sender in the back that the brake booster line snakes around. They are expensive if you break it so don't pull on the line too hard!
Hope that helps. Keep us posted.
On a 92 you don't have to unhook the fuel line. Just flip the rail back on the windshield and out of the way. If the ls2 fuel rail & injectors fits the 102 that should be the same. On the 92 we have to use washers to hold down the fuel rail as the holes don't line up to the tabs. I think that changed on the 102 and the ls2 fuel rail fits without washers?
92's use ls1 injector 0-rings which are available in stock at Advance Auto usually. Don't know what the 102's use, but you might want to search for that.
The 4 bolts in the back stay in the manifold as you pull it forward. Use about 1" of vacuum line, cut, to hold them up out of the way when sliding the manifold forward. I do it by hand but I've done it a bunch of times. You'll see what I mean when you do it.
Unhook the brake booster line from the booster, then when you pull the manifold forward, pull the line with the manifold, feeding it from the back. You won't be able to unhook it while the manifold is in place.
Be careful of the oil pressure sender in the back that the brake booster line snakes around. They are expensive if you break it so don't pull on the line too hard!
Hope that helps. Keep us posted.
This one came with O-rings but as far as the fuel rail mounting and any other issues, I'll be sure to bring them up.
Drifting

Joined: Oct 2004
Posts: 1,790
Likes: 29
From: STL MO
St. Jude Donor '09-'10
Great info Joe!
Jason,
when you put the top back on be sure to look all the way around it before bolting it together with the base, when it is put together properly it will basically snap together as it is a pretty snug fit. I think some have tried to bolt it back together and it wasn't "snapped" in all the way around which would cause some issues.
Definitely use the supplied o-rings for the injectors also.
Looking forward to your pic's and write-up while you are doing the install.

John
Jason,
when you put the top back on be sure to look all the way around it before bolting it together with the base, when it is put together properly it will basically snap together as it is a pretty snug fit. I think some have tried to bolt it back together and it wasn't "snapped" in all the way around which would cause some issues.
Definitely use the supplied o-rings for the injectors also.
Looking forward to your pic's and write-up while you are doing the install.
John
Thread Starter
Melting Slicks
Joined: Jul 2007
Posts: 2,052
Likes: 14
Great info Joe!
Jason,
when you put the top back on be sure to look all the way around it before bolting it together with the base, when it is put together properly it will basically snap together as it is a pretty snug fit. I think some have tried to bolt it back together and it wasn't "snapped" in all the way around which would cause some issues.
Definitely use the supplied o-rings for the injectors also.
Looking forward to your pic's and write-up while you are doing the install.
John
Tech Contributor
Joined: Jul 2002
Posts: 14,950
Likes: 264
From: St. Louis, MO
St. Jude Donor '08
Bring it out to Runday Sunday at Countyline this Sunday and see how its doing!
Melting Slicks
Joined: Sep 2007
Posts: 2,597
Likes: 3
From: READING PA
St. Jude Donor '08-'09-'10
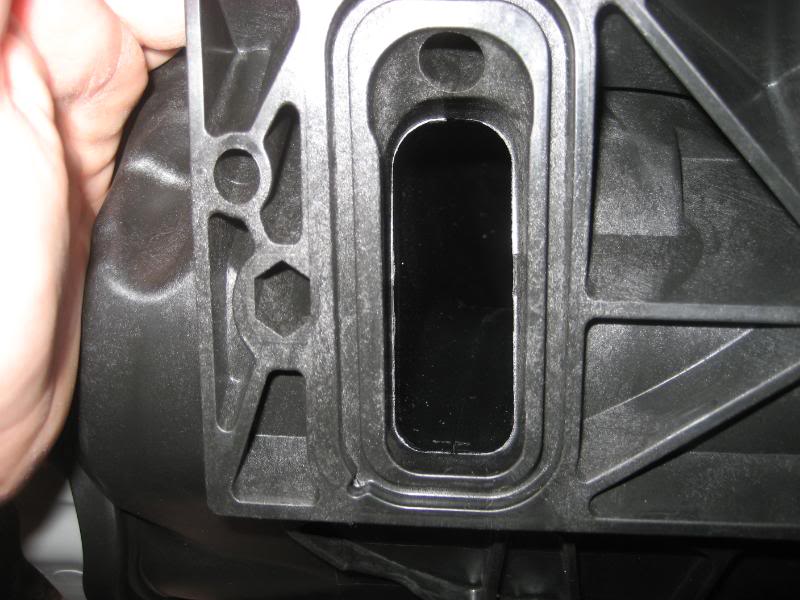
1 & 2. SHOWS THE TROUBLE SPOTS AS INDICATED ON THE TIPS OF THE CALIPRE
3 SHOWS THE 92 NO PROBLEMO
4. SHOWS THE SMALL HALF MOON CLEARANCED AND READY TO GO.
Last edited by LSCHLEM; Jan 29, 2011 at 03:27 PM. Reason: ADDITIONAL COMMENTS
Thread Starter
Melting Slicks
Joined: Jul 2007
Posts: 2,052
Likes: 14
My laptop just froze after I had thos 90% complete DAMN IT.
This is the 2nd time around-
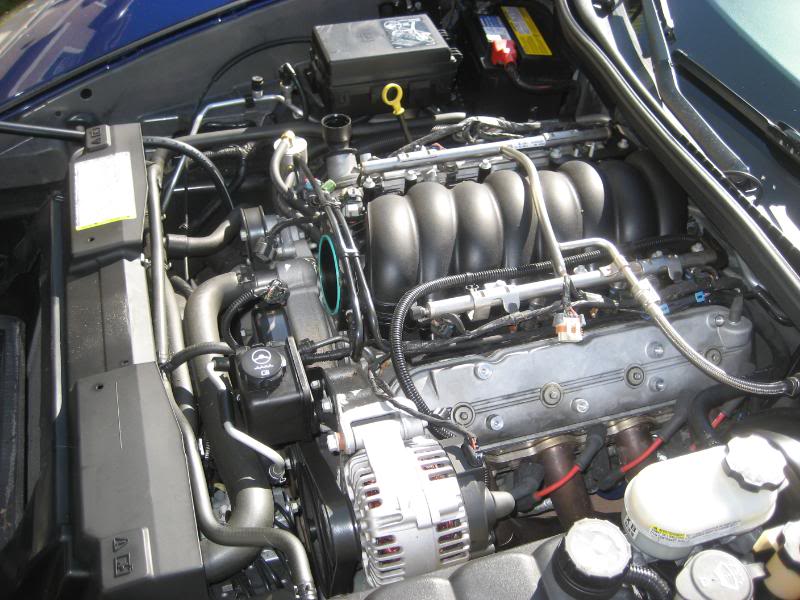
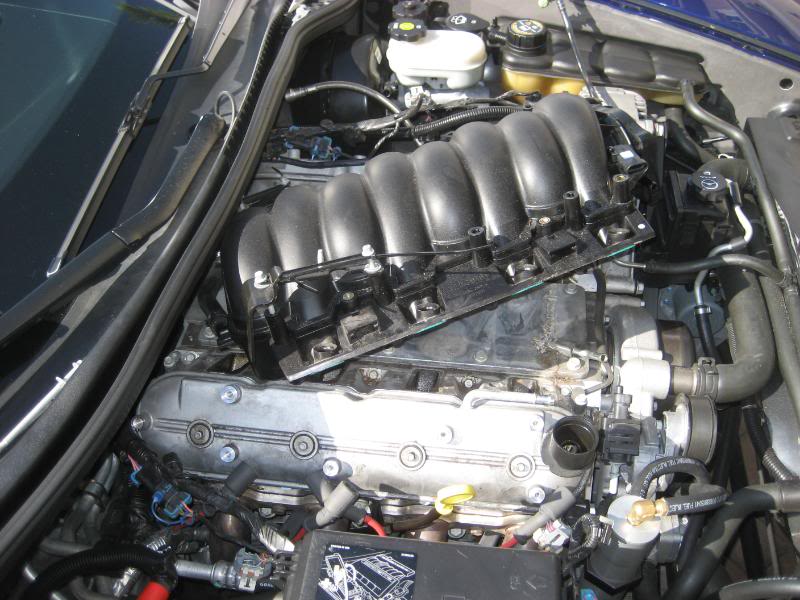
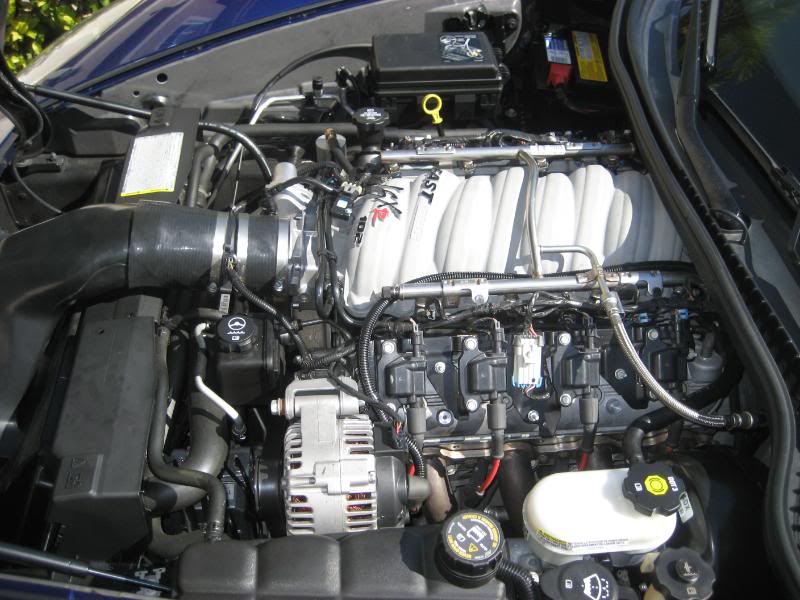
Begining- Started @ 10:30 am and had it complete and running at 1:30 pm. This even included a quick trip to parts store for RTV and a coffee run for my wife. This is a breeze guys-
Disconnect the battery-
I removed the CAI, tb, coils and even the fuel rail with a fuel line disconnect tool, very easy. I remove alot to have plenty of room,
My cool *** wife helping
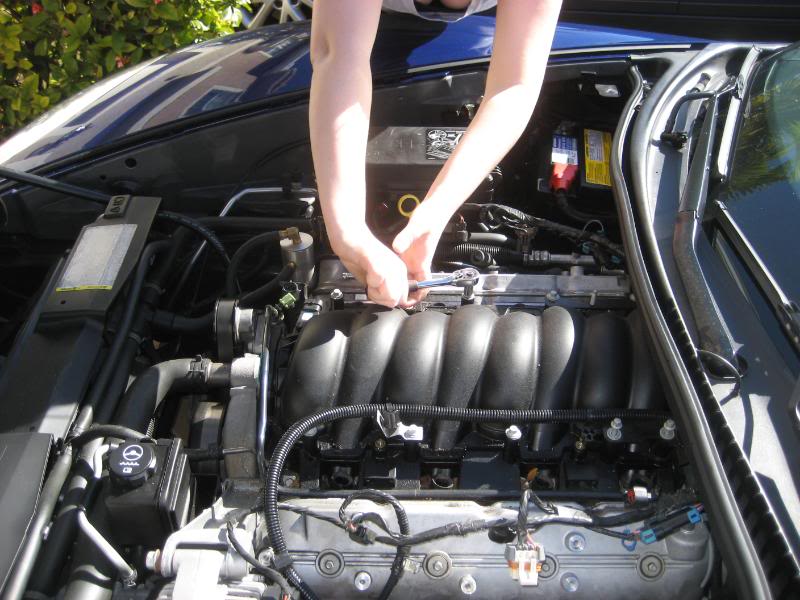
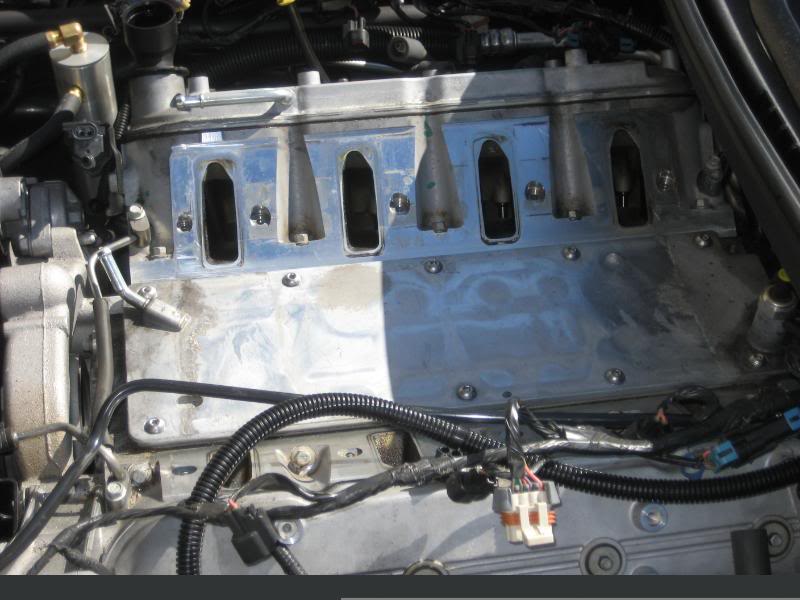
After removing the items, remove the 10 8mm intake bolts-
On the last 2 rear bolts zip tie them together so they stay in the intake, zip tie them as tight as you can.
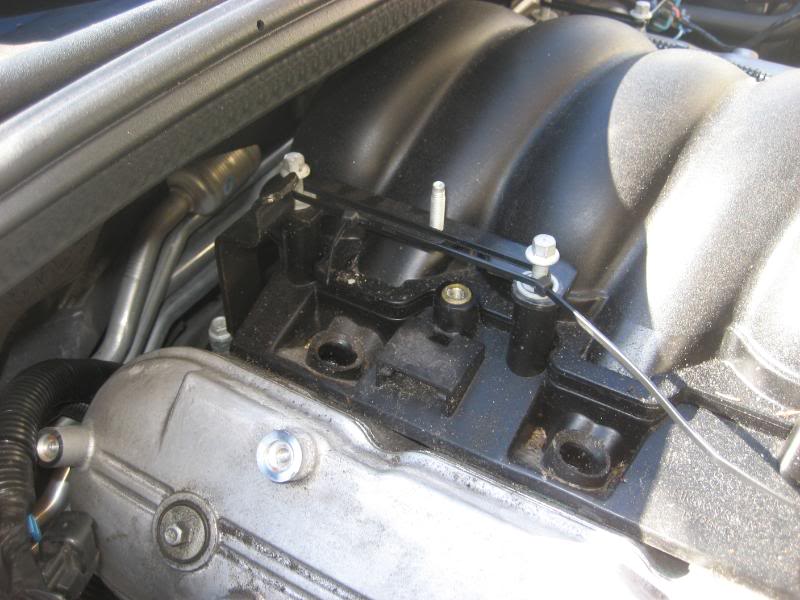
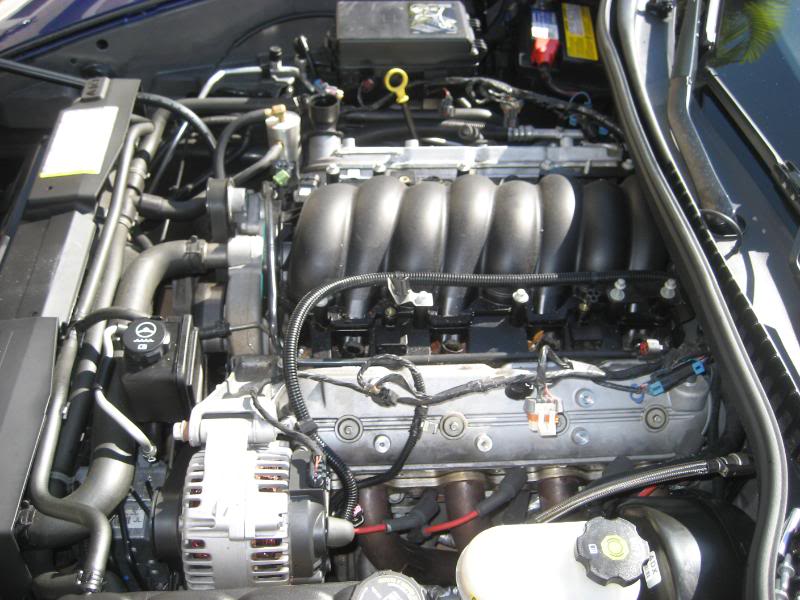
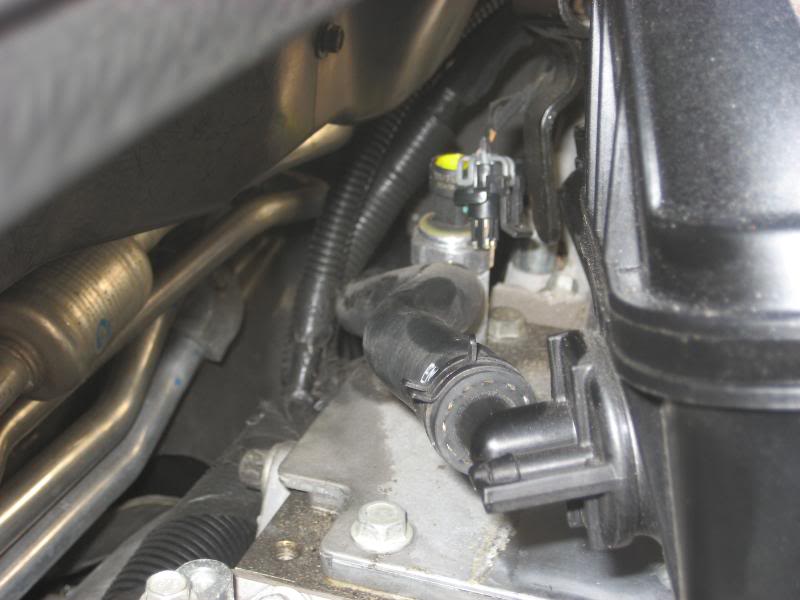
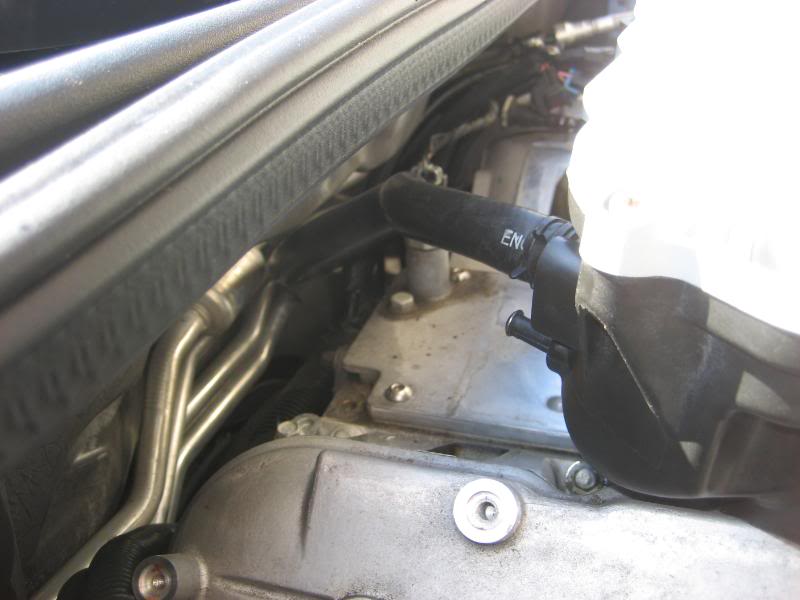
Once they are secure and the remaining bolts are removed, shift the rear of the intake to the pass side to snake the booster hose by the oil sending unti.
Oil sending unit, don't break it.
Look at those botls, right where I left them
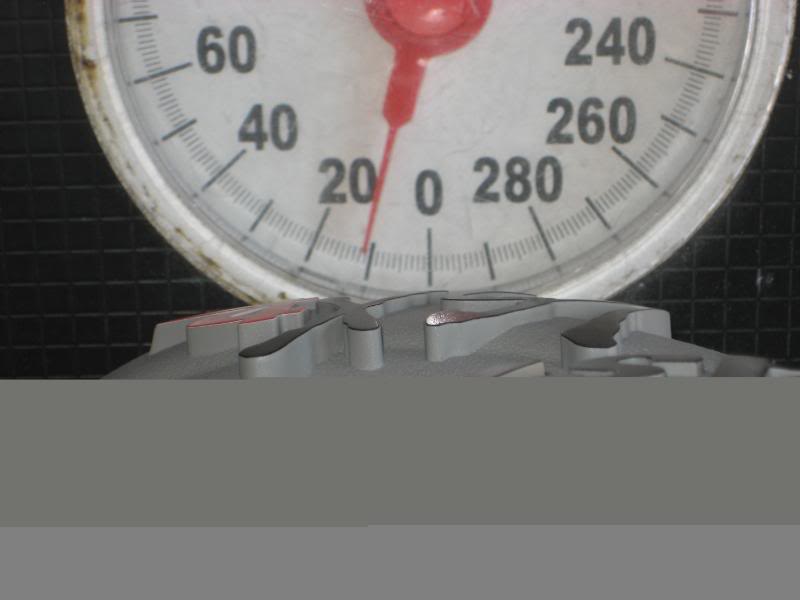
The weight...
I weighed them BARE-
LS2 (bad pic) 6lbs-
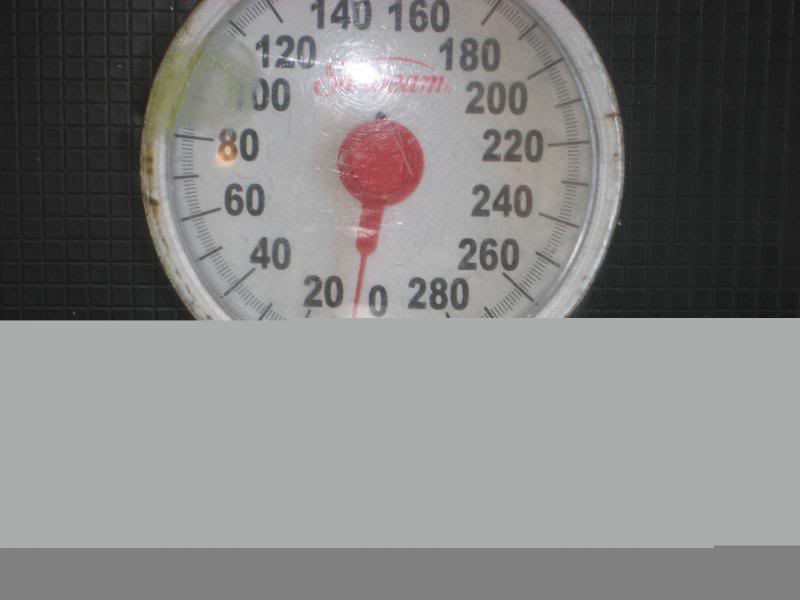
FAST 102 (bad pic) 11lbs
More on the next post-
This is the 2nd time around-
Begining- Started @ 10:30 am and had it complete and running at 1:30 pm. This even included a quick trip to parts store for RTV and a coffee run for my wife. This is a breeze guys-
Disconnect the battery-
I removed the CAI, tb, coils and even the fuel rail with a fuel line disconnect tool, very easy. I remove alot to have plenty of room,
My cool *** wife helping
After removing the items, remove the 10 8mm intake bolts-
On the last 2 rear bolts zip tie them together so they stay in the intake, zip tie them as tight as you can.
Once they are secure and the remaining bolts are removed, shift the rear of the intake to the pass side to snake the booster hose by the oil sending unti.
Oil sending unit, don't break it.
Look at those botls, right where I left them
The weight...
I weighed them BARE-
LS2 (bad pic) 6lbs-
FAST 102 (bad pic) 11lbs
More on the next post-
Last edited by JayplaySS2; Jan 29, 2011 at 05:41 PM.
Melting Slicks
Joined: Sep 2007
Posts: 2,597
Likes: 3
From: READING PA
St. Jude Donor '08-'09-'10
Yes there were issues with the porting. Odd thing it made power anyway
and I thought the 102 would deliver all kinds of power over the controversial 92 . as it turned 5-7 RW across the band was all to be had.
In my humble opinion I believe a PORTED 92 will outperform a STOCK 102
but not a PORTED one. I thought I posted the dynograph back then and
many months later I still do not see any data Points to make a grand conclusion about this. Those who have 92's are keeping them and those who are going for the fast are going with the 102 for obvious reasons.
Thread Starter
Melting Slicks
Joined: Jul 2007
Posts: 2,052
Likes: 14
I cleaned the heads as well as I cared
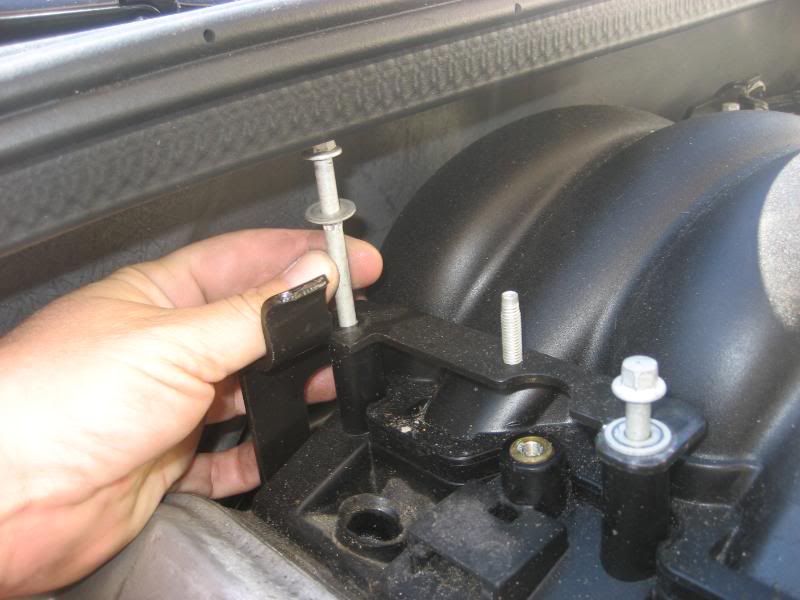
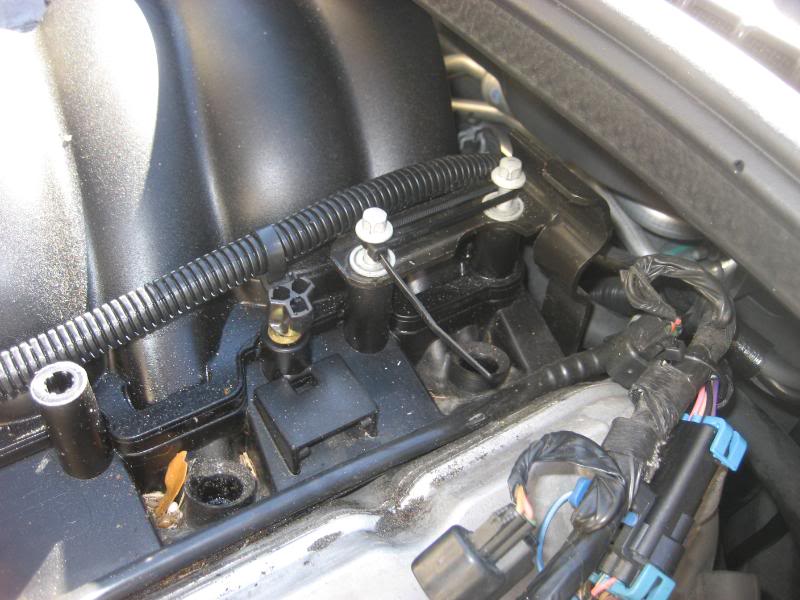
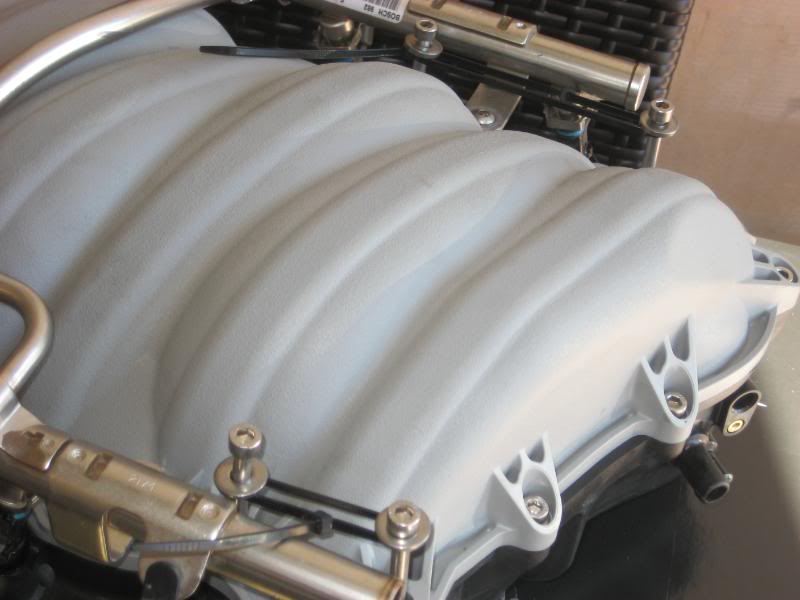
Here you see all 10 button head screws FAST supplies to clear the FAST floor.
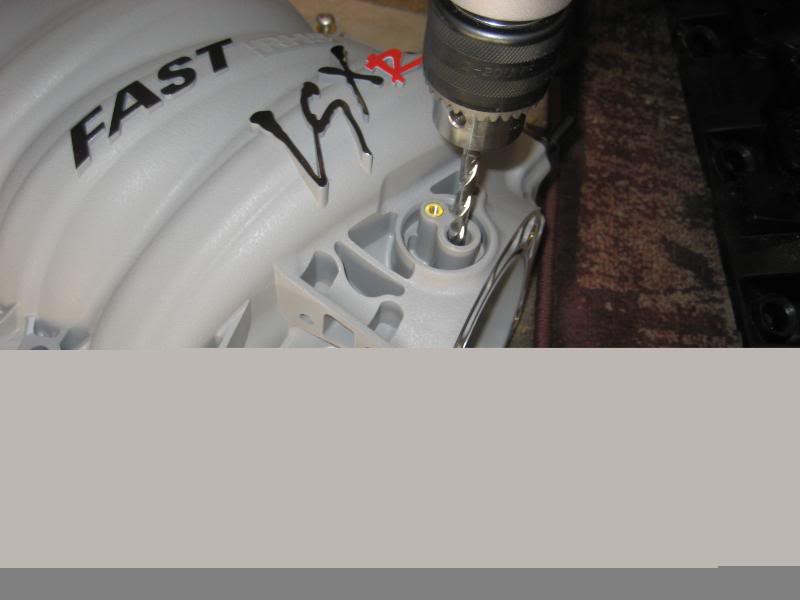
You need to drill 3/8 hole where the map sensor goes (LS2). Be sure to clean the intake OR remove the shell to drill it.
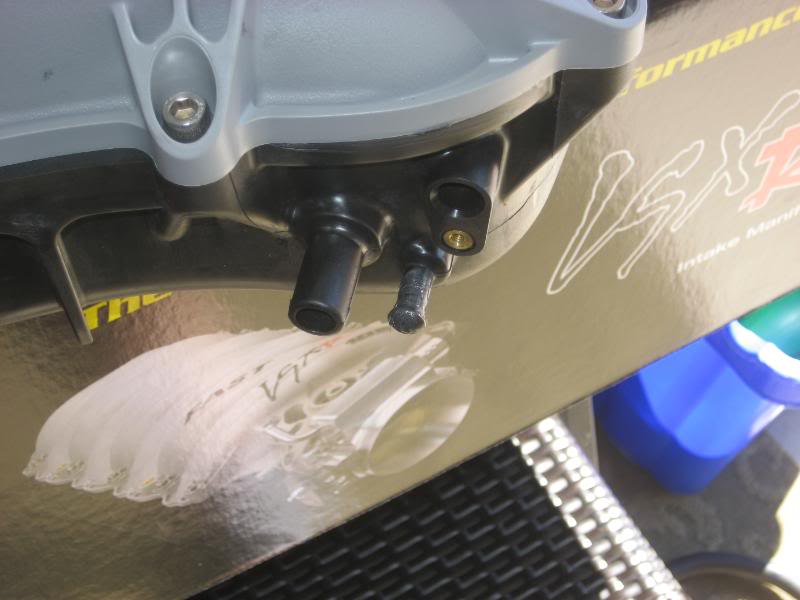
Plug the extra vacum port on the rear next to the brake booster line.
I used a screw with RTV-
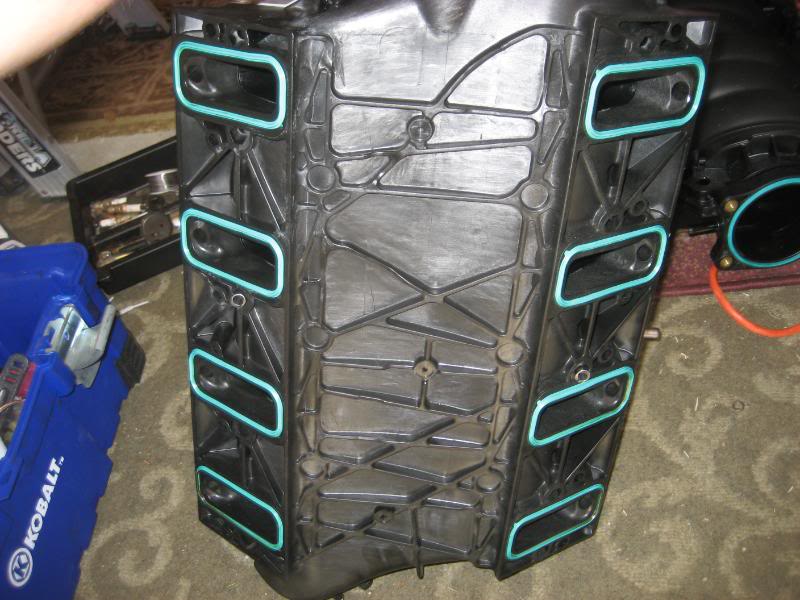
Remove the LS2 intake gaskets and transfer them to the FAST.
Install all 8 0 rings (use motor oil as lubricant) and install the rail with a little locktite on the bolts. Don't cross thread these small bolts, the fuel line has to be pulled for perfect allignmet of the bolts. Install the Map sensor with the new screw.
Zip tie the 2 rear bolts on each side to ease movement on the engine.
Set the intake on side ways, like removal and connect the booster line and snake it over to the booster.
Tighten all 10 intake bolts down in tq sequence supplied by FAST instructions, start connecting things and install tb, cai and coils. Connect fuel line and triple check everything.
Reconnect the battery and start it up. Mine caught idle right away and runs just fine.

Any questions? I flew though this post so I may go back and add forgotten items later.
Here you see all 10 button head screws FAST supplies to clear the FAST floor.
You need to drill 3/8 hole where the map sensor goes (LS2). Be sure to clean the intake OR remove the shell to drill it.
Plug the extra vacum port on the rear next to the brake booster line.
I used a screw with RTV-
Remove the LS2 intake gaskets and transfer them to the FAST.
Install all 8 0 rings (use motor oil as lubricant) and install the rail with a little locktite on the bolts. Don't cross thread these small bolts, the fuel line has to be pulled for perfect allignmet of the bolts. Install the Map sensor with the new screw.
Zip tie the 2 rear bolts on each side to ease movement on the engine.
Set the intake on side ways, like removal and connect the booster line and snake it over to the booster.
Tighten all 10 intake bolts down in tq sequence supplied by FAST instructions, start connecting things and install tb, cai and coils. Connect fuel line and triple check everything.
Reconnect the battery and start it up. Mine caught idle right away and runs just fine.
Any questions? I flew though this post so I may go back and add forgotten items later.
Last edited by JayplaySS2; Jan 29, 2011 at 03:56 PM.