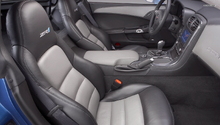
C6 Corvette: How to Replace Seat Covers
Don't let worn seat covers drive down the value of your C6 Corvette. Replace them today using a few simple tools.
This article applies to the C6 Corvette (2005-2013).
With custom, high quality auto seat covers for sale online and through auto parts stores, as well as national retailers such as Walmart, you can change the look and feel of your C6 Corvette in as little as a few hours. While this DIY project may seem tedious at the start for some, the steps are relatively easy to carry out, and the complete DIY time from start to finish is only three hours per seat. All you need is a few simple tools and an open area in which to work and presto: you're on your way to revamping your C6.

Materials Needed
- Flat head screwdriver
- Power screwdriver
- Foam cushion
- Pliers
- Single blade razor
- Staple gun
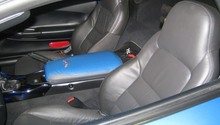
Step 1 – Remove the seats
Using both a flat head screwdriver and a power screwdriver, pull the seats. Unscrew the two front screws on either side of the front car seat (near the floor) as well as the two rear screws (one on the right side of the car seat and one on the left). Adjust the positioning of the seat as needed to reach the back bottom floor, where two rear screws are bolted into place along the harness. Disconnect the battery and then unhook the cables that connect the car seat to the harness. Detach the safety belt using the power screwdriver. Pull each seat from the interior of the vehicle and position on a foam cushion for support while you take control of any dangling parts. Once you are ready, transport both seats to a clean, flat workstation, where you will begin Step 2.
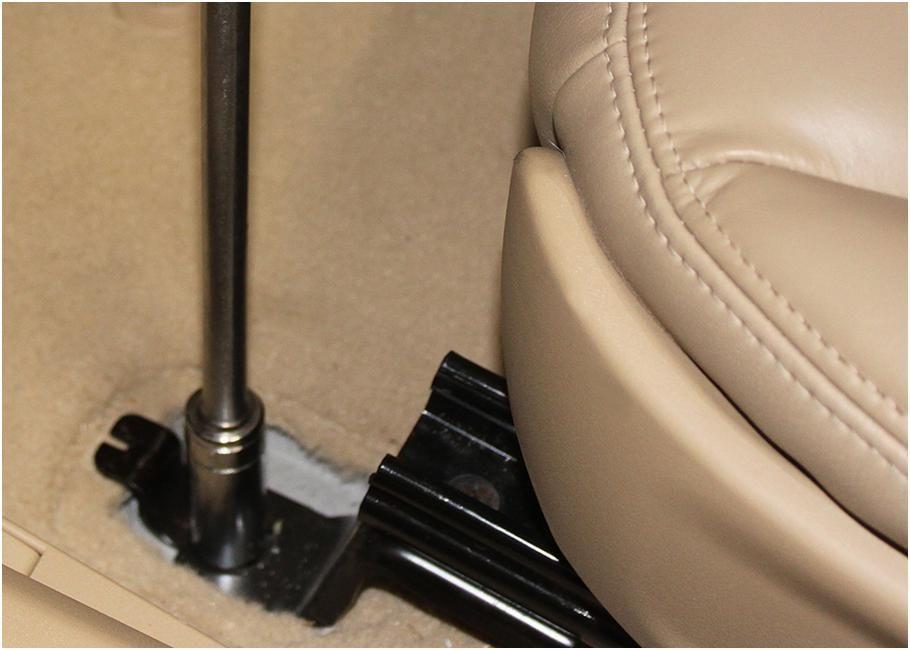
Figure 1. Unbolting seat. 
Figure 2. Removing seat belt.
Step 2 – Remove the outside fabric and padding
Remove all knobs, handles and hardware from the side panel, and then disconnect the cables that connect the parts. Unzip the back of the seat cover and remove the fabric. Using a pair of pliers, undo the two fasteners near the bottom of the seat. Turning the seat so it is facing you, reach down and remove the center padding, adding force where necessary to disconnect the fasteners that have been used to hold the padding in place. Set the center padding to the side while you continue to work. Unhook the fasteners you've just recovered, one by one. Pull the seat cover up and away from the seat, taking a moment to cut away any staples and release any fabric that is still attached.

Step 3 – Turn the seat upside down
Using a pair of pliers, detach the ties at the bottom of the seat. Now, peel away the bottom portion of the seat cover and remove the attached foam cushion (i.e., what you would normally be sitting on if you were driving the vehicle). Using a flat head screwdriver, detach the final adjoining cable. Unfasten the two fasteners, and then remove the top foam covering.

Step 4 – Replace with new foam
Fit the replacement foam body onto the seat, pressing the top, bottom and center portions firmly into place. Cut away any excess or hanging pieces using a single blade razor. Attach the center padding, first by stripping it bare, and then by applying the protective sheet that comes packaged with the foam. Bond the protective sheet to the front side of the foam using a spray adhesive. Turn the foam upside down and slowly roll the cover down over the foam until it is snug and in place. Set aside, and then do the same for the bottom and top portions. Re-attach each of the screws and fasteners that you removed in Step 2 using the power screwdriver.

Step 5 – Turn the seat upright
Fasten the Velcro straps located on the rear handles of the frame; there will be one on left and right. Using a staple gun, shore up these straps so the front seat cover is securely in place. Slice a hole where the plastic, square mechanism near the head rest goes, and then tuck the loose ends of fabric along the sides of the small square, guiding the fabric with a flat screwdriver as you go. Secure the bottom cushion in place, fastening the Velcro straps at the back of the seat when you are done. Fit the center cushion tightly into place, and then secure the piece with fasteners. Connect the bottom cables, and then secure the final back flap using staples or ties.

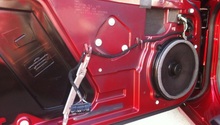
Step 6 – Cut away holes for side panel, including the side lever
Attach the side panel, remembering to connect the cable and attach the original hardware. Move the seats back to the vehicle and re-attach.
Related Discussion, Site and Video
- How to Reupholster Car Seats - YouTube
- C5 Seat Covers - CorvetteForum
- Corvette C6 Seat Rebuild - 101CorvetteProjects.com