C7 Corvette: How to Install a Cold Air Intake
To get more power, a simpler modification is adding a cold air intake to your C7. Learn how to here.
This article applies to the C7 Corvette (2014-current).
The Corvette is arguably the most powerful American-made sports car on the market. There are not many thrills like sitting behind the wheel of the flagship of the Chevrolet line. Even with all that power right off the assembly line, many owners look for more ways to improve performance and make that ride like no other. There are numerous modifications that can be made to enhance the beauty or mean street looks of this prized ride, or make it rumble out more power from the engine. Some modifications require a bit of mechanical skills such as adding high-performance headers or exhaust systems. Others, such as installing a high-performance cold air intake system, can be done very easily, giving up to 40% more outflow and increasing up to a whopping 18 horse power. This is a job that can be done in your own garage in a matter of minutes, saving you a large chunk of change from having it done by a professional.

Materials Needed
- 7 mm nut driver
- 8 mm nut driver
- Ratchet and 10 mm socket
- New intake system
The Advanced Flow Engineering product is one such offering, which is a bolt on system that can be installed in about 30 minutes.
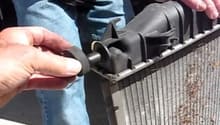
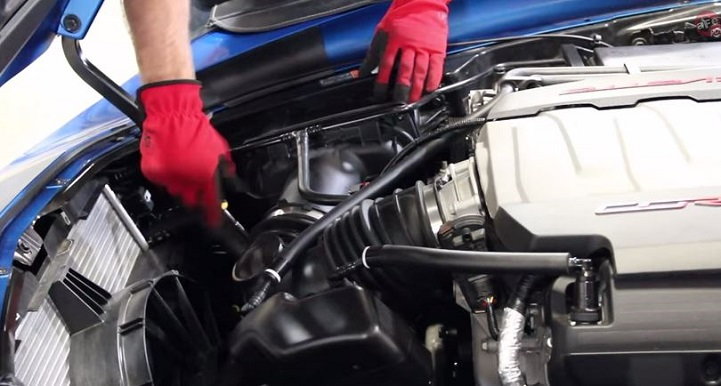
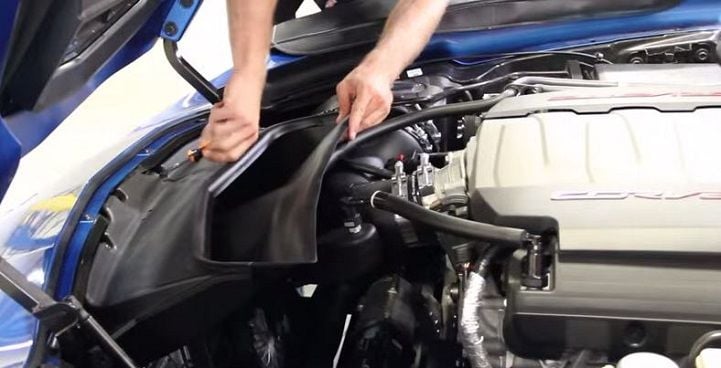
Step 1 – Remove the radiator air duct
Use a 7 mm nut driver to remove the nuts at the front of the ducting.
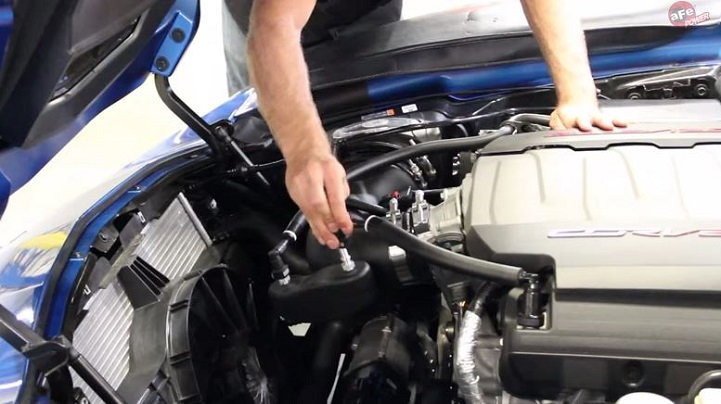
Step 2 – Disconnect the vent hoses and intake tube
Loosen all the clamps and use an 8 mm nut driver to remove the hoses and intake tube.
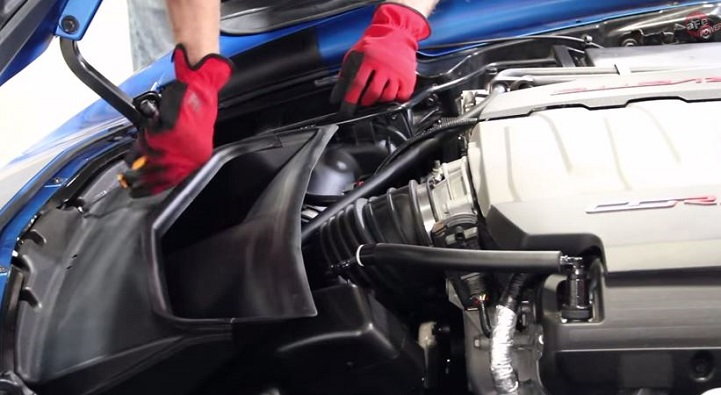
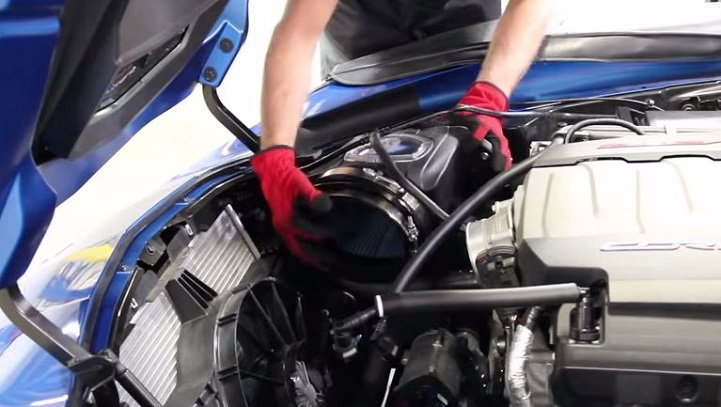
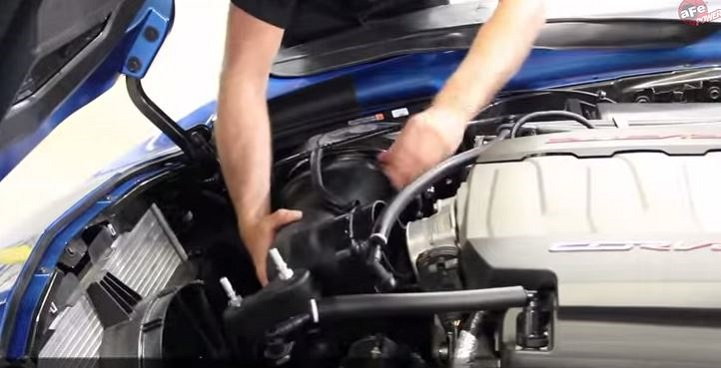
Step 3 – Remove factory intake box
Use a 10 mm ratchet to remove the factory intake air box.

Step 4 – Transfer the mounting grommets to the new air box
Transferring the mounting grommets from the factory air box to the replacement makes this job a bolt-on system.
Step 5 – Install T-bolt clamps
Install the T-bolt clamps and slide the filter into the housing. Do not tighten the clamps down just yet.

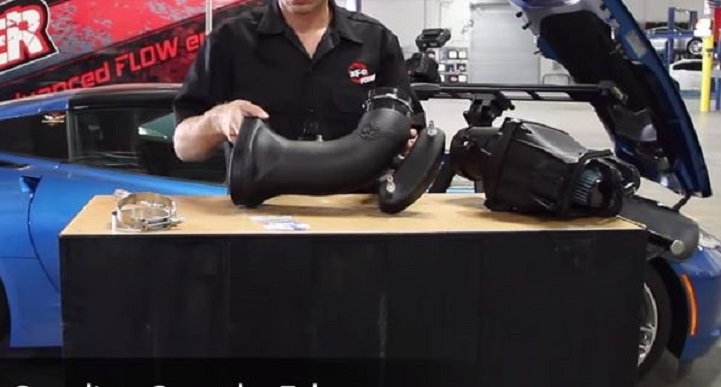
Step 6 – Install the new housing
Use the 10 mm socket and ratchet to install the new housing.
Step 7 – Remove the mass air flow sensor and install into new tube
Remove the MAF sensor from the old vent tube and install into the new tube. Use the factory O-ring and the supplied screws (M4 with the aFe product).
Step 8 – Install the factory vent fittings onto the new tube
Screw the factory vent fittings into the new tube. The aFe product comes with a threadlocker that you will use to ensure a perfect seal.

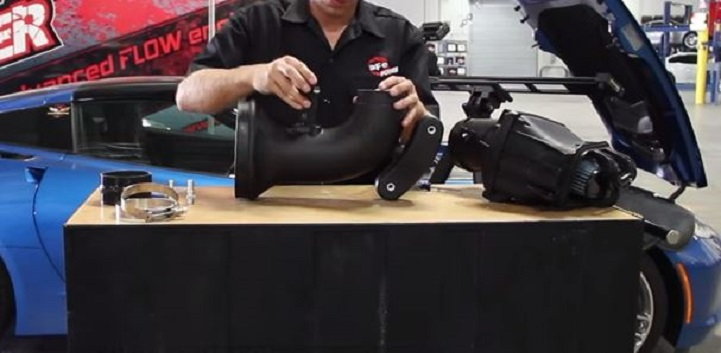
Step 9 – Install the silicone coupling onto the tube
Install the silicone coupling onto the tube.
Step 10 – Install the new tube onto the throttle body
The new tube will fit right into the throttle body. Re-install the T-bolt clamps over the coupling.
Step 11 – Reconnect the MAF sensor and re-attach the vent hoses
With everything lined up, each piece should simply connect back together.
Step 12 – Re-install the factory radiator air duct
Use your 7 mm nut driver to re-install the radiator duct. Enjoy the new horses in your stable!
Related Discussion and Video
- 2014 Corvette C7 CAI aFe Power install - Youtube.com
- aFe Power Momentum Sealed Air Intake - CorvetteForum.com