Corvette: How to Replace a Wheel Hub
Driving with a faulty wheel hub is dangerous and can cause the tire to come off its bearing, even while you're driving. Learn how to replace the wheel hub to ensure the ride goes as smoothly as possible.
This article applies to the C5, C6 and C7 Corvette (1997-current).
It may be time to replace a wheel hub if you hear a loud popping noise when you turn hard to the left or right, or have excessive vertical play. A faulty wheel speed sensor also indicates you will need to replace the wheel hub, which you'll have to do because the speed sensor is integrated into the wheel hub itself. While it is not the easiest DIY task, if you're willing to invest in the right tools and have the time to tackle the project, you can save hundreds of dollars.

Materials Needed
- Jack
- Wood blocks
- Ratchet set
- Bungee cord or rope
- Rubber hammer or rubber mallet
- Grease
- Sledge hammer
- Cotter pins
- 6mm, 22mm Allen wrench
- Torque wrench
- Breaker bar, adapter and a T55 socket
Step 1 – Jack up the car
Loosen the lug nuts, jack up the car, support it with jack stands, remove the tire, and set the lug nuts aside. You also may want to set blocks behind the tires that are on the ground.
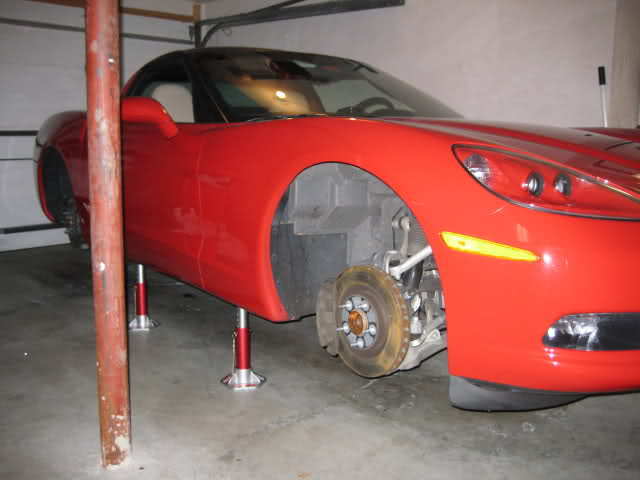
Figure 1. Jack up your car.
Pro Tip
Be sure you've parked your Corvette on a flat surface before starting.
(Related Article: How to Jack Up Your Vette - CorvetteForum.com)
Step 2 – Secure the brake caliper
Use a ratchet to unscrew the two 21mm bolts that secure the brake caliper. To keep it out of the way, suspend it using a bungee cord. If you don't have a bungee cord, you can use rope. Just make sure you've suspended it to keep it out of the way.

Figure 2. Remove the bolts securing the brake caliper. 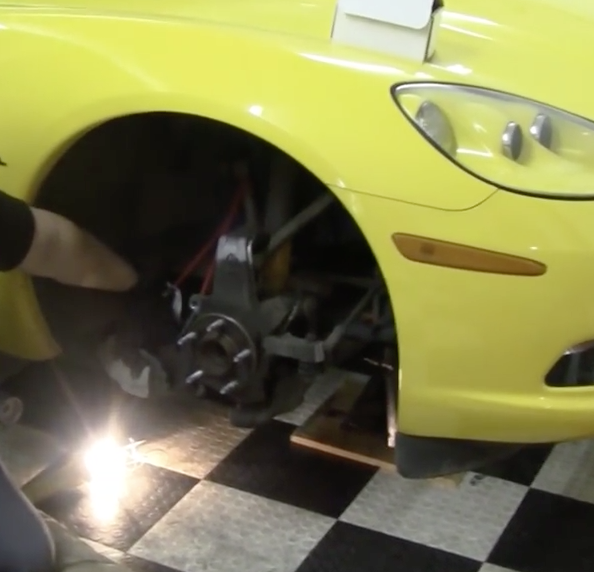
Figure 3. Suspend brake calipers using a bungee cord.
Pro Tip
Don't let the brake caliper hang by the brake line. This can damage the brake line or even cause it to snap off the caliper. The spring is a good component to hang the brake caliper from.
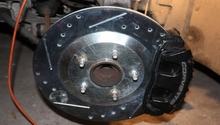
Step 3 – Remove the rotor
Using a rubber hammer or mallet, tap the rotor. This should loosen it and make pulling it off easier. The rotor has a tiny lip, so you may need to tap it several times to disengage it. The rotor is further secured by four cotter pins and a washer, which may be difficult to remove. You may need to pry them off. Use a 36mm ratchet to loosen and remove the hub nut.

Figure 4. Remove the rotor. 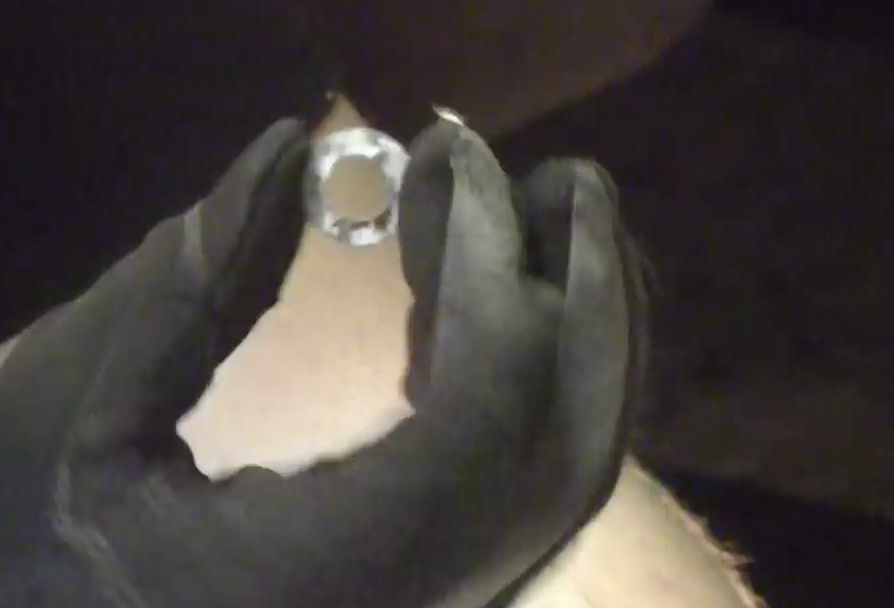
Figure 5. Washers holding rotor in place.
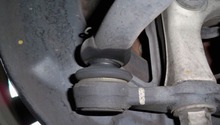
Step 4 – Loosen the tie rod end
Now that you've removed the brakes, it's time to loosen the tie rod end. Unscrew the nut until it is flush with the stud. To break the tie rod loose, tap on the nut with a rubber mallet. You also can use a 2x4 block, which will help soften the blow and prevent you from damaging the metal. If tapping on it doesn't work, you can use a little grease to help loosen it.

Step 5 – Remove lower ball joint nut
The lower ball joint is behind the wheel hub. It faces down, and its studs face up. Use a 21mm ratchet to remove the nut, and then remove the lower ball joint.
Step 6 – Separate lower control arm from wheel hub
Use a 2x4 and a sledge hammer to separate the lower control arm from the wheel hub. Using the sledge hammer directly on the control arm can damage it. You need to be careful and gentle, even when tapping on the 2x4. If this doesn't work, you can tap directly on the control arm with the sledge hammer, but be careful. Sometimes it's the force that gets it loose, and other times it's the vibration of metal on metal that loosens it.
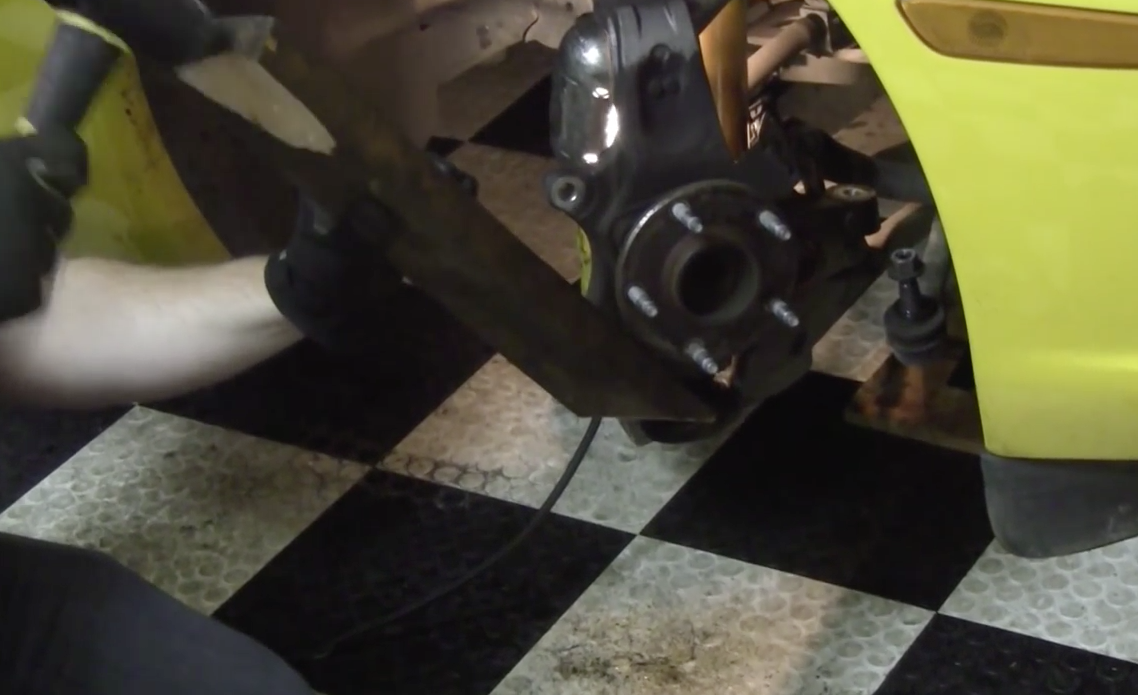
Step 7 – Remove the wheel hub
With the stud out of the way, use a breaker bar, an adapter and a T55 socket to remove the wheel hub. Remove the fasteners and then unplug the antilock brakes or ABS sensor. You'll find the wire harness directly behind the wheel. Try to avoid damaging the connector when you remove the wheel hub. Pull off the wheel hub.
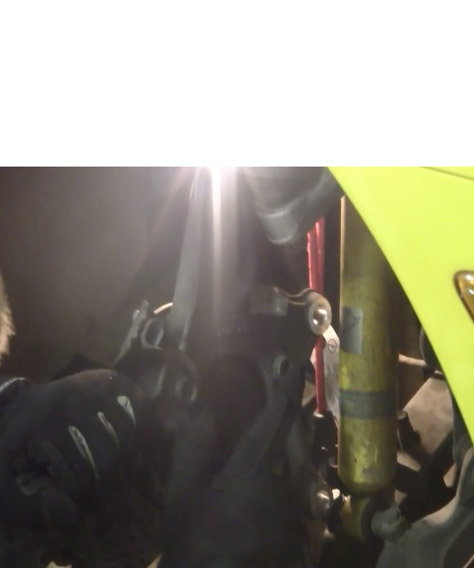
Figure 8. Remove wheel hub fasteners. 
Figure 9. Ready to replace the wheel hub.
Pro Tip
A T55 socket is unusually large, so be sure you have one before you get started.
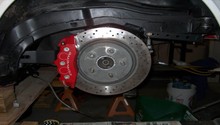
Step 8 – Replace and secure wheel hub
After putting on the new wheel hub, re-installation entails the previous steps in reverse. Reattach the lower control arm to the wheel hub. Replace the lower ball joint. Tighten the tie rod end. Put the rotor back on and reattach the brake calipers. Put the tire back on and tighten the lug nuts. Make sure your brakes work. Drive back and forth on your street before driving on the highway.
Pay careful attention to the torque specifications. The three fasteners that hold the wheel hub in place should be torqued down to 96 ft-lbs. Use an Allen wrench to tighten the other fasteners. The lower ball joint assembly has a 6mm interior Allen and a 21mm nut. Once you tighten it, use a torque wrench and socket to fully secure it in place. The lower ball joint should be torqued down to 52 ft-lbs., and the tie rod should be torqued down 33 ft-lbs. Attach the brake calipers with 152 lbs. of torque. The lug nuts should be torqued to 100 ft-lbs. With the car still in the air, tighten the lug nuts.
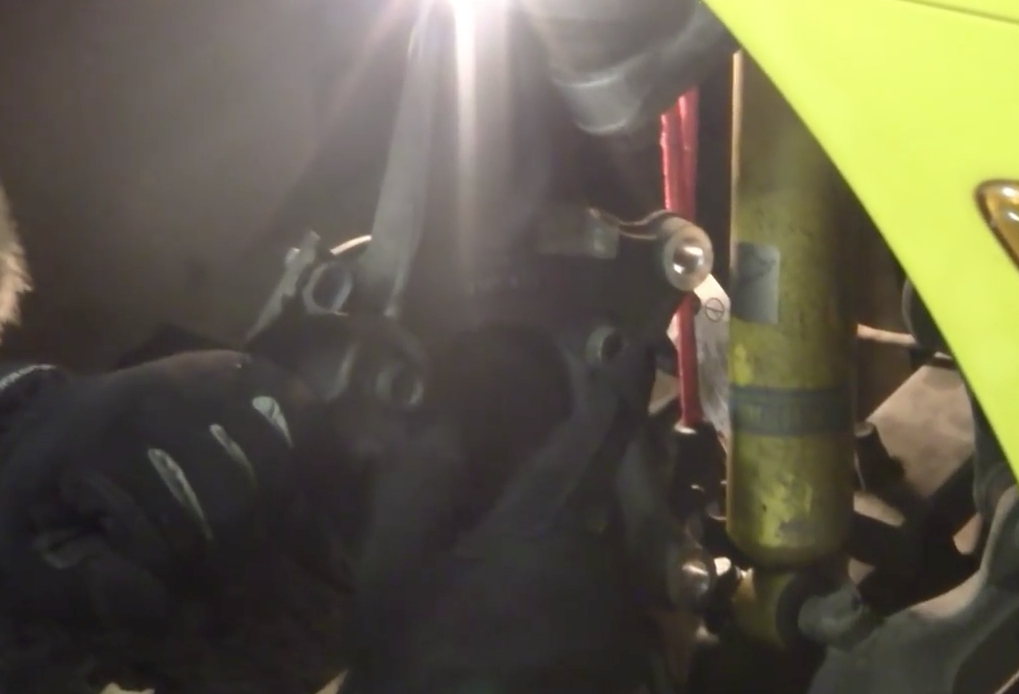
Figure 10. Reattach the fasteners to the wheel hub. 
Figure 11. Reattach additional fasteners using Allen wrench. 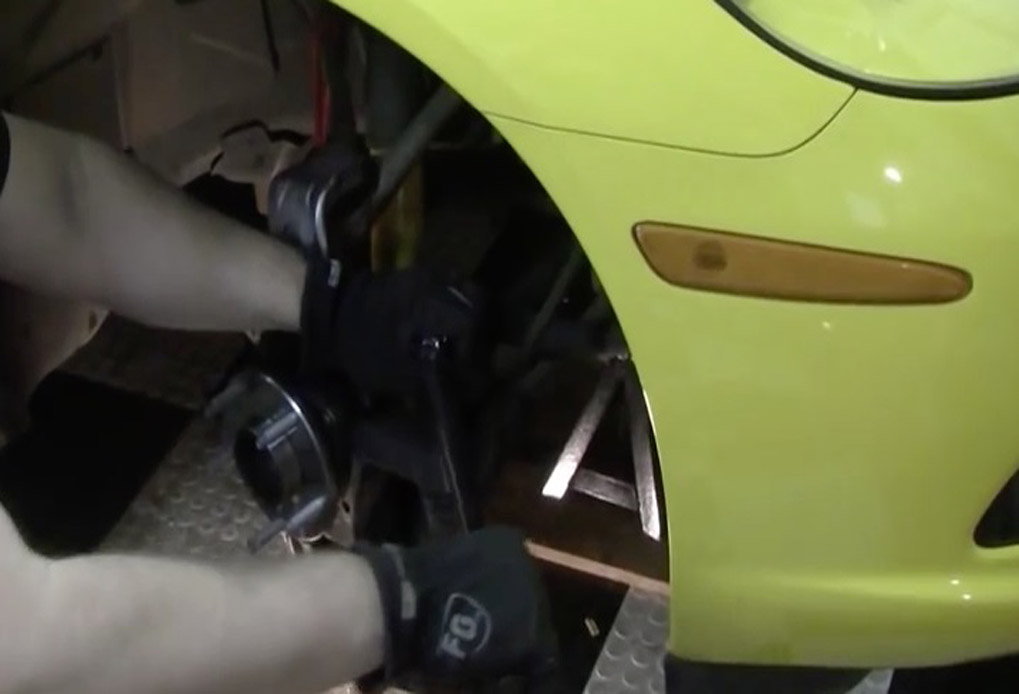
Figure 12. Reattach tie rod end. 
Figure 13. Ready to test drive.
Featured Video: How to Replace the Wheel Hub on a C5/C6 Corvette
Related Discussion and Sites
- How to Change a Corvette Rear Wheel Hub - eHow.com
- Advice on Replacing Wheel Hubs and Suspension Parts - CorvetteActionCenter.com
- Anyone Ever Changed Wheel Hub Assembly? - CarGurus.com
- Wheel Hub Bearing - CorvetteForum.com