Modifying your intake, or cold air intake, is a relatively inexpensive, easy way to gain some horsepower. Make no mistake, this will not result in 50% more horsepower, at best around 5%. But it doesn’t cost too much (most complete intake systems cost less than $500) and can be a fun, quick (around one-two hours for most installs) DIY project.
What are the negatives? Well, it can make your car louder (that’s a positive for some) and obviously it will require you to spend some money. But there aren’t too many ways to add some power so cheaply; modifying your intake is often the gateway to further mods. Additionally, it may lead to increased fuel consumption as it can allow more air into the manifold so that injectors must squirt more fuel in order to get the air/fuel ratio right.
There are three basic approaches to modifying your intake: first, the simplest, replacing the stock air filter with a K&N or other filter. This only requires you to open the airbox and switch the filter. Second, the cheapest option, you could modify the airbox yourself to remove any obstructions which slow airflow. The third option would be to buy a new intake system and install.
This is the most expensive and complicated option, but doesn’t require special tools or damaging/modifying (depending on perspective) your stock parts. The only question is which kit? Well, that’s up to you and the install process may vary slightly depending on the kit, but following is the basic process with one of the more complicated cold air intakes to install.
Vararam Cold Air Intake Install
Pop the hood and… Disassembling and removing the stock intake should only take a couple of minutes. Start by pulling the locking key from the MAF sensor’s weatherpack connector.
Then pull the weatherpack from the sensor.
Remove the PCV vent from the inlet bellows, as shown.
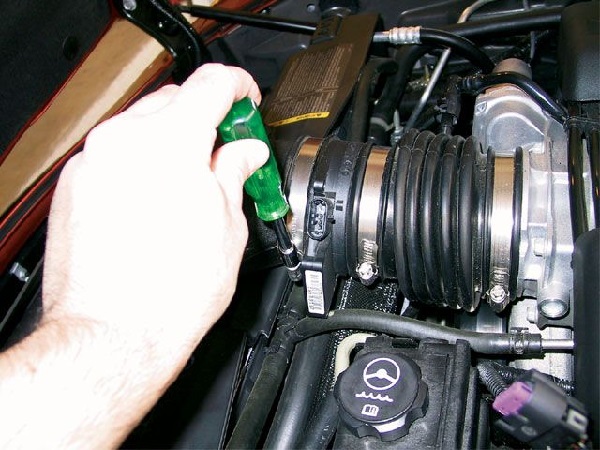
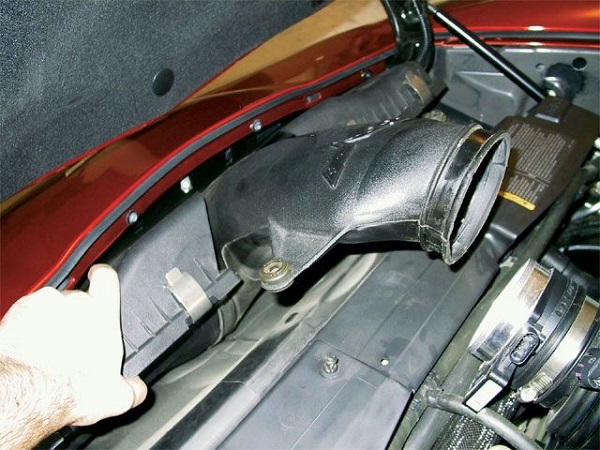
Now, loosen the hose clamp that secures the air bridge to the MAF sensor.
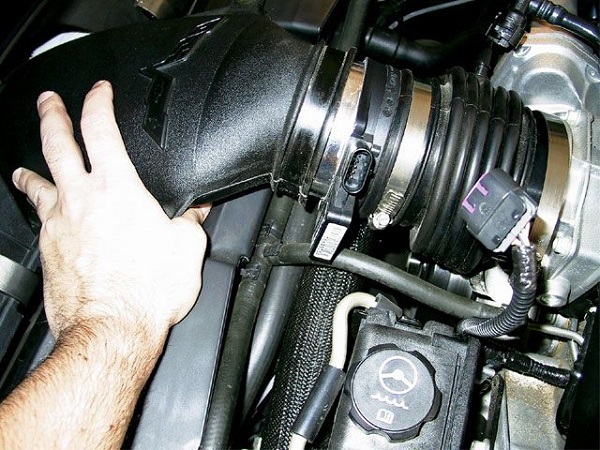
The air bridge can now be pulled loose from the MAF. This may take a little bit of effort, as the interference fit can be rather tight in some cases. The bridge “ears” may pop loose from the radiator cover in the process, which is no problem.
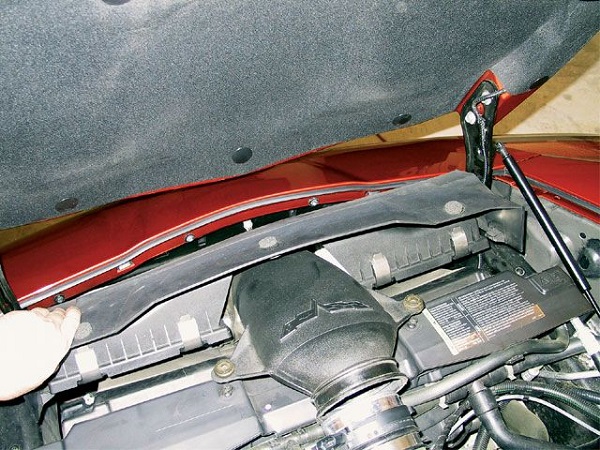
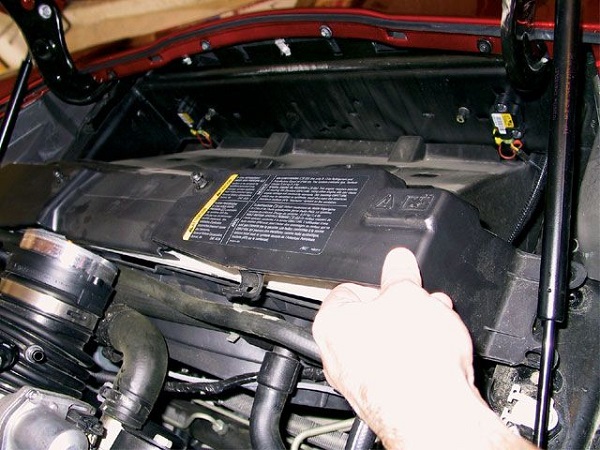
The next part to come out is the broad shield shown here. There are no fasteners holding it in place, so a firm yank ought to liberate it.
The filter housing is now ready to be pulled.
With that, the cover is free.
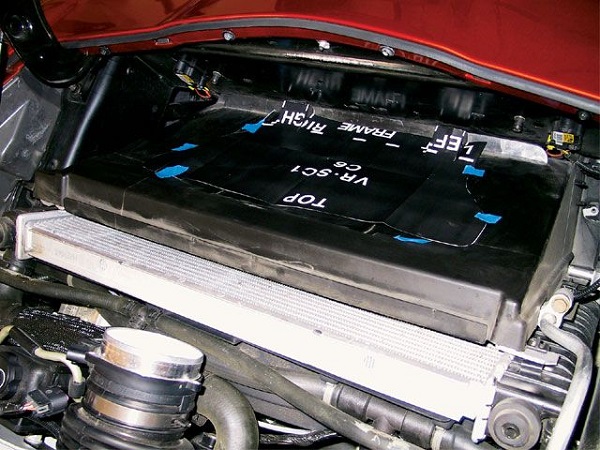
Locate the VaraRam template for the shroud and cut it out. The instructions say to tape it in place on the shroud as shown. In my case, this positioning proved to be too low, and I had to do some additional trimming to get the housing properly positioned.
Trace the template using a silver Sharpie, White-Out or a grease pencil.
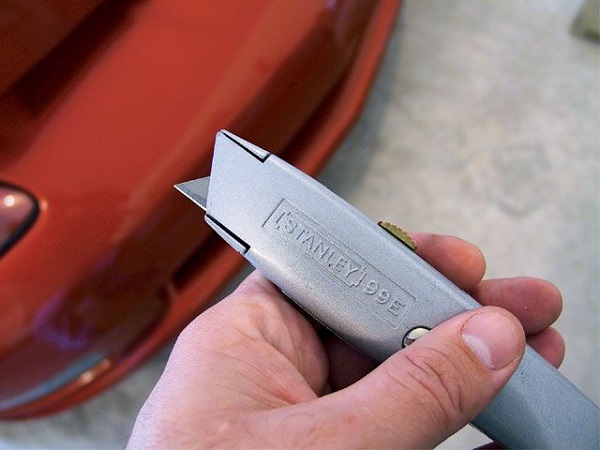
A retractable-blade utility knife is the perfect tool for this job. Keep the blade retracted to the first or second detent. Any longer, and you risk puncturing the air-conditioning condenser. Resist the urge to break out the Dremel for this one. It’ll make more of a mess than it’s worth.
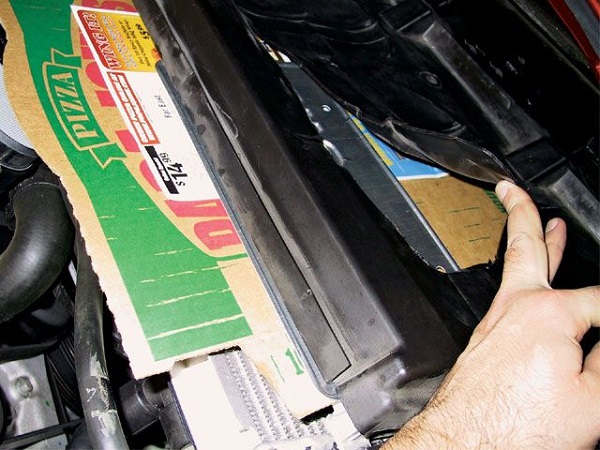
Slide a chunk of cardboard or thin plywood in front of the condenser to shield the condenser from your cutting implement.
A firm hand is all it takes to puncture the shroud, assuming you are using a new blade.
It took about half a second of cutting to realize that piece of cardboard wasn’t going to do jack if the knife slipped. So, I finally found a use for that extra license plate the State of California insists on providing.
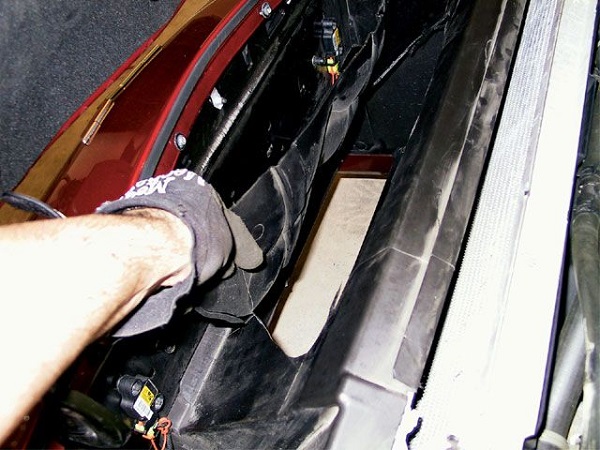
A few minutes of cutting, sweating, and swearing will get you about this far. It’s easy to see why drawing air from the opposite side of the shroud is desirable. Take your time and you’ll get there.
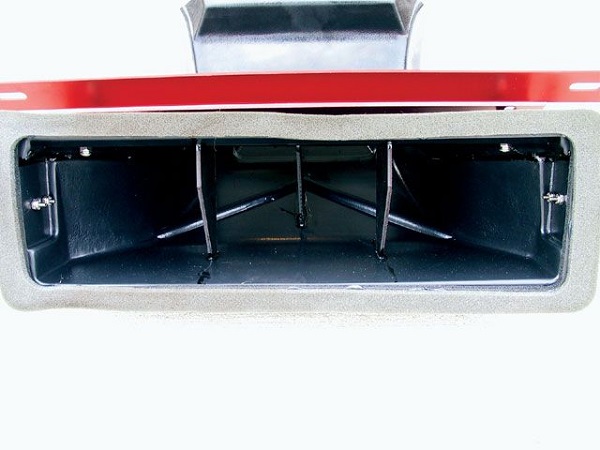
The lower housing is as viewed from above. Note the foam seal. You’ll want to inspect this to be sure it is properly affixed to the housing. If not, you risk a leak, which could allow unfiltered air and debris to bypass the filter.
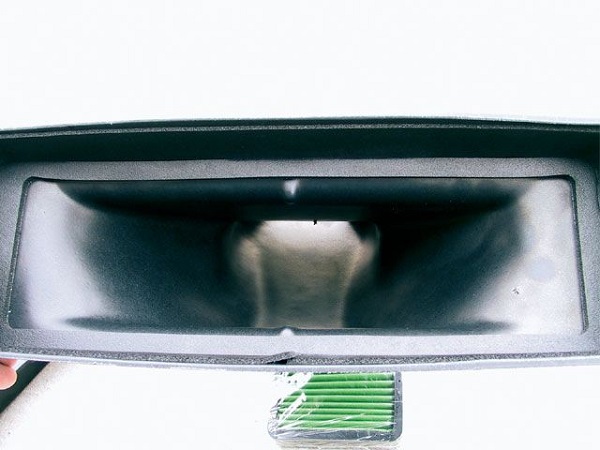
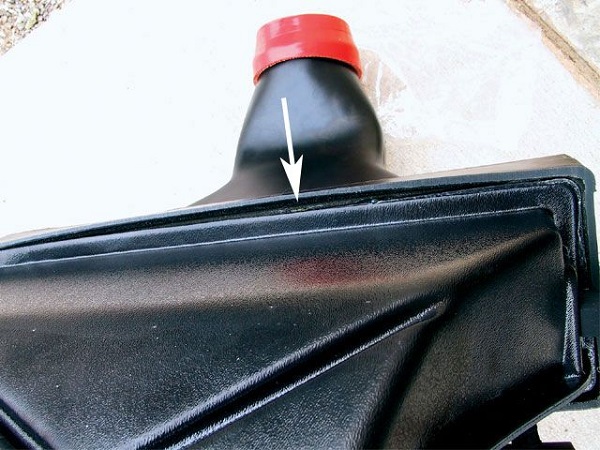
Looking up the throat of the upper housing shows noticeably higher construction quality. Be sure to check this gasket for adhesion, as well.
The fit of the upper and lower pieces left something to be desired, as shown here. VaraRam assured me this is normal and nothing to fret over. Not convinced, I looked for leaks with a flashlight. Finding none probably means there are no huge leaks, but I’ll be keeping an eye on the MAF sensor screen for debris just the same.
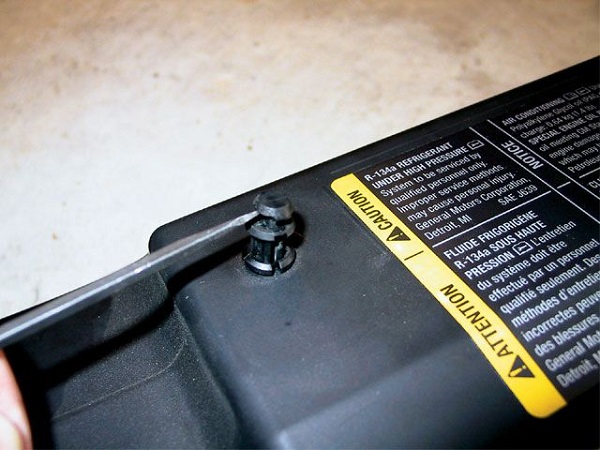
Prior to re-installing the radiator top cover, remove the air-bridge-retention pins.
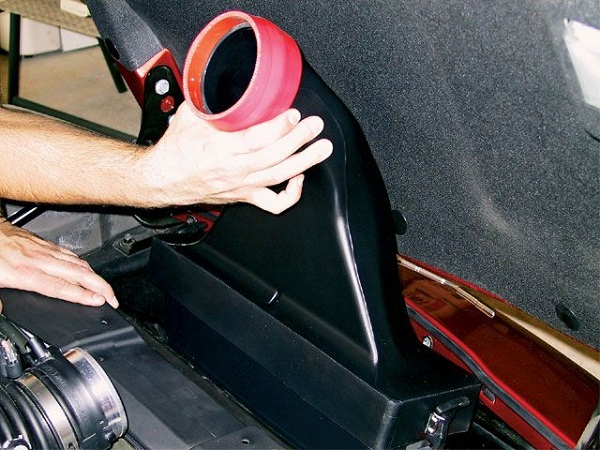
The VaraRam is best installed assembled, as shown. This will make aligning the entire system a whole lot easier. As mentioned earlier, the cut-out shroud required some additional trimming in order for the unit to drop all the way into place.
You’ll know everything is in alignment when the MAF can be easily slid into the supplied silicone hose.
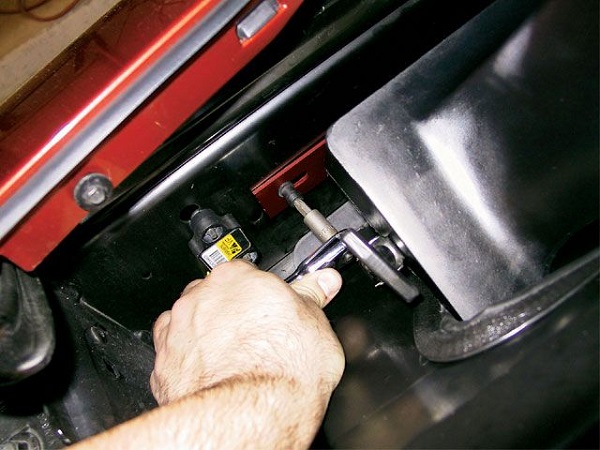
Now you can fasten the VaraRam’s red anodized bracket to the forward bulkhead, using either the original fasteners or the supplied socket-head cap screws.
Install the included hose clamps, being careful not to over-tighten. You can also reconnect the MAF harness and the PCV hose.
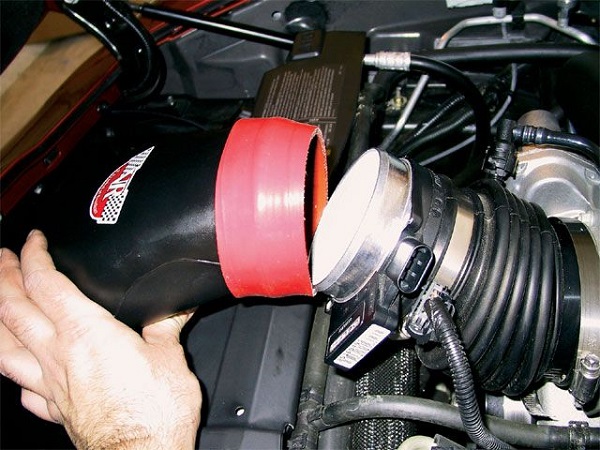
And here is the finished product, as seen from the engine compartment.
This shows you how to perform a cold air intake install with one brand of CAI. Below are a few forum threads on other similar builds. Different set-ups and DIY reference

 Pop the hood and… Disassembling and removing the stock intake should only take a couple of minutes. Start by pulling the locking key from the MAF sensor’s weatherpack connector.
 Then pull the weatherpack from the sensor.
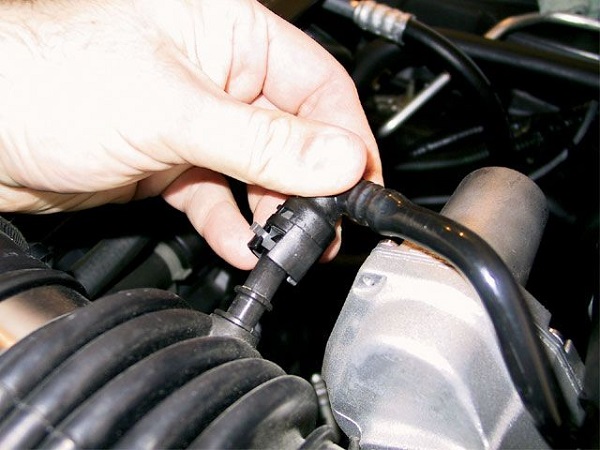


You must be logged in to post a comment.