When you click on links to various merchants on this site and make a purchase, this can result in this site earning a commission. Affiliate programs and affiliations include, but are not limited to, the eBay Partner Network.
Wiring is not my strong suit... so it goes slow for me, finally got the wiring and A/C work all done on the passenger side. Also been working on the hoses/wires in the engine bay. Here's the glove box all done and in, I REALLY hope it doesn't have to come out any more. Just one power wire to the A/C motor but that can happen anytime now. Also got the front header bar on the top frame rebuilt by Coffman and the restored frame is in the car.
Last edited by slalomfiend; Dec 22, 2017 at 01:23 PM.
Love the look of the stitched binnacles...really elegant. Looks like you'll be on the road this coming Spring. Do you ever visit Cars and Coffee at Classic BMW??
Your car is now coming together, and so far it looks beautiful, can't wait to see the finished car.
What's your next project, cause after you are done, you might find yourself bored.
Leif, I really thought I'd be done by now but next spring is well within my sights now. Haven't been to Cars/Coffee yet but when the car is done I plan on making quite a few stops to celebrate completion!! Let me know if you want to come over and see the final stages and have a brew.
IBDVET - no moss will grow under me, that's for sure! I'll drive the '67 quite a bit and then I've got a lake house project that has been calling my name for the past few years. After that, I've got a '48 Chris Craft Racing Runabout to restore at some point.
... snip... After that, I've got a '48 Chris Craft Racing Runabout to restore at some point.
Rhett, are you kidding me? 48'? I've seen a 27' CC Racing Runabout but never anything longer. As I recall the 27 had a big-*** mid engine. I can't image 48' of mahogany ... you gotta post a pic of that! Cheers, Bill
Last edited by NightshiftHD; Dec 9, 2016 at 02:46 PM.
Rhett, are you kidding me? 48'? I've seen a 27' CC Racing Runabout but never anything longer. As I recall the 27 had a big-*** mid engine. I can't image 48' of mahogany ... you gotta post a pic of that! Cheers, Bill
What do you want to bet he meant a 1948 CC Racing Runabout? The apostrophe is before the 48 not after it.
Last edited by leif.anderson93; Dec 9, 2016 at 03:00 PM.
Leif, I really thought I'd be done by now but next spring is well within my sights now. Haven't been to Cars/Coffee yet but when the car is done I plan on making quite a few stops to celebrate completion!! Let me know if you want to come over and see the final stages and have a brew.
IBDVET - no moss will grow under me, that's for sure! I'll drive the '67 quite a bit and then I've got a lake house project that has been calling my name for the past few years. After that, I've got a '48 Chris Craft Racing Runabout to restore at some point.
When the weather warms up a bit in the next week or so, I'll PM you and drive my '67 over to see you and yours. Thanks for the invite
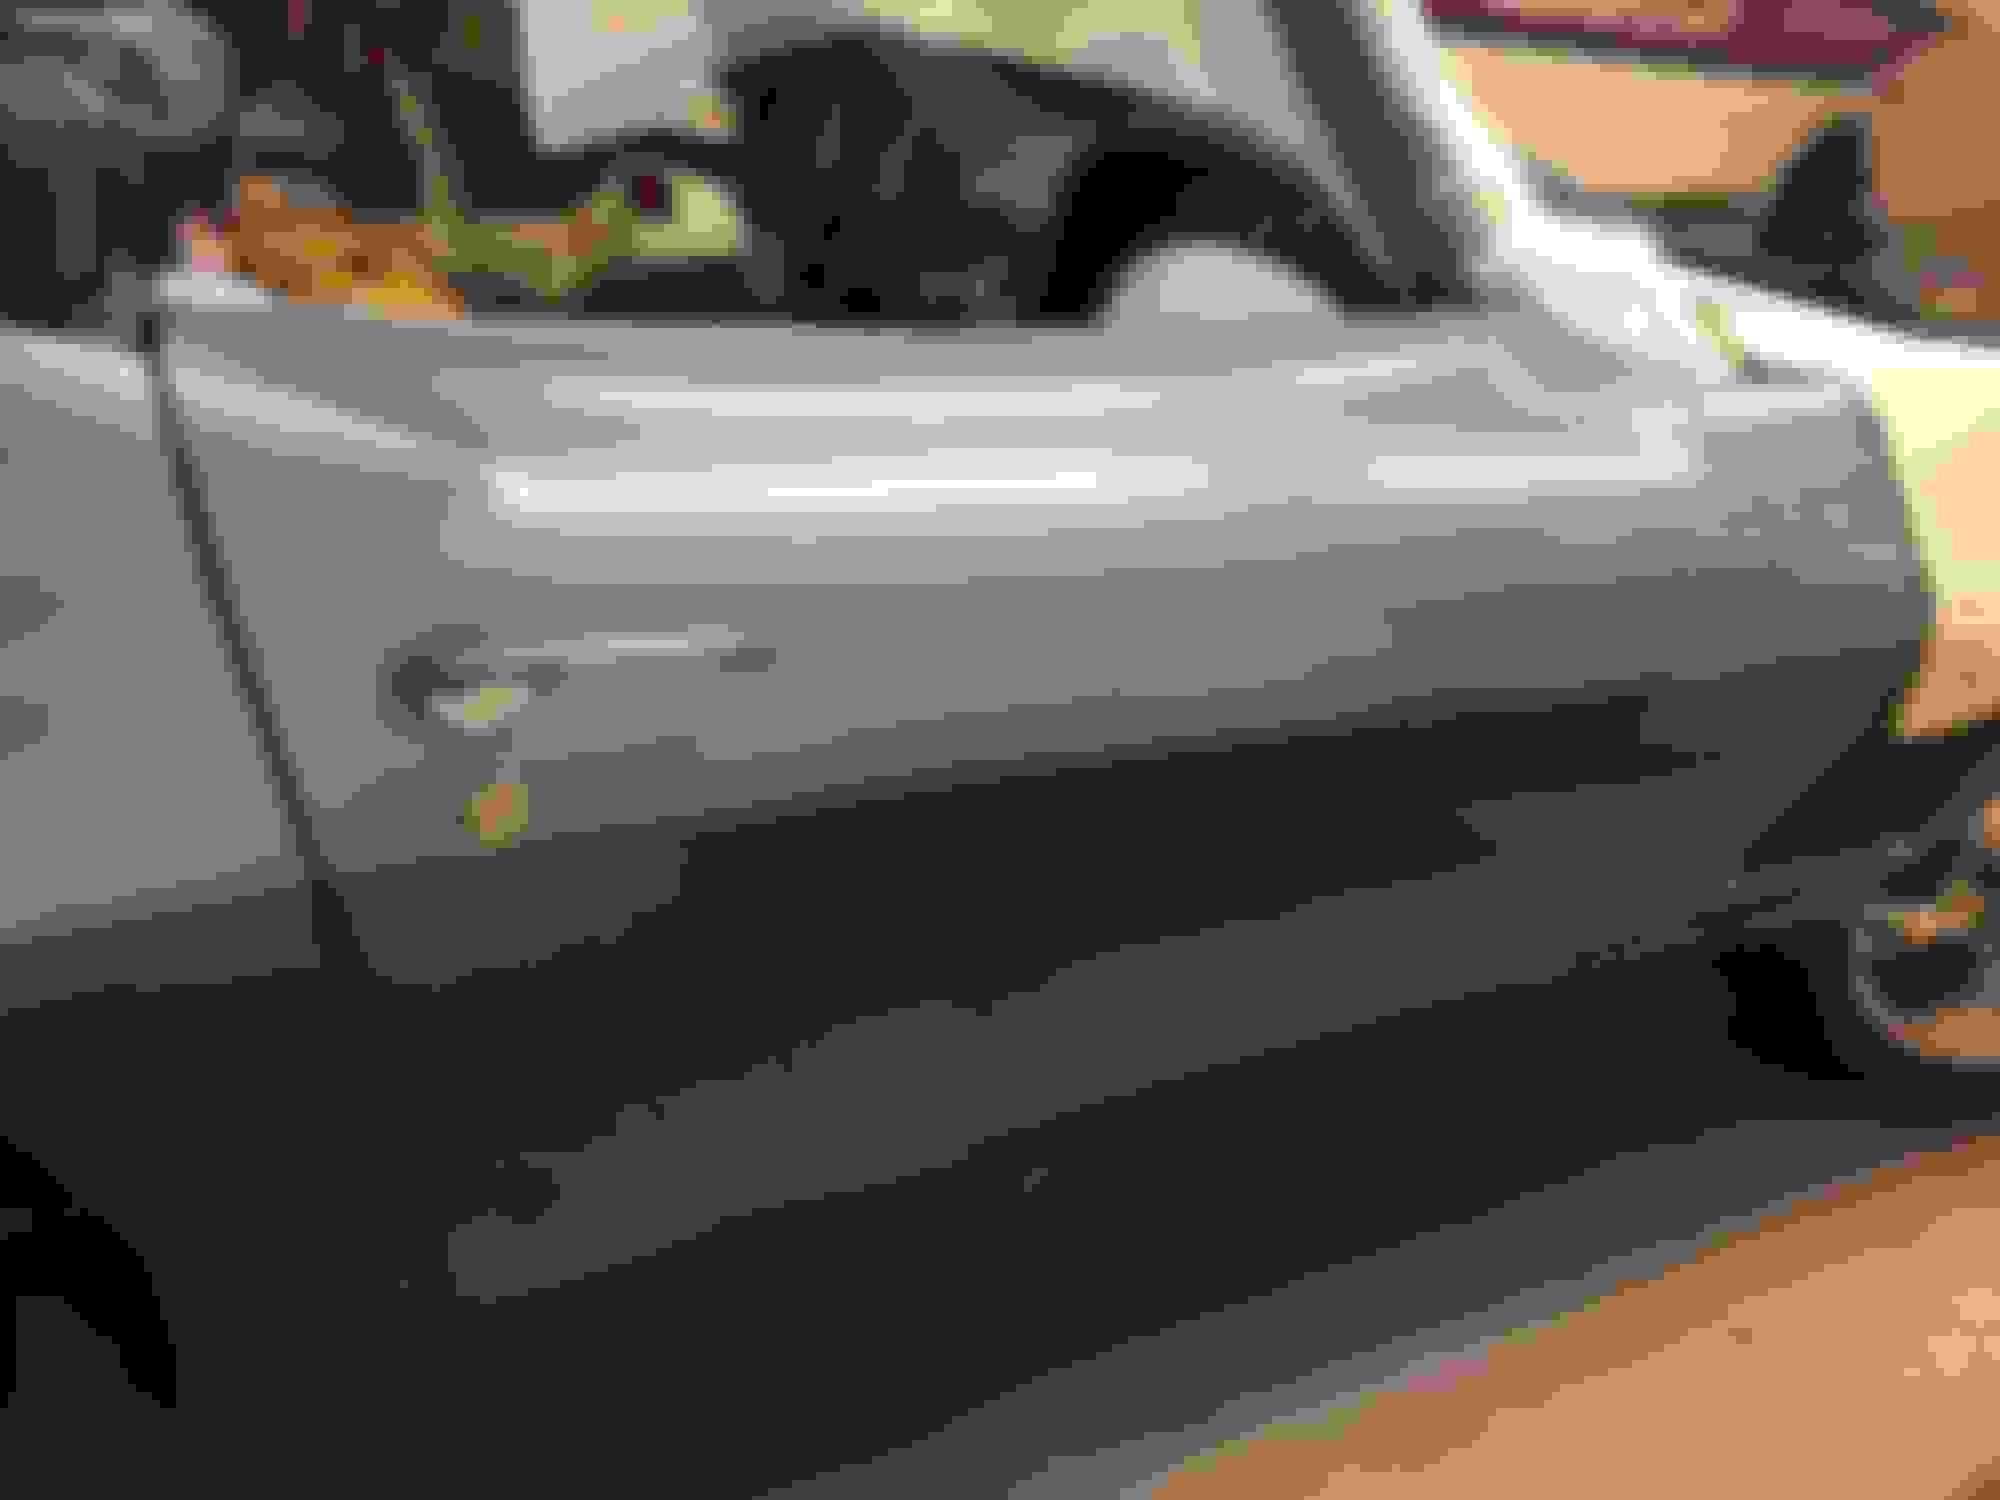
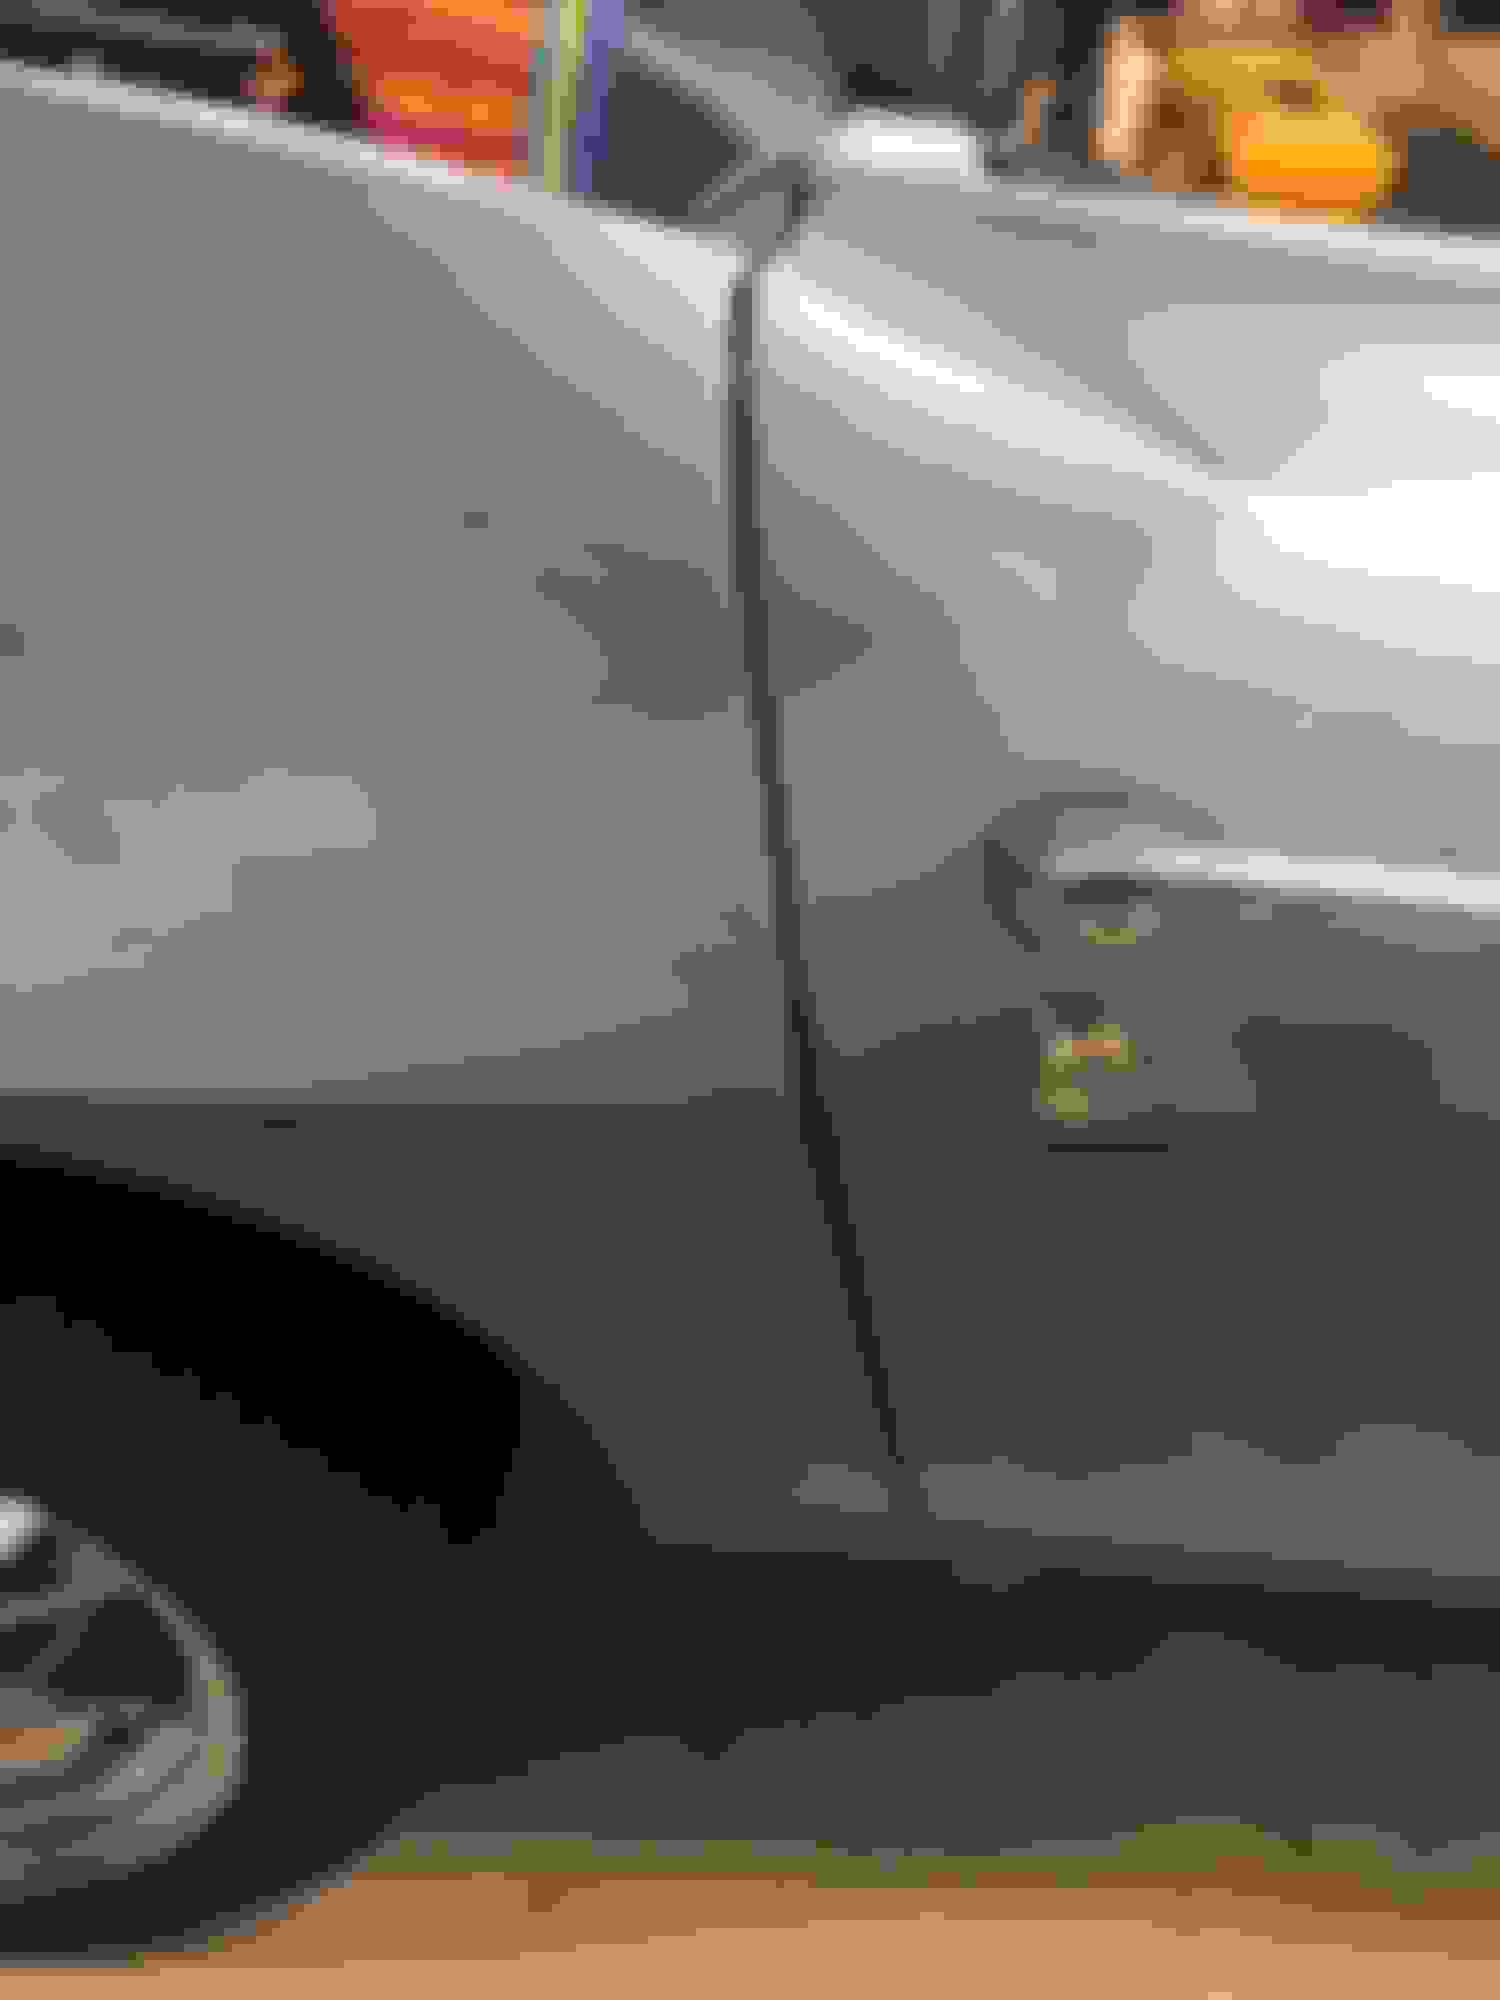
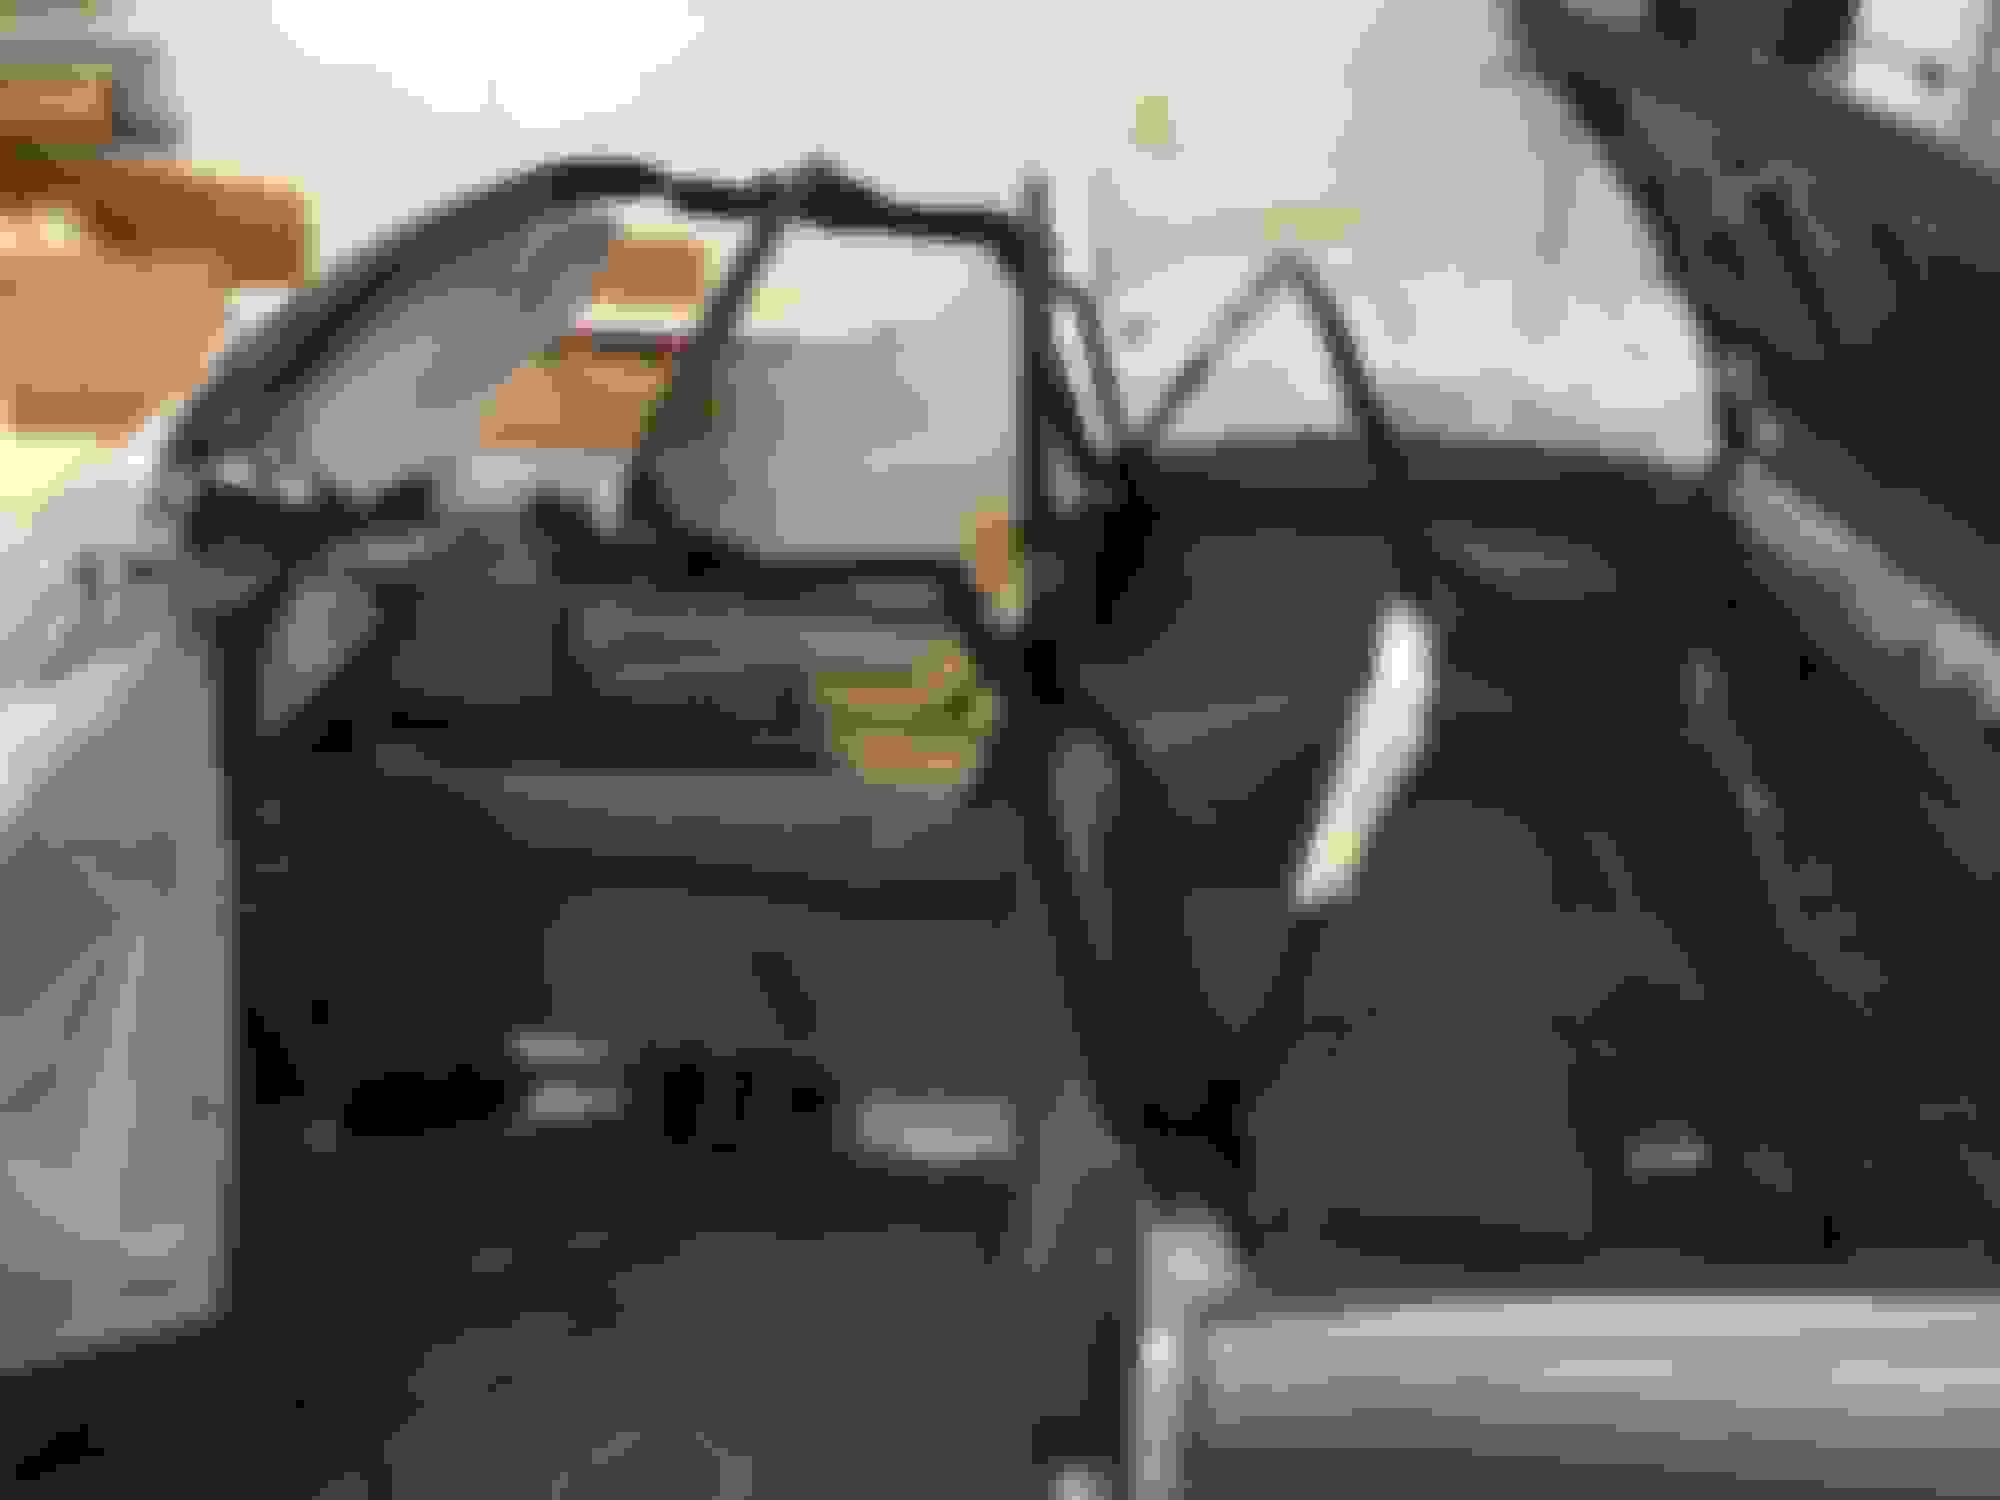
Got the top frame put together and in the car. Also hung the pass door. I had drilled guide pin holes through the hinge/shims/door plates and used 16d framing nails - door went back on and lined up great. I'll tighten the body down once the driver door is on and the gaps should be perfect!! The points on the nails helped stab through the holes. Wahoo!!
Got the top frame put together and in the car. Also hung the pass door. I had drilled guide pin holes through the hinge/shims/door plates and used 16d framing nails - door went back on and lined up great. I'll tighten the body down once the driver door is on and the gaps should be perfect!! The points on the nails helped stab through the holes. Wahoo!
The nails are a great trick to being able to remove and reinstall the doors by yourself ... in exactly the same spot ... without touching any paint edges. I use 3/16" concrete nails myself as they are very hard and won't bend, even a little. Looks great Rhett!
On your soft top frame, be sure to install the weatherstrips and get everything adjusted perfectly with your door windows before getting the canvas installed. Bill
Nightshift - yeah, funny one there... Real reason is I needed to clear some space in the extra bedroom b/c of everyone coming in for Christmas. Frame was on the floor, hood was on one twin bed, weather stripping and interior parts on the other... I think the Mrs is really ready for the car to be done!
The official "guy" reason is that I wanted to make sure the side to side stability was set before hanging any doors...
The hood is going to go on top of the bow of the boat...
I'll adjust the frame when the door glass and weather stripping is on.
I hear ya ... I'm worse than you at the moment as my body is still bare naked on the dolly. I have parts scattered everywhere too ... all over the rec room, my office, garage and machine shop, but nothing upstairs where my wife would complain LOUDLY! Happy holidays, Bill
Since I know you don't want to see pics of boring wiring stuff... Here's how the restored top frame opens up, not adjusted yet though - will do that when the doors/windows are there. I promise I'm really getting close on the wiring... I also sprayed the underside of the hood - yeah, I know - SEXY! But it had to be done.
I love problem solving but not wiring, I think that's why I have a love/hate with this part of the build. I have all new wiring harnesses for the '67 but have to weave in the modified LT1 engine harness, electronic tach, speed sensor signal to ECM, aftermarket A/C, wiper motor/pump and headlight motors. Oh yeah, and electric fuel pump and dual spal radiator fans. I'm in the home stretch now, the A/C lines, heater hoses, ECM location are all in now - just have about half a dozen wires/circuits to complete. I set up the battery in the stock location and routed hoses so all I have to do to get the battery out is take out the three bolts for the passenger side hood latch and set it to the side. Needed to put the ECM on the driver side so the battery wouldn't fit over there. I'm working on the air intake now, will post those pics soon.
I like wiring but am untrained so I am sure that there are better ways than my procedures. But the best way to approach it is to look at each circuit individually which really simplifies things. If you haven't already, you will likely want to install another powered fuse box to power all the additional circuits you now have.
.
This pic is of my 6.0l before I started wiring but after all un-needed wire have been removed. A few leisurely evening in the garage, I retained all sensors except rear 02's.
7 years ago.
.
00fxd, YUP! When I stripped off all the unnecessary circuits from the LT1 engine harness, I added additional fused circuits for it all. They are inside along with the stock fuse panel. Ended up with less than half the original harness.
Milestone - all hoses are complete! Also got the intake/filter setup all figured out, painted and installed. Mounted the horns last night and will get the driver side of the engine bay wiring all in place now.
Designer Imagines A Corvette That Looks More Like a Corvette Than the Corvette
Slideshow: A Jaguar designer's personal project imagines what a modern front-engined Corvette might look like if Chevrolet revisited the golden age of the Stingray.