


1971 Journey
Drifting

Joined: Aug 2015
Posts: 1,939
Likes: 477
From: NSW, Australia
C3 of Year Finalist (track prepared) 2019
Passenger side has one thick shim front, 1 thick and one thin rear. Drivers side has one thick in the front, 2 thick and 2 thin in the rear. I had it aligned by a shop, but I'll do it myself next time as I ended up redoing the rear. Will need to redo it as the new engine going in is significantly lighter, it should raise a bit. From memory the results given by the shop were 5.5 caster and -1.5 camber, I only checked the camber myself and it was pretty spot on (I asked for the -1.5 camber and "as much caster as you can"). 5.5 Caster was pretty good I think, particularly with the bit of a rake (which will lessen caster). I couldn't really run more with the current 255/50r17s, as they've polished a section in the rear of each wheel well as it is. Going to a slightly shorter 275/40 or 285/40 would allow a bit more, as will having the front ride height increase a little with the weight taken off the front end.

Thread Starter
Melting Slicks


Joined: Apr 2010
Posts: 2,795
Likes: 1,196
From: Canberra Australia
2025 C3 of the Year Finalist - Modified
While waiting for some suspension parts to arrive I decided to clean a few other things up.
I had replaced one of my Power Window switches a while back with a new one but it lasted a short time and failed. Had a couple more of other new ones here but.....
So I went in search of originals and found OEM NOS was not cheap for the Vette.... But the same part was also used by Buick and by Cadillac in the 60's.
Picked up a couple at a very reasonable price and when up against my other original they look identical.
All fitted and ready to go back in.
Last edited by CraigH; Apr 10, 2023 at 05:22 AM.
Thread Starter
Melting Slicks
Joined: Apr 2010
Posts: 2,795
Likes: 1,196
From: Canberra Australia
2025 C3 of the Year Finalist - Modified
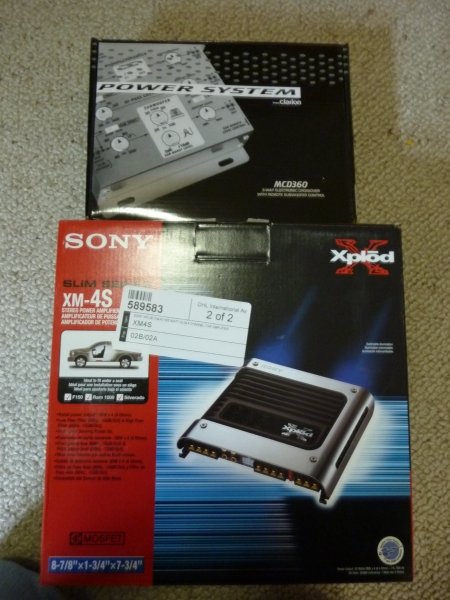
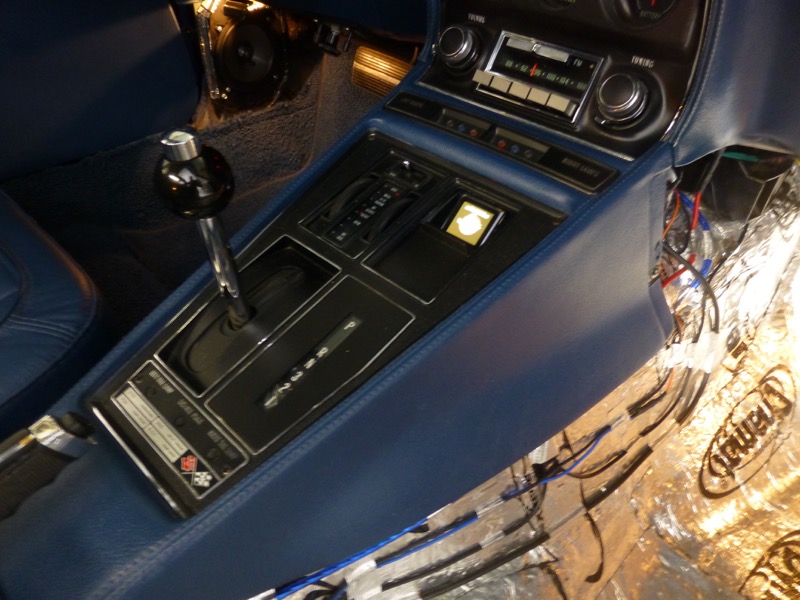
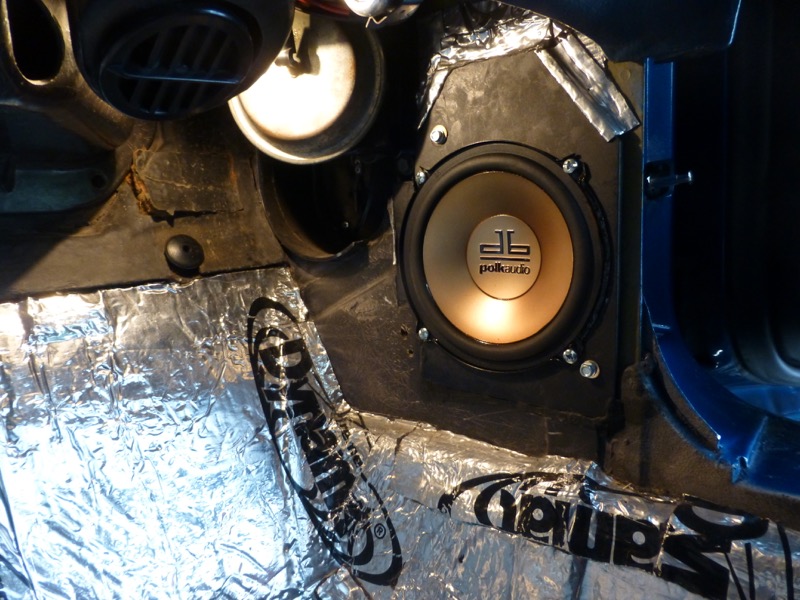
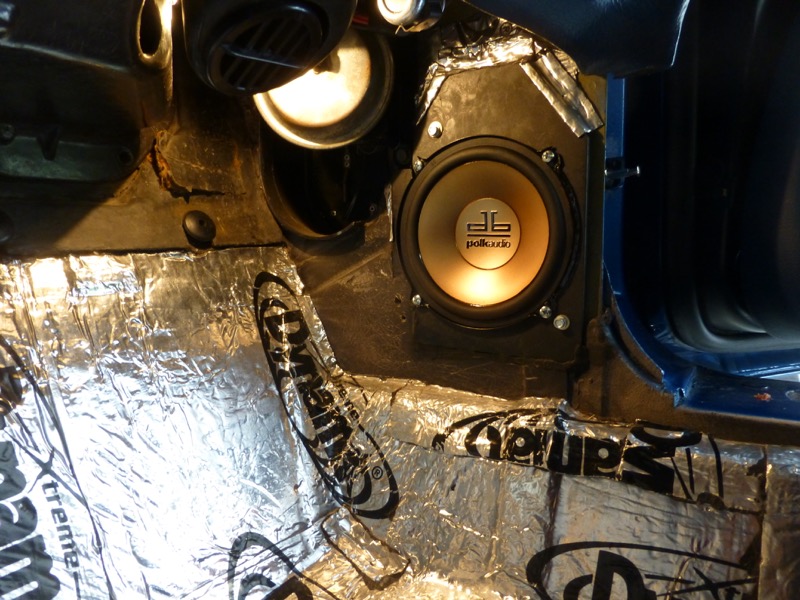
Cleaned up the Stereo system as well.
Stayed with the Antique Automobile Radio.
Tested it with an external amp with high pass filters etc but was not happy with the noise this unit created on power on and off. Tried some Stinger pop removers but still not fully happy, just a lot of extra noise.
Love its original looks but its not a great base for a more complex system as the line outs etc are "in my View" an after thought and have too much noise. Don't have balance control etc.
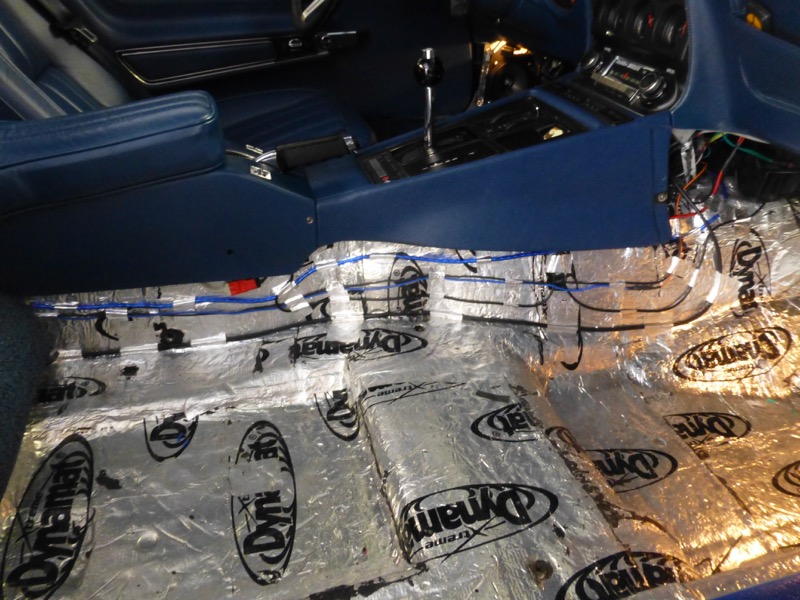
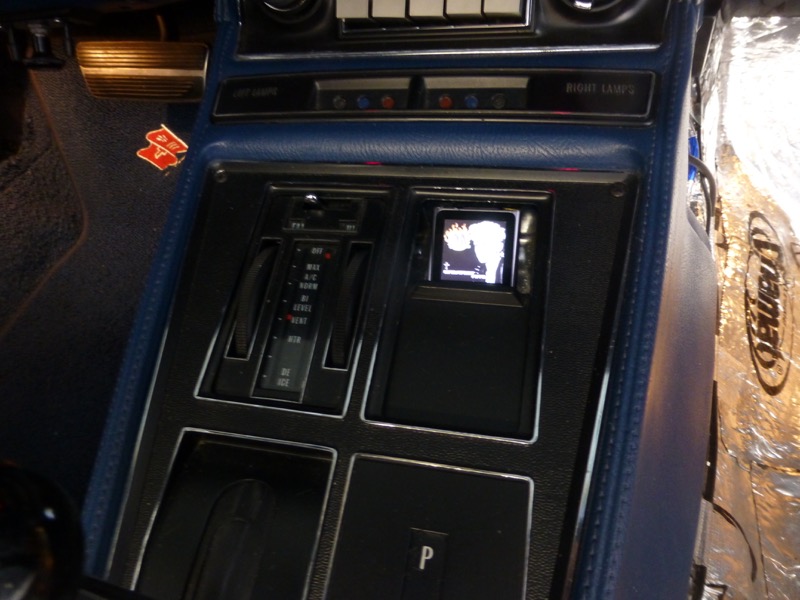
However using its internal amps works fine and i did some more mods with inline capacitors to limit the bass going to the kick panel 5.25" speakers.
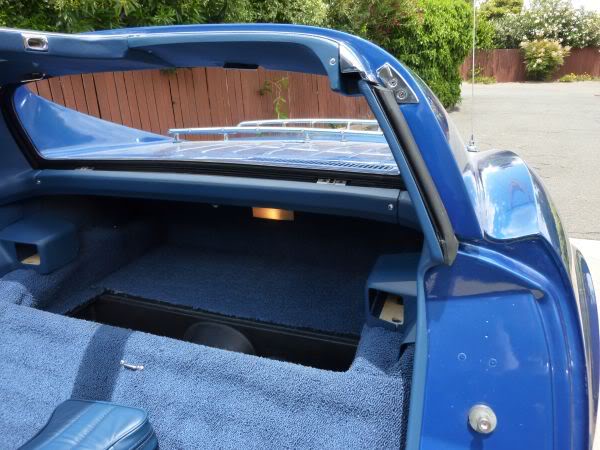
I removed the small sub of was running in the back as while it added some nice ambiance when the car was parked it was hard to notice when driving, especially with windows down or roof off, and I lost too much rear compartment utility. Still thinking about options there.
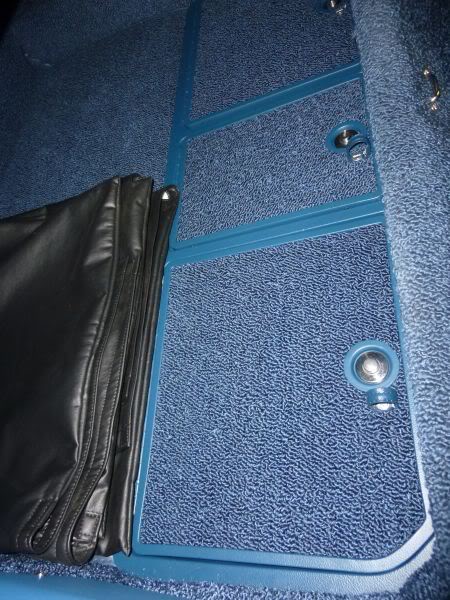
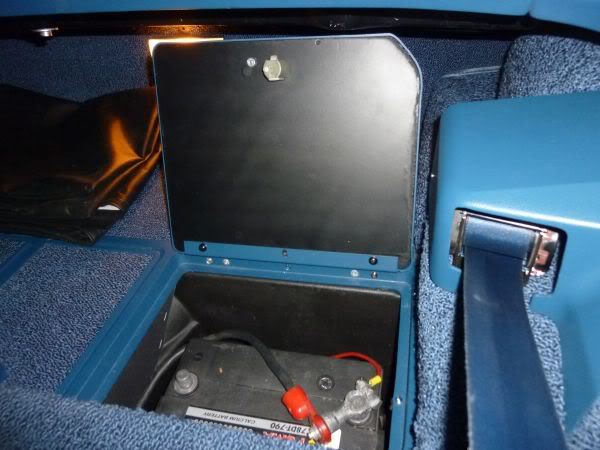
Setup the deck so it gets power directly from Battery , not via the Vette harness, so added a small relay that switches the direct power once ignition is on. This way the deck and all its add ons (iPod etc) all get power and ground from same point.
Added a ground loop isolator between iPod and AAR deck to remove charging hum. iPod is powered from a USB port on same power circuit.
Tidied up the wiring and separated each cable as best i could.

Stayed with the Antique Automobile Radio.
Tested it with an external amp with high pass filters etc but was not happy with the noise this unit created on power on and off. Tried some Stinger pop removers but still not fully happy, just a lot of extra noise.
Love its original looks but its not a great base for a more complex system as the line outs etc are "in my View" an after thought and have too much noise. Don't have balance control etc.
However using its internal amps works fine and i did some more mods with inline capacitors to limit the bass going to the kick panel 5.25" speakers.
I removed the small sub of was running in the back as while it added some nice ambiance when the car was parked it was hard to notice when driving, especially with windows down or roof off, and I lost too much rear compartment utility. Still thinking about options there.
Setup the deck so it gets power directly from Battery , not via the Vette harness, so added a small relay that switches the direct power once ignition is on. This way the deck and all its add ons (iPod etc) all get power and ground from same point.
Added a ground loop isolator between iPod and AAR deck to remove charging hum. iPod is powered from a USB port on same power circuit.
Tidied up the wiring and separated each cable as best i could.
Last edited by CraigH; Apr 10, 2023 at 05:22 AM.
Thread Starter
Melting Slicks
Joined: Apr 2010
Posts: 2,795
Likes: 1,196
From: Canberra Australia
2025 C3 of the Year Finalist - Modified
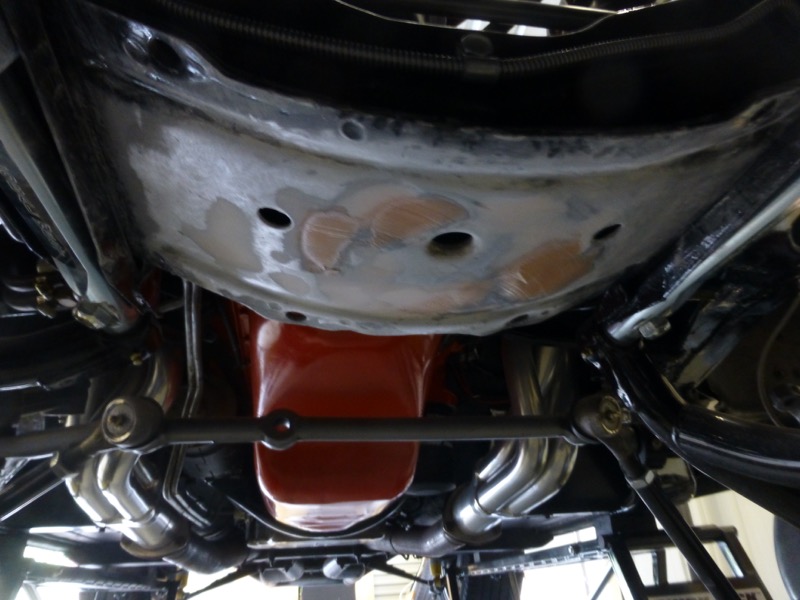
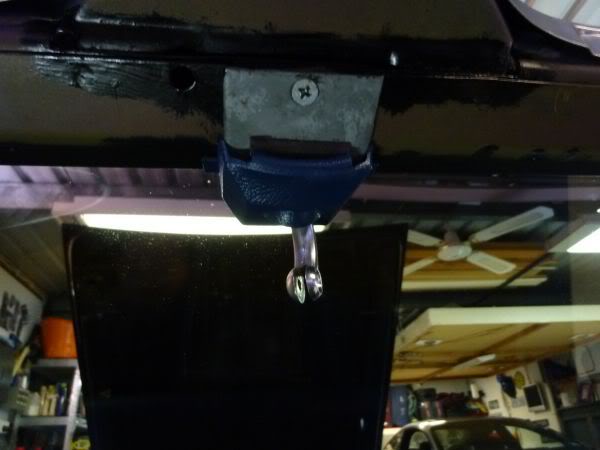
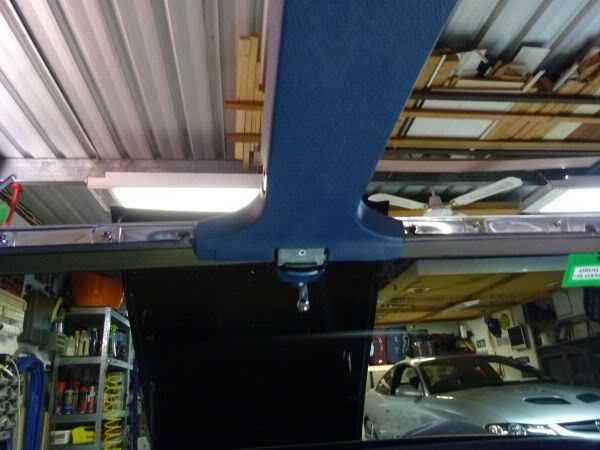
After Alan pointed out the dents in my front cross member I just kept seeing them more and more. Always knew they were there but.......
So while waiting for some suspension parts I asked Ernie from Willcox if he could stock the cross member dent removal tool mentioned before and then purchased one and Willcox shipped it to Australia.
Well its a basic tool, heavy, and seemed to work fairly well.

I did need to grind down one side to get it to fit into my well dented cross member.
First couple of goes pulls it all down. Just wind the bolt till you see it moving, then release and do it again. You need a long handle for leverage and will need a good amount of force !!!
Then you place extra metal (washers etc) on the pulling surface to pull down any extra low areas.
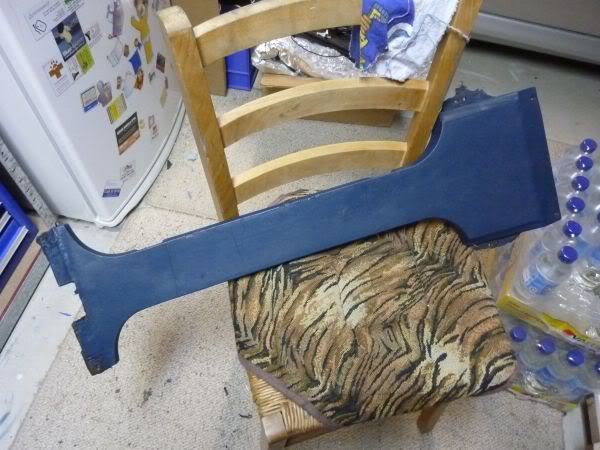
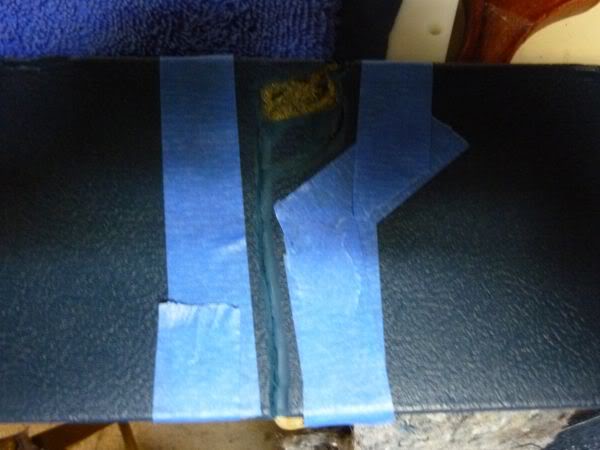
Once its as good as it will get a little body filler and I can think about painting it again and getting back to my suspension.
Will still have some highs and lows but will be a lot better.
So while waiting for some suspension parts I asked Ernie from Willcox if he could stock the cross member dent removal tool mentioned before and then purchased one and Willcox shipped it to Australia.
Well its a basic tool, heavy, and seemed to work fairly well.
I did need to grind down one side to get it to fit into my well dented cross member.
First couple of goes pulls it all down. Just wind the bolt till you see it moving, then release and do it again. You need a long handle for leverage and will need a good amount of force !!!
Then you place extra metal (washers etc) on the pulling surface to pull down any extra low areas.
Once its as good as it will get a little body filler and I can think about painting it again and getting back to my suspension.
Will still have some highs and lows but will be a lot better.
Last edited by CraigH; Apr 10, 2023 at 05:22 AM.
Thread Starter
Melting Slicks
Joined: Apr 2010
Posts: 2,795
Likes: 1,196
From: Canberra Australia
2025 C3 of the Year Finalist - Modified
All done cold.
The instructions say not to use heat but that seams to be because they are concerned about 40 years of crud inside the frame and fire risk.
Took a couple of hours of work to get it repaired and I can certainly feel it today.
No need for upper body gym work with that tool :-)
Last edited by CraigH; Sep 11, 2016 at 02:57 AM.
Thread Starter
Melting Slicks
Joined: Apr 2010
Posts: 2,795
Likes: 1,196
From: Canberra Australia
2025 C3 of the Year Finalist - Modified
Resprayed the front cross member and got a little bit of paint reaction so once its dry i will sand it and do it again. Used a different enamel paint to before.
Last edited by CraigH; Apr 10, 2023 at 05:22 AM.
Thread Starter
Melting Slicks
Joined: Apr 2010
Posts: 2,795
Likes: 1,196
From: Canberra Australia
2025 C3 of the Year Finalist - Modified
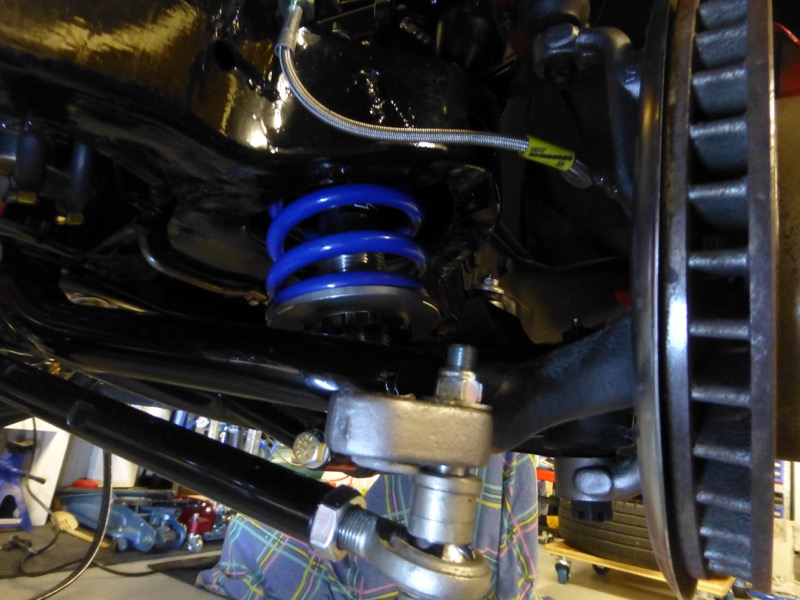
Started assembling the coilover for the new application. Had to remove the tab fitting at bottom for stock lower arms and press in the tube for the new arms.
Grease up the bearing plates and get ready for fitting spring.
Grease up the bearing plates and get ready for fitting spring.
Last edited by CraigH; Apr 10, 2023 at 05:22 AM.
Corvette Stories
The Best of Corvette for Corvette Enthusiasts

Top 10 Most Expensive Corvettes Ever Sold on Bring A Trailer
Brett Foote
10 Things Every Corvette Owner Needs (2026 Edition)
Michael S. Palmer
8 Most "Only Corvette Owners Understand" Quirks and Problems
Pouria Savadkouei
10 Reasons the C6 Z06 is Still A Performance Benchmark After 20 Years
Joe Kucinski
How Much Horsepower Every Corvette Engine "LOST" in 1972
Joe Kucinski
Top 10 DOs and DON'Ts for Protecting Your Convertible Top!
Michael S. Palmer
Top 10 Most Explosive Corvettes Ever Made: Power-to-Weight Ratio Ranked!
Joe Kucinski
150 hp to 1,250 hp: Every Corvette Generation Compared by the Specs That Matter
Joe Kucinski
8 Coolest Corvette Pace Cars (and Replicas) of All Time
Verdad Gallardo
Thread Starter
Melting Slicks
Joined: Apr 2010
Posts: 2,795
Likes: 1,196
From: Canberra Australia
2025 C3 of the Year Finalist - Modified
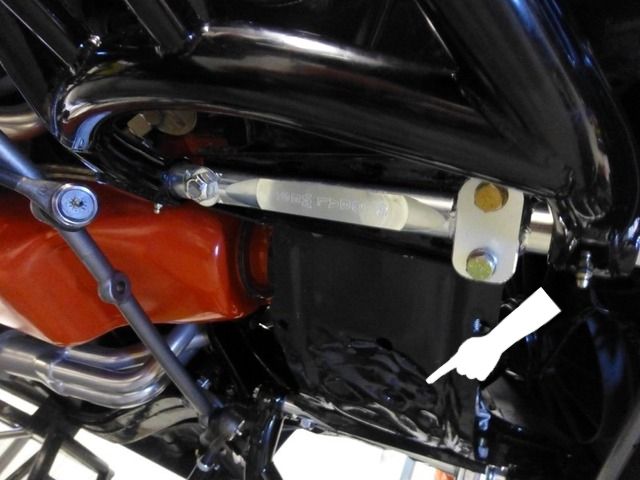
Have been running the QA1 setup for a while with Speed Direct springs and when i pulled it all out I found a weakness with the setup.
The rubber bush on top of the shock absorber presses up into the standard mount point but in my mind does not have any where near enough taper on the rubber bush to seat properly in the hole.
The result is it can twists and offsets the bush and allows for excessive shock movement.
Resultant bush
I looked around for better bushes that would hold the shock (Damper) more correctly to the frame mount.
Here are 3 different bushes.
Left to right, first 2 are NOS GM parts and right is the QA1 bush.
Notice the QA1 part has almost no taper and when you look in the frame where it mounts its not flat and needs taper to sit properly and protect the shaft from hitting the metal of the frame.
The middle one fitted perfectly and I pick up one of them in a NOS 60's 70's chevy package on eBay I purchased.
Once I realised the middle one fitted so well i contacted the seller (Iowa Parts Depot) and he happily went through the stock he had and found me a second one.
Shipped that to Australia and now I will be using the tapered NOS bush under frame and the QA1 flat one on top.
Given the semi coilovers put a lot of stress through that point I wanted to get the best fitting parts possible and avoid bush damage like before.
Time between first oder of NOS and getting last one was 8 weeks but thats what you have to live with being so far away :-)
Last edited by CraigH; Apr 10, 2023 at 05:21 AM.
Thread Starter
Melting Slicks
Joined: Apr 2010
Posts: 2,795
Likes: 1,196
From: Canberra Australia
2025 C3 of the Year Finalist - Modified
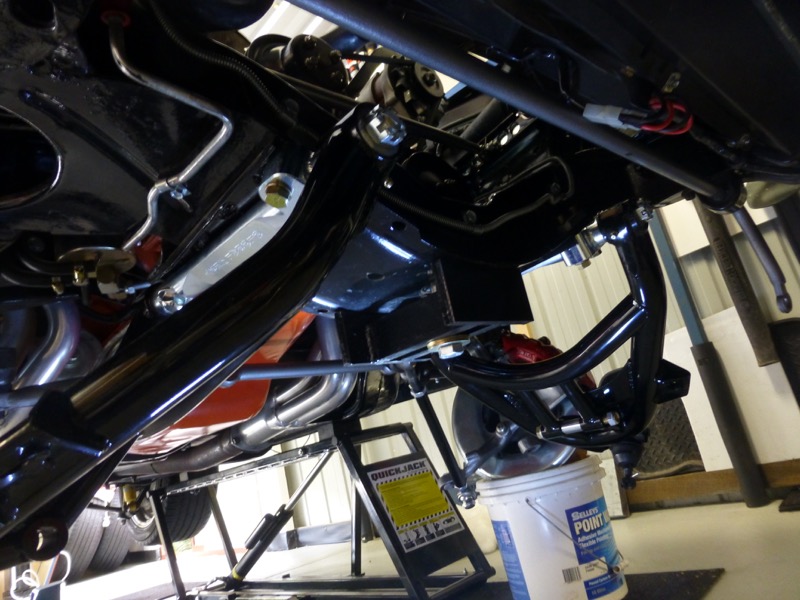
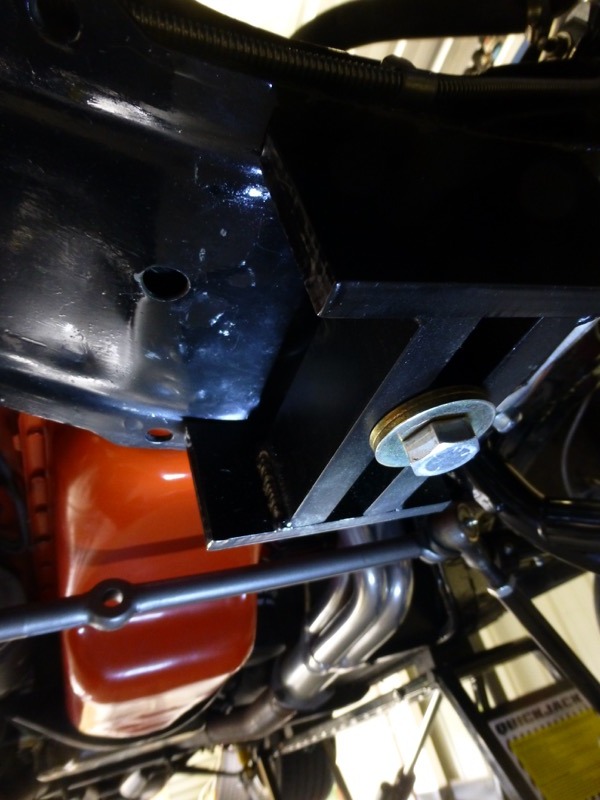
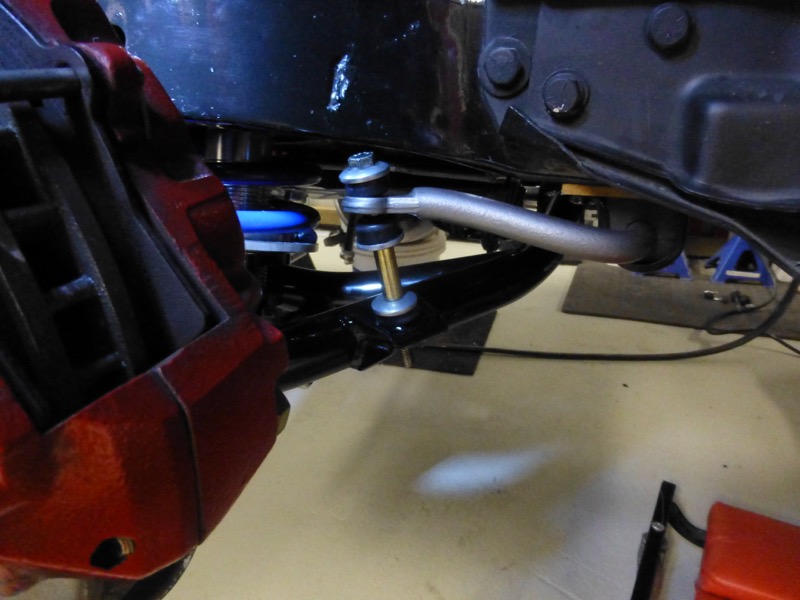
Fitted shock assembly to tower and bolted it into lower arm.
Checked clearance through full deflection up and down and found the swaybar arm hits the frame extension before the lower arm hits bump stop. Fixed by bending up the corner of the frame extension.
Checked clearance through full deflection up and down and found the swaybar arm hits the frame extension before the lower arm hits bump stop. Fixed by bending up the corner of the frame extension.
Last edited by CraigH; Apr 10, 2023 at 05:21 AM.
Thread Starter
Melting Slicks
Joined: Apr 2010
Posts: 2,795
Likes: 1,196
From: Canberra Australia
2025 C3 of the Year Finalist - Modified
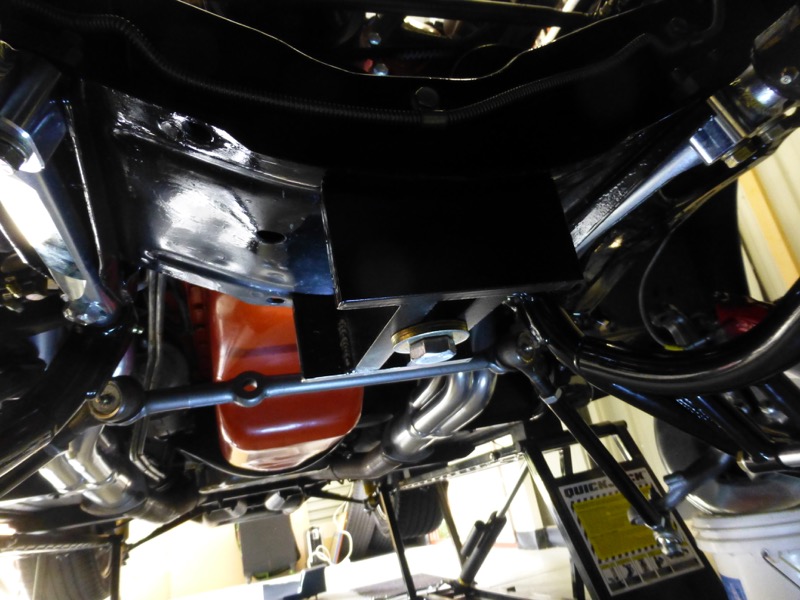
Fitted hub assembly and did some more checking
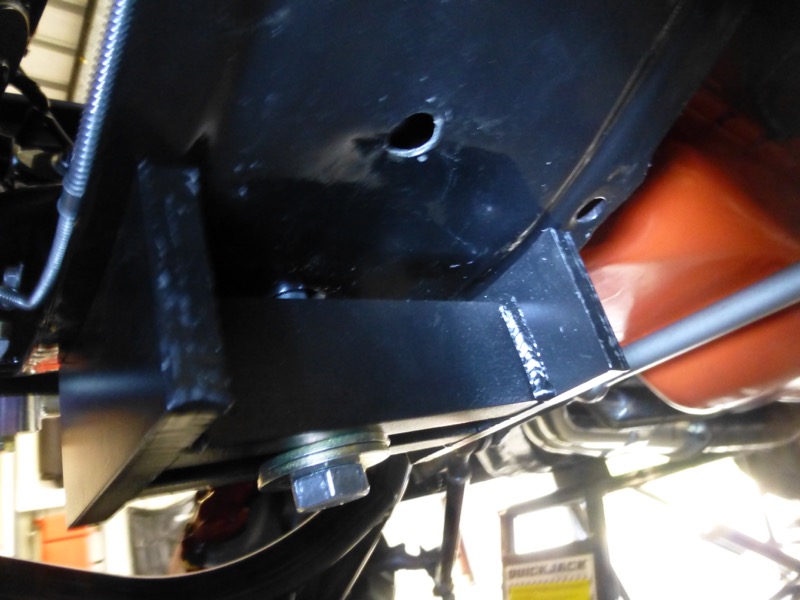
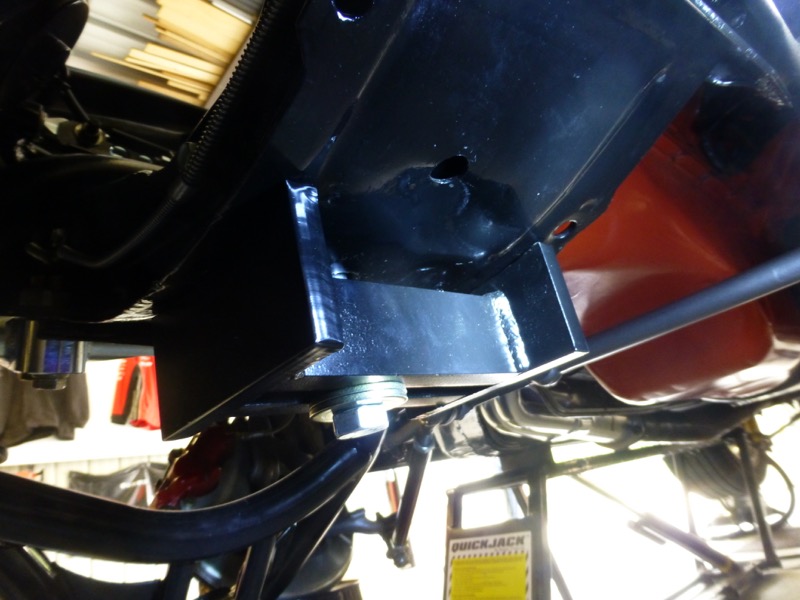
Tab of frame extension bent to allow full deflection of sway bar.
On full drop deflection the upper bump stop is about 1cm off touching but shock is fully extended.
Checked the videos on Global West site and found that when using extended reach lower arms you need longer top bump stops. Something else to order :-)
Overall happy with how it goes together so will bolt the other side up when i get some more free time.
Also needed to make some spacers for under the swaybar mounts to ensure on deflection the bar does not push on the lower radiator hose.
Amazing what you find when you try deflecting the suspension fully up and down and watch all the connected parts. Hopefully will never deflect that much in day to day but worth the exercise.
So Global West recommend normal lower arms if you want to lower your car by between 0 and 1.25", for any more than that use the extended reach lowers to ensure you have enough shock movement.
Great video explaining it here....http://www.globalwest.net/a-body-ext...s-cutlass.html
Last edited by CraigH; Apr 10, 2023 at 05:21 AM.

Drifting

Joined: Jul 2012
Posts: 1,255
Likes: 297
From: Slovenia, EU
2017 C3 of Year Finalist
Craig all I can say is big thank you for your post! I was following it at australiancorvettes for quite some time! I also have a 1971 Corvette and your post was outstanding source of information for me. Keep up the good work and enjoy your 71!
Thread Starter
Melting Slicks
Joined: Apr 2010
Posts: 2,795
Likes: 1,196
From: Canberra Australia
2025 C3 of the Year Finalist - Modified
Always like seeing other peoples 71's.
Hope to have my 71 drivable again soon :-)
Certainly looking forward to see what difference the new gear will make !
Thread Starter
Melting Slicks
Joined: Apr 2010
Posts: 2,795
Likes: 1,196
From: Canberra Australia
2025 C3 of the Year Finalist - Modified
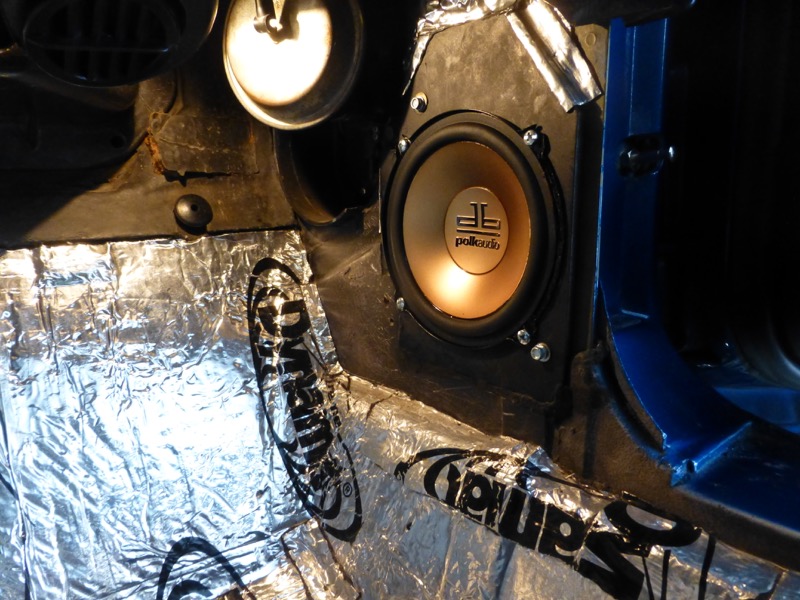
Just replaced the 5.25" kick panel speakers with some better quality separates.
Placed a capacitor in line to block the bass as the last ones ended up with torn outer edges from over driving. Easy to do with a noisy interior like the Vette.
All fits behind kick panels.
Placed a capacitor in line to block the bass as the last ones ended up with torn outer edges from over driving. Easy to do with a noisy interior like the Vette.
All fits behind kick panels.
Last edited by CraigH; Apr 10, 2023 at 05:21 AM.
Thread Starter
Melting Slicks
Joined: Apr 2010
Posts: 2,795
Likes: 1,196
From: Canberra Australia
2025 C3 of the Year Finalist - Modified
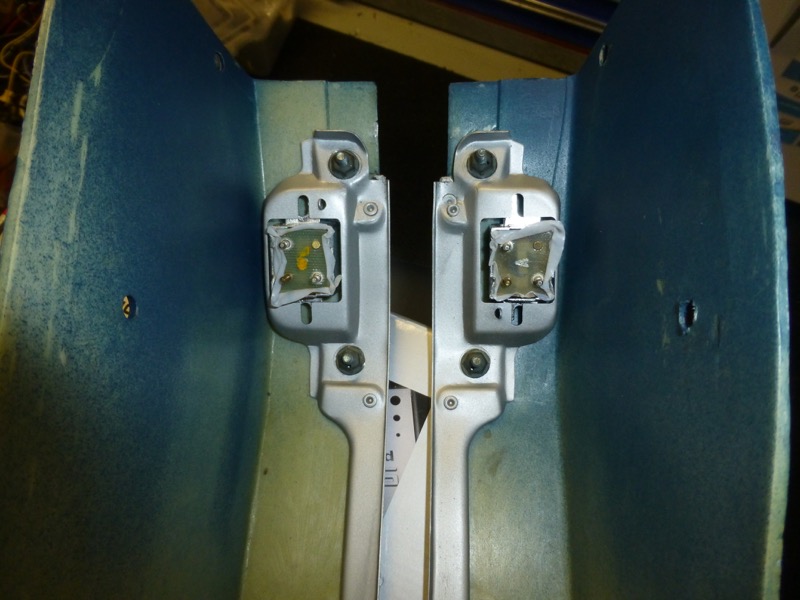
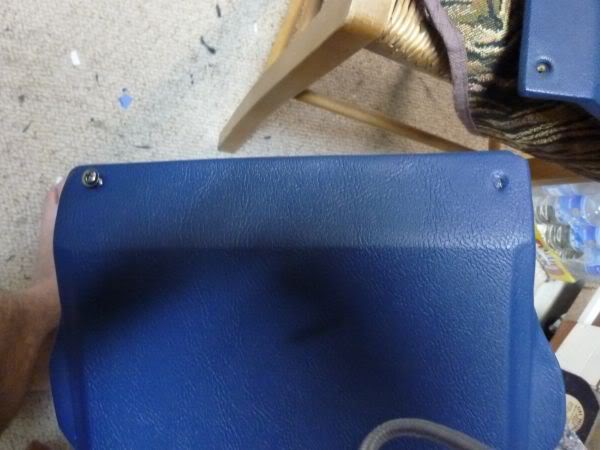
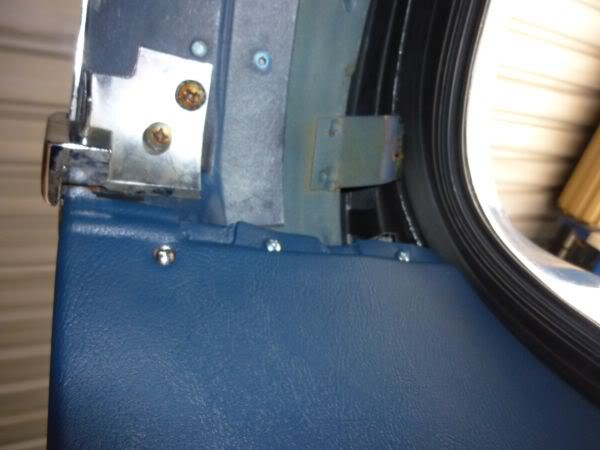
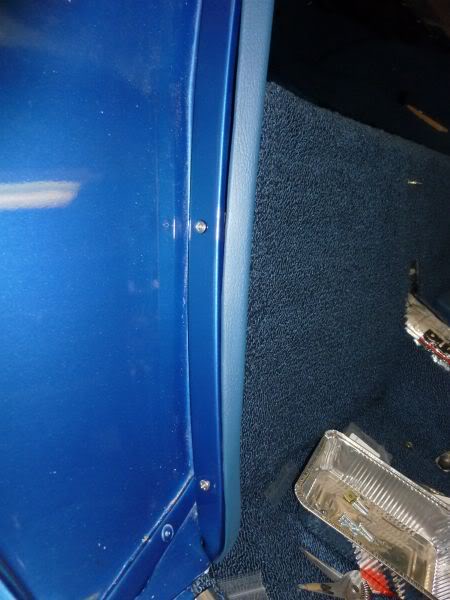
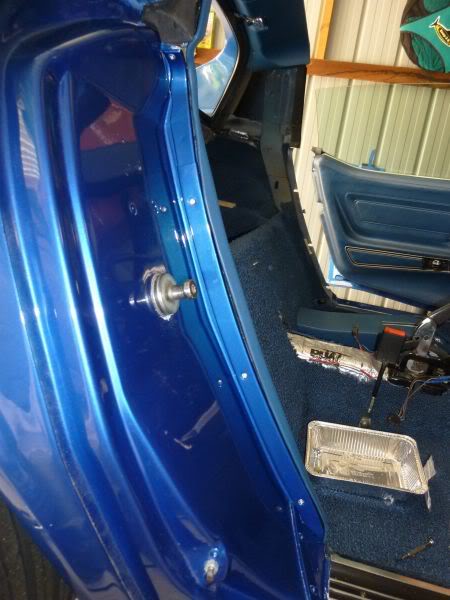
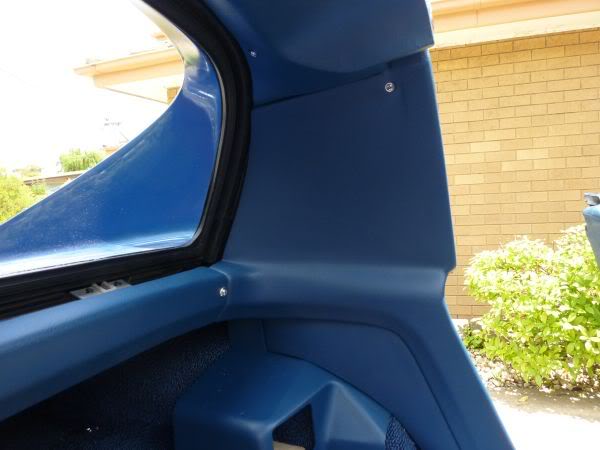
Removal was fairly easy once you can get to all the fasteners that hold the halves together. Then split it comes out without damage.
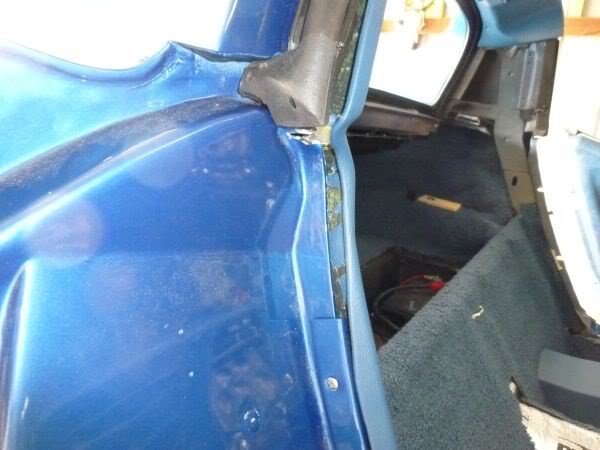
The aftermarket cover fitted well but I added a bit of extra glass to get it to match the shape of my firewall a bit better.
Certainly cleans up the look of the engine bay.
Coverage starts here..... https://www.corvetteforum.com/forums...ourney-11.html
Last edited by CraigH; Sep 22, 2016 at 05:16 PM.
Drifting
Joined: Jul 2012
Posts: 1,255
Likes: 297
From: Slovenia, EU
2017 C3 of Year Finalist
Hi
Removal was fairly easy once you can get to all the fasteners that hold the halves together. Then split it comes out without damage.
The aftermarket cover fitted well but I added a bit of extra glass to get it to match the shape of my firewall a bit better.
Certainly cleans up the look of the engine bay.
Coverage starts here..... https://www.corvetteforum.com/forums...ourney-11.html
Did you remove the heater core as well? Or does that have to be done from inside the car?
Thread Starter
Melting Slicks
Joined: Apr 2010
Posts: 2,795
Likes: 1,196
From: Canberra Australia
2025 C3 of the Year Finalist - Modified
Thanks! The issue I have is that I have long tube headers and when I try to pry the box from the firewall it hits the headers and leaves me no space to pull it out! Will try again.
Did you remove the heater core as well? Or does that have to be done from inside the car?
Did you remove the heater core as well? Or does that have to be done from inside the car?
Once the a/c is out you can see the core but I think it's removed from inside.
Mine was in great shape and had probably been replaced previously so I left it alone. All works fine.
Last edited by CraigH; Sep 23, 2016 at 03:51 AM.
Thread Starter
Melting Slicks
Joined: Apr 2010
Posts: 2,795
Likes: 1,196
From: Canberra Australia
2025 C3 of the Year Finalist - Modified
I took the Vette for its first run with the new Global West Upper and Extended Travel Lower arms and it was very smooth and no obvious tracking issues.
The extra Caster available in the Upper arms seems to have had a good effect on straight line stability.
This run was with also some obvious toe out.
I got out the QuickTrick alignment kit and adjusted the Toe back to 1/8" total Toe in and took for another run. (First run was with 1/2" Toe out :-)
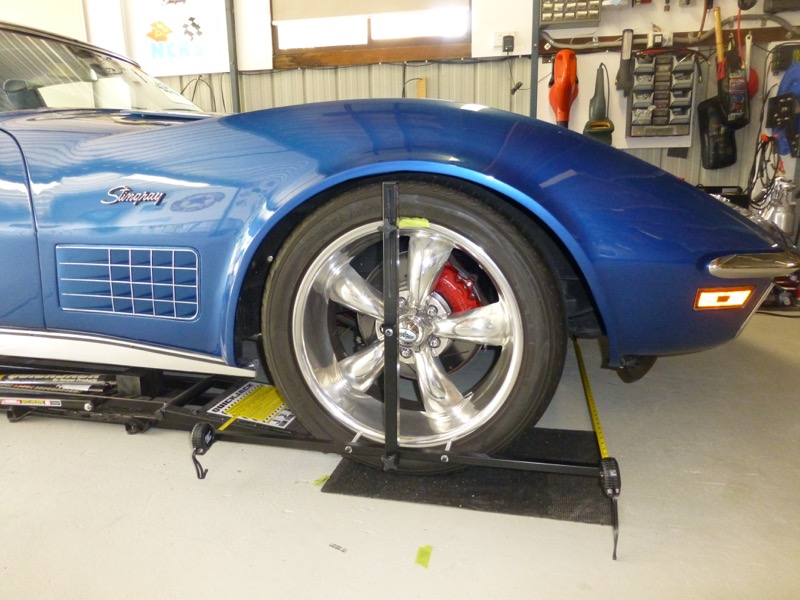
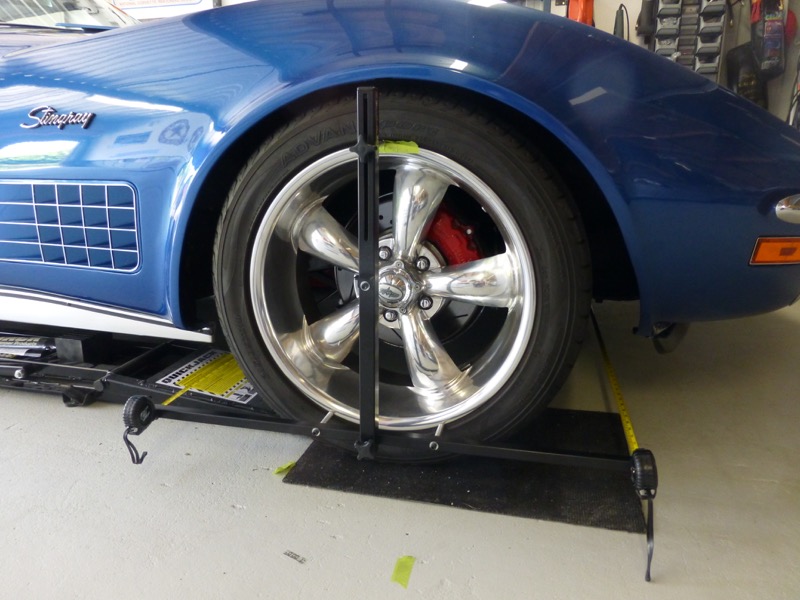
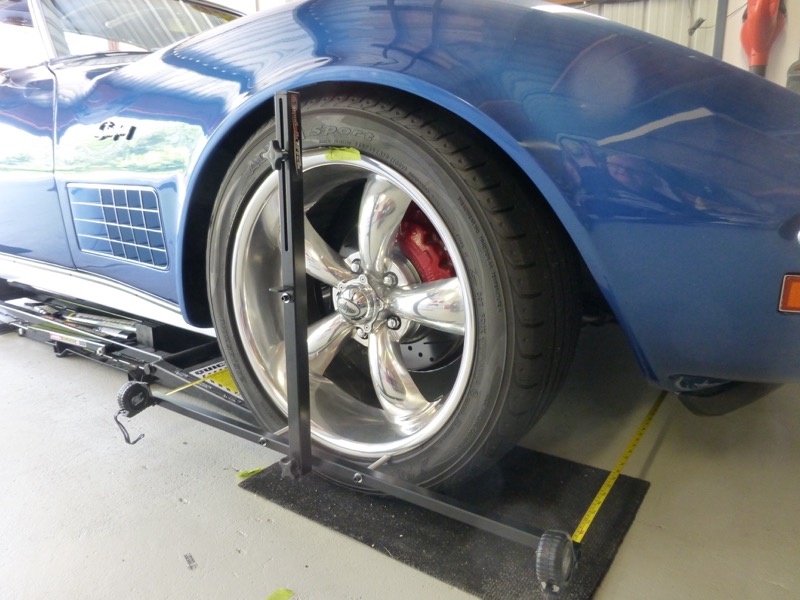
Feels very nice. Still have a fair amount of Camber (was 1.5 previously) but will have a closer look at adjusting that later.
The extra Caster available in the Upper arms seems to have had a good effect on straight line stability.
This run was with also some obvious toe out.
I got out the QuickTrick alignment kit and adjusted the Toe back to 1/8" total Toe in and took for another run. (First run was with 1/2" Toe out :-)
Feels very nice. Still have a fair amount of Camber (was 1.5 previously) but will have a closer look at adjusting that later.
Last edited by CraigH; Apr 10, 2023 at 05:21 AM.