When you click on links to various merchants on this site and make a purchase, this can result in this site earning a commission. Affiliate programs and affiliations include, but are not limited to, the eBay Partner Network.
Still no results on the MRI...which is not unusual for the V.A.
BUT....the headlight actuator diaphram(s) The Phantom sent me just arrived. I'll roll my way to the garage and see what it takes to make one fit the actuator halves. This should be FUN.
Damn that sucks Tony, I had my MRI results the next day and surgery was set for a week later (tomorrow morning). I guess I've been semi lucky with the VA but they did put me through some **** before I was able to get my MRI and now the surgery wont be as successful as if it had been done right away, the doc said there's some scar tissue he will have to deal with to reattach the tendon, I had to hold back when he said this should have been taken care of sooner... I wonder if you sue the VA for malpractice, probably not...
Damn that sucks Tony, I had my MRI results the next day and surgery was set for a week later (tomorrow morning). I guess I've been semi lucky with the VA but they did put me through some **** before I was able to get my MRI and now the surgery wont be as successful as if it had been done right away, the doc said there's some scar tissue he will have to deal with to reattach the tendon, I had to hold back when he said this should have been taken care of sooner... I wonder if you sue the VA for malpractice, probably not...
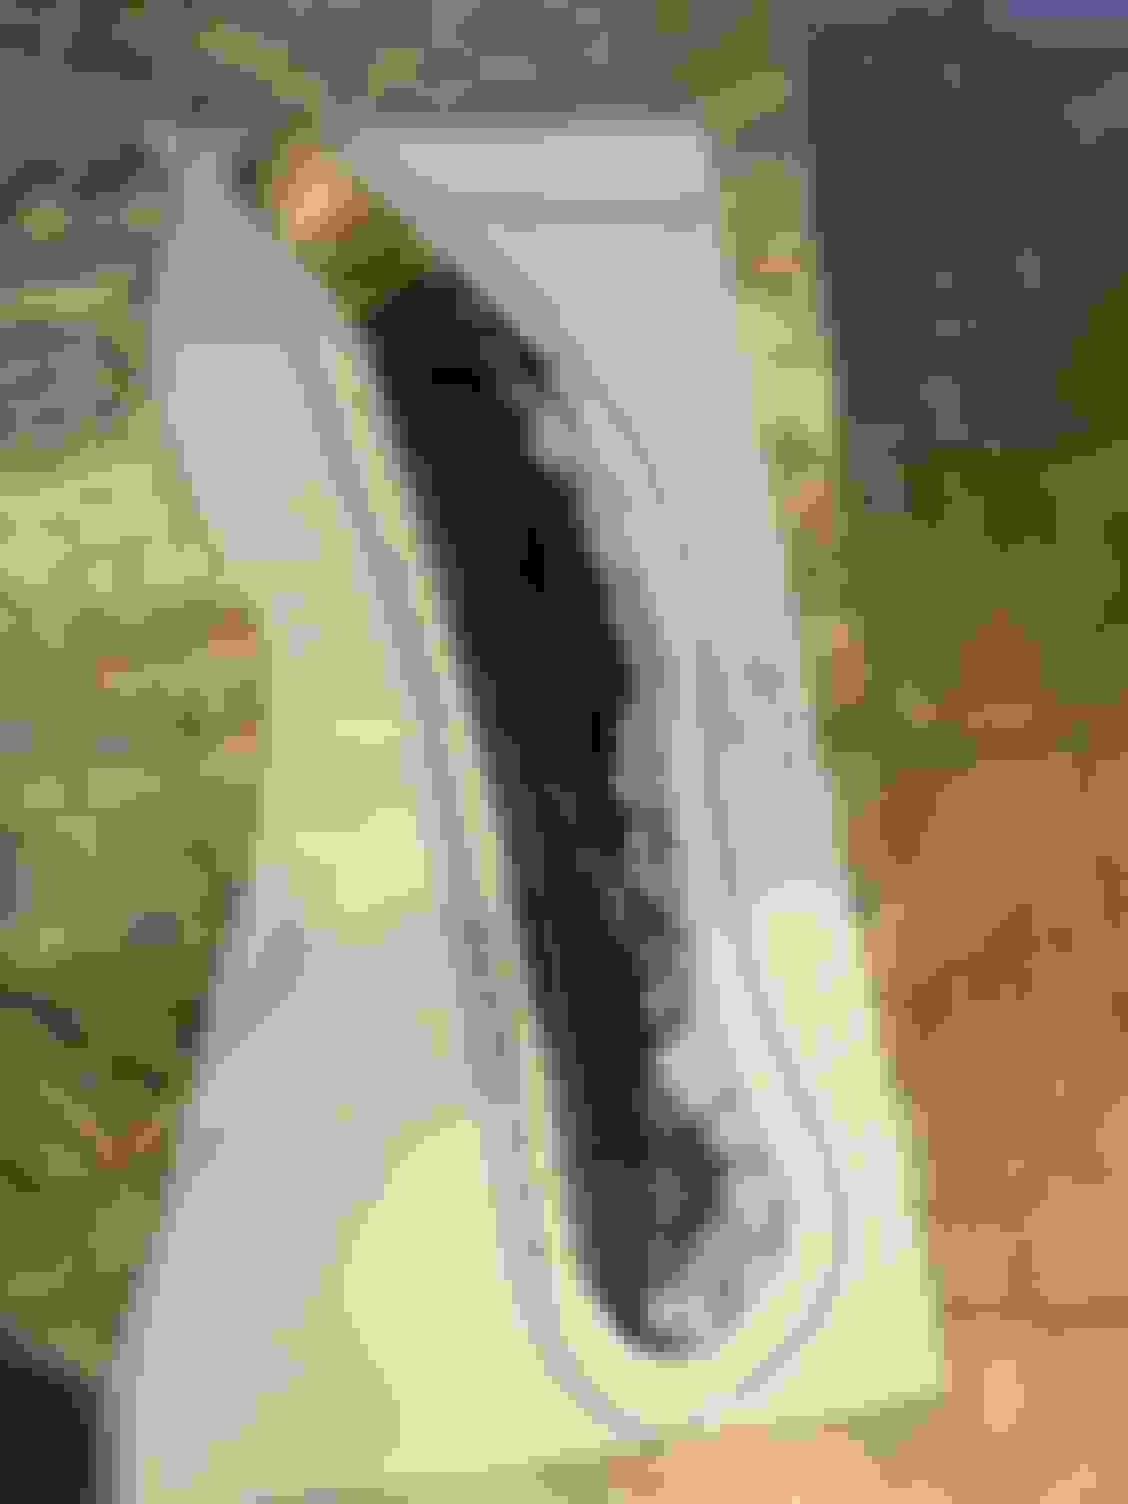
Right side? interior panel getting prepared for re-covering...
I cut a piece of aluminum sheetmetal to the same shape as the other panel (mirror image) and super glued it to the fiberglass panel...then I covered both sides of the aluminum with 5 layers of fiberglass mat......
Because of the cold weather it took 24 hours for the fiberglass repair to harden..once it hardened I ground the rough edges to match the curves of the aluminum sheetmetal.......
After some sanding/smoothing I laid it onto some leather/vinyl upholstery to cut out the pattern for covering the repaired fiberglass panel...
Time to skin another cat: Rather than spend every two hours pressing the leather wrap down while the adhesive dries in slow motion I decided to use 19th/20th Century technology...........DO NOT tell my wife I used all her paper clips
When the clipped side adhesive dries completely I will remove the clips and glue (you guessed it)...............the Other side in place.
Clever Minds = Ingenius Solutions is more like it!
We'll go with your theory.
Meanwhile...the Harley Davidson DNA kicked in...I had to go with chrome on Black upholstery (think restomod)...
far from perfect...but ..........they fit.........
Now to find the parking brake console.....
Last edited by doorgunner; Feb 21, 2021 at 10:44 AM.
I was amazed at how nasty the calipers had gotten with only a few thousand miles on the cat in 7 years (it's been on jackstands most of the time).
The P.O. gutted the Parking brakes so I started from scratch(ing my head).
The lever was smashed onto the end of the cable on both wheels, so I had to disassemble everything and bend the lever end open to remove the frayed cable.
After rebending the end so the new cable would slip into place I added a cotter pin for safety (aviation habit)....
I flattened the ends of the cotter pin once I saw they might catch on the welds. I did the same fix to the passenger's side.
I cleaned the dirt/grime off the left and right assemblies, then hit them with rattlecan paint to protect from rust.......
I adjested both star wheels about 8 turns to spead the shoes until they dragged slightly when the rotors were spun by hand. I brill break them in while the car is on jackstands and the halfshafts are close to level.
It's hard to see, but the equilizer and front cable are installed. I need to buy a couple hardware store springs to morrow
The P.O. also cut off the front pulley wheel bracket, so that will be an xtra little project fabbing a bracket for a new wheel.
Last edited by doorgunner; Feb 25, 2021 at 10:52 PM.
I don't visit the Corvette Forum very often, so it wasn't until this morning that I first found this thread that you started, and began reading it. I started reading and it wasn't until I got up to page 8 that I noticed the thread has 289 pages!! Yikes; I jumped ahead to the end to see how things are going - fantastic project and work you have here; excellent job!
Something I noticed in the early stages that really caught my eye - your re-spray/re-dye job on your upper and lower dash pads looks great - the finish has the perfect level of sheen/gloss. Do you remember what brand product you used and how you applied it (aerosol, preval, paint gun)? I need to re-do my pads (1972 red, not black) that I last did back in 1987, and would love to have them look like yours.
I have to jump back to page 8 and start reading again; glad I'm retired and have the time to do that!
You are a brave man reading this thread!
Strange as it seems...I used a couple spray cans of bumper and step spray for black rubber / plastic parts (auto parts stores stck the spray cans)
(SUVs have the black covers on the rear bumper and running boards).
I clleaned the pads really good with Dawn dishwash liquid and let it dry for 24 hours
Then I wiped everything LIGHTLY with acetone on a cotton cloth.
I sprayed each piece with the bumper spray......light coats and let them dry according to the can directions before adding another coat on each piece.
I repeated the spray procees until I got the sheen I wanted.
Since you need a red color, other members can tell you which Spray-Dye product would be best
On the subject of parking brake consoles, had you considered modifying it for cup holders?
Here's mine. A little bit of a pain, but I really wanted to put my drink somewhere besides between my knees.
2020 Corvette of the Year Finalist (performance mods)
2019 C3 of Year Winner (performance mods)
2016 C3 of Year Finalist
Originally Posted by MSGT-R
On the subject of parking brake consoles, had you considered modifying it for cup holders?
Here's mine. A little bit of a pain, but I really wanted to put my drink somewhere besides between my knees.
Your seats look nice, is that Amish performance tuck and rolled cedar from one of their 1925 Super Sport buggy editions??
Lol
Good job on the console, it looks well done.is it metal?
The cupholders would work for me...but my wife would need a fliptop console to drop in a 2 liter container of iced tea with a 3 ft. surgical tube attached to it. (I red dat somewhere)
Last edited by doorgunner; Feb 28, 2021 at 09:20 PM.
Designer Imagines A Corvette That Looks More Like a Corvette Than the Corvette
Slideshow: A Jaguar designer's personal project imagines what a modern front-engined Corvette might look like if Chevrolet revisited the golden age of the Stingray.