When you click on links to various merchants on this site and make a purchase, this can result in this site earning a commission. Affiliate programs and affiliations include, but are not limited to, the eBay Partner Network.
I'm with you man..fitting -take it back apart- Cut/file/sand/fiberglass- then re-fit it ...repeat!!!
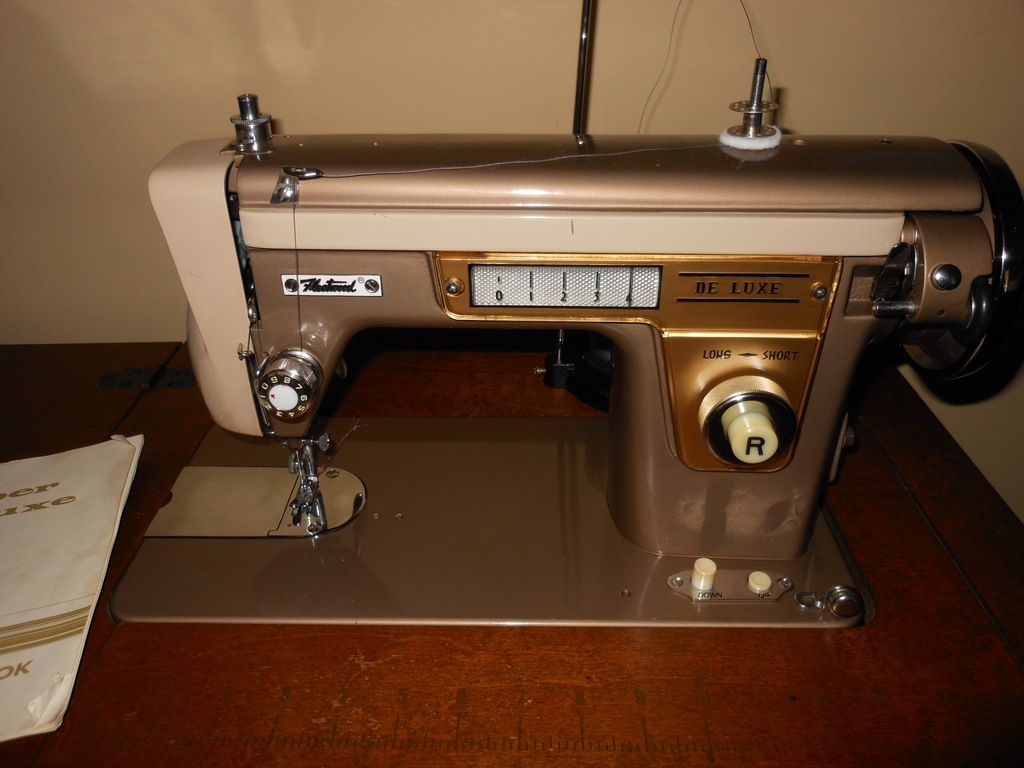
I bought an old sewing machine as well - found an old 60's Toyota Fleetwood on Craigslist in immaculate condition- very inexpensive.
I'm still trying to master the french seam!!! There are some good youtubes out there- look up "Cechaflo."
What are you doing for the parking brake? I went w/ e-stopp electronic one- works great!!!
Another tip - I've been using the 3M foil tape to keep the fiberglass in place. Only about $15/roll - holds great- as in the fiberglass resin even as it goes off and heats up doesn't leak. And you can spray it w/ Canola Oil and the piece you've made pulls right off.
How did you get such thin fiberglass to make such perfect right angles? When I do it the fiberglass doesn't want to make sharp turns and lifts back up if its too sharp. Did you have both a male and female mold or what?
Thanks guys. Richard, I've been eyeballing the e-stopp as well, seems like the only alternative I currently have. It's going to have a t-56 so I'm going to need the e-brake. Bit spendy, but very cool to have. And the c7's are equipped with something of that nature, as it's activated by only a switch in the center console.
Thanks for the tip about the tape - wife's getting pissed because all her tinfoil keeps disappearing - 'I don't know honey, maybe the kids have a school project...?'
Not sure how Richard did it Priya, but I've always been able to make really tight 90's with the mesh fabric rather than the fiberglass. It'll hold a corner really well.
Another idea for a parking brake would be the 65-66 C2's- and have the handle under the dash. I had originally looked at doing that- doesn't look that tough to do.
Originally Posted by Priya
How did you get such thin fiberglass to make such perfect right angles? When I do it the fiberglass doesn't want to make sharp turns and lifts back up if its too sharp. Did you have both a male and female mold or what?
Not to hijack the thread-
I first stretch either fleece or an old t-shirt and staple it to the form. Brush on a thin coat of resin. I'll then follow up w/fiberglass cloth and then some mat to thicken it up.
How did you get such thin fiberglass to make such perfect right angles? When I do it the fiberglass doesn't want to make sharp turns and lifts back up if its too sharp. Did you have both a male and female mold or what?
One trick...if you are using mat instead of fiberglass cloth....is to 'filet' your mat....thus...making it thinner and able to make sharp bends. Think of it like a piece of thick cardboard ..versus a sheet of typing paper. The typing paper can bend easier and hold a shape when wetted out...versus the card board. And...actually you might be surprised on how fast your lamination can go...even though you are doubling up your actions....ans this is because you are NOT fighting the mat.
YES...fiberglass cloth in areas that were shown work very well (obviously)...knowing that it is going to be covered with something.
Thanks Dub! I was reading through it and thinking '**** - I'm doing this all wrong' (which I'm sure I am, and I'm sure it drives pros like you absolutely nuts looking at all the ways I hack up fiberglass work). I will have a lot of questions for you once I begin the final body work. (Long way off at this point...)
Thanks Dub! I was reading through it and thinking '**** - I'm doing this all wrong' (which I'm sure I am, and I'm sure it drives pros like you absolutely nuts looking at all the ways I hack up fiberglass work). I will have a lot of questions for you once I begin the final body work. (Long way off at this point...)
What I see on the forum from time to time does not make me
Sometimes I bite my tongue and not reply at all...sometimes I stop and throw out some suggestions that may help.
One thing do know is that when a project is in the beginning stages of design....ANYTHING GOES. You would be SHOCKED in what I do to get the basic part where I want it and then when I go to actually make the REAL PART off of the prototype I created...the process changes drastically.
So..... I do not pass judgement when it comes to persons design. But I will have an opinion (even if I do not say anything) about how it was made and if it seems to be good and solid enough ....depending In what it is that was made. Nothing is worse than making a part and it fails due to a dynamic that was overlooked and caused for it to fail where it needed to be stronger in some areas.
Very unique project you are doing and all looks good to me...you are one of the rather ambitious people doing what they want.....which I actually like.
Thanks Dub (for biting your tongue...) I know my fiberglass skills are lacking, hell, I never touched the stuff before I bought this. That's why I started on the interior with stuff that will end up being covered.
So this weekend I'm wrapping the interior trim pieces like the windshield header, pillar molding, etc. I've been trying to figure out some sort of clip or panel retainer so I don't need to put screws through the covered piece. Essentially I want the fasteners to be hidden.
The problem is that the screws that hold them on are so small that any type of retainer I can find is way to large to fit in the hole. I'm about to the point of drilling out the holes large enough that the retainers will fit snugly unless someone has a better solution? Thanks.
I've been trying to figure out some sort of clip or panel retainer so I don't need to put screws through the covered piece. Essentially I want the fasteners to be hidden.
Thanks.
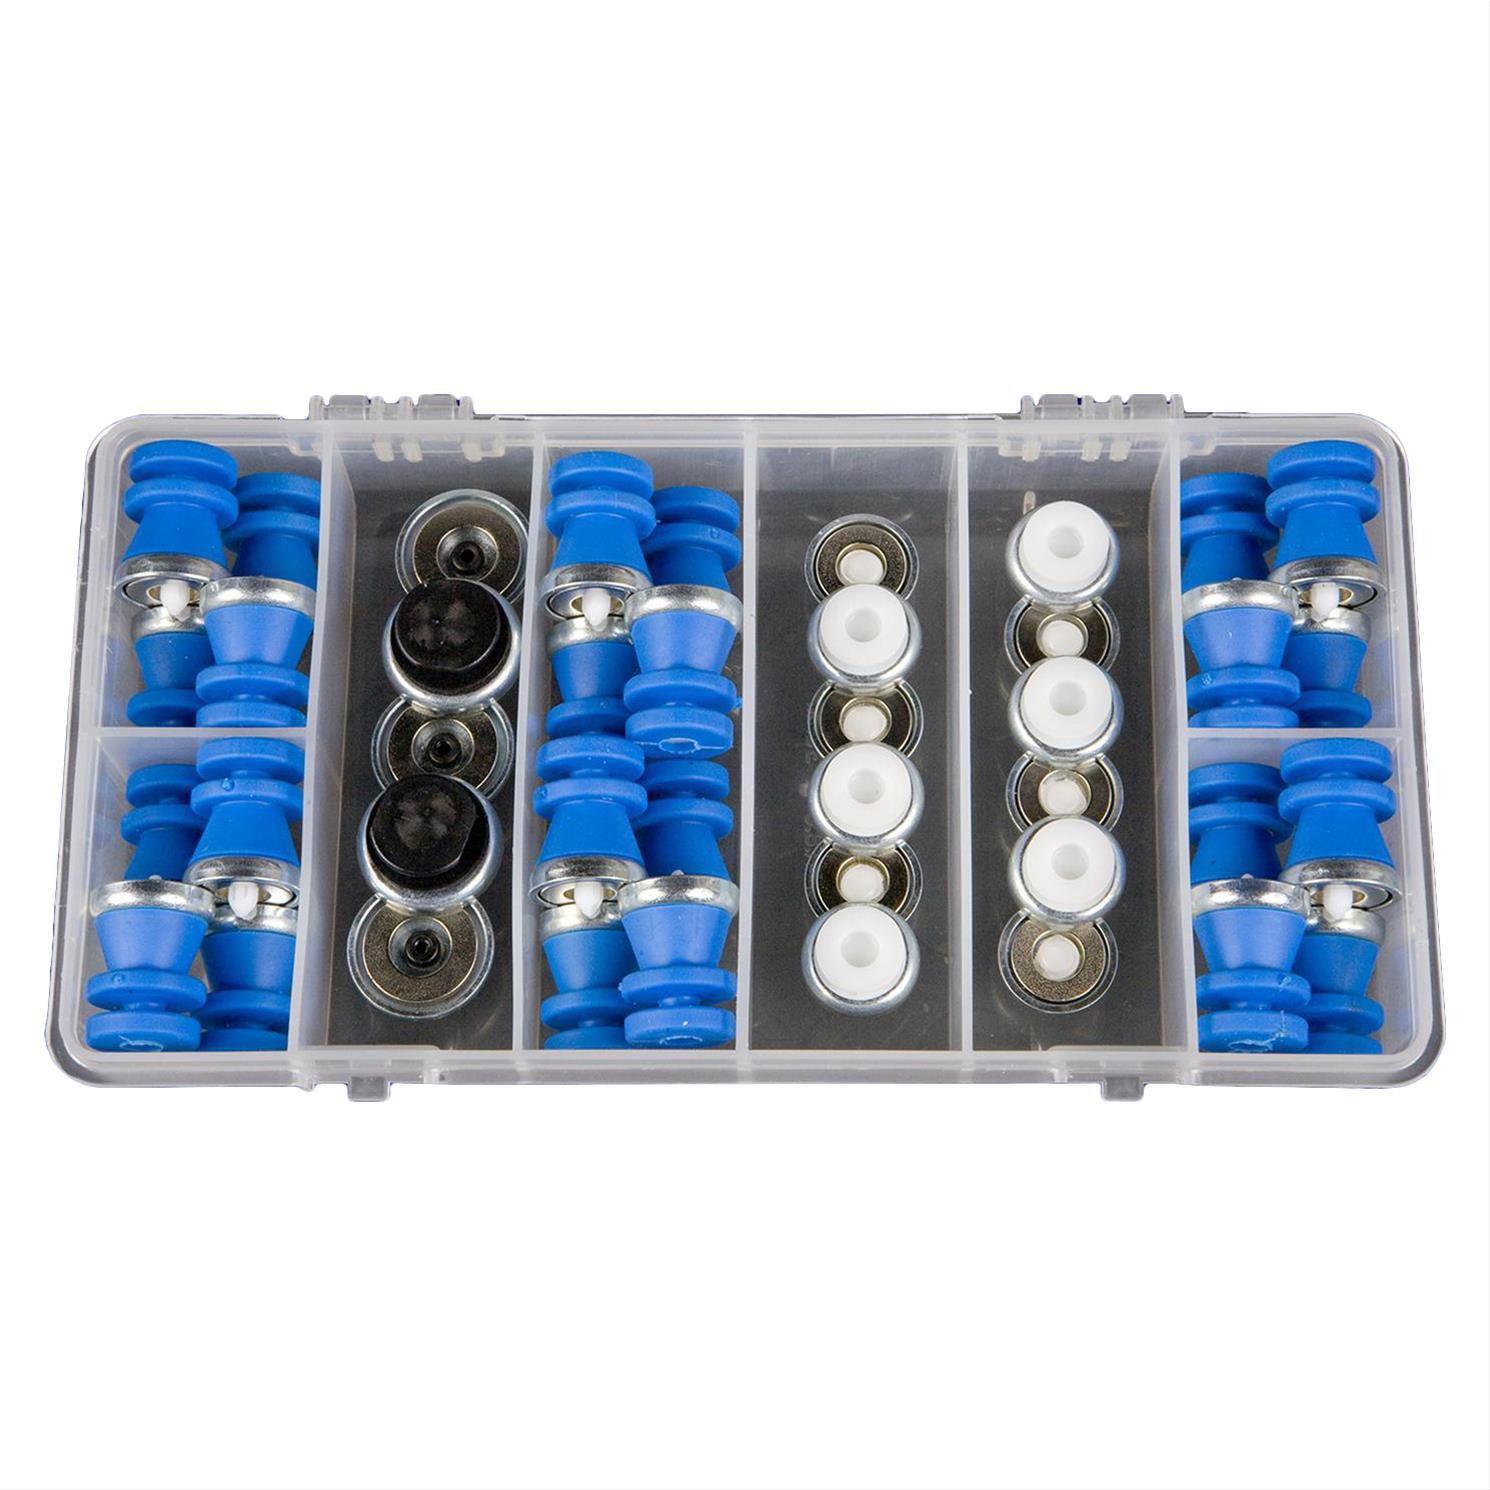
Here's what I am using- Magdaddy- Summit sells them
Neat little magnet panel holders- good for like 16lbs-
Slow moving, but I'm back at it today. Need some opinions.
I'm kind of stuck on the best way to create a support for the center console. The way it needs to sit in there for everything to line up is 4 1/2" off the tunnel in the front and 1 1/2" above the old armrest support at the back (between the seats).
I've kicked around several ideas - aluminum bar frame, creating a fiberglass support, etc. Just not sure what would be the best option long-term as that particular piece will be subjected to quite a bit of stress (elbows, leaning, etc.).
Opinions? Even something completely different. I'm open to anything, really. I'm mediocre with fiberglass at this point, but I can create solid pieces (they just don't look pretty ), I can do pretty much anything with aluminum except weld it (don't know how to weld). Or something completely different that I haven't thought about? Thanks in advance for any input!
Here's how I did it-
Get a sheet of 16GU steel at Lowes/Homedepot... Jigsaw - a drill - and a vise to bend it.
Get some cardboard and design it so it will fit- screw into you console- add a couple of legs to it to mount to the fiberglass- a few 1/2 screws and you are there. I also attached my console into the stock mount- just added a piece of steel to it to fit my console. Ypu can also ure the orginal mounts to tie in.
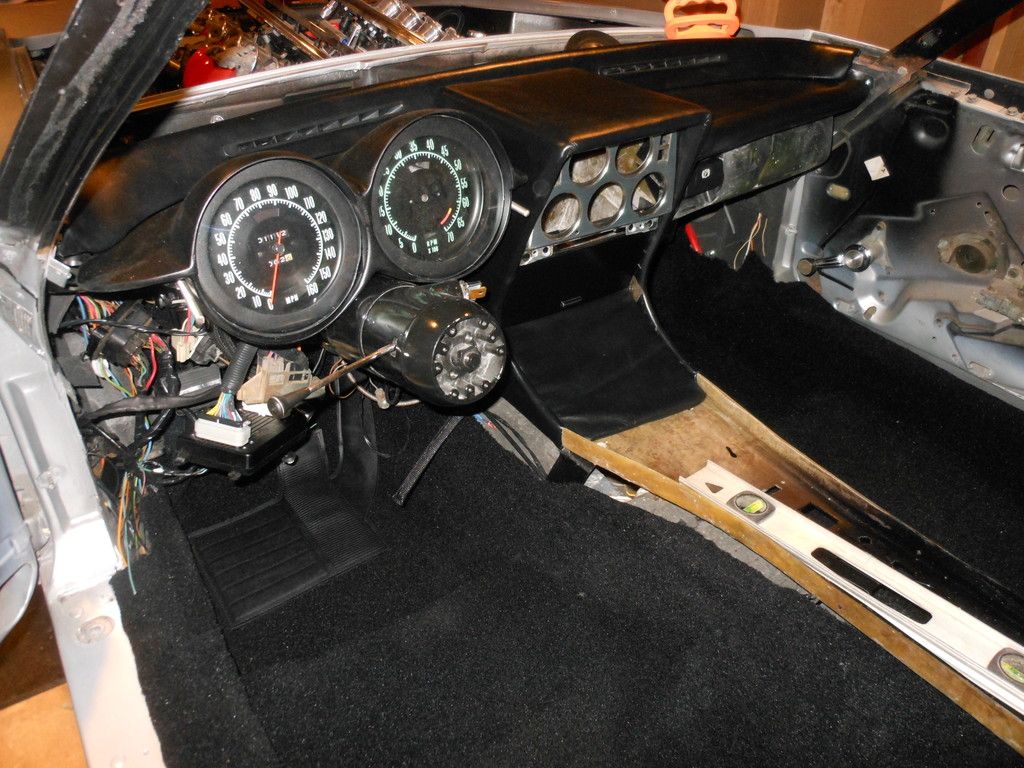
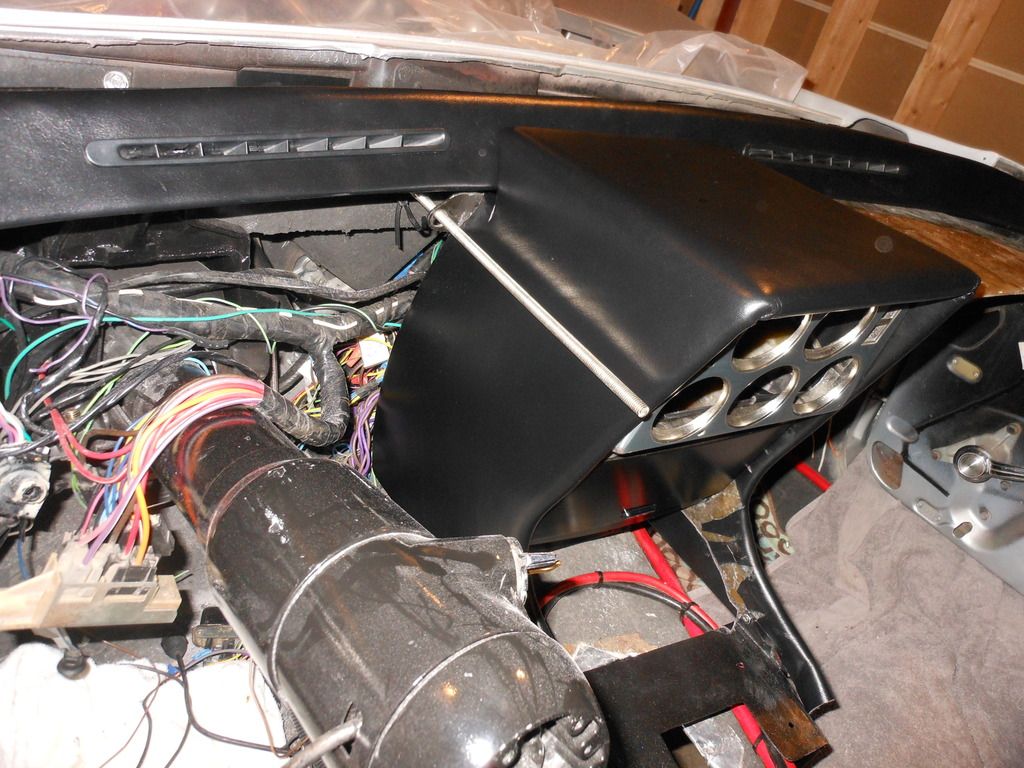
You can see the "legs' mounted to the trans tunnel
under the console- this is fiber glassed and bolted in-
I found these- which helps conceal the mounts under the leather
Here's the original mount- that I added flat bar to mount to the gauge console- at top of pic
Here's another shot-the fiberglass console lays on top- I used threaded rod w/ some tubing over it to mount the custom upper dash-
Last edited by Richard454; Apr 24, 2016 at 04:27 PM.
Thanks Richard. I'll start with the cardboard template and work from there. I think I may add the legs/supports to the bottom of the actual console as well, I had my head wrapped around creating the frame and support to the tunnel itself for some reason. I also like the bracket attached to the bottom of your console.
Sorry Laird, I don't think I do. I'll check this afternoon. The window I'm using, one of the regulators was shot - don't remember which (I replaced both of them). I'll dig out the one I have left this afternoon and see if it's left or right.
Designer Imagines A Corvette That Looks More Like a Corvette Than the Corvette
Slideshow: A Jaguar designer's personal project imagines what a modern front-engined Corvette might look like if Chevrolet revisited the golden age of the Stingray.


 I know my fiberglass skills are lacking, hell, I never touched the stuff before I bought this. That's why I started on the interior with stuff that will end up being covered.