When you click on links to various merchants on this site and make a purchase, this can result in this site earning a commission. Affiliate programs and affiliations include, but are not limited to, the eBay Partner Network.
You could use 1/4"dia. X 3 1/2" length with washers or step up a notch. And use a good deck screw same length. Pre-drill your holes with a pilot bit. Depending on your setup you can also, probably recommend securing the body to the dolly via the mounting hole locations to stop movement.
Just received my Lifting Straps from MidAmericaMotorworks today #146099/shorter straps $39.99. Works for me.
Last edited by caskiguy; May 15, 2017 at 11:07 PM.
Reason: Add photo
Hi gw,
I secured the 8 (10) uprights to the rails using bolts and nuts.
This allows the uprights to be removed singly or even in pairs so the area of the birdcage or body reinforcement where the frame mount touches the cage, can be restored in whatever manner you're doing it, and then easily replaced.
I found that useful.
Regards,
Alan
I tend to overbuild everything, but I would use 1/2 inch machine bolts with nuts and washers. They are only a few cents more than 3/8 inch and no worries. You'll probably be limited to 5/16 for the castors as the holes are usually pre-drilled to except that size bolt.
The Nolan Adams restoration Books have dimensions and a how to on building a dolly. He doesn't get into C3's but the C2 Frame is basically the same thing. Google might find it.
The Nolan Adams restoration Books have dimensions and a how to on building a dolly. He doesn't get into C3's but the C2 Frame is basically the same thing. Google might find it.
Hi gw,
I secured the 8 (10) uprights to the rails using bolts and nuts.
This allows the uprights to be removed singly or even in pairs so the area of the birdcage or body reinforcement where the frame mount touches the cage, can be restored in whatever manner you're doing it, and then easily replaced.
I found that useful.
Regards,
Alan
Alan
I am using your plans. I am a little confused on the upright dimensions
Do I use the actual measurements? Can I use 2x4s? How much tolerance is there? Do I use the spacers or shims?
Hi Glenn,
The use of the uprights in the dimensions shown, the use of the spacers where indicated, and putting the uprights on the outside or inside of the long rails as shown, puts the center line of the upright in the center of the body mount hole in the body for all 8 mounts.
It's takes a couple of sizes of framing lumber and a bit more time but I think it's worth it. One 8' 2x3 and one 8' 1x3 is all you need.
The side view shows how tall the uprights need to extend above what ever rails you're using and the top view shows where along the rails each upright is located.
Regards,
Alan
Thanks
Off to Home Depot
Glenn
Last edited by gleninsandiego; May 20, 2017 at 05:07 PM.
Hi Glenn,
The use of the uprights in the dimensions shown, the use of the spacers where indicated, and putting the uprights on the outside or inside of the long rails as shown, puts the center line of the upright in the center of the body mount hole in the body for all 8 mounts.
It's takes a couple of sizes of framing lumber and a bit more time but I think it's worth it. One 8' 2x3 and one 8' 1x3 is all you need.
The side view shows how tall the uprights need to extend above what ever rails you're using and the top view shows where along the rails each upright is located.
Regards,
Alan
Alan, I apologize for infringing on your copyright(s) by forwarding a photo of the dolly drawing which you own.
Hi Glenn,
Yes.
Once the body was in place on the dolly I installed 2 uprights on the front crossmember to support the front of the body.
They're not on the drawing because where you might want to put them may vary between a chrome bumper and rubber bumper car.
Regards,
Alan
You can see them if you look carefully� they're about 2' apart.
Hi c,
NO worry.
I'm glad if it helps someone.
The drawing is just a guide. How someone builds the dolly, and whatever changes they may make, is fine with me.
It's usefulness is really in indicating WHERE the uprights need to be to support the body.
Regards,
Alan
As I've mentioned in the past I needed something that didn't require much skill to make and also wouldn't take many of my budget $s.
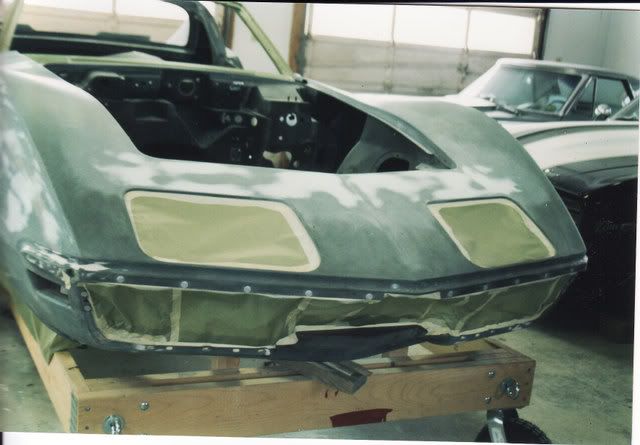
I wasn't able to take any action shots because we used an engine cherry picker and were moving quickly
The dolly worked great. The only part that didn't fit was what what I had mentioned before, the width of the rear mounts. Mine needed to be a bit wider to so I simply added a piece of wood to each.
We put a temporary support under the radiator surround to support the nose.
The biggest hassle was the webbing I bought to lift the body. As mentioned on the forum, the straps are too long for a cherry picker.
We ended up tying knots in it to make it shorter, but I am going to do something more professional for the install. Has anyone found an elegant way to shorten the straps? Upholstery sewing machine?
I am so glad I pulled the body. There is a ton of surface rust but the frame is solid. I hope to start a new thread for what comes next
Hi Glenn,
It looks like you did well!
Now I'm wondering why you had trouble with the width of the rear uprights?
????
Regards,
Alan
I am not sure. I will remeasure. Yesterday was a rush getting the body off and moving things around.
Thanks again for your plans
I could not have done this without them
Hi Glenn,
I checked the frame dimension diagram in the Chassis Service manual and unless I'm missing something, (DUH?), it appears the 4'-0"-1/4" actual dimension is a good one.
The center of the uprights are off by 1/4" each because of the actual dimension of the framing material as I note on the drawing.
Regards,
Alan