When you click on links to various merchants on this site and make a purchase, this can result in this site earning a commission. Affiliate programs and affiliations include, but are not limited to, the eBay Partner Network.
Do not be surprised if anyone w ill really want to go in and buff it after it is painted if needed. Reason being.,.,.,no one wants to assume the liability of sanding on a paint job they did not apply themselves. ...because they can sand/buff through the clear and cause for more work to be done on it.
I know I do not sand and buff on paint jobs that someone else did. I will use a buffer to remove the haze in it when I am needing to blend in panel after doing a partial paint job...but I do not sand and buff on it. But someone coming in off the street wanting me to sand and buff one...I won't touch it.
Reason is no one can tell how thick the clear is....so when sanding they may not be able to get out rough texture. And even if they do...if they get the clear too thin...it will beign to chalk out due to beign too thin and not be able to fight against the UV's of the sun.
And if they tell you that they shot 3 coats of clear on it. that also does not mean anything to me due to HOW did they shoot those 3 coats of clear. I have been in tech classes and when we spray the clear on a test panel...the amount of mils of clear on everyones test panels are different and SOME are really thin due and not meeting the needed film thickness because they are applying the clear too fast and NOT putting enough on it in each coat.
Ok, well I am glad you warned me of that but I think I will still like it without the wet sanding. I will let you know how it goes when I take off more of that rubber molding and the corner lights. Then I need to start looking at how to take off other things like the spoiler.
I started to remove the passenger mirror and outer window seal today but when I went to remove the mirror I got the door panel and mirror nuts off and it came off there easily but there�s no extra cord in there to pull the mirror more than two inches away so I can unplug it. I need to buy a drill bit that�s small to drill out the rivers for the window seal. Do you know how the mirror part comes off further to unplug it though?
YES...take a flash light and follow the wiring harness coming out of the mirror and follow it through the door and you will see what you need to so to get it disconnected.
Time for you to try to figure this out on your own ....becasue I obviously know how to do it but if I give you all the answers...then where is the challenge.. I can say that the mirror is just not to come out easily... it takes other parts to be removed to allow you to reach inside the door. AND it is not impossible due to I can do it anytime.
3/16" drill bit drills out the rivets for the outer window seals....and you JUST MIGHT want to drill out a few more rivets when oyu look into your mirror removal.
You do not disconnect the wiring from the mirror The wiring stays attached to the mirror...unless you plan on taking the mirror apart to get the guts out of it...then the wiring can come out of it.
You do not disconnect the wiring from the mirror The wiring stays attached to the mirror...unless you plan on taking the mirror apart to get the guts out of it...then the wiring can come out of it.
DUB
oh ok, I watched a video on a different one, must have been a later model c4 that disconnected from the mirror. Thanks for letting me know that, I would have been stuck forever trying to unplug it from the mirror haha. you must have taken apart a lot of corvettes before.
Yes I guess I have done a few Corvette mirrors before due to owning a Corvette shop for over 30 years.
I am not saying that you cannot remove the mirror without taking off the door panel and what is needed to release the long wiring harness that is attached to the mirror... BUT...when you try to go and reinstall the mirror back on the car with the very short wire that you would have to pushed into the door....you would be fighting with trying to get the grommet to seal and that not causing you for problems when dealing with fresh paint.
But by doing this you need to remove the mirror glass and electrical motor assembly completely to gain access to getting that wire grommet out and back in.
I have mirror stands made to hold this mirror as how it would be when on the door and I do remove all of the parts inside it including the wire so I can paint the inside of the mirror housing.
Thanks a lot for helping again. The light helps to see a little bit haha I got the mirror off, it was just cable tied and the two connectors needed unplugged. Now I just need to go get a drill bit and drill out the rivets. I�m hoping the outer window seal is kind of stuck on there without the rivets so I can leave it until it comes time to drive it there. Then I�ll put back on the door panel and leave it until I take it to them and I will pry off the seal then. I�m not taking the window glass out or anything, I�d be afraid of scraping it up or breaking it.
I think I�ll just take time to line up the wire grommet without taking the insides of the door apart. I don�t think it should be too hard, it was just cable tied and then I�ll using something to pull the connectors through the little holes when I put it back together.
Thanks, I�m sure there�s something in that thread that�s helpful to show how to take apart something. It looks like you took the whole car apart. I�m not taking mine apart near that much but it looks like you sure did a good job of making everything look new on your car.
I got the door panel back on after I drilled out the rivets and just wedged the sweep in the sill for now. I�ve been looking to remove the spoiler next. I have read it�s best to remove the tail lights then reach in through those holes and unbolt the spoiler. I tried to reach the tail lights just through the license plate hole but couldn�t get them so I�m going to loosen the bumper in that area and see if I can reach them that way.
I can get the taillights out going through the license plate area. You may need to remove the reverse lights to do it...and then possibly the carriage bolt that is hidden behind your reverse lights to allow the bumper to pull back a liitle bit.
Ok, thanks. I already removed the reverse lights but couldn�t fit my arm up in there far enough to reach the inner light. That�s what I was thinking is to remove the couple bolts holding the bumper in that area so I can pull it out a little. Then I�m going to start removing the moldings and then finally last is the lights. I think I�ll remove all lights except the headlights and I�ll take the bolts out of the taillights but leave the bulb holding the lens in place until I get there and I�ll take the bulb socket out then so it is driveable and I can still give it to them with all lights removed. I�ll leave the fog lights in too of course since I�m not taking the front bumper off. I�m taking it there around the beginning of March.
I am going to offer this
I blast ALL my cars - BUT - I doing most c1's
IF you find a good blaster - many of the parts and bodies can be blasted
I have never tried the Dustless blasting ....
All mine are media and all my bodies are blown apart
They start like this and end like this
I skim read this thread
but yes - take all the parts off the car to paint it
Q - do you have the pictures off the wall to paint the wall?
Same thing here
Take everything off - if not you will open yourself up to a failure
Looking at the photos - there is something under the paint causing it to lift
Ok, thanks. I already removed the reverse lights but couldn’t fit my arm up in there far enough to reach the inner light. That’s what I was thinking is to remove the couple bolts holding the bumper in that area so I can pull it out a little. Then I’m going to start removing the moldings and then finally last is the lights. I think I’ll remove all lights except the headlights and I’ll take the bolts out of the taillights but leave the bulb holding the lens in place until I get there and I’ll take the bulb socket out then so it is driveable and I can still give it to them with all lights removed. I’ll leave the fog lights in too of course since I’m not taking the front bumper off. I’m taking it there around the beginning of March.
You will NOT be able to pull the bumper back by only removing a few screws. There is a metal retainer at the flange so taking out only few is not going to do anything.
Having the taillight in with the light socket attached is juts asking for trouble when driving it unless you put clear tape on it to hold it in because they WILL fall out an and dangle by the wires.
To get the screw that takes a 10mm socket to get it out is furthest on each light from the center of the car....removing the light socket is what I find helps so I am not fighting to get around it.
Once I get the inner lights out..I can then go through THAT hole to get the outer taillight housings.
DUB
DUB
ok, thanks I will be sure to put tape to hold them on until I get there. I�ll get to looking at the lights more sometime, I had to put it back in the garage today from snow. And then the left front headlight wouldn�t come up as I put it in. hopefully it was just too cold or I will have to look into that when I go to take the headlight doors and bezels off.
I skim read this thread
but yes - take all the parts off the car to paint it
Q - do you have the pictures off the wall to paint the wall?
Same thing here
Take everything off - if not you will open yourself up to a failure
Looking at the photos - there is something under the paint causing it to lift
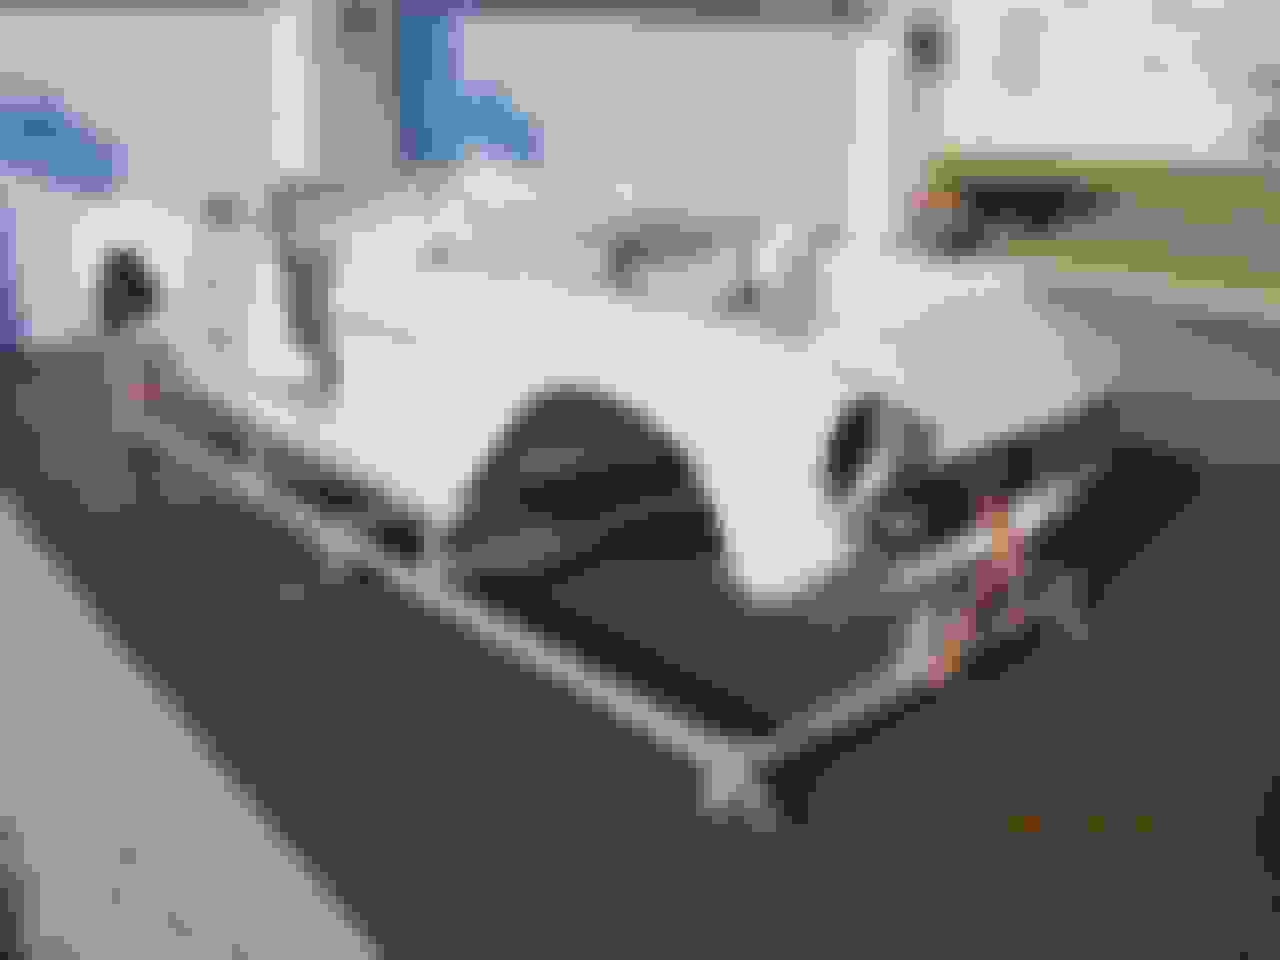
ok, thanks for another opinion. I�m removing I think everything that could need removed except for the bumpers. Whoever painted it last didn�t remove hardly anything to paint it and you can tell that it didn�t last in some spots from that reason. I think they may have even left the hood emblem on. The quality of the paint on it now is good as in shiny but they didn�t remove anything pretty much and you can see why you guys say things need removed. They must not have taken off the mirrors because look at these pictures around the mirror where it lifted. They also didn�t take off any moldings I don�t think. I wouldn�t remove a picture to paint a wall, I�d just paint around it. jk
Last edited by 85 CRVET; Jan 10, 2019 at 11:56 PM.


 I got the mirror off, it was just cable tied and the two connectors needed unplugged. Now I just need to go get a drill bit and drill out the rivets. I�m hoping the outer window seal is kind of stuck on there without the rivets so I can leave it until it comes time to drive it there. Then I�ll put back on the door panel and leave it until I take it to them and I will pry off the seal then. I�m not taking the window glass out or anything, I�d be afraid of scraping it up or breaking it.


 hopefully it was just too cold or I will have to look into that when I go to take the headlight doors and bezels off.
