When you click on links to various merchants on this site and make a purchase, this can result in this site earning a commission. Affiliate programs and affiliations include, but are not limited to, the eBay Partner Network.
Well I finished up everything that I�m removing from it so it is ready to go. We are planning on the 23rd as the day we take it there and they said it should take around a couple weeks to finish. Thanks for all of the help you have been and I will be posting some pictures to see how it turns out.
I did this to the moldings to get them ready to go back on. They were red when we got it but the painting was never good like in the picture so I got some touch up paint and filled the letters in with the marker tip if the touch up paint.
Well it�s sitting at the paint shop now. They said they actually had another corvette the same body style coming in next week too. The guy that they have coming in is their corvette specialist person and he lives right next to their shop. They told me that they will even send some pictures every once in a while to show some updates on how far they are on it. Here�s the last few pictures I took after washing it yesterday.
I took the tail lights out when we pulled in. I wanted to remove the bumpers but we had to drive it there instead of trailer it so I don�t know if they will loosen up the bumpers when they paint it and remove the door handles or how they will do it. The estimate came back today of almost $4,000. They popped the bubbles on the doors to take off some of the paint so they could see underneath and there is damage there. It is about $1,300 for the paint alone and then $1,300 to repair the bad spots and another $1,000 to prep the car as normal and the supplies. They came up with the estimate when their corvette expert person came in to look at it, he will have it for about a week and a half to do the repairs so it should be a couple weeks and I�ll get to see how it looks.
I got some updates on how it�s doing right now. They said the guy that preps it is making good progress on right now and it should be done before the end of next week.
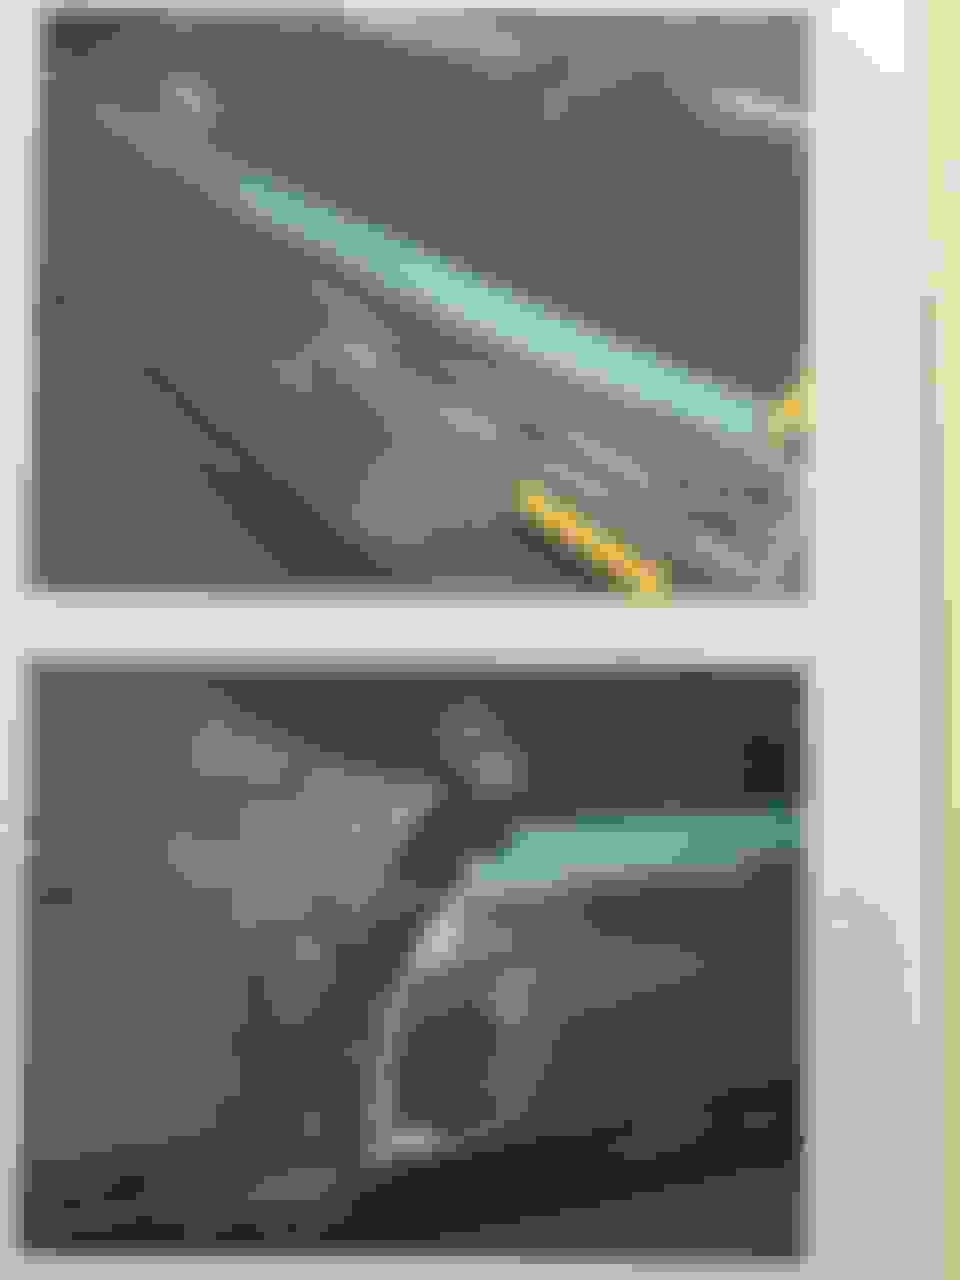
Here�s some other pictures that show some close ups of the spots that need repaired, they said that it looks like the person that painted it before used regular bondo and that�s why some spots were messed up. Also they said on the spots where flakes were coming off it looks like they used 2k primer, I don�t know what that means but they said that�s why the paint didn�t want to stick to the car.
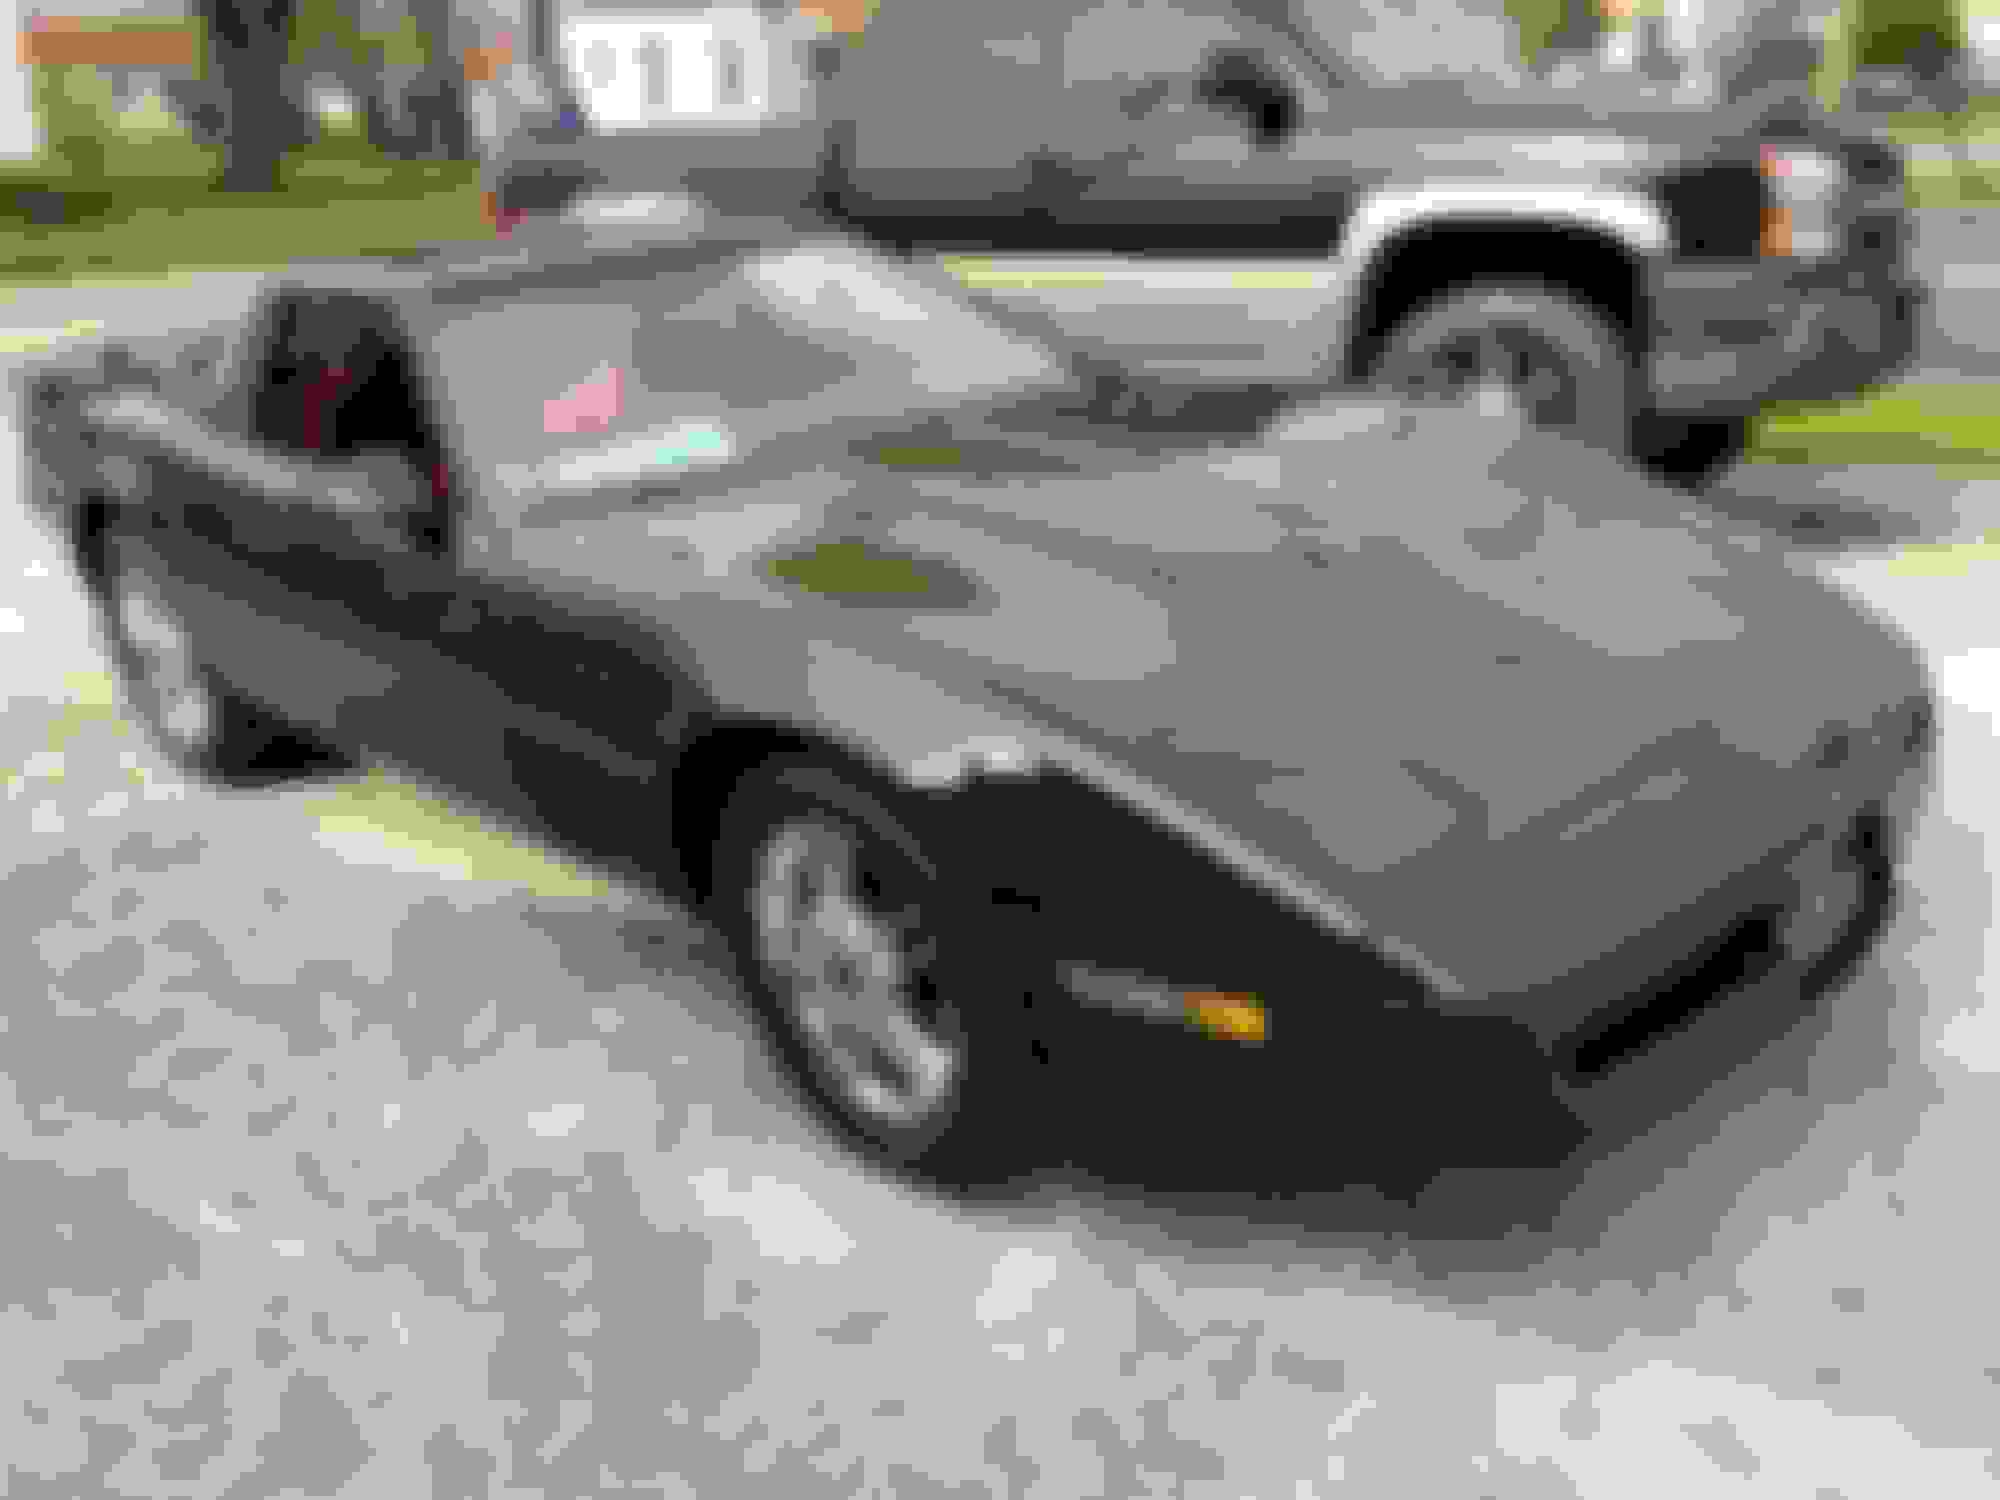
It came back to the house Saturday so I got some pictures. It looks great, I have the headlights and one mirror put back together so far. It hasn�t been washed and it�s not sunny but here some pictures, it still shines even though it�s pretty dirty. And here�s a couple pictures of the doors where the paint was bad, it�s all smooth now.
Hi, I wanted to ask you. They said to wait a month before putting wax on but it�s ok to wash it. I washed it the other day and it has a really grainy feel to the paint that I thought would go away when washing it but it didn�t. So I bought a meguiars clay bar kit to use because I figured that would get it as smooth as the other paint was but I don�t know if it�s ok to use it now. They painted it last Friday and said to wait a month for wax so should I wait that long to use the clay bar on it too. I figured the clay bar should fix the grainy feel because I didn�t want to dry it or anything because I was afraid of scratching it with it having that grainy feel to it.
I think it�s a little bit of overspray since it was sitting in their garage is my guess from what I�ve read and I�ve heard the clay bar can take the overspray off easily without leaving swirl marks.
I washed it today after I got everything installed on it the other day. I left off the emblems and targa trim is the only thing because I talked to Maaco and they are going to buff it for me to remove the overspray. The bottom half of the car is really smooth like it should be but the top has a grainy feel after I washed it, and I used a pressure washer to make sure I didn�t miss some dirt that I�m feeling or something. I didn�t dry it so that�s why it�s not super clean because I was afraid of scratching it with the rough feeling it has. But they are going to buff it so that will fix it.
Oh yeah I forgot the front license plate cover still needs to go on. I�m trying to paint the �corvette� letters in red first. Here�s the spoiler letters that I painted.