C6 Corvette: How to Install a Wide Body Conversion Kit
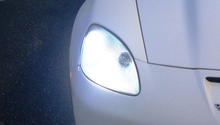
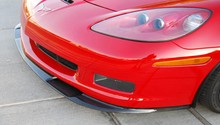
Whichever side of the wide body conversion kit discussion you fall, you have to admit one thing: It will definitely turn some heads and start a conversation. Whether a subtle conversion or one with an all out "go big or go home" attitude, you can re-style your Corvette with a little bit of time and whatever your wallet will allow.
This article applies to the C6 Corvette (2005-2013).
There are many wide body conversion kits available. GM offers OEM kits, and there are several aftermarket suppliers to be found. The OEM kits should be easier to fit and install, yet they are somewhat limiting if you’re looking for that “unique” style. The aftermarket companies offer a wide range of products and styles, yet they may require more work in order to achieve that perfect fit and finish. Either way, this is not an inexpensive modification, as not only will it require new body parts and paint, it may also (depending on how extreme you go and the look you desire) require new wheels, tires and possibly brakes. This article is intended to give you an overview of parts and installation as well as some examples of styles.


Materials Needed
- 10mm socket (deep well)
- T-15 Torx wrench
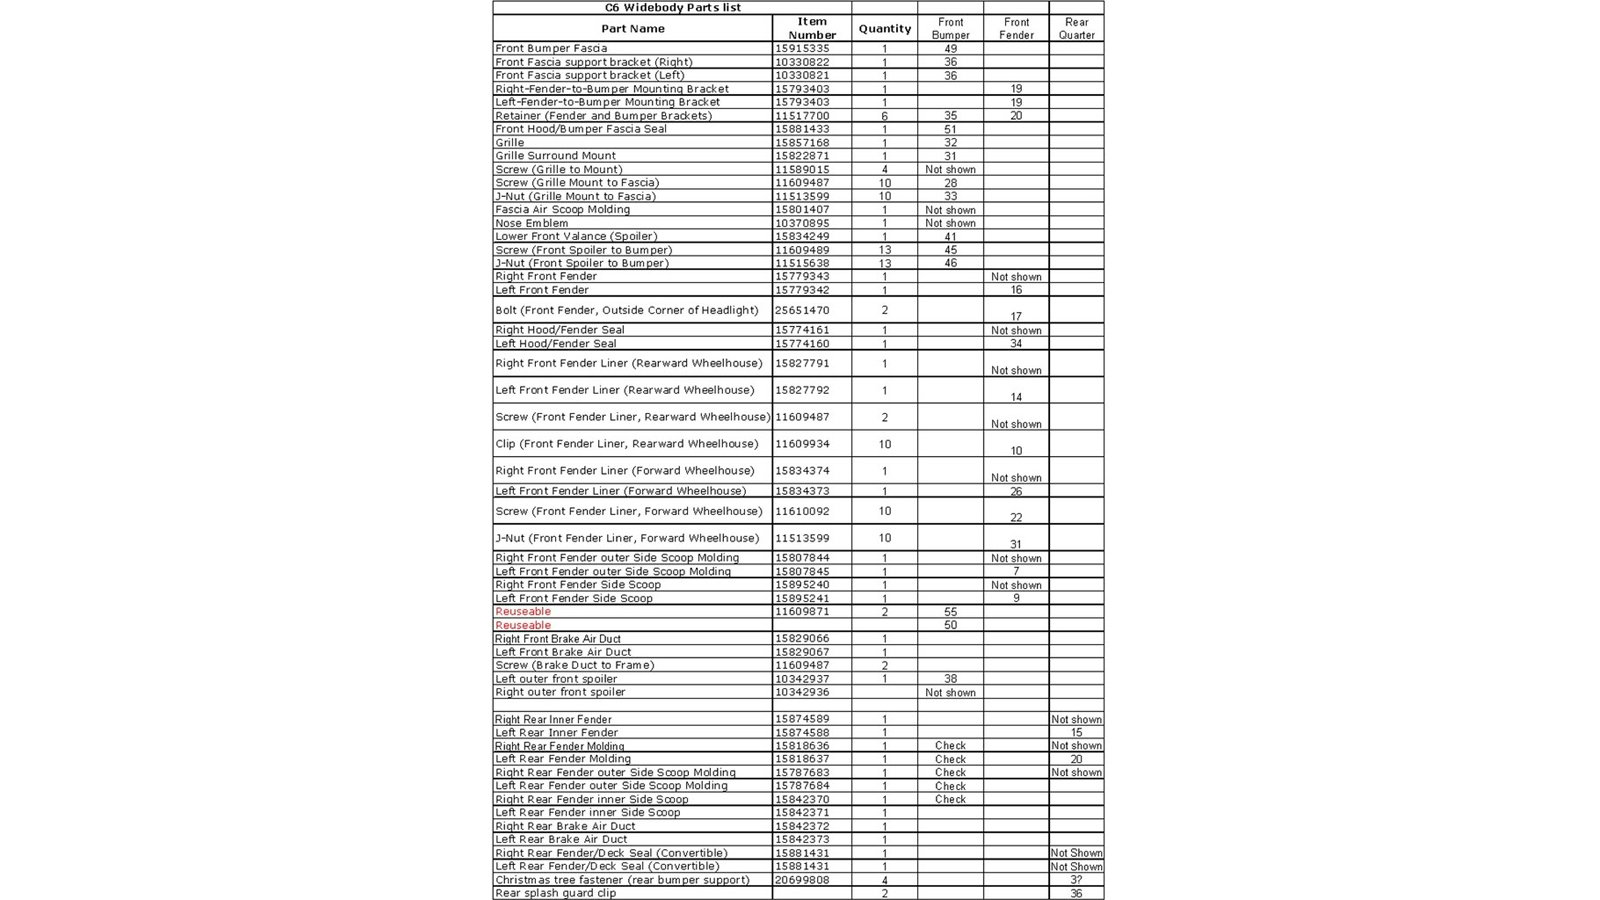
Step 1 – Research a parts list
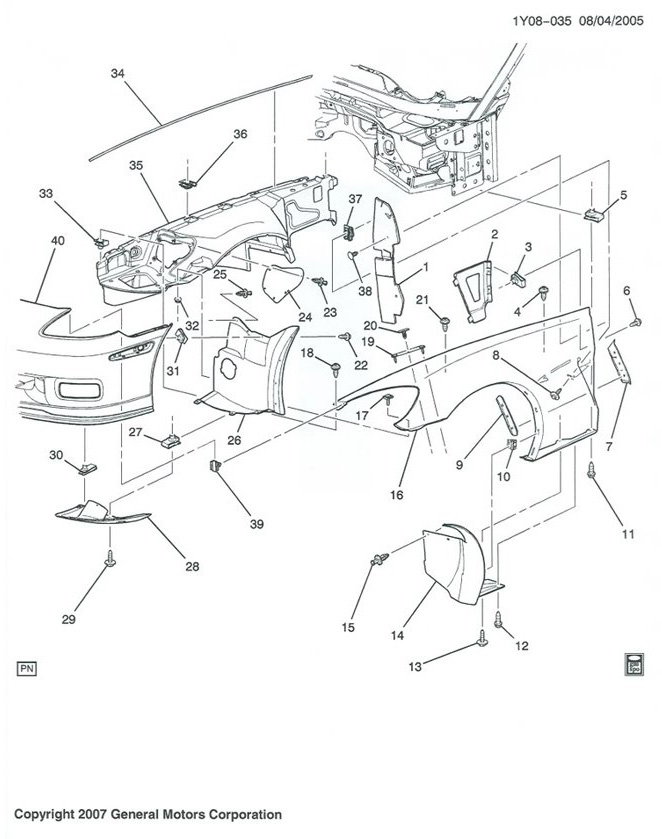
This is a parts list for a ZO6 parts conversion. Part numbers may differ.
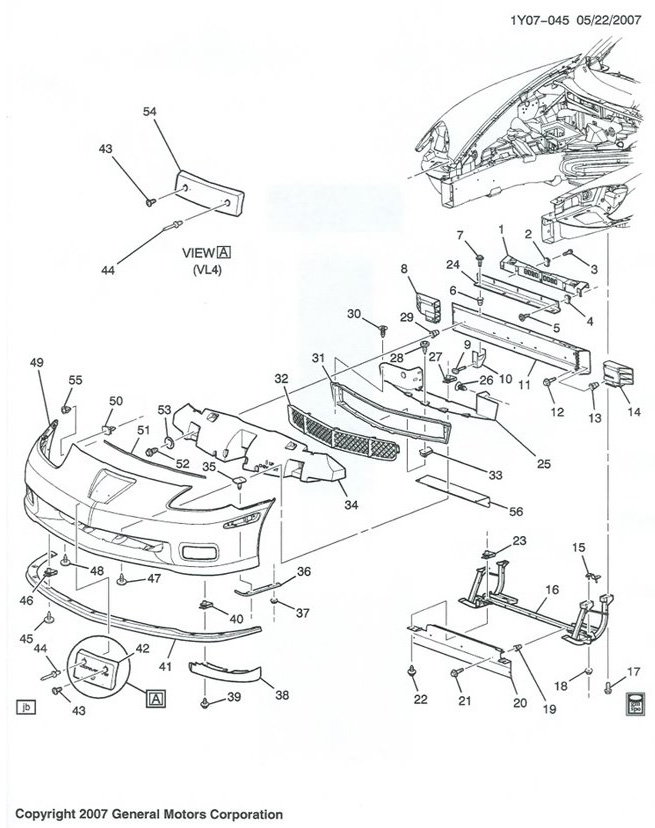
Step 2 – Front bumper removal and installation
Removal of the front fenders also requires the removal of the front bumper cover, or fascia. That is held on with a number of fasteners surrounding the perimeter of the bumper. Depending on which air intake setup you have, the lid portion may also need to be removed. Once the bumper cover is safely removed off the vehicle, you have full access to all of the fasteners for the fenders.
Step 3 – Front fender removal and installation
The fenders are secured to the car using a series of fasteners. These fasteners require 10mm and 7mm sockets for removal. These can be easily undone with a small ratchet, so not much force is required. Certain models of Corvette may additionally require a Torx T-15 for removal, so keep one handy.
Pro Tip
Wrap the edges of the bumper cover, hood and doors in painter's tape to protect them from scratches and other minor damages.
Step 4 – Rear quarter panel removal and installation
As seen in the diagram below, the quarter panel has a number of rivets and fasteners used to secure it. For full access to these items, the wheels and inner fender liners will need to be removed. The liners are secured with clips and 7mm fasteners.

Related Discussions
- How to Remove Quarter Panels - CorvetteForum.com
- How to Remove Rear Bumper (C7) - CorvetteForum.com
- Front Fender Removal (C5) - CorvetteForum.com