When you click on links to various merchants on this site and make a purchase, this can result in this site earning a commission. Affiliate programs and affiliations include, but are not limited to, the eBay Partner Network.
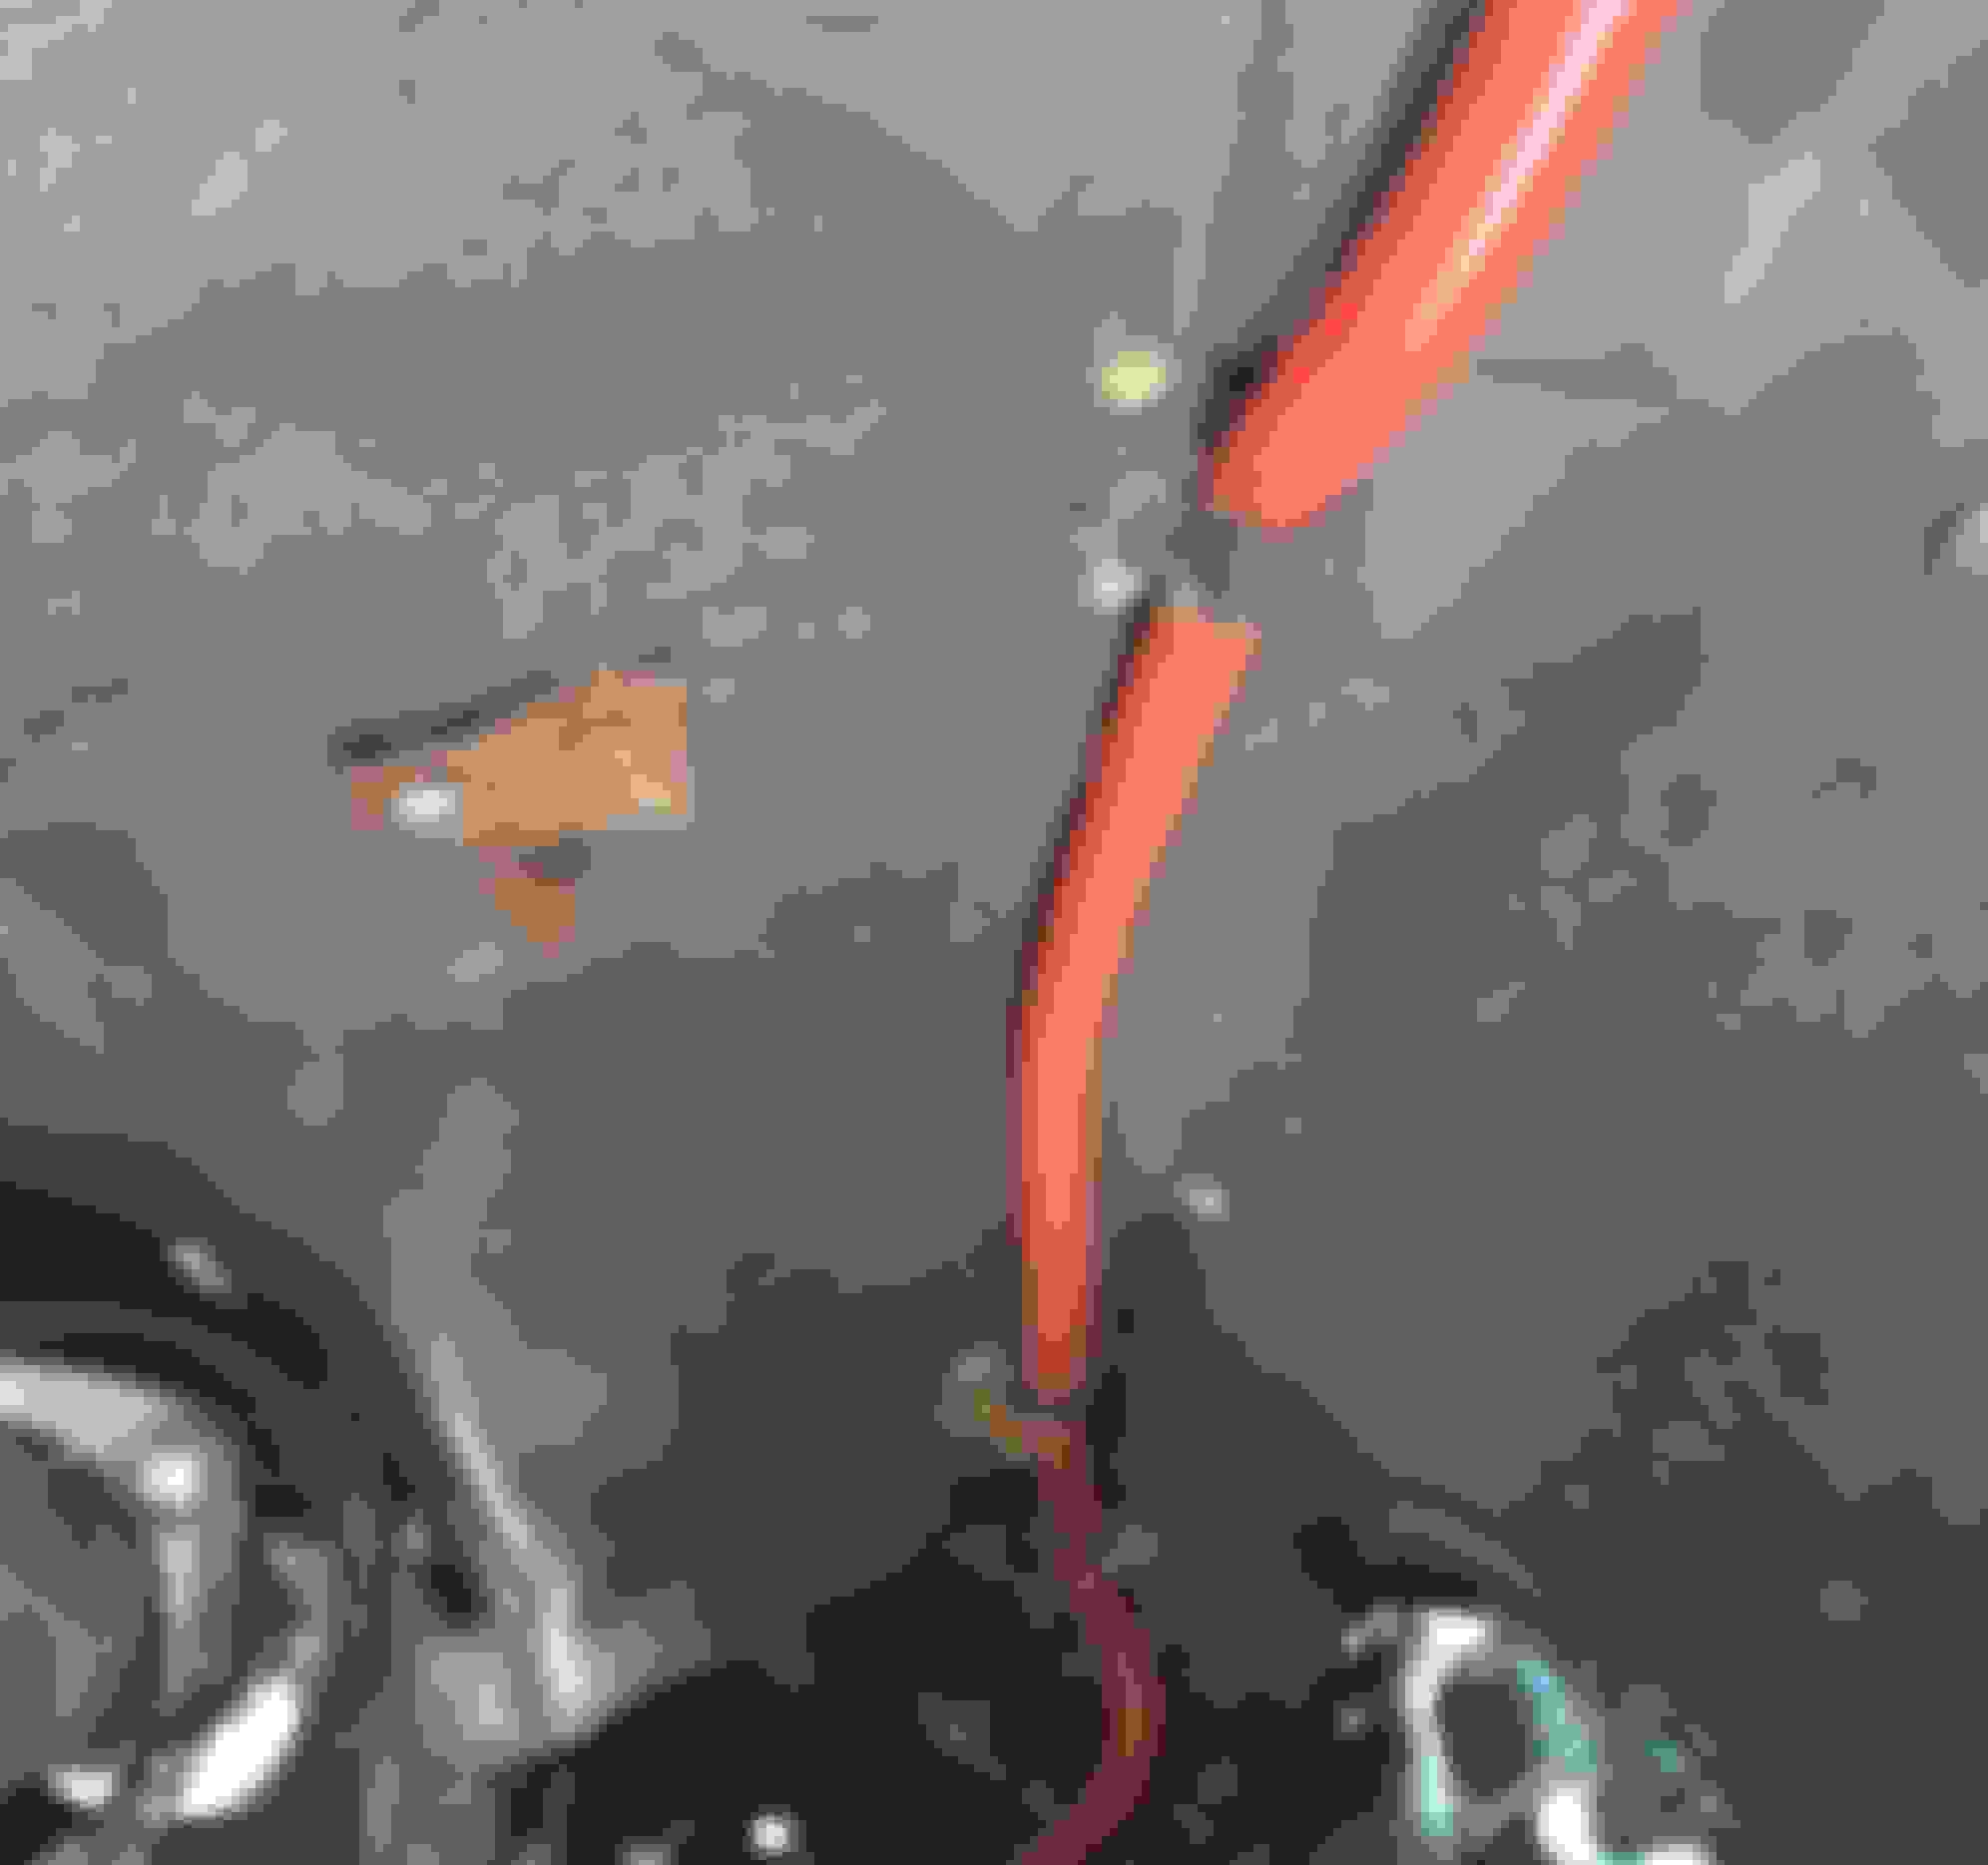
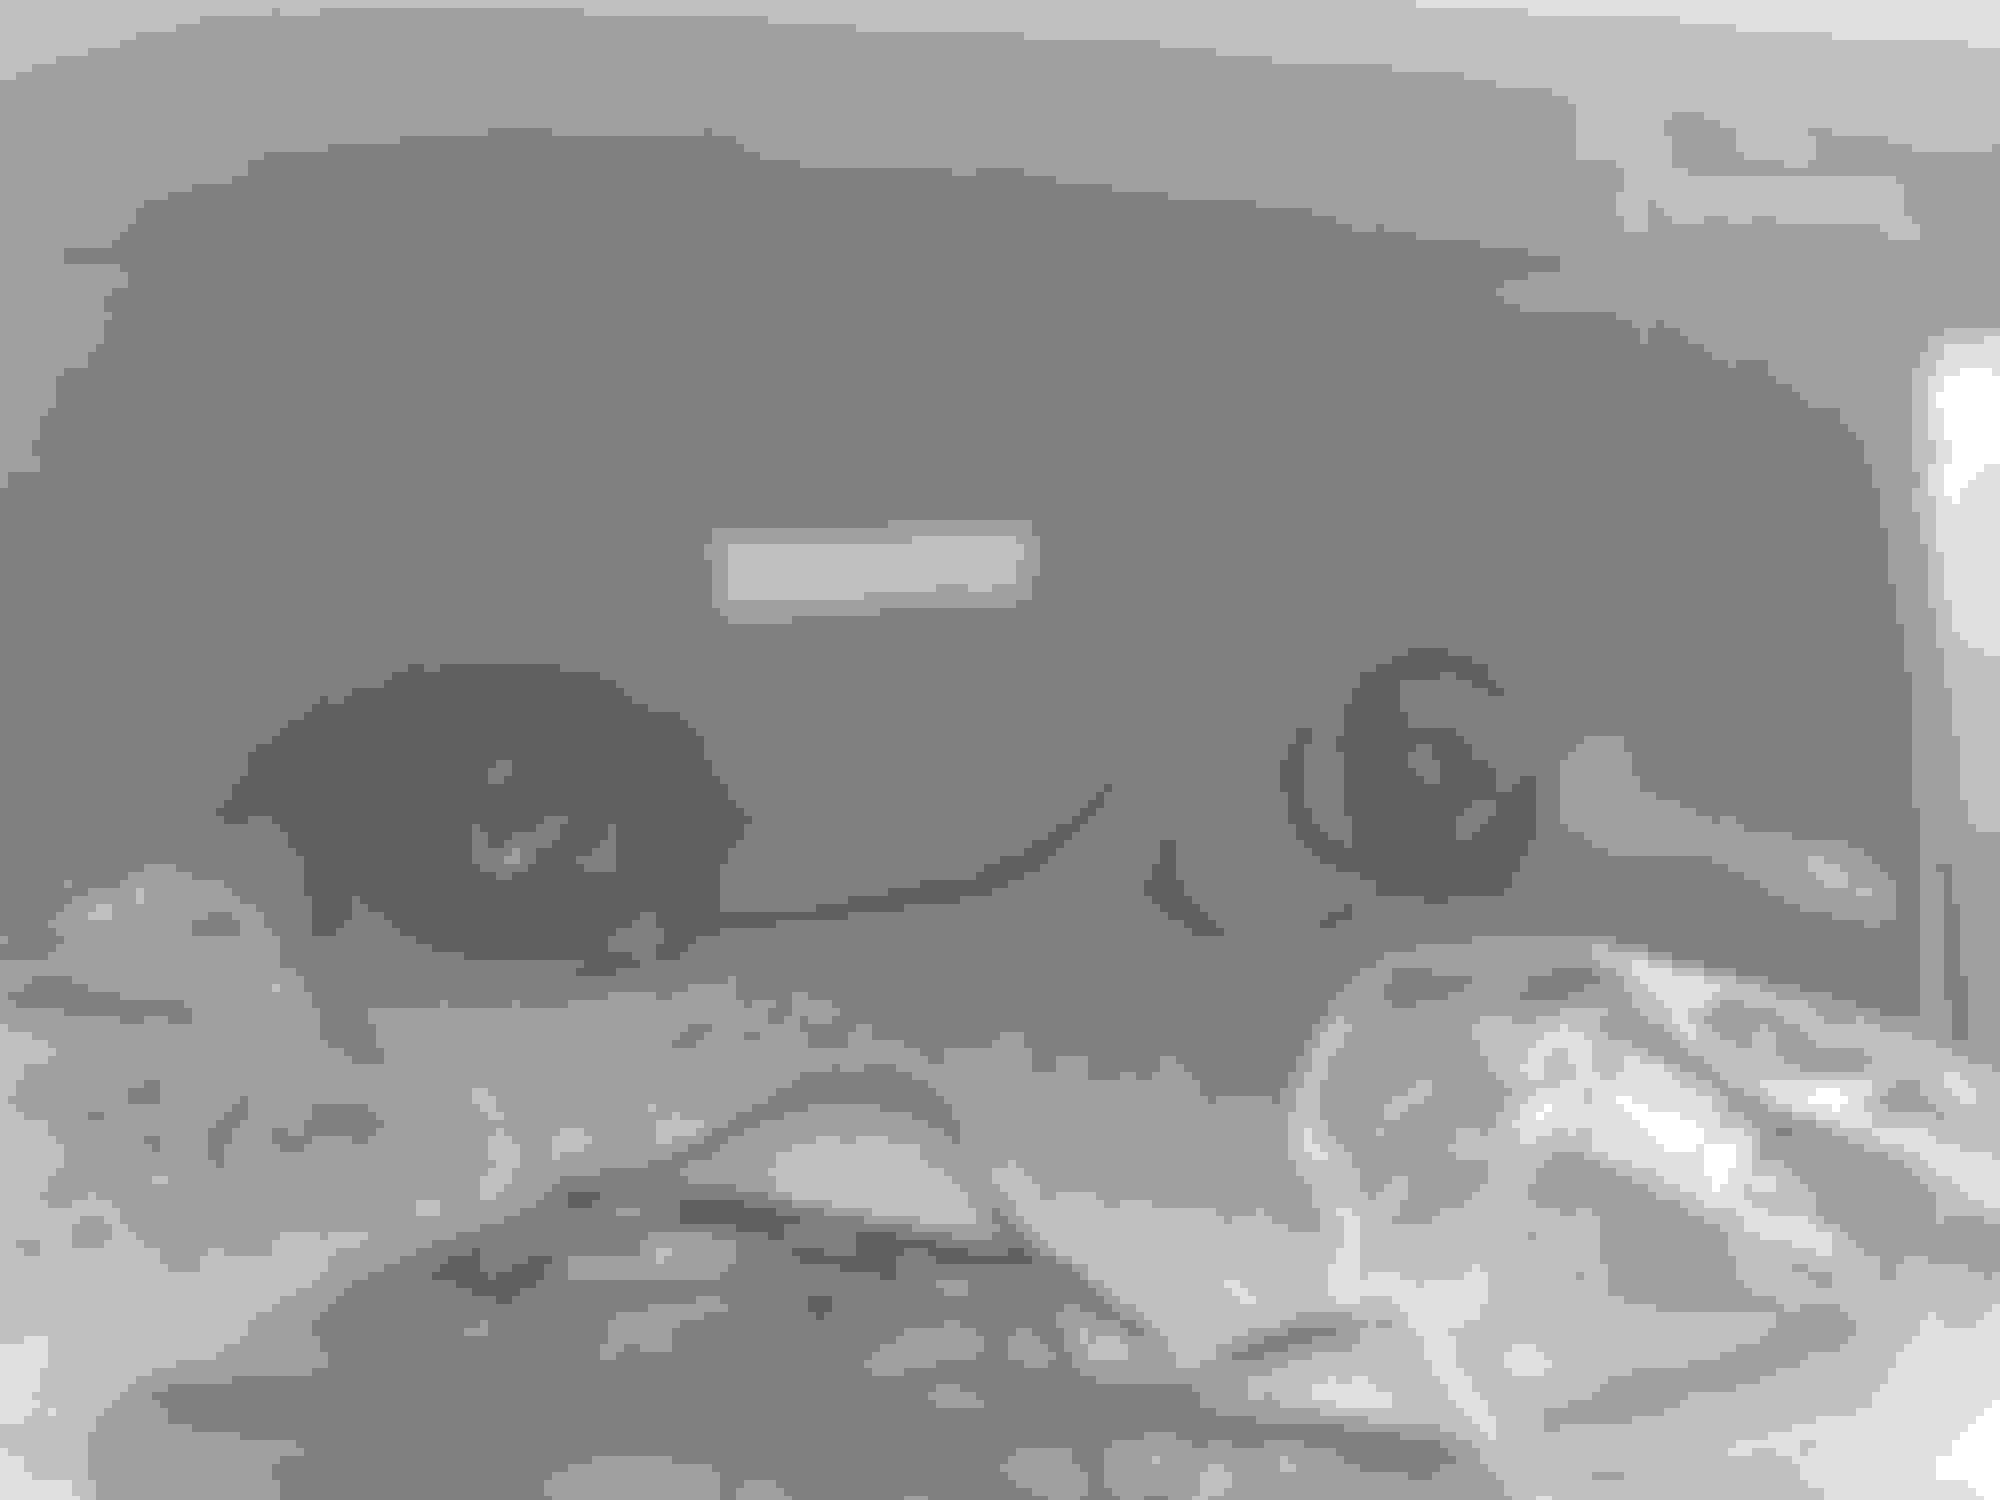
Something a little more dramatic was Bondo to happen at one point with this car: rust !
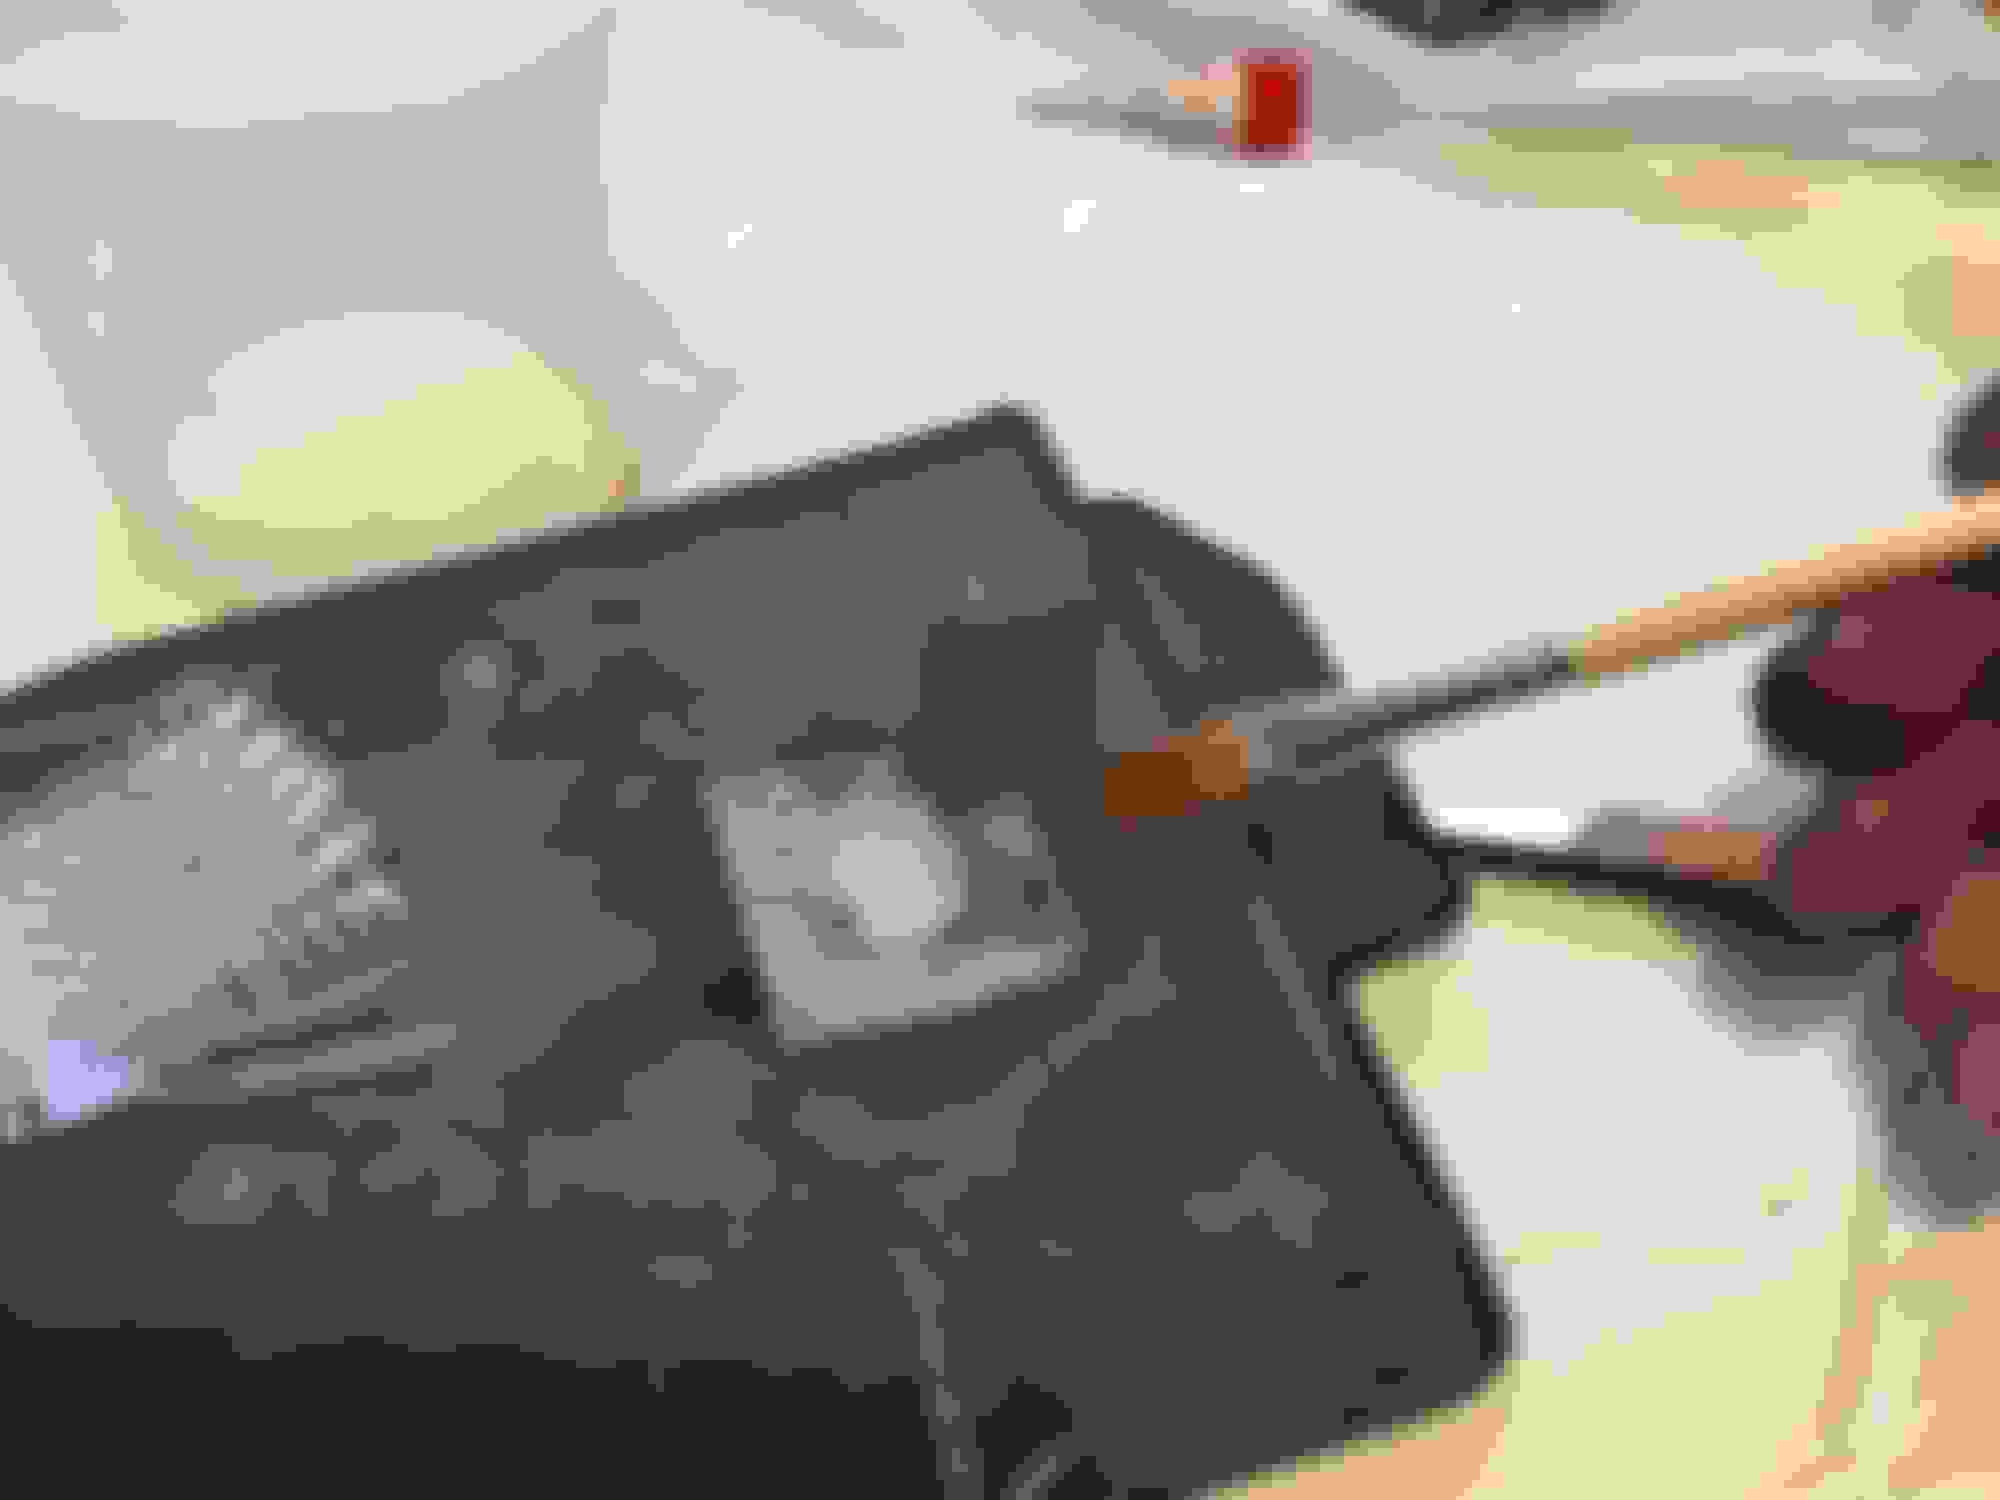
I am not a fan of under-car paint. It�s, of course, used on occasion to mask rust. In this case, a white chip in black paint caught my eye. As I suspected: Bondo !
Of course I went ape and started poking around the entire car with a pick-hammer and screwdriver. I found nothing more.
The area doesn�t seem in awful shape. Once I dug out the rust, I quickly fell on solid metal.
Ill weld this up in a couple of weeks or so, once I am finished with the interior.
Last edited by DorianC3; May 16, 2019 at 04:28 PM.
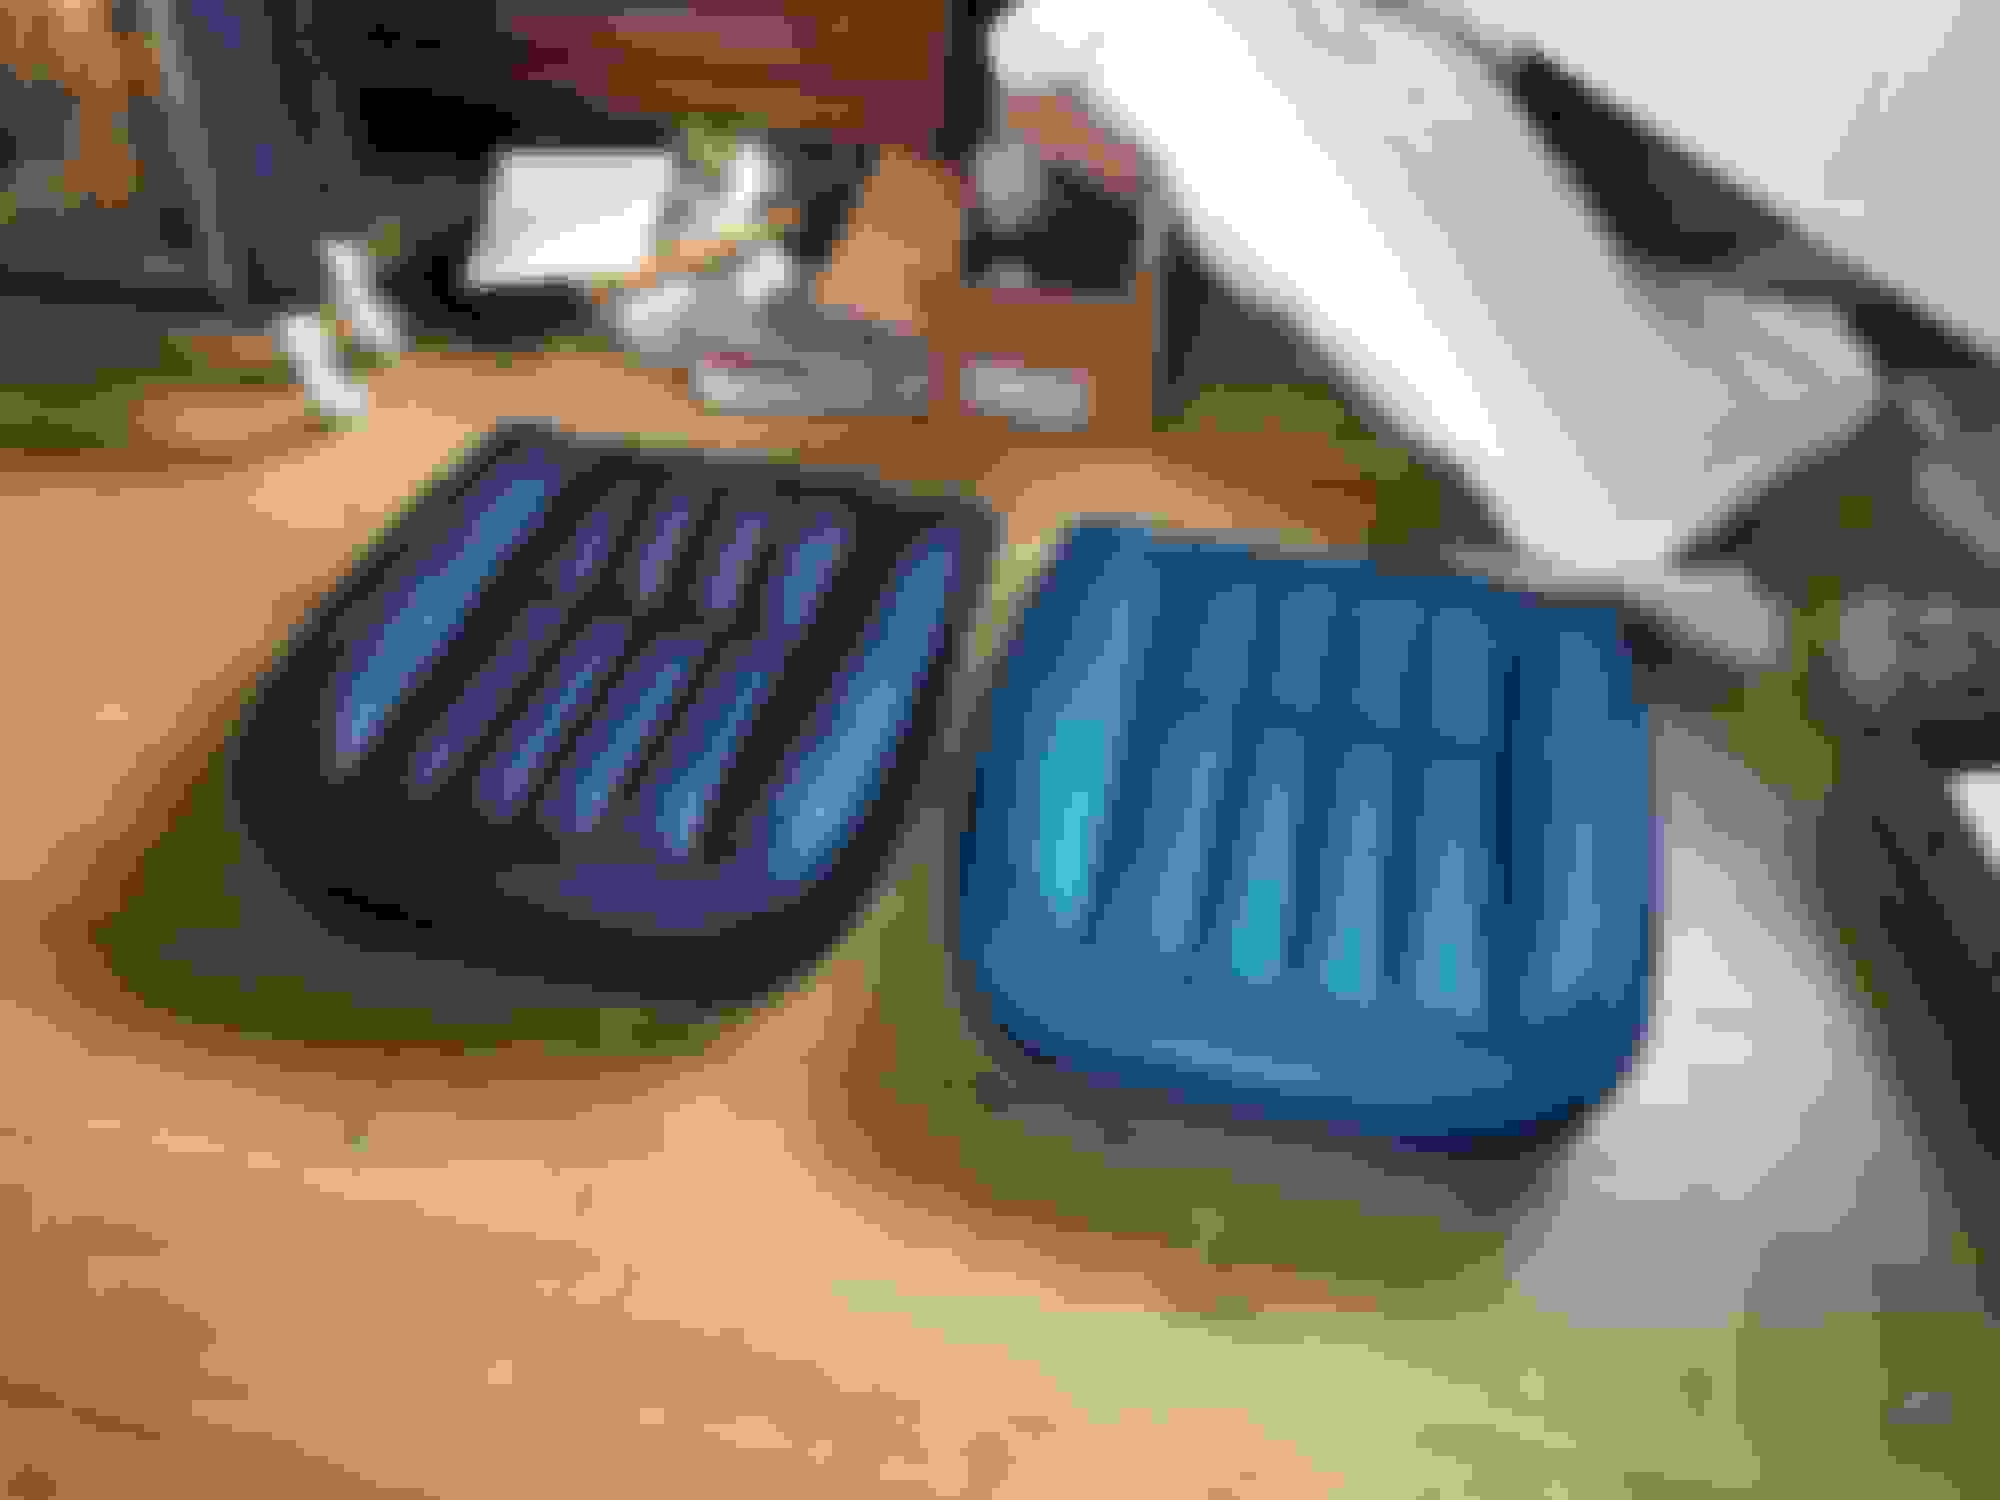
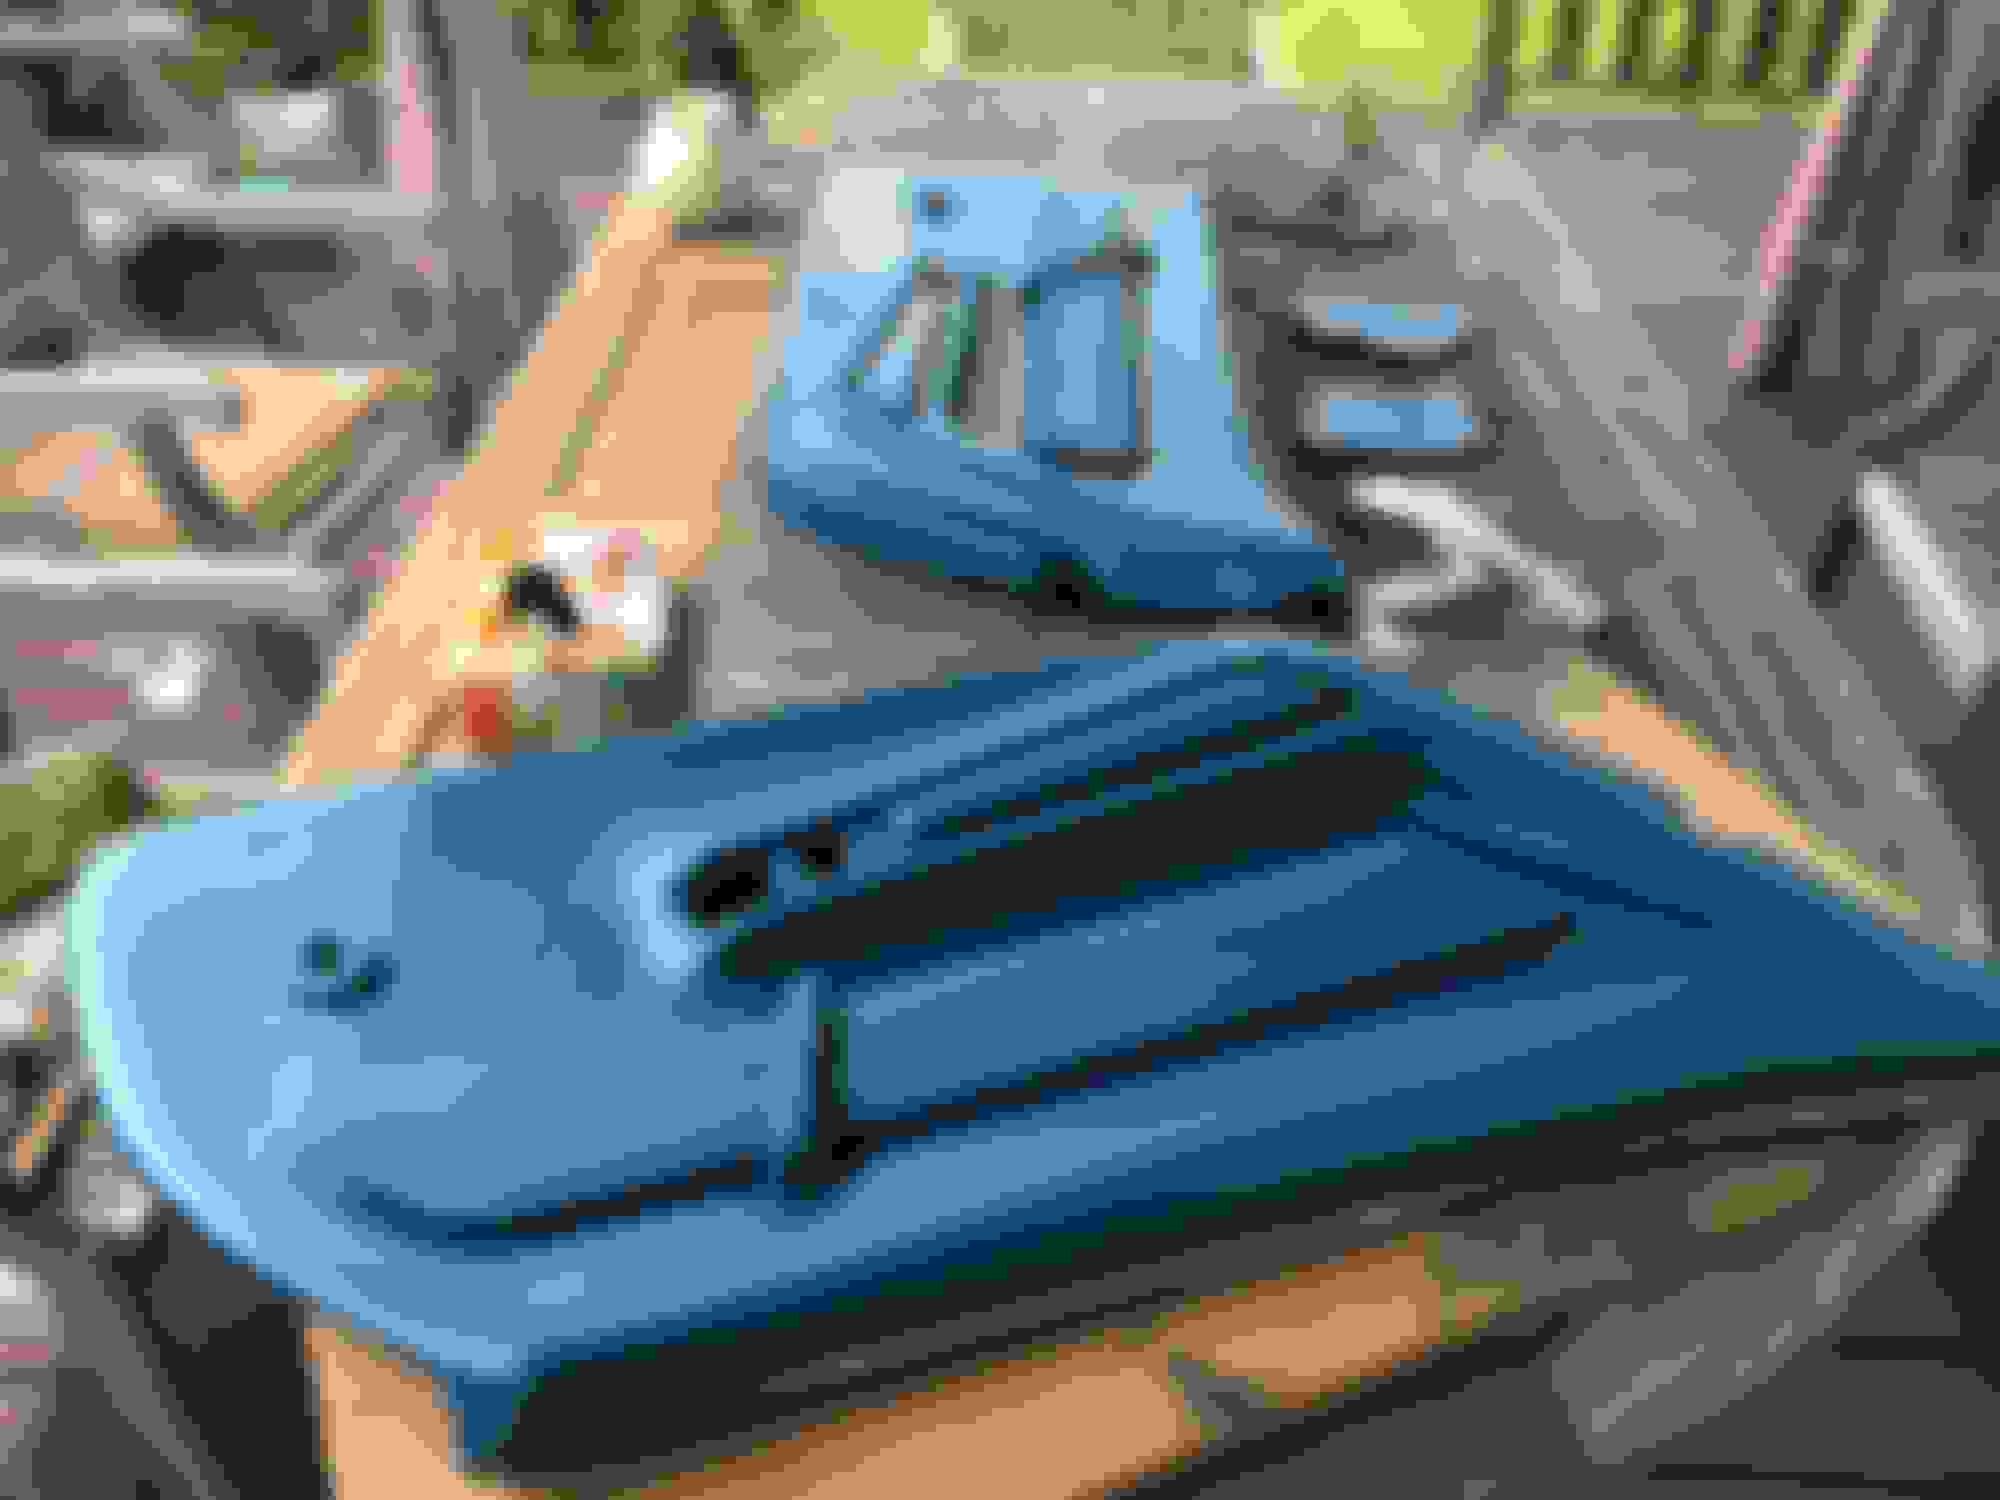
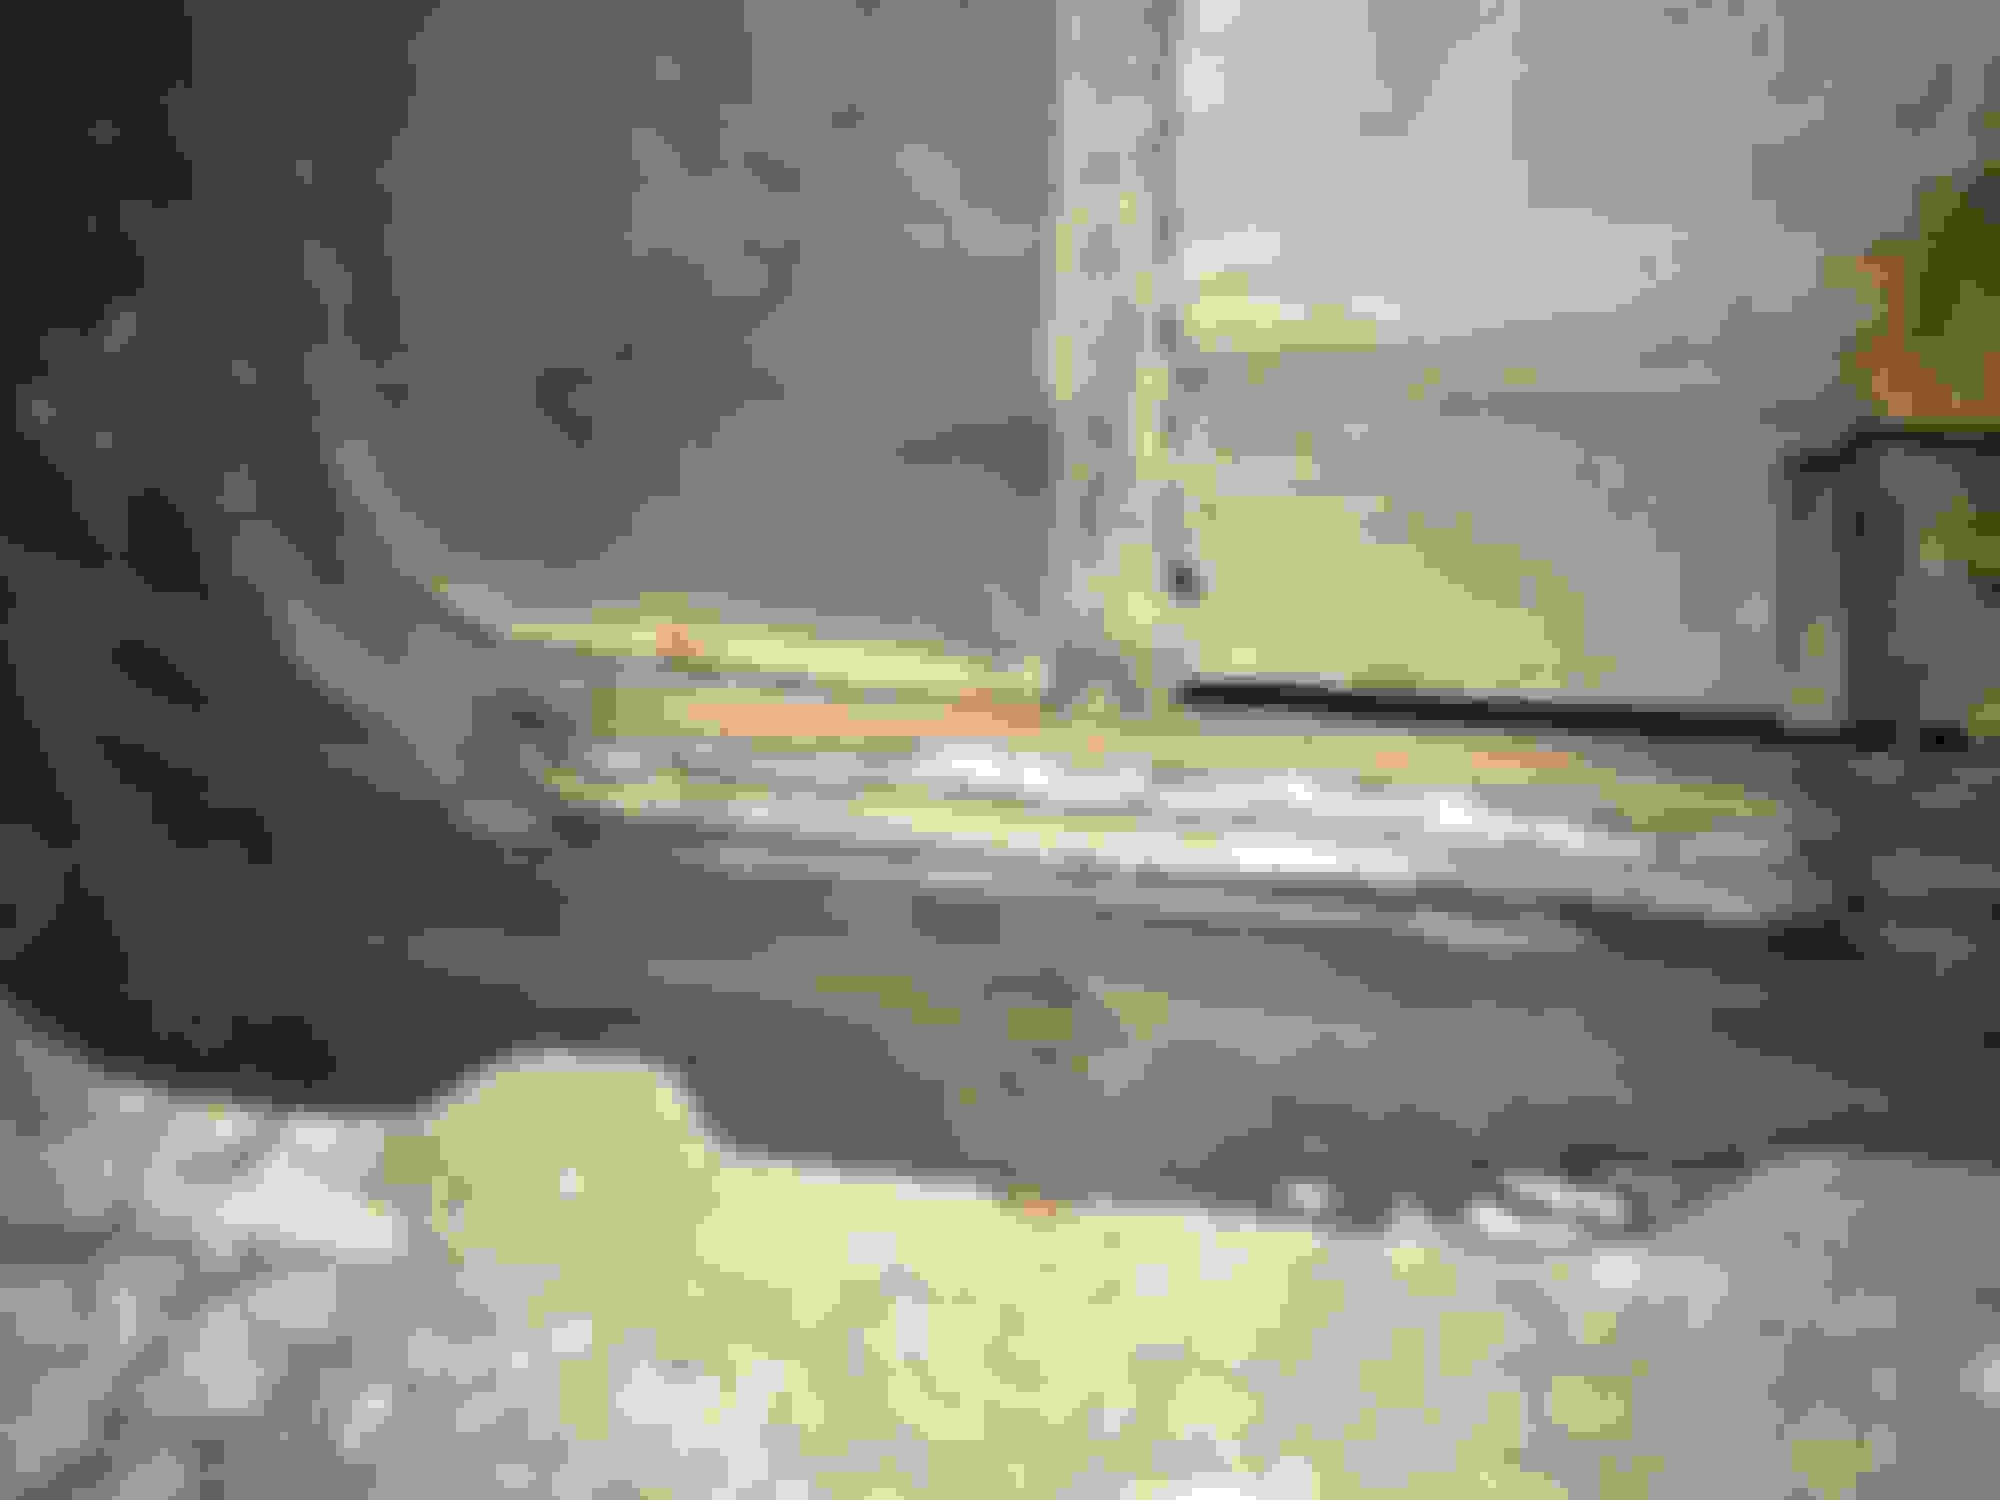
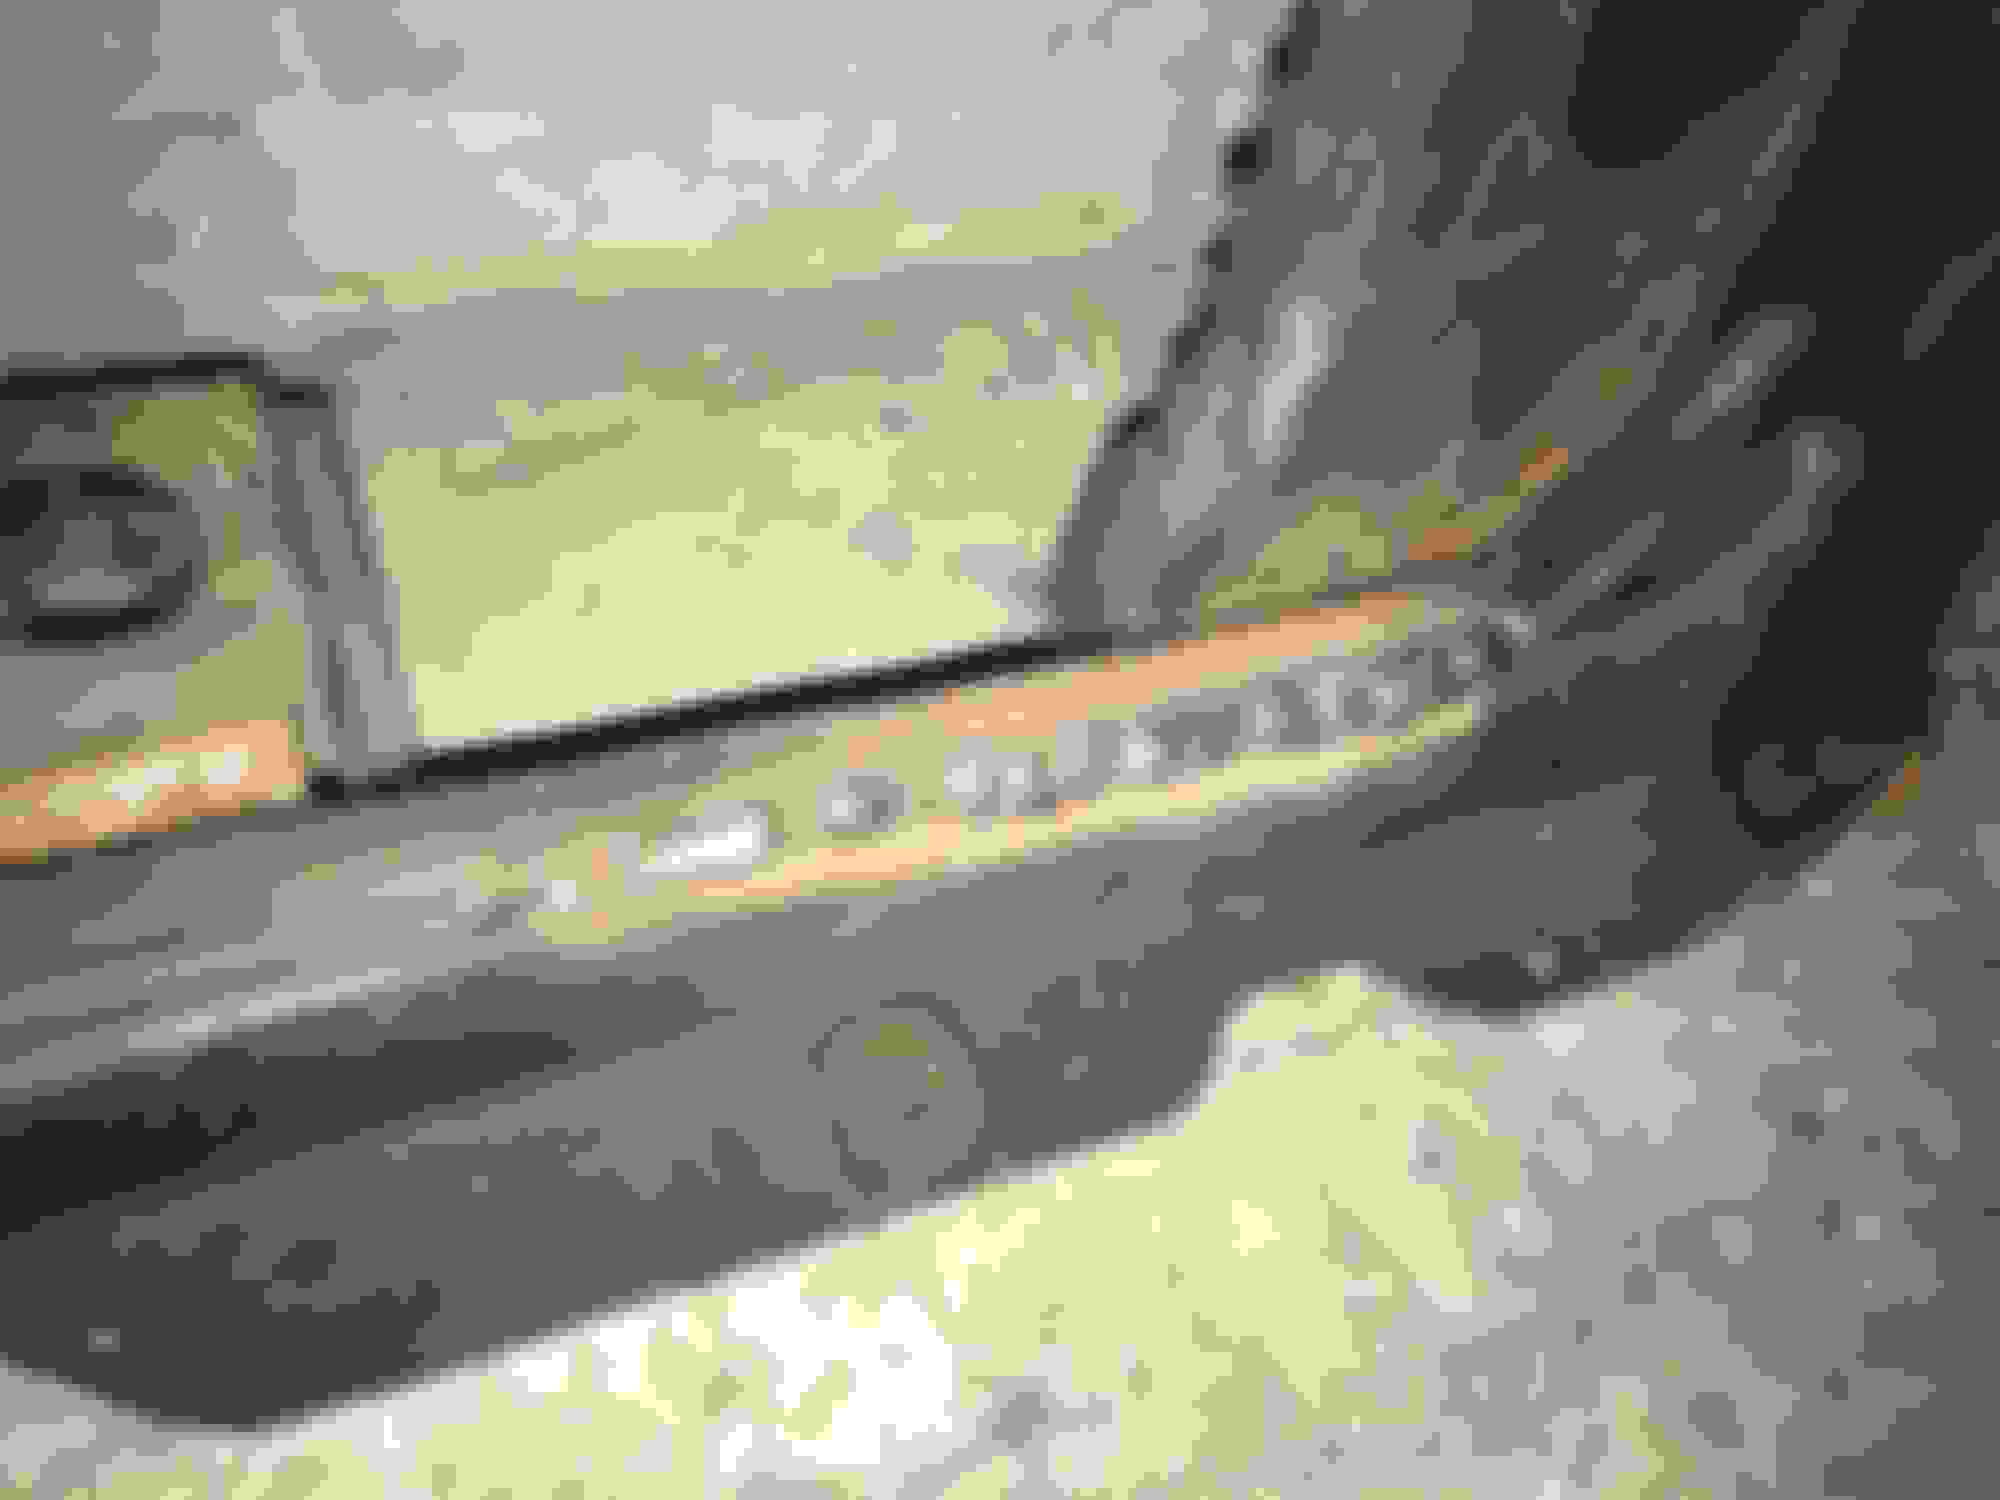
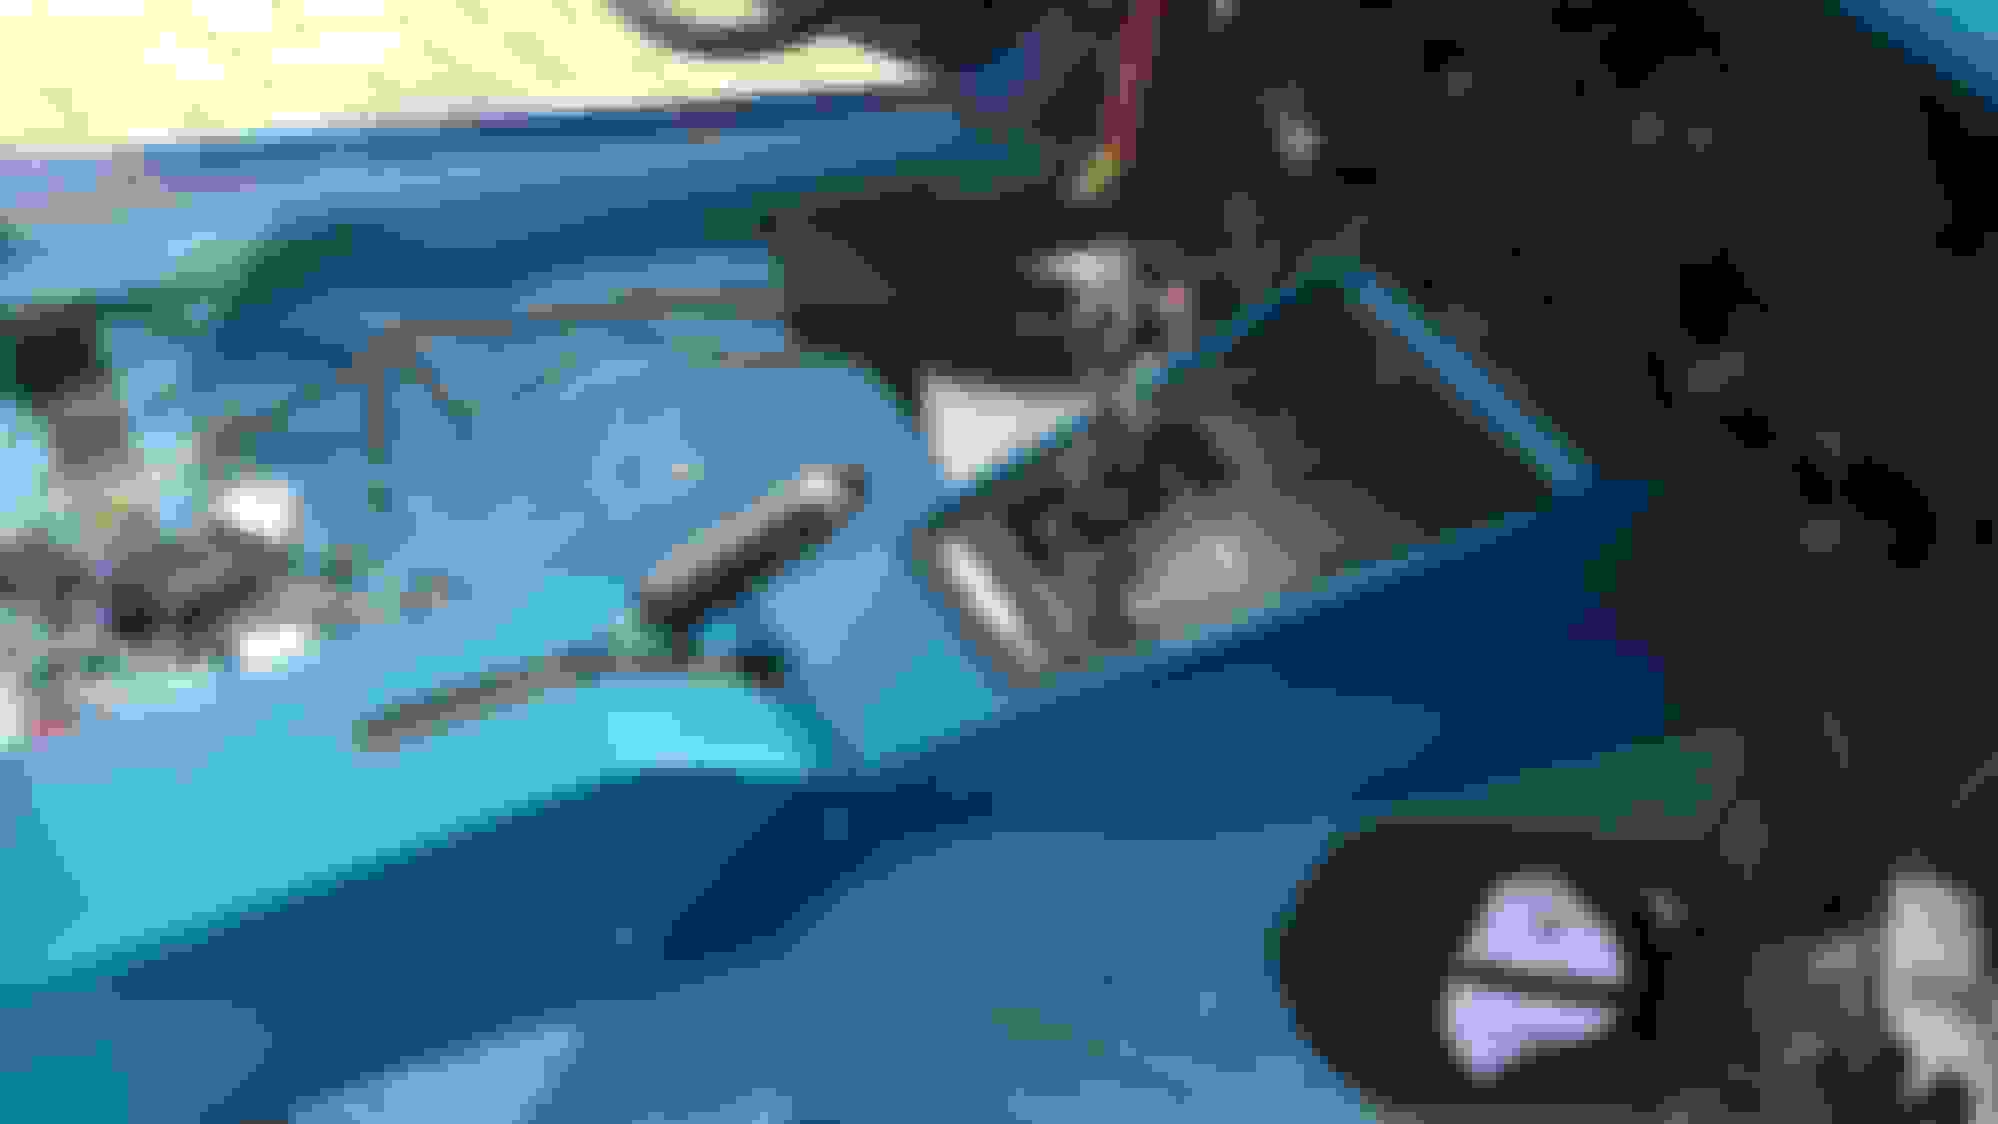
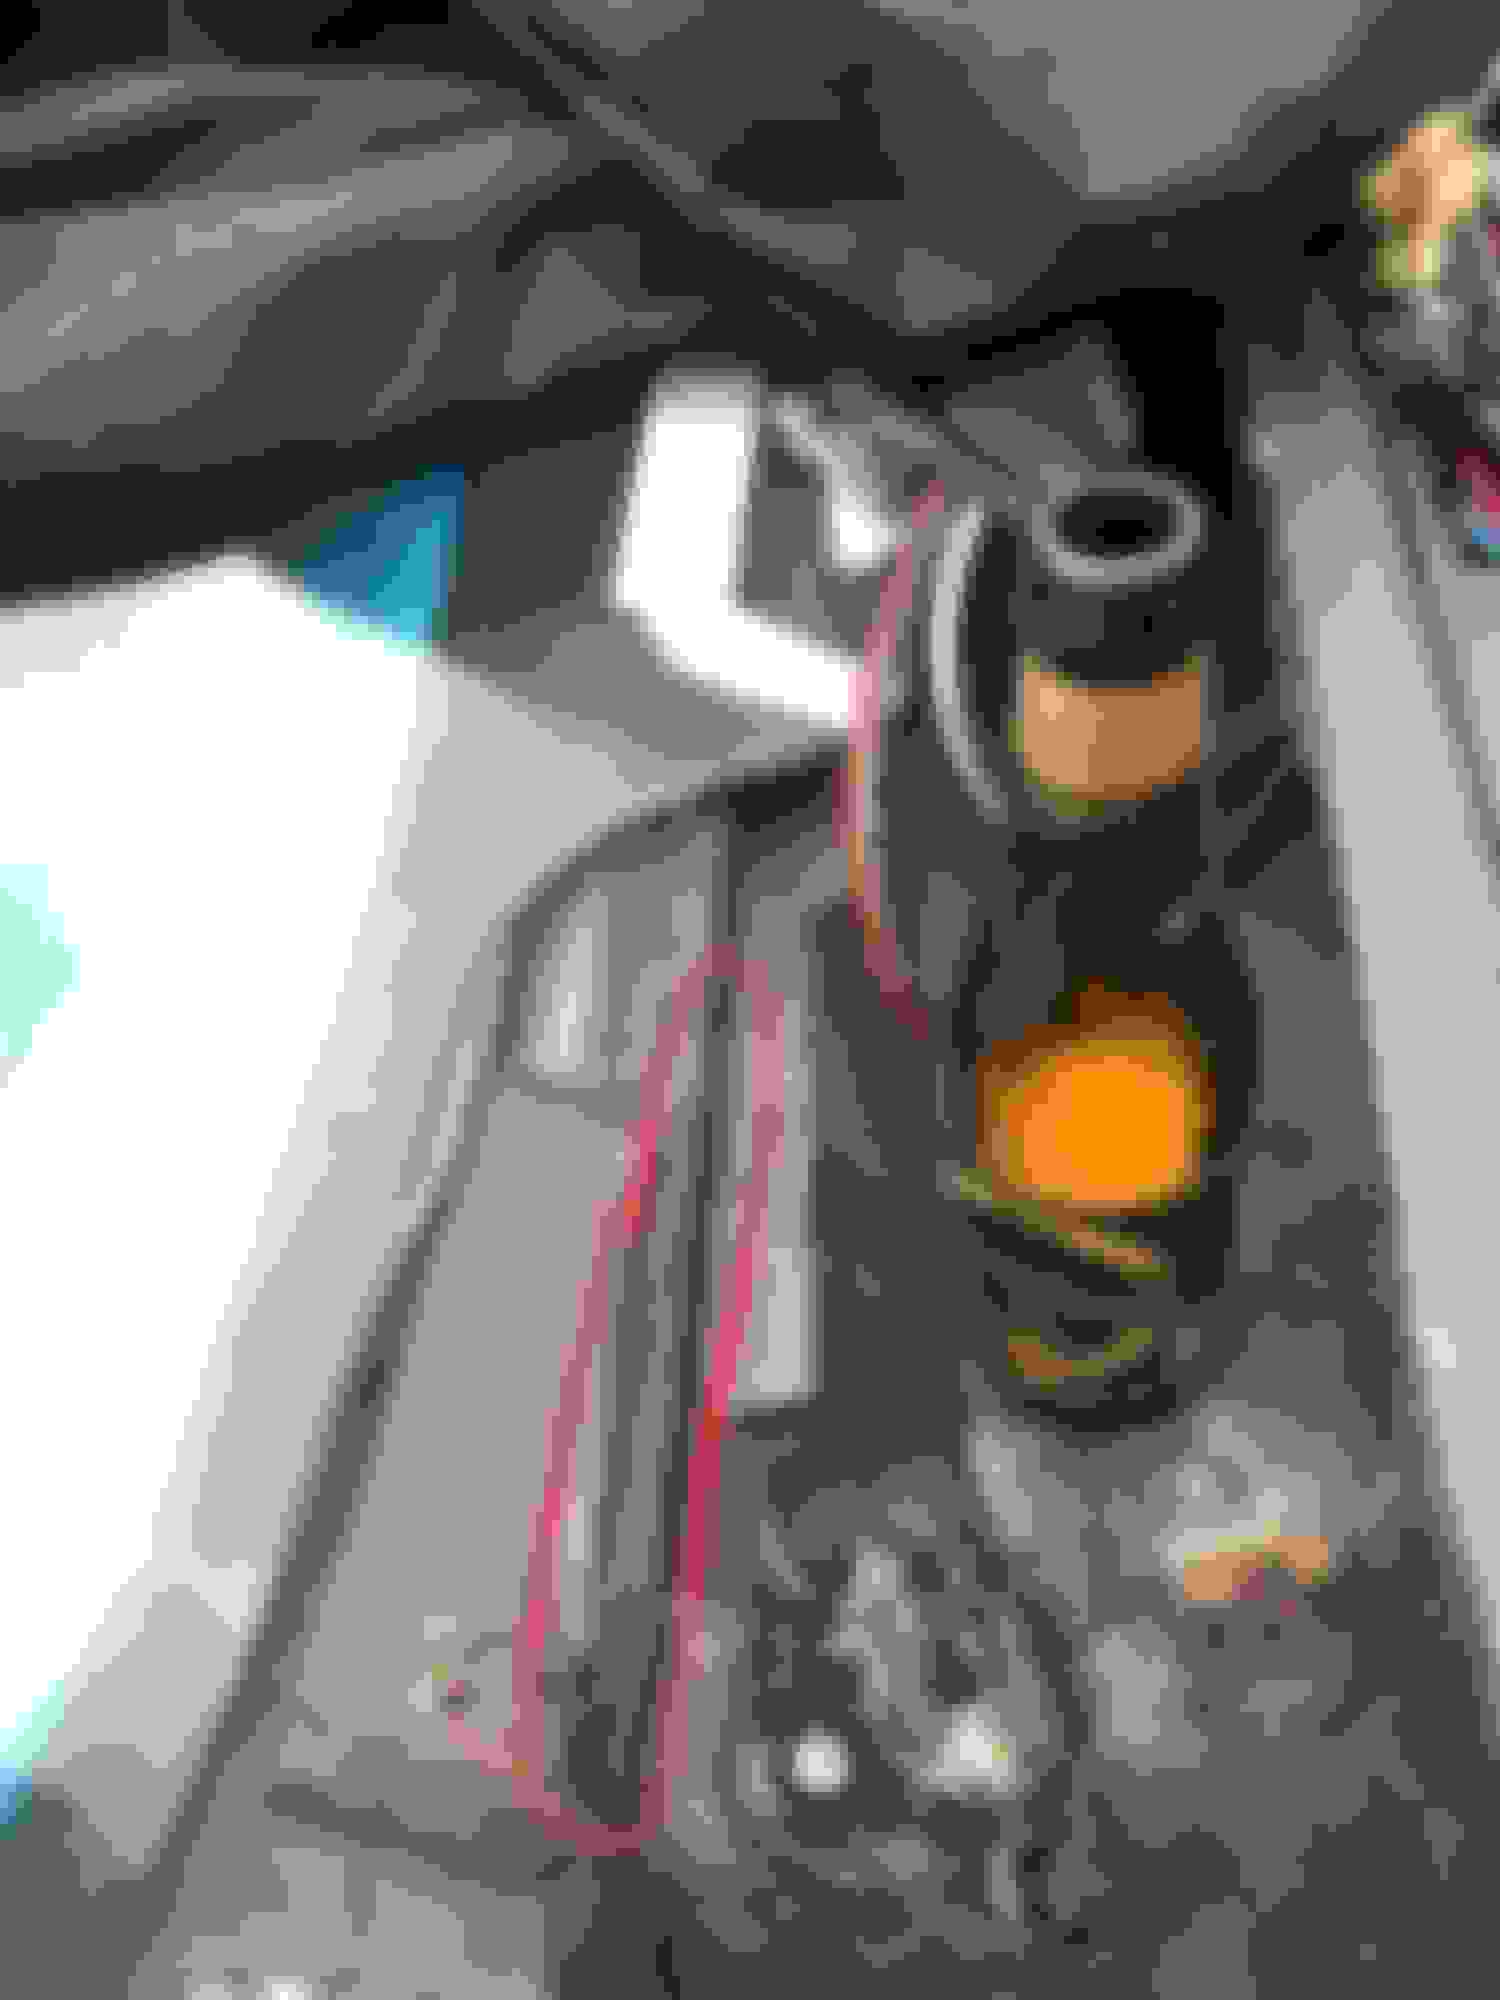
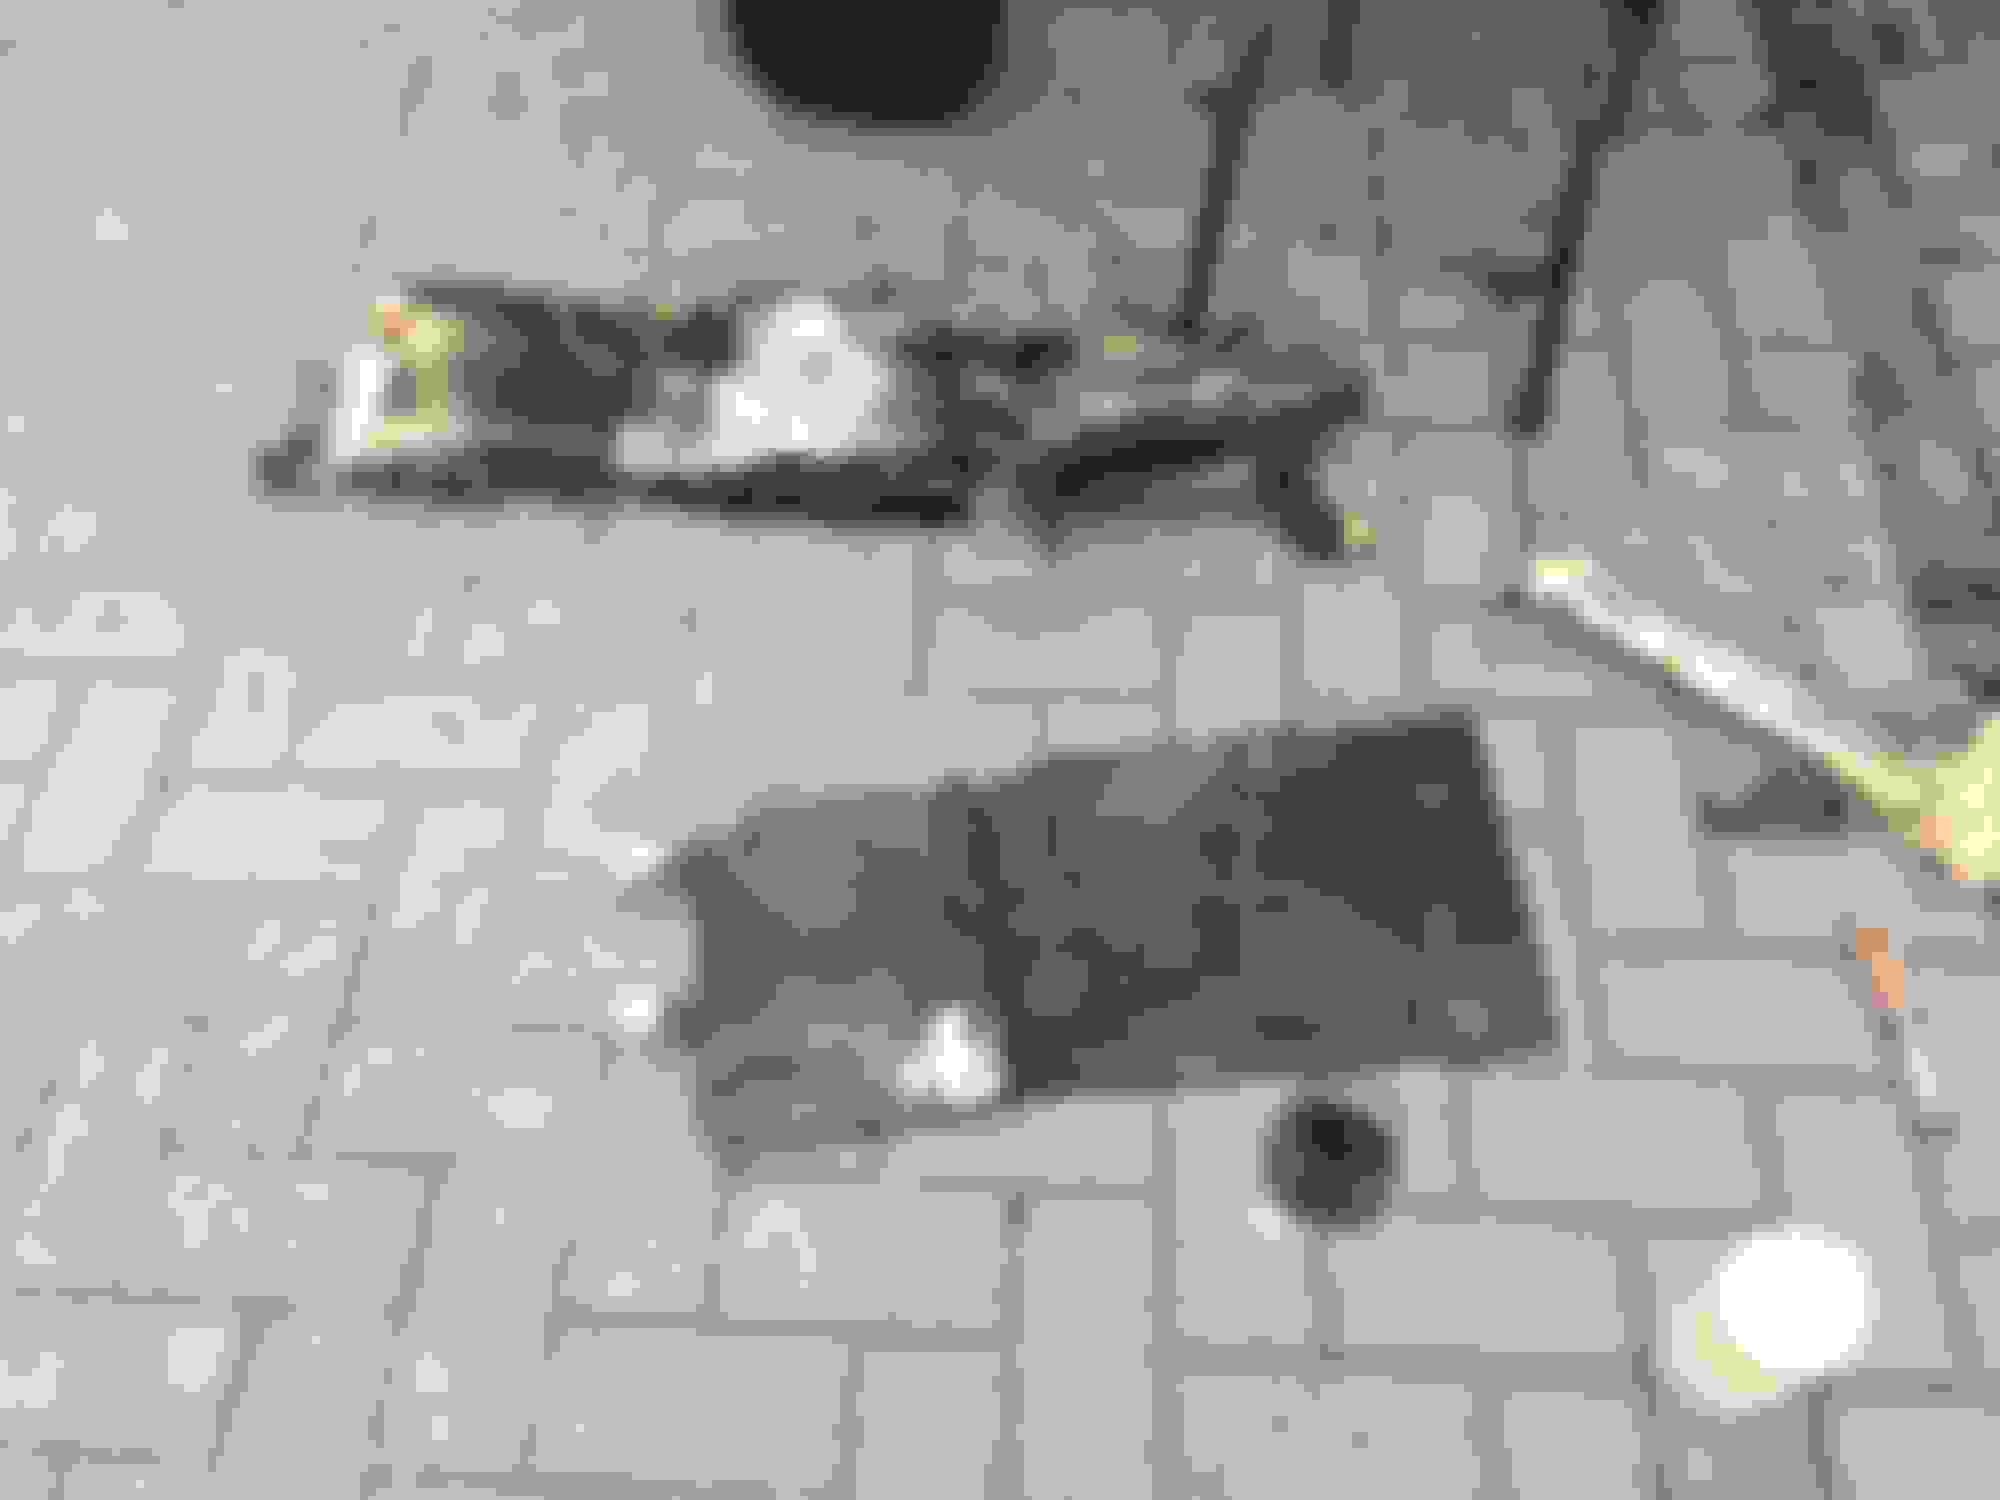
This evening�s festivities included yanking out the under-car heat shielding... and some expanding foam that was edging it.
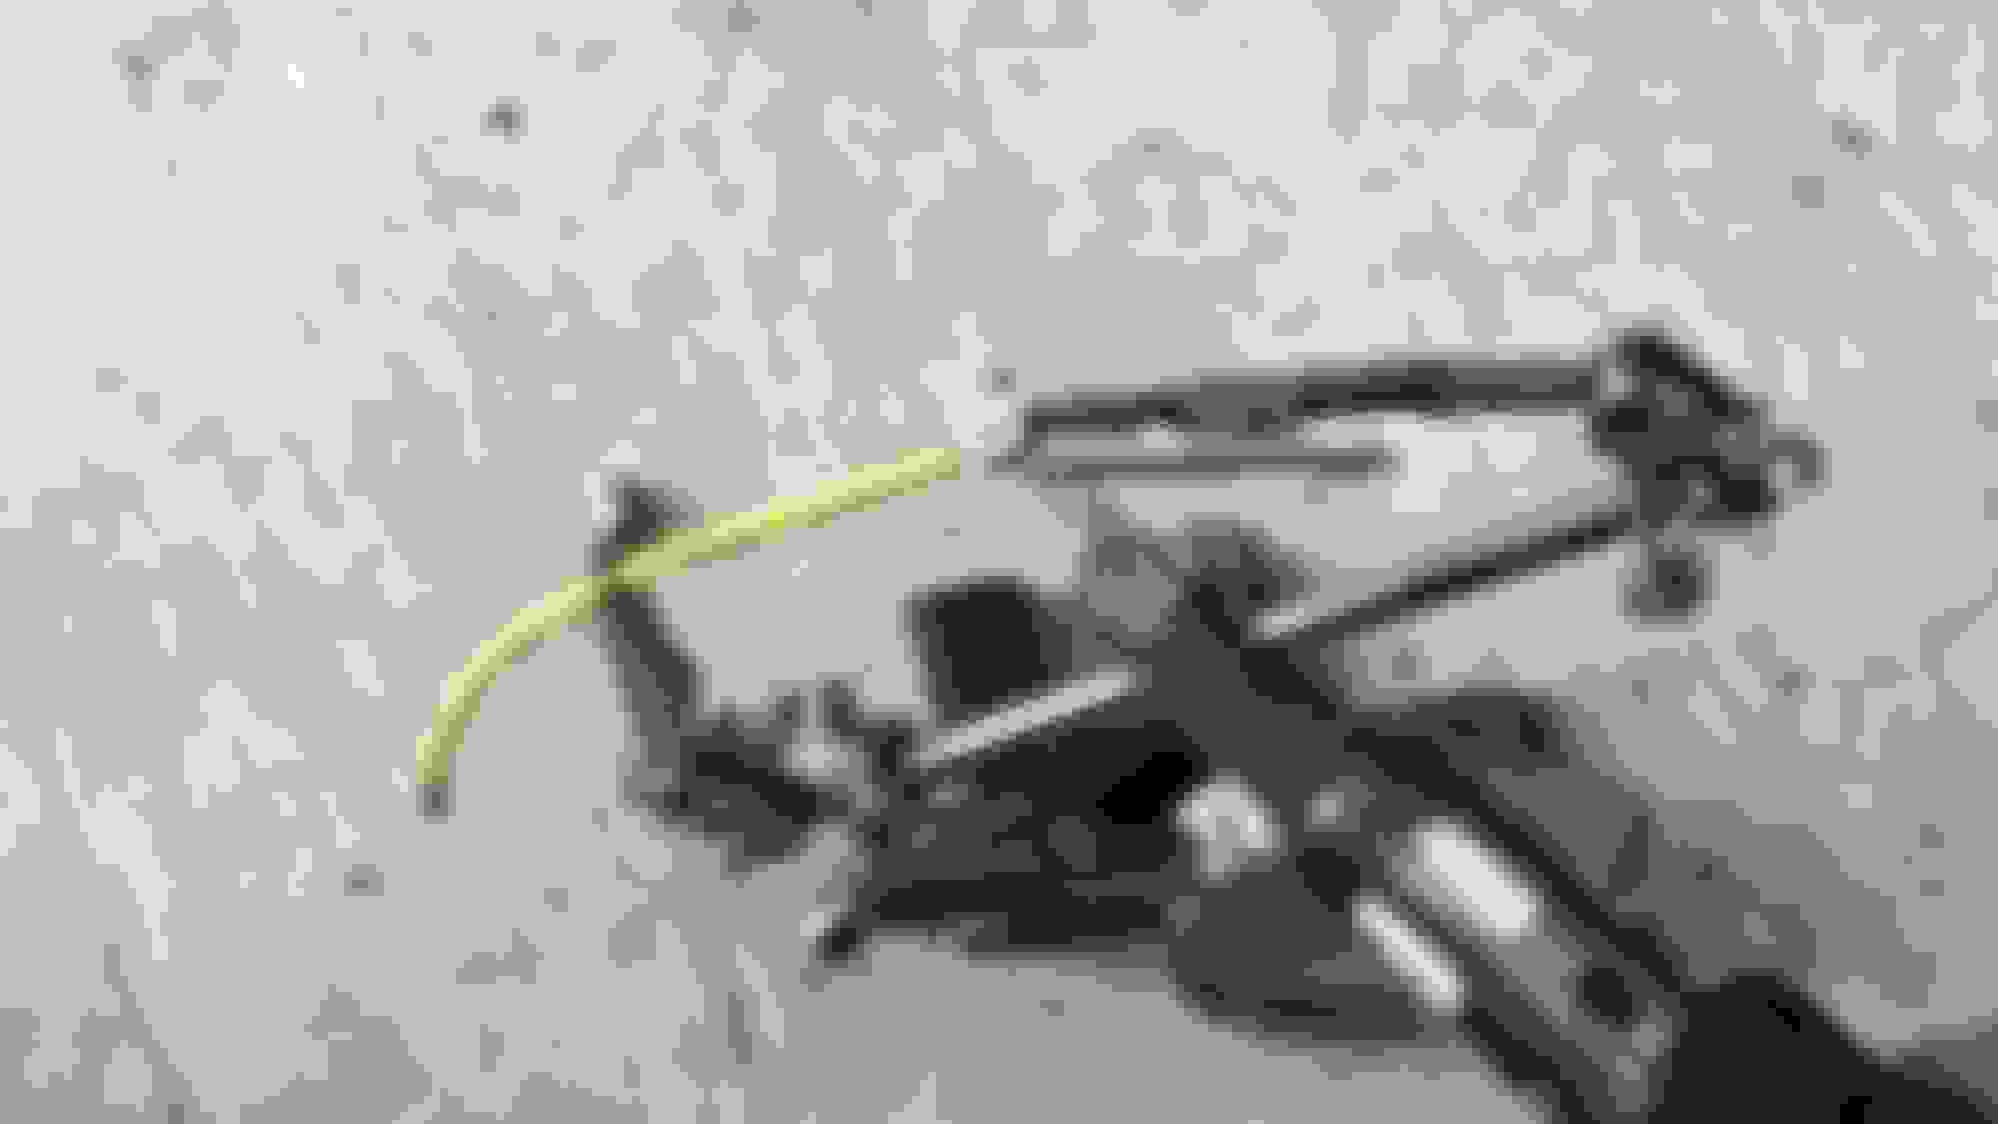
I measured the remains out and will replace it with some modern heat shielding.
Yes, I�m wine over beer.
Fortunately all the sharp shielding retaining thingies are intact.
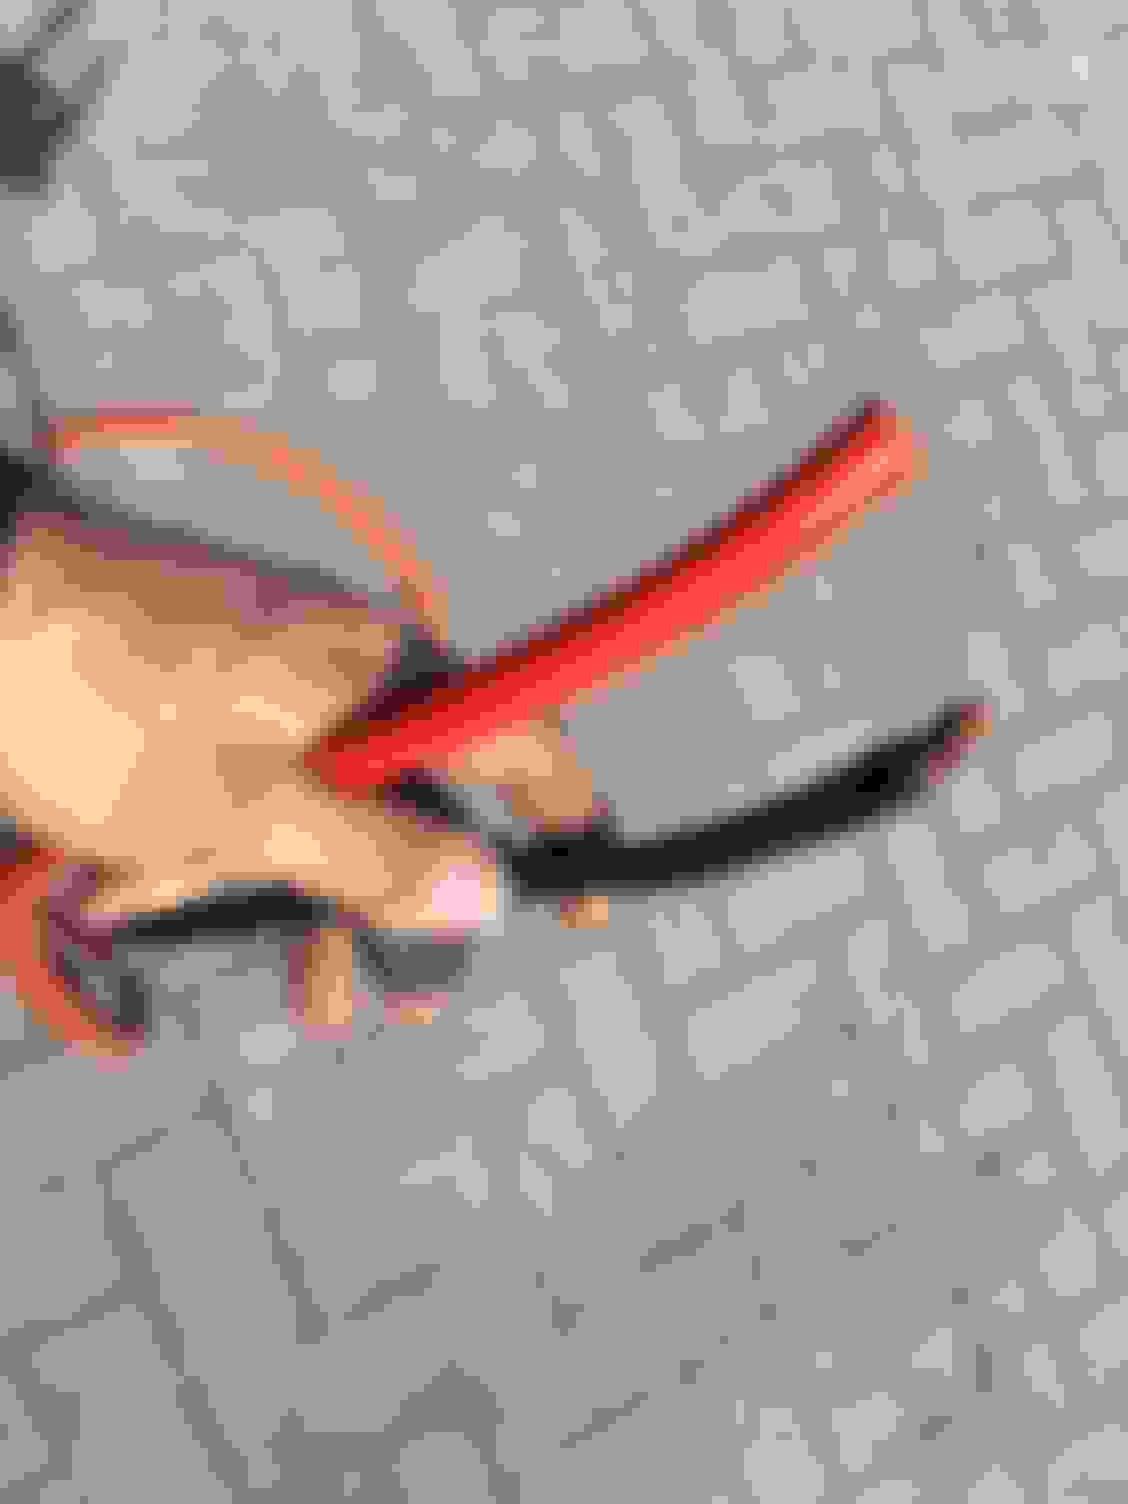
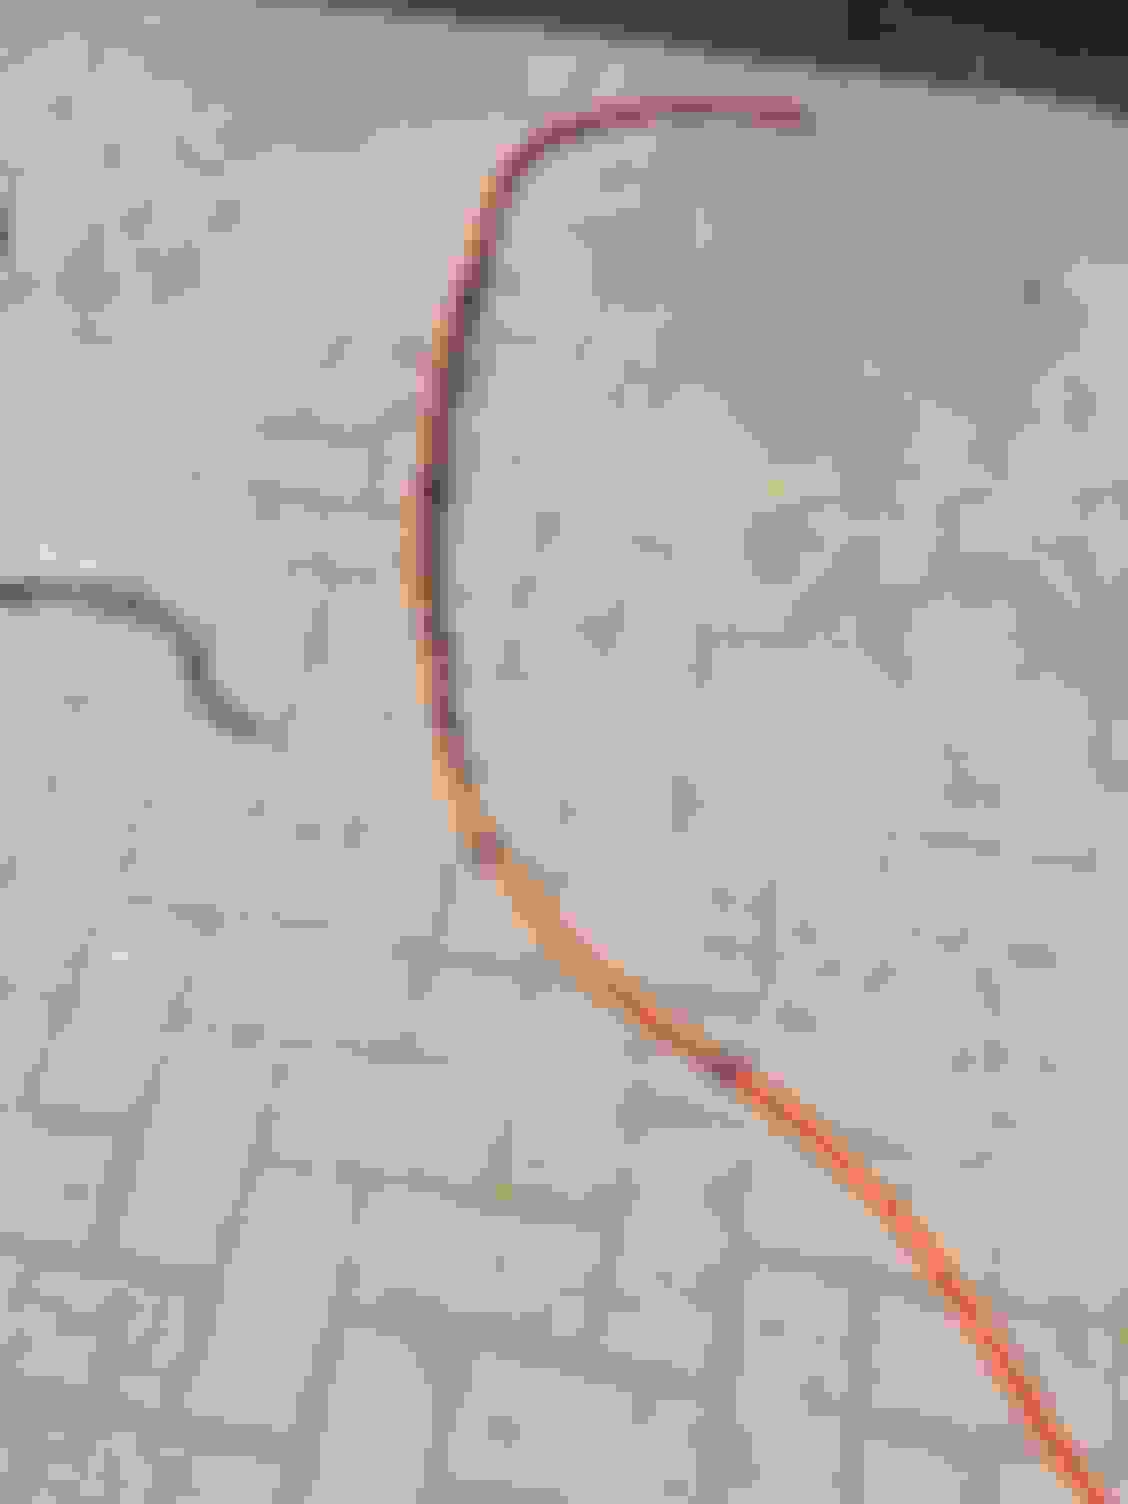
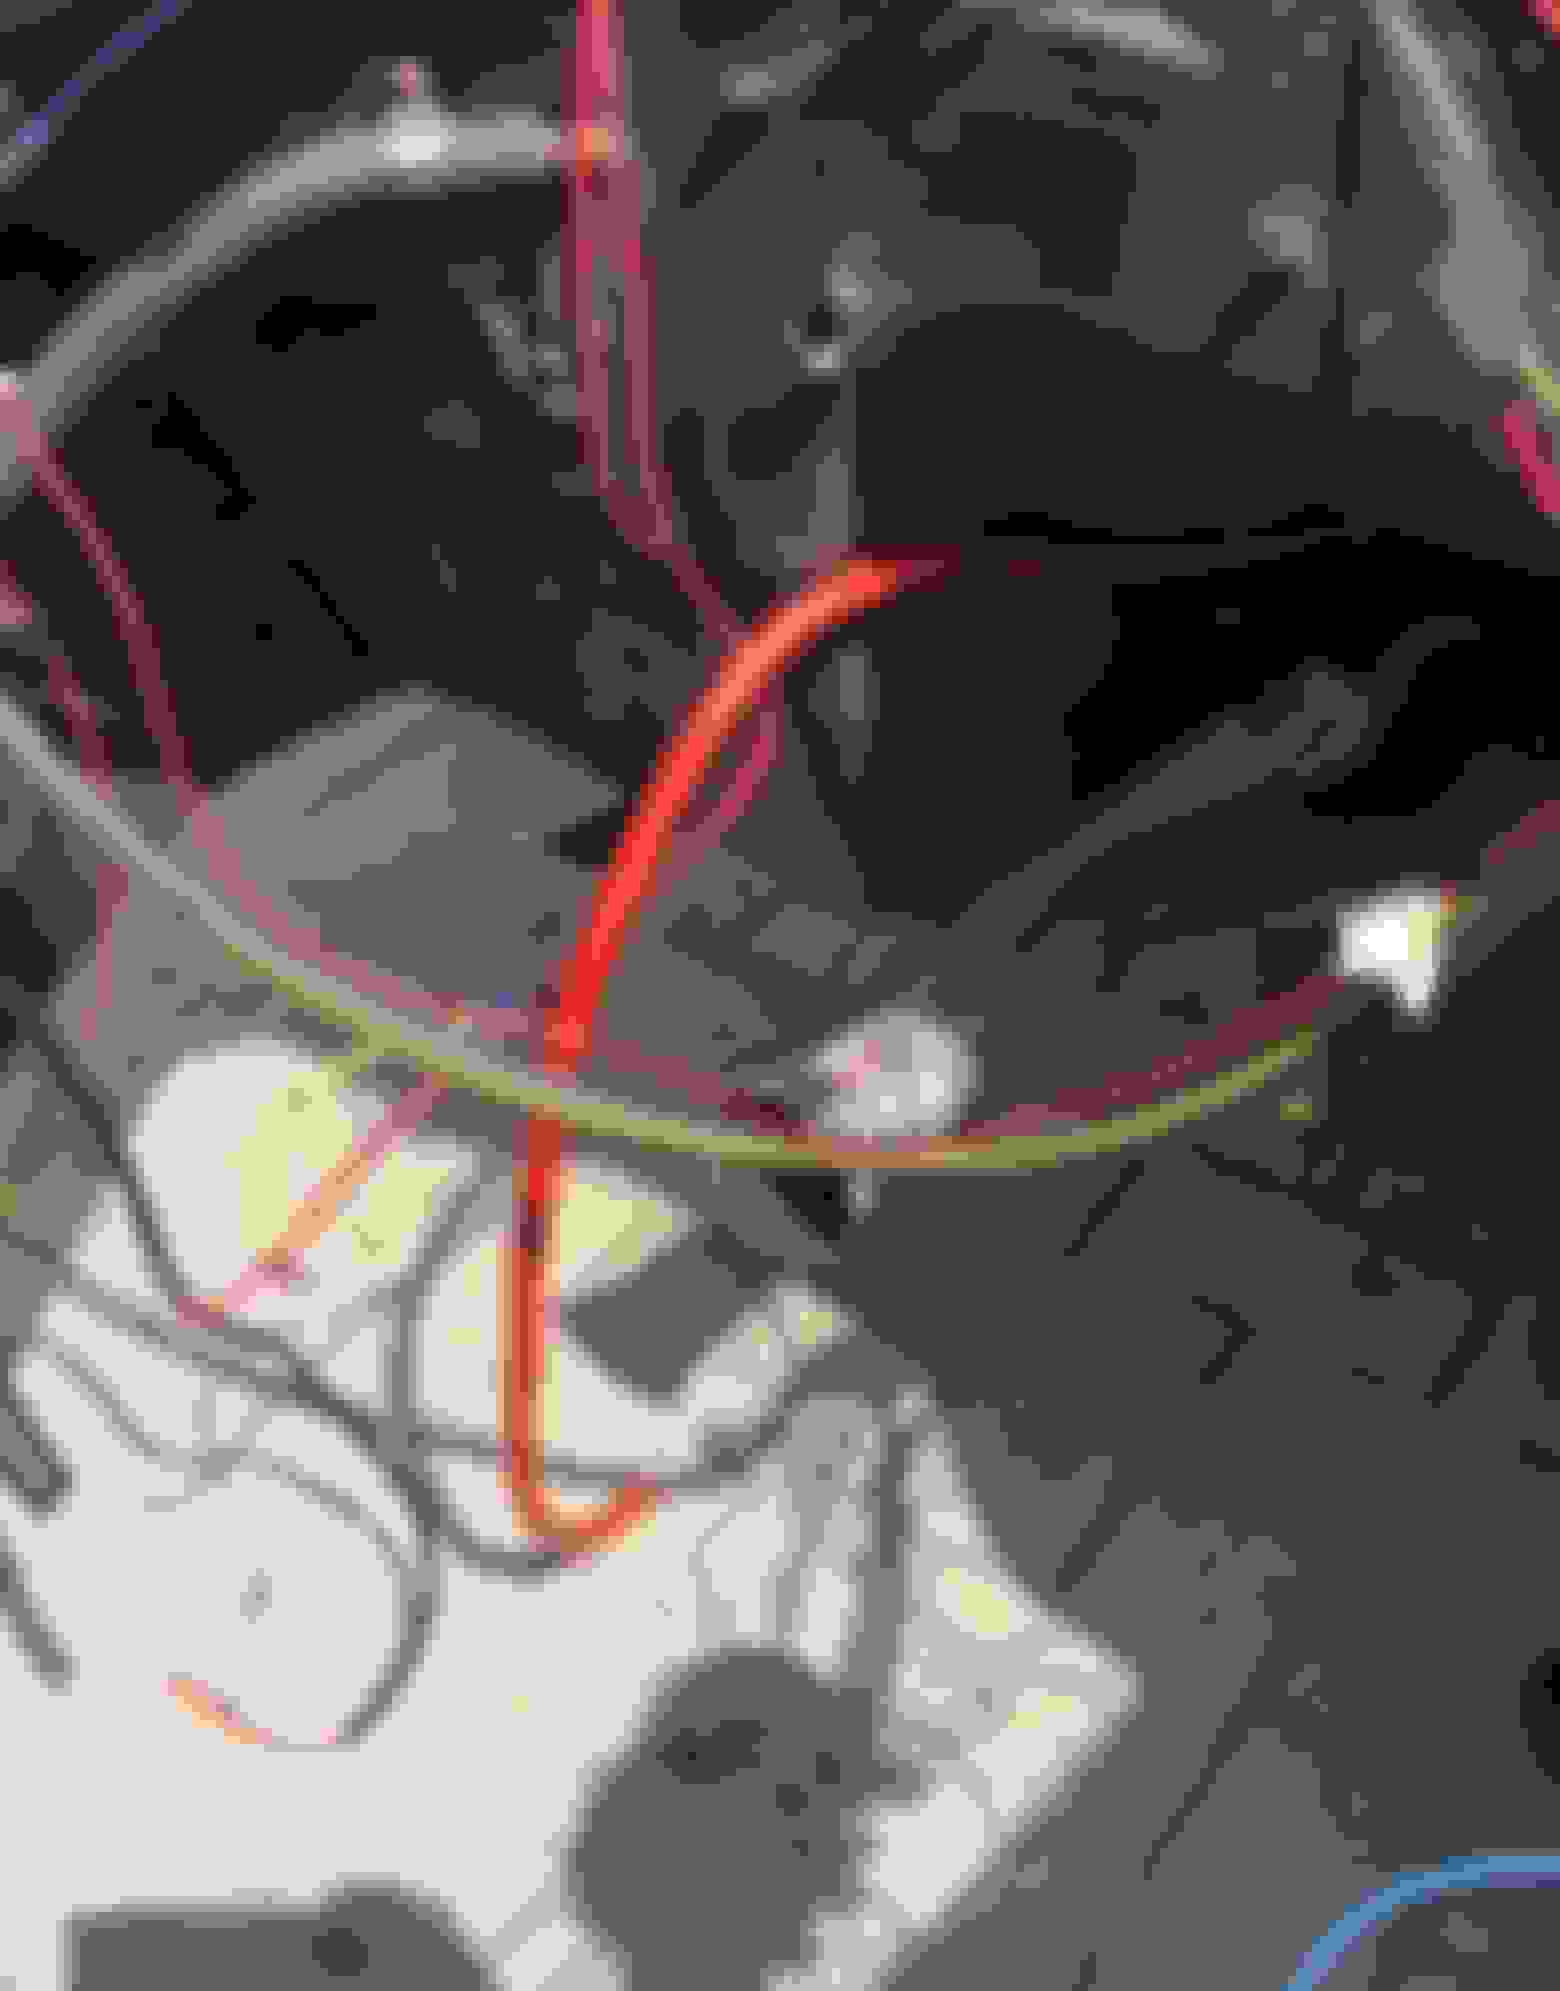
I think WHILE I�M AT IT I�ll replace the starter cable with a new and beefier one.
Just so you know, it's not that hard to pull the body off if needed to do structural work on your frame. Sorry you have the frame issue but glad you found it. Good luck with the repair.
Dyed a few more panels but ram out of dye when I got to the seats. It looks great tho !!! And I learned the meaning of �light coats� with HVLP. Looks sharp
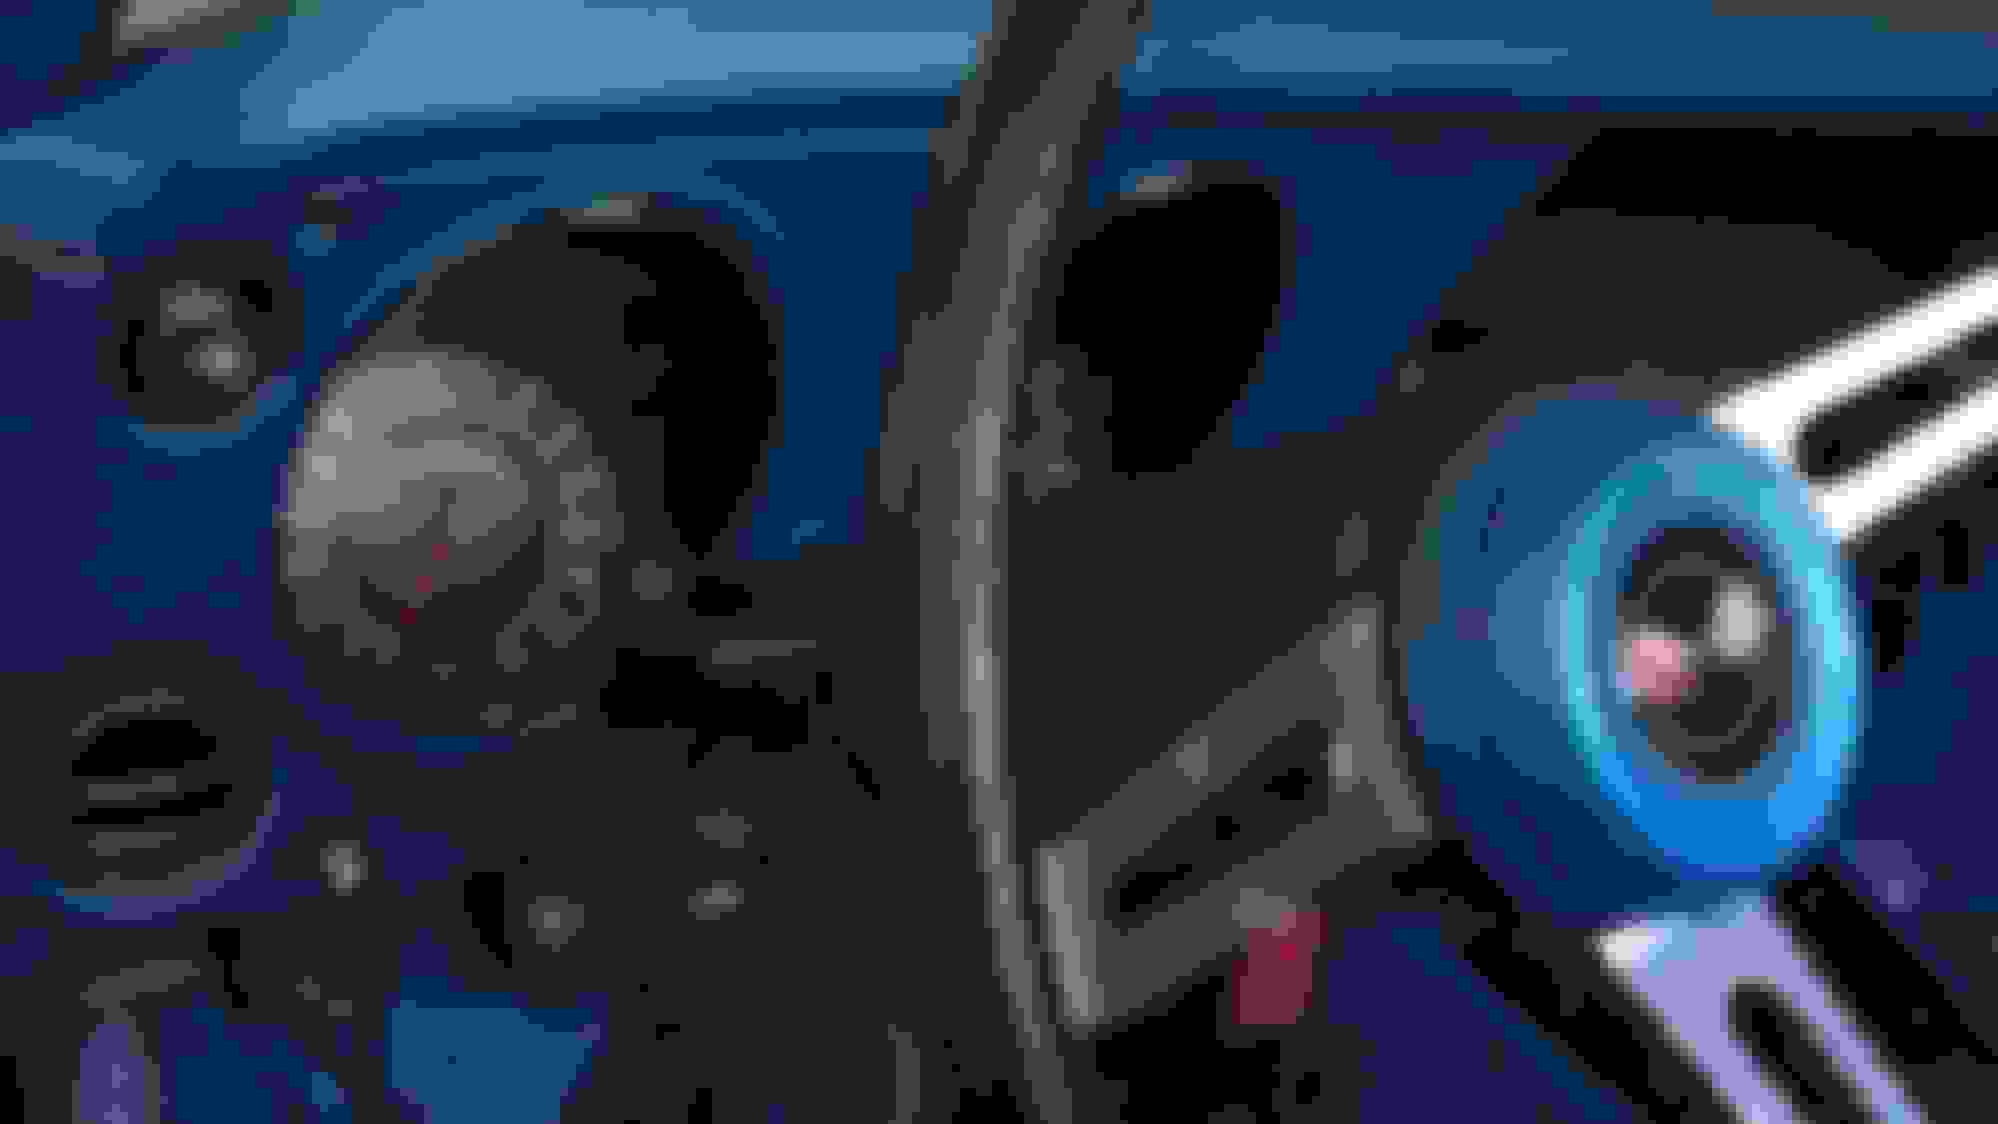
Got the shifter console back in. What a PITA. Everything that was disconnected has been reconnected: missing bulb, disconnected vent switch ...and all the fiber optics work now. It took me most of the day.
I started the upper dash driver side (also a royal pain) but had to give up after I had to solder two of the grey wire sockets that popped off. I had run out is sunlight.
Getting the lower dash pad driver�s side in was not fun. In fact I do not look forward to doing that over anytime soon. Tho I did have to pull it out in order to fix small things such as a couple of bulb sockets that popped off. I have become quite good at soldering them back together.
Yes, I need to by the correct tip for this job. But at hand was only this one.
Then for a test.
Some unexpected feedback confirmed that the license plate fiber optics work well.
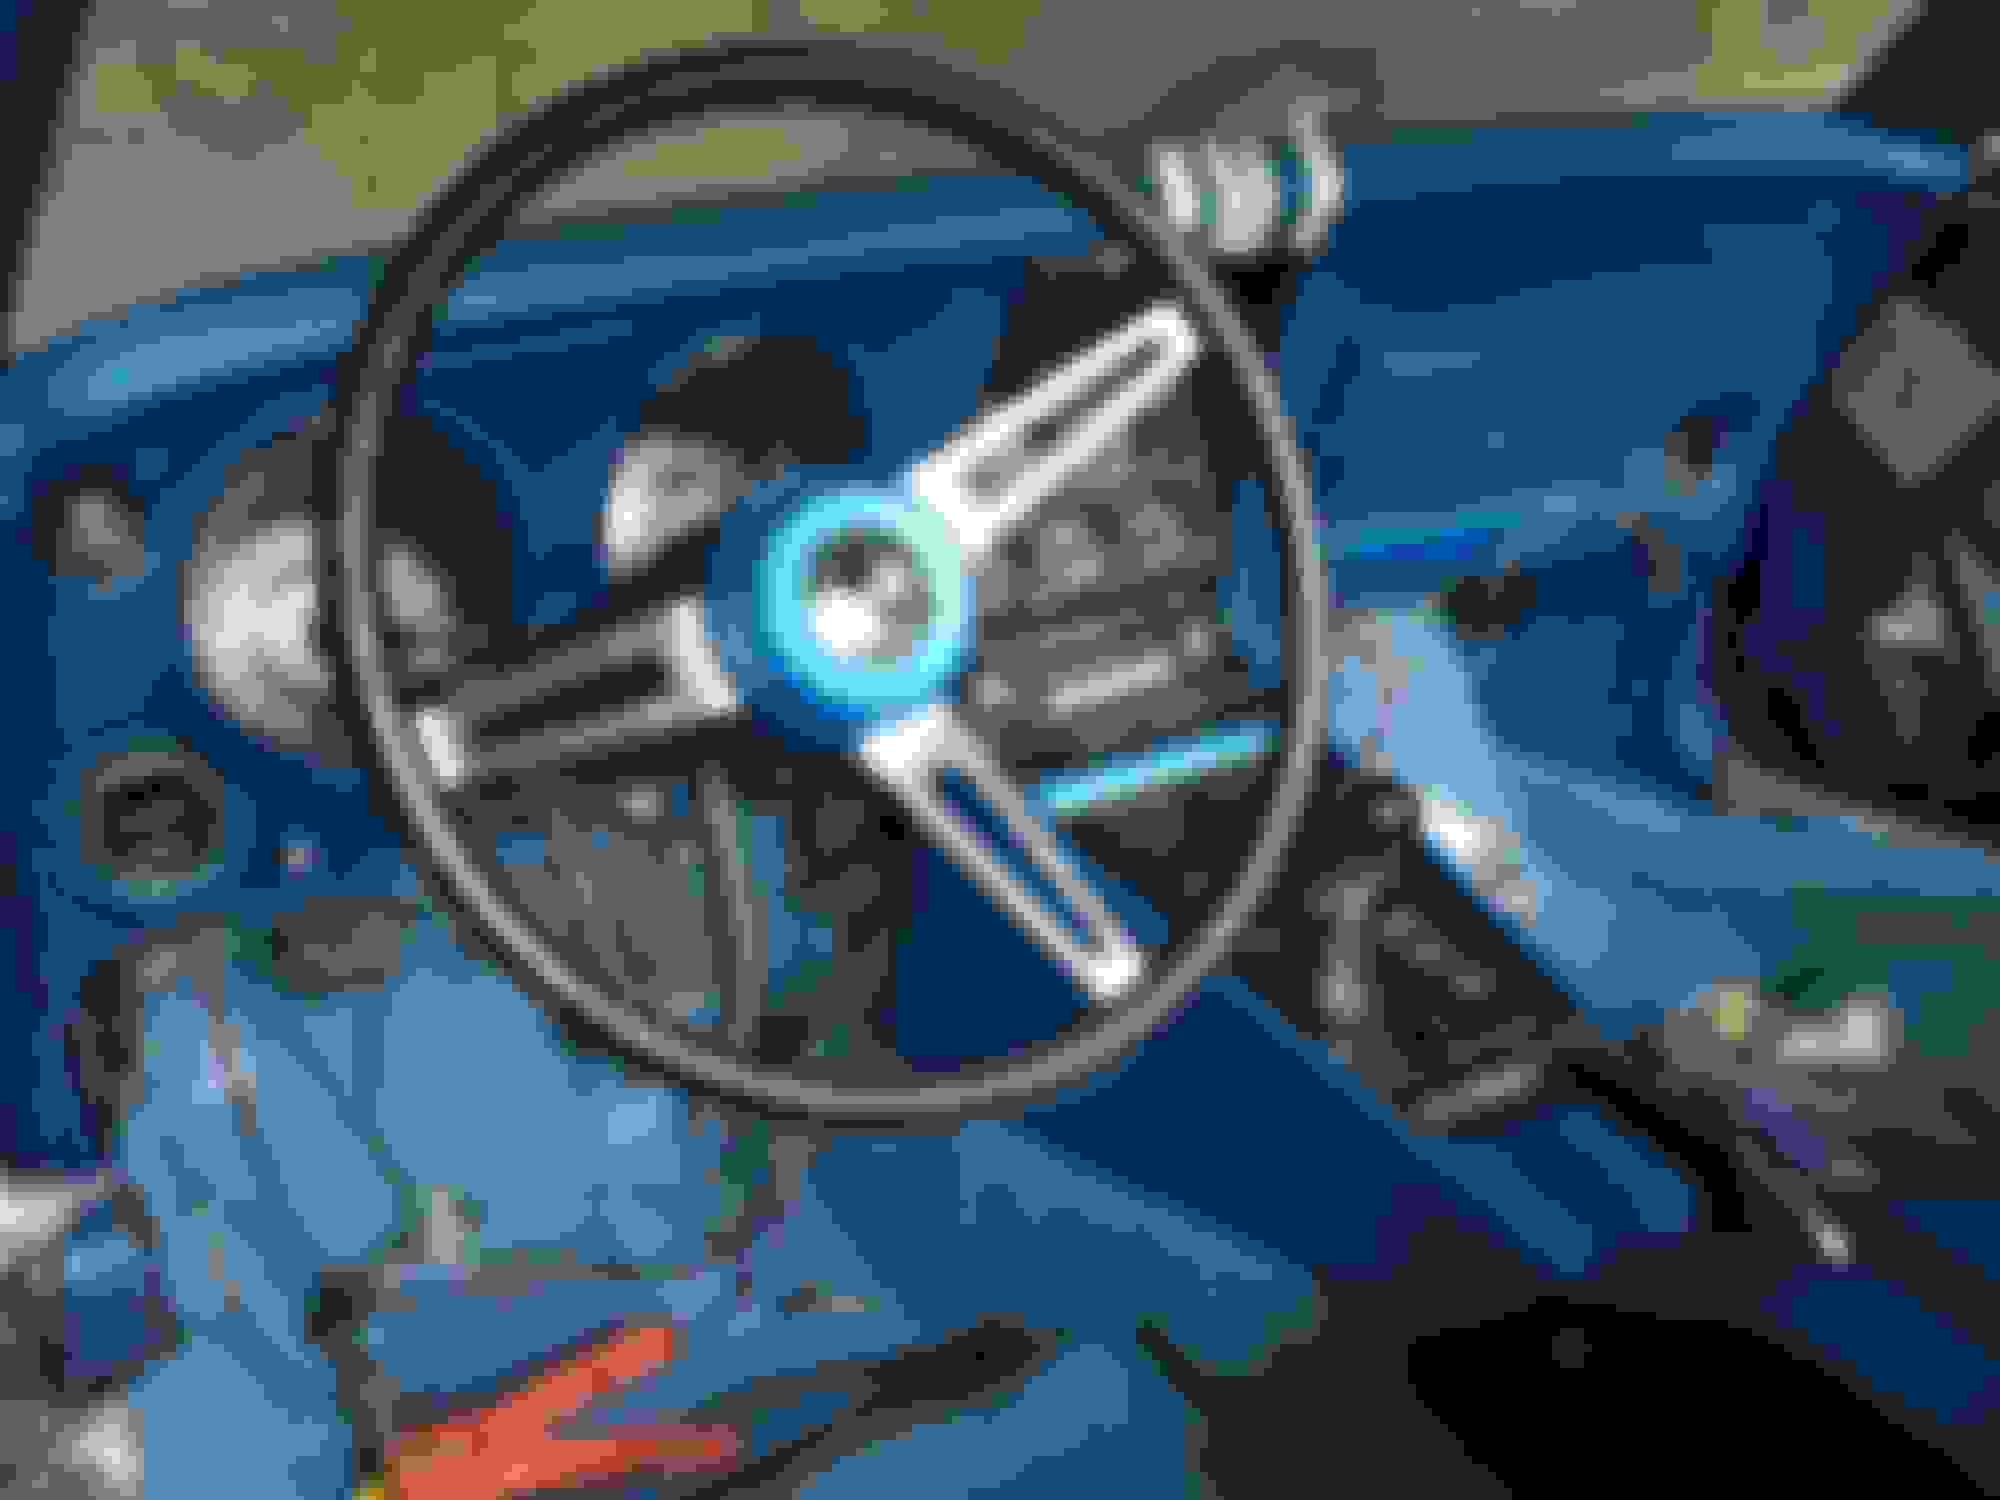
Mmmmm. One cannot under estimate the positive vibe of a fully installed steering wheel and dash. No more leveraging tires while pushing the car
Rats ! I knew I forgot something: the cables for the speedo and tach. They are the push on type. I should be able to reach up there and press them on, hopefully without disturbing anything.
If you need to leverage the tires again to move your car around, spray a little “tiremagic”, or similar type product people spray on their tires sidewalls, on your tires tread.
Makes the concrete surface slick as ice and simple to slide the tires.
I used to do this to get my boats on tandom trailers close to the wall in a narrow garage.
Last edited by OldCarBum; May 28, 2019 at 10:51 AM.
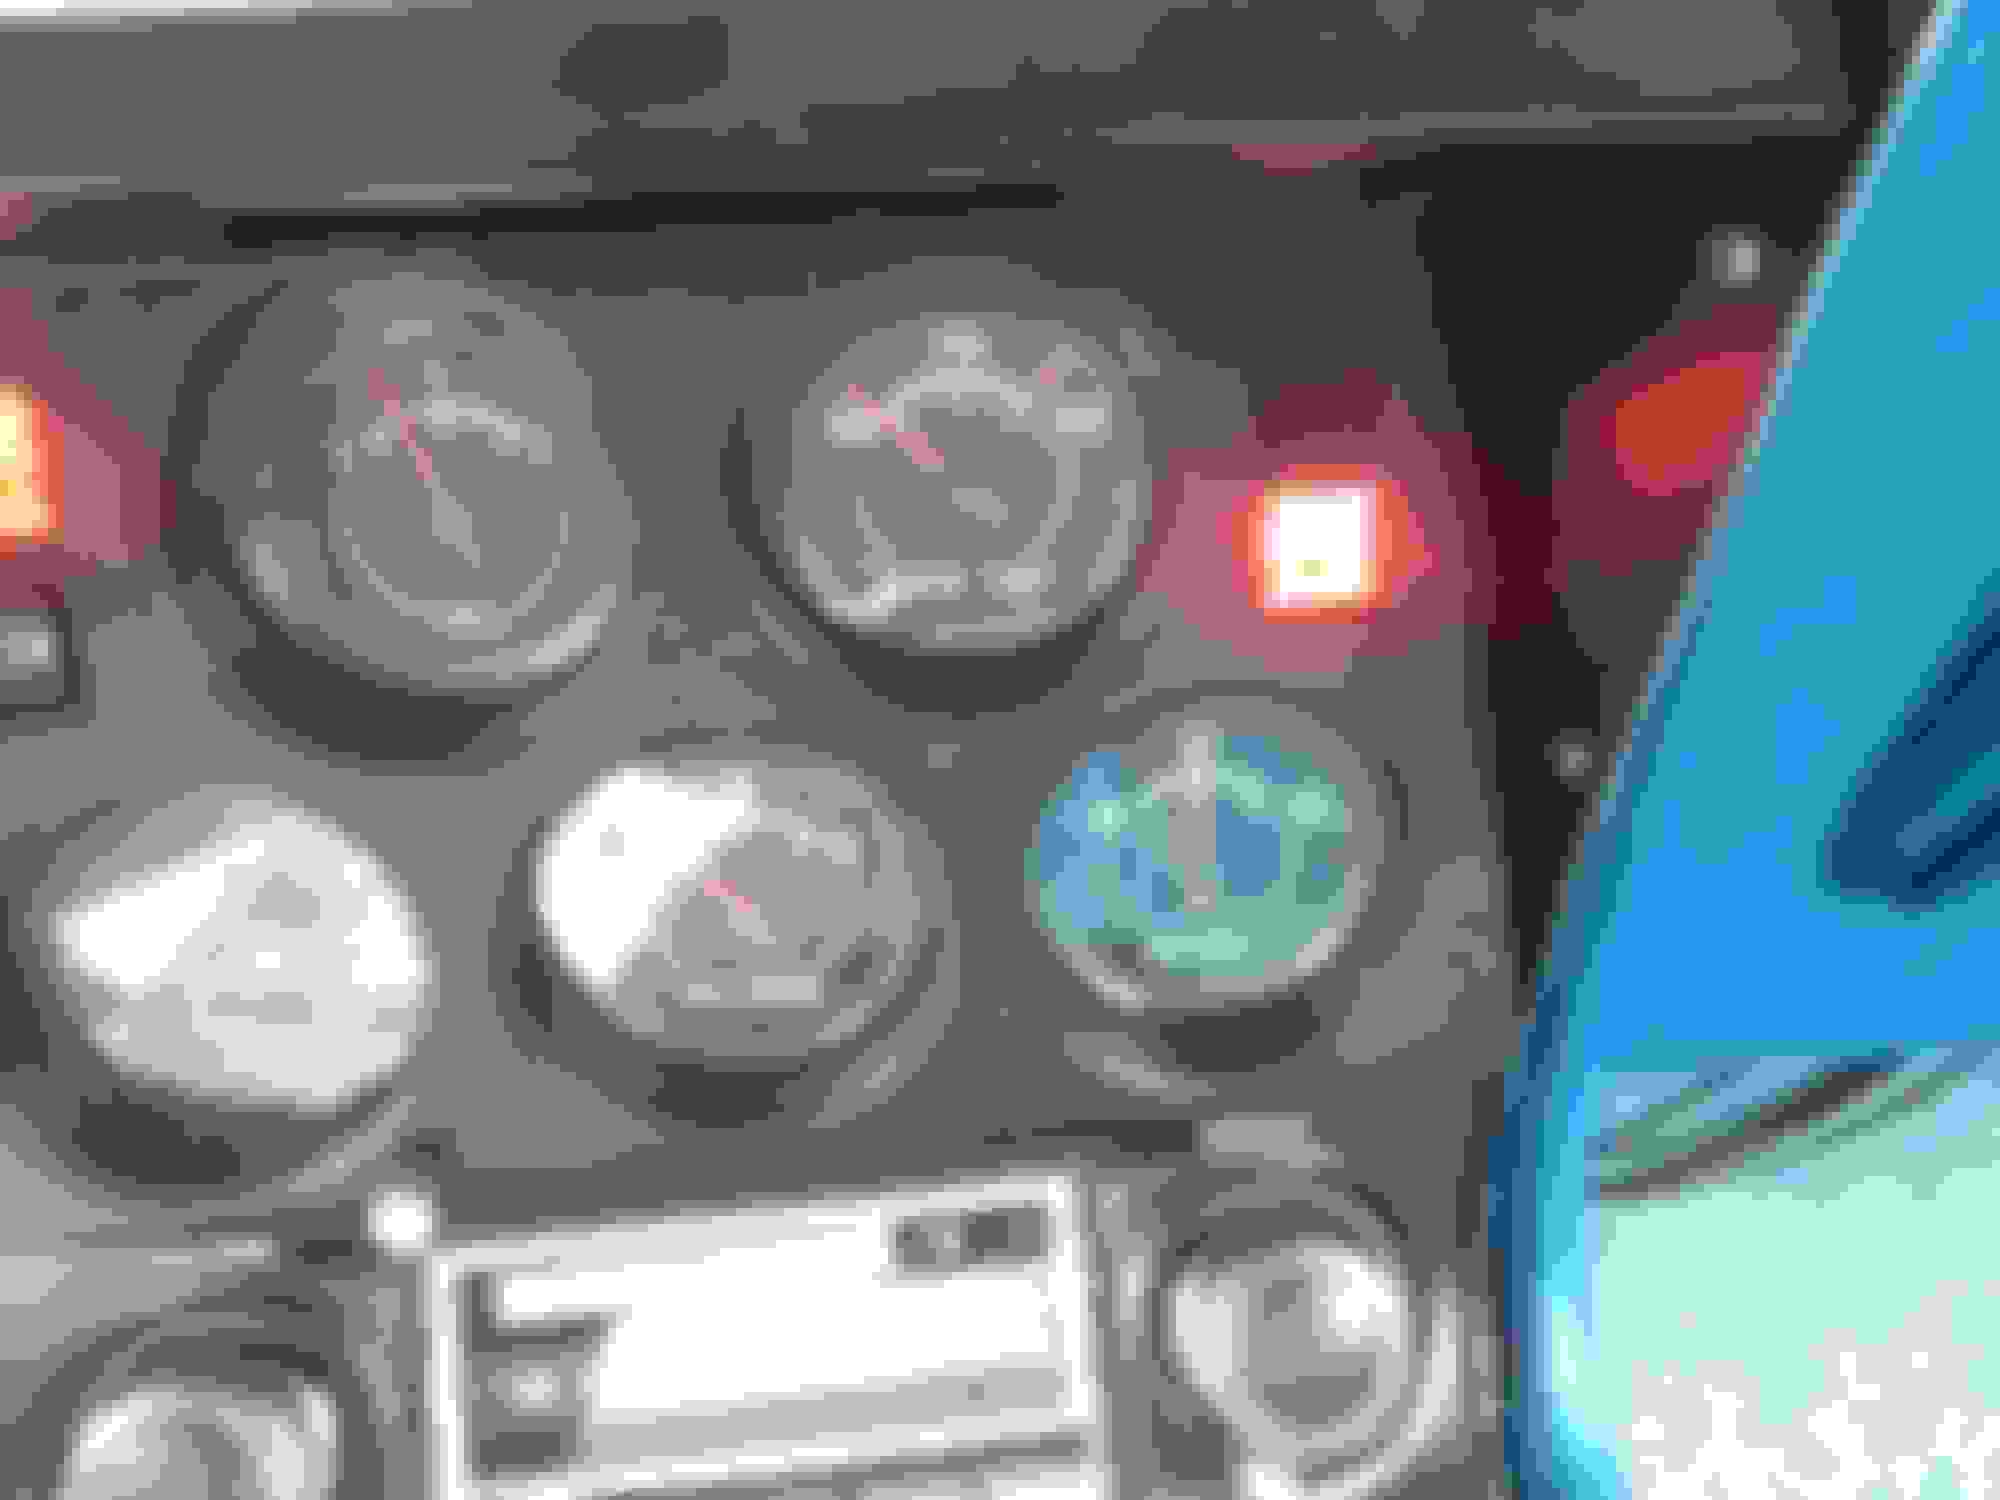
The center gauge cluster goes back in. It was a PITA. And it may have to come out again. The fuel gauge is pegging. My guess is that the connector is in backwards. I�m a little worried about the ammeter. I hope I didn�t put it in backwards as well. Any tips there would be welcome.
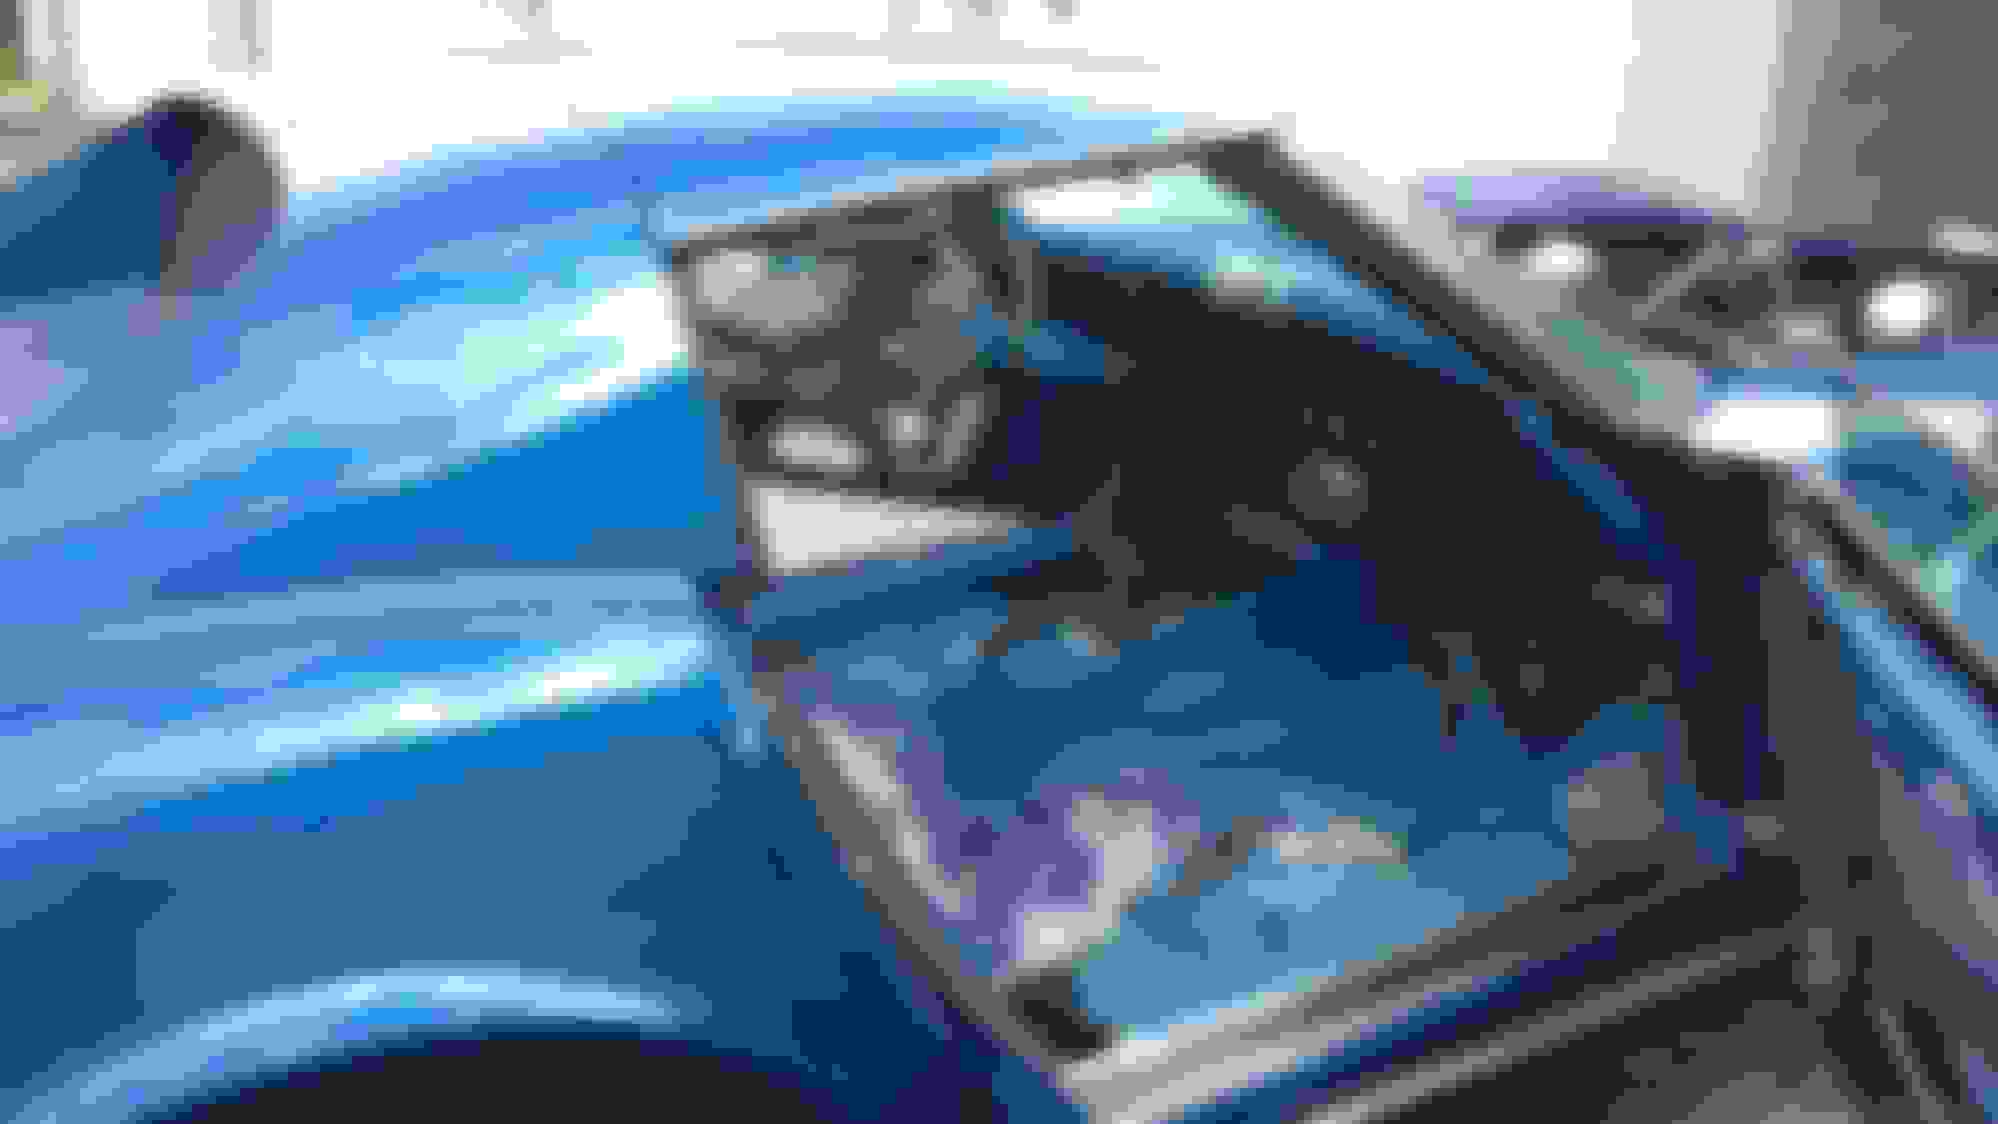
The passenger side lower panel is in and it looks good. Somewhat looking like a car again.
Last edited by DorianC3; May 28, 2019 at 03:08 PM.
X clean out interior
X improve subwoofer install
X charge battery
X clean out rear storage compartments
- pad rear window trim to prevent rattling
X install battery with fast disconnect ( ! Battery back in the car is a big step. It also makes testing easier)
X improve grounds to get rid of parasitical radio noise
X mock up rear speaker install + test
X mend central air vent (mild fabrication required)
X install wiper bezel and switch.
X test wipers
X test fiber optics
- test ammeter
X figure out why driver side courtesy light does not come on. Same with rear courtesy light.
X fix door ajar switches
X connect driver side lower vent
X test fit speedo and tach cables. Do NOT install yet. They are a pita to remove. They will go on once I am sure I will not need to pull them again.
Having the battery finally back in with "unequivocal" cable is a huge step forward... both in terms of convenience for testing but also a psychological milestone. Yep, I need to patch up those holes.
I very pleased with the subwoofer... even with the compartment door shut it fill the car nicely. As others have said... nothing crazy; just the way I like it. Moving the speakers from the kicks to the dash was an excellent mod.
Merlot !
Hmmm... I really like that rear courtesy light. I am going to rethink the sound bar. I will probably try and mount these in the upper corners.
So far so good. All the interior lights work except for the shifter console climate control. The bulb is installed and works... but for some reason no light gets through. Not something I will bother with at this point.
Last edited by DorianC3; May 31, 2019 at 05:49 AM.
The cigarette lighter works ... not just the power socket.
And the fiber optics already came in handy... thanks to them; I spotted a brake light that was not working properly. Without it I would not have known.
Behold ! This is probably the first time this circuit has shone in the past 15 or 20 years. The connector looked like it was cut short. Again, no idea why anyone would do that
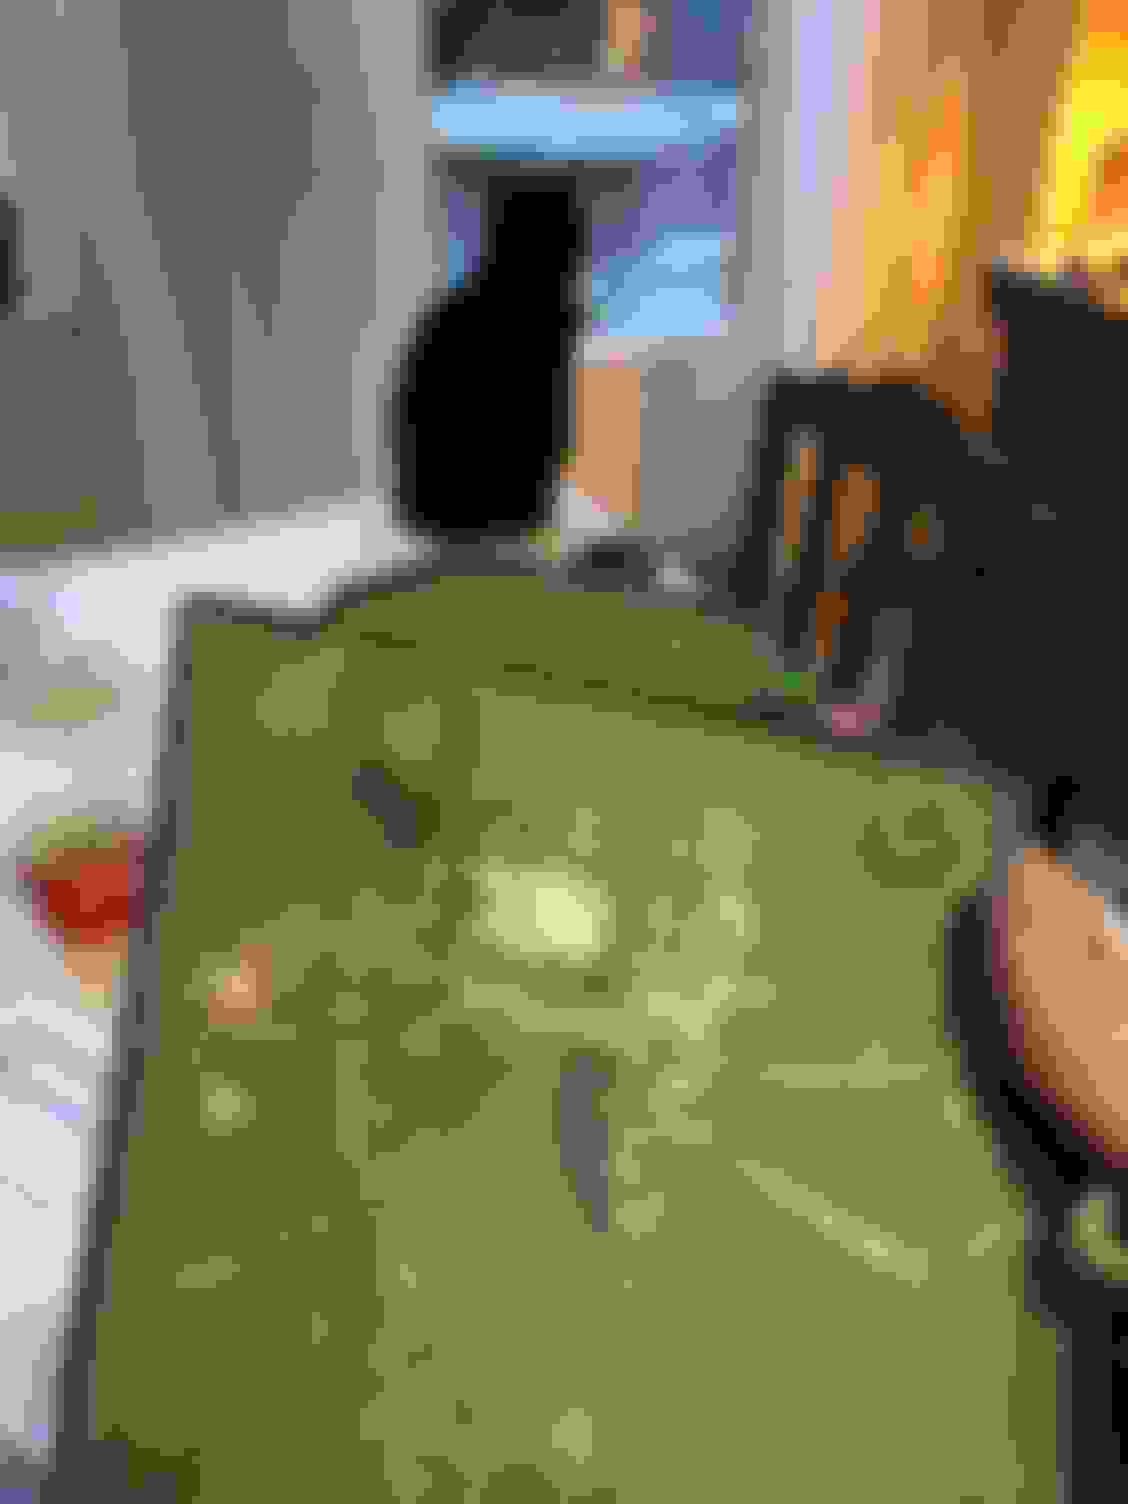
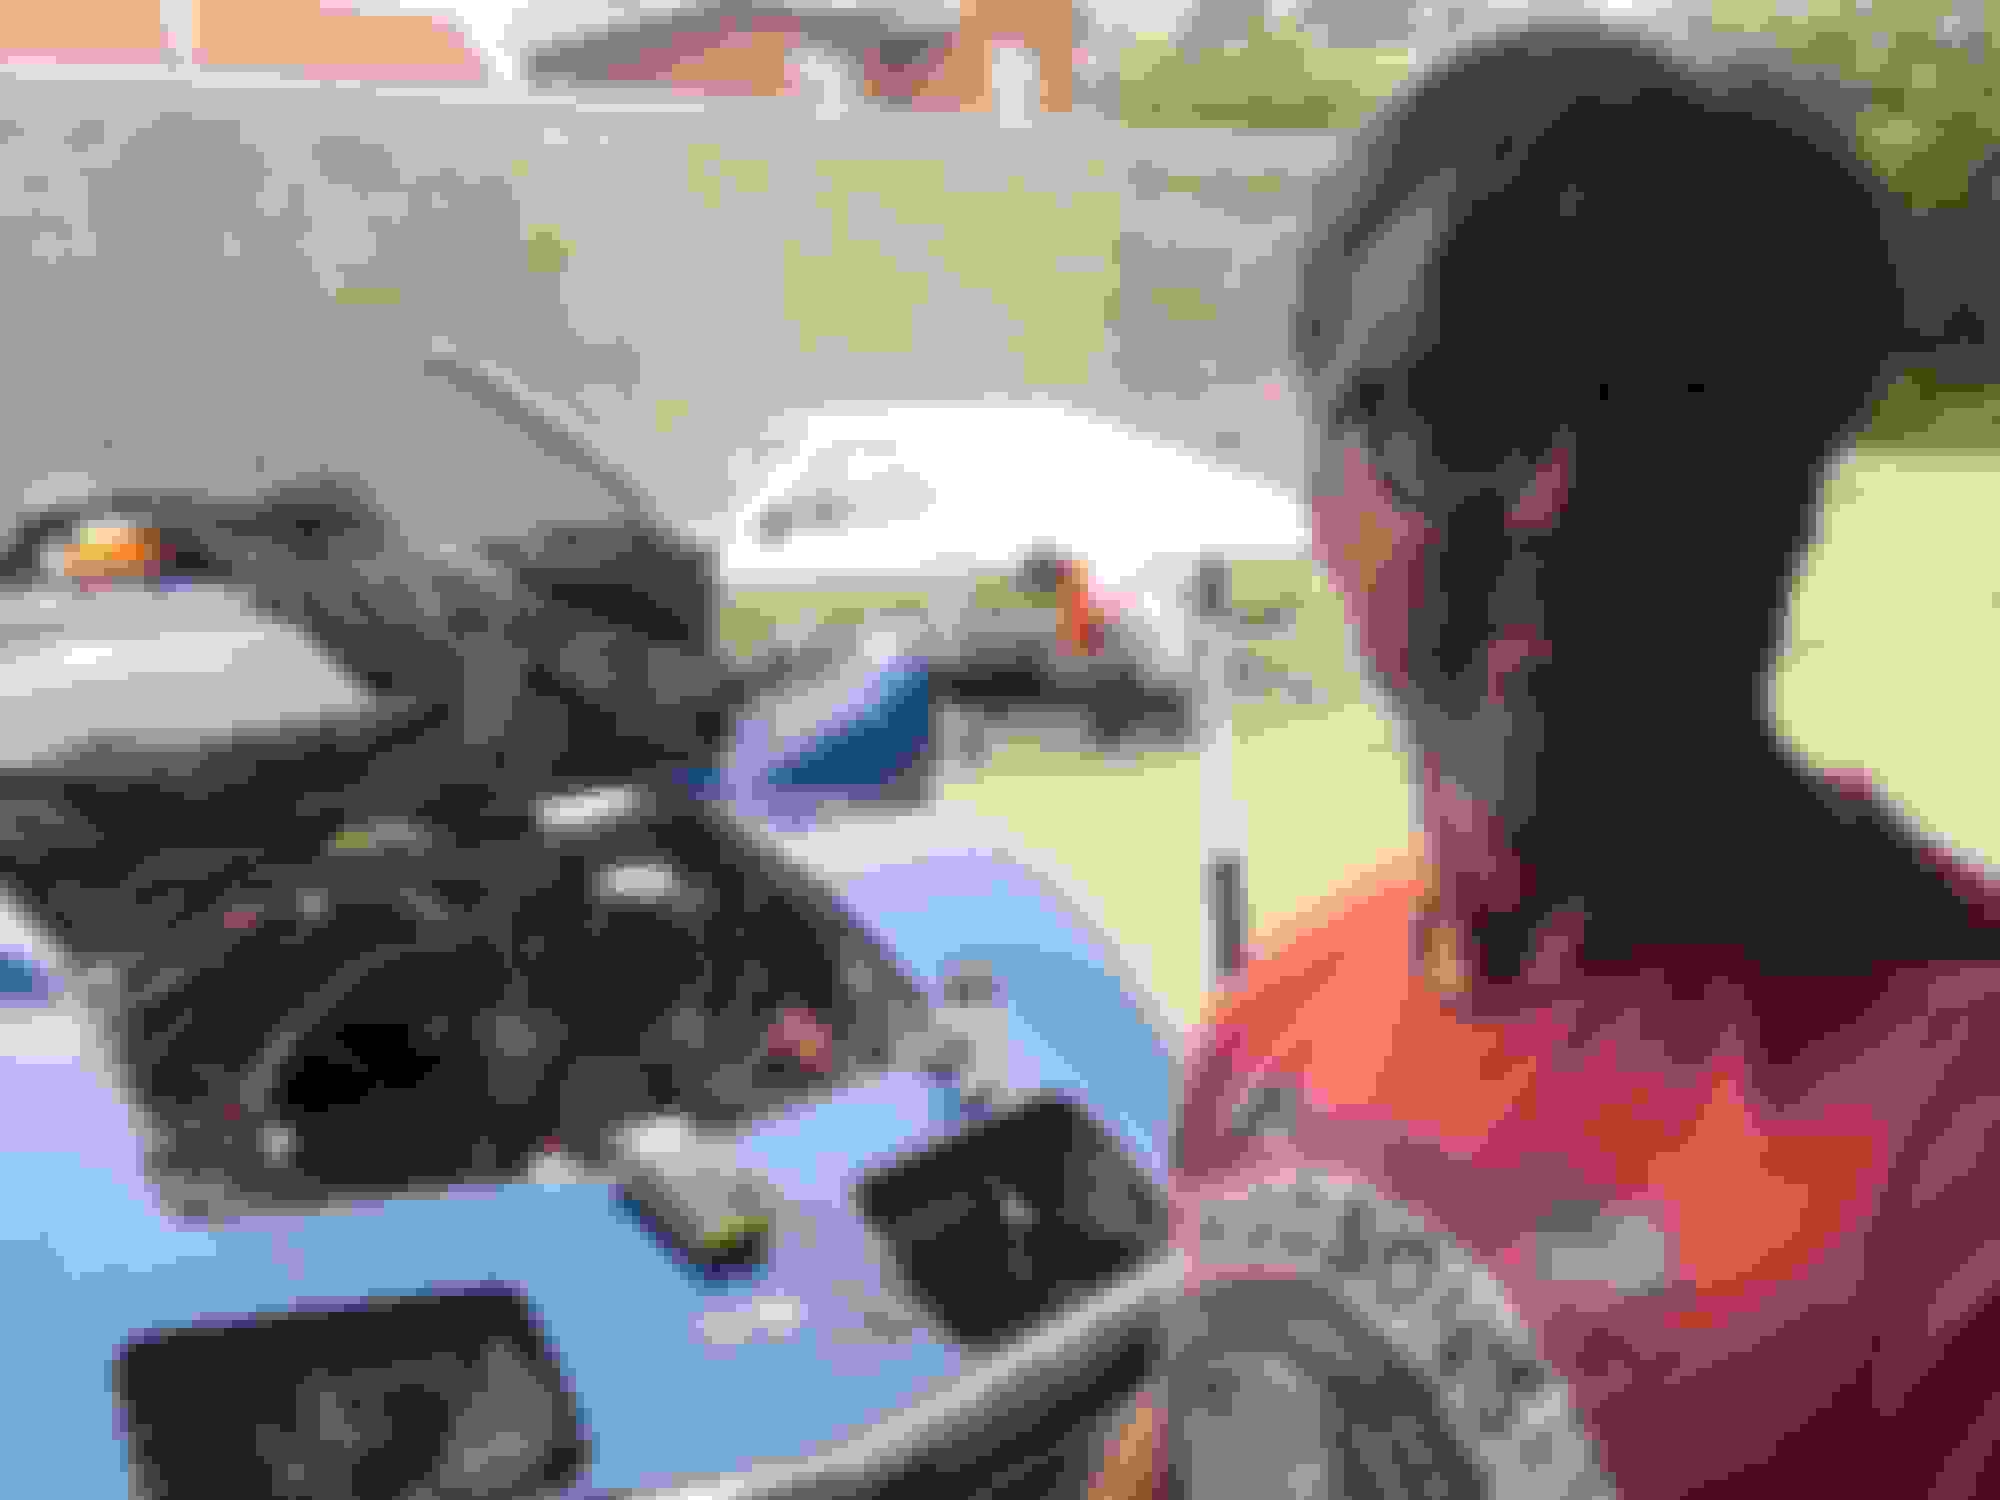
Neighbor youth working on his 80s VW Passat. Boldly taking on painting.
Speaking of painting, I sealed the T-top to windshield trim with dumdum and am testing 3D fabric paint to make it look presentable. Someone experienced on the board here did it this way. It looks promising.
Designer Imagines A Corvette That Looks More Like a Corvette Than the Corvette
Slideshow: A Jaguar designer's personal project imagines what a modern front-engined Corvette might look like if Chevrolet revisited the golden age of the Stingray.


 I�ll replace the starter cable with a new and beefier one.


 As I suspected: Bondo !