C3 Tech/Performance V8 Technical Info, Internal Engine, External Engine, Basic Tech and Maintenance for the C3 Corvette
Sponsored by:
Sponsored by:

The Force Awakens...

Thread Tools
 
Search this Thread
 
Old 04-14-2019, 03:43 PM
  #221  
DorianC3
Melting Slicks
Thread Starter
 
DorianC3's Avatar
 
Member Since: Nov 2017
Posts: 2,090
Received 354 Likes on 265 Posts
Default

Get off...


Old 04-14-2019, 03:56 PM
  #222  
DorianC3
Melting Slicks
Thread Starter
 
DorianC3's Avatar
 
Member Since: Nov 2017
Posts: 2,090
Received 354 Likes on 265 Posts
Default

Struggling to make this sound good.

I scored an AAR radio off of eBay. It works well. I like it. I think it belts out (on paper at least) 4 x 45 continuous.

I tested on some decent quality 4x6 speakers that I had; Hertz 460.3 capable of 40 watts continuous; 80 peak. I suspect that is not enough. The volume quickly overwhelms the speakers and they sound very tinny. This surprised me as the speakers are good quality.

I will put larger speakers in the kick panels.

Perhaps a capacitor to take out some dash bass and fade to the kick panels? I’ll put larger beefier speakers there.


Old 04-16-2019, 03:23 AM
  #223  
DorianC3
Melting Slicks
Thread Starter
 
DorianC3's Avatar
 
Member Since: Nov 2017
Posts: 2,090
Received 354 Likes on 265 Posts
Default

Still waiting for the dye to ship here... in the meantime, this is a job that needs to be done: repairing the threads of the rear quarter trim. In addition to the kit, all it took was some epoxy gel and putty, a dremel and a few hours of patience.


I used the screws to make sure it was straight and the threads were clear.


A few were in poor condition and required digging out a previous metal stud and reconstructing the polyester.


Overall I am very pleased with the results.
The following users liked this post:
74_stingray (04-16-2019)
Old 04-19-2019, 02:31 PM
  #224  
DorianC3
Melting Slicks
Thread Starter
 
DorianC3's Avatar
 
Member Since: Nov 2017
Posts: 2,090
Received 354 Likes on 265 Posts
Default

Tedious but a necessary step prior to installing anti-rattle.


Old 04-19-2019, 04:18 PM
  #225  
caskiguy
Le Mans Master
Support Corvetteforum!
 
caskiguy's Avatar
 
Member Since: Nov 2016
Location: Lake Tahoe, CA
Posts: 8,121
Received 843 Likes on 659 Posts
Default

Originally Posted by DorianC3
Tedious but a necessary step prior to installing anti-rattle.


Wow ! That was a major clean up. Nice work.
Old 04-21-2019, 08:25 AM
  #226  
DorianC3
Melting Slicks
Thread Starter
 
DorianC3's Avatar
 
Member Since: Nov 2017
Posts: 2,090
Received 354 Likes on 265 Posts
Default

And the next step.

I found cutting little square pads to be easiest to apply. Tin snips worked really well.

Forget the heat gun; the propane torch works very well. I’ve been looking fw to this step. It’s amazing how far a single roll will stretch. And I just added 40 lbs of it to the Corvette. #worthit

I just kept thumping the panels and wherever is resonated, I added a patch of rattle trap.

I had a roll of rattle trap left over from a Karmann Ghia that I did. I was very pleased with the results there.


Last edited by DorianC3; 04-21-2019 at 08:26 AM.
Old 04-21-2019, 08:32 AM
  #227  
DorianC3
Melting Slicks
Thread Starter
 
DorianC3's Avatar
 
Member Since: Nov 2017
Posts: 2,090
Received 354 Likes on 265 Posts
Default

While I was under the car, I took a look at ground cable. It was underwhelming so I replaced it.


I sprayed some undercoating on this. Something very satisfying about a good, clean ground. I may check and replace the other cable while I’m at it.

Time to yank this out too. It will get rebuilt.


Last edited by DorianC3; 04-21-2019 at 09:06 AM.
Old 04-21-2019, 08:34 AM
  #228  
caskiguy
Le Mans Master
Support Corvetteforum!
 
caskiguy's Avatar
 
Member Since: Nov 2016
Location: Lake Tahoe, CA
Posts: 8,121
Received 843 Likes on 659 Posts
Default

Old 04-21-2019, 10:46 AM
  #229  
OldCarBum
Race Director
 
OldCarBum's Avatar
 
Member Since: Mar 2016
Location: Napa California
Posts: 10,442
Received 4,692 Likes on 2,935 Posts
Default

Nice progress.
Old 04-22-2019, 04:08 PM
  #230  
DorianC3
Melting Slicks
Thread Starter
 
DorianC3's Avatar
 
Member Since: Nov 2017
Posts: 2,090
Received 354 Likes on 265 Posts
Default

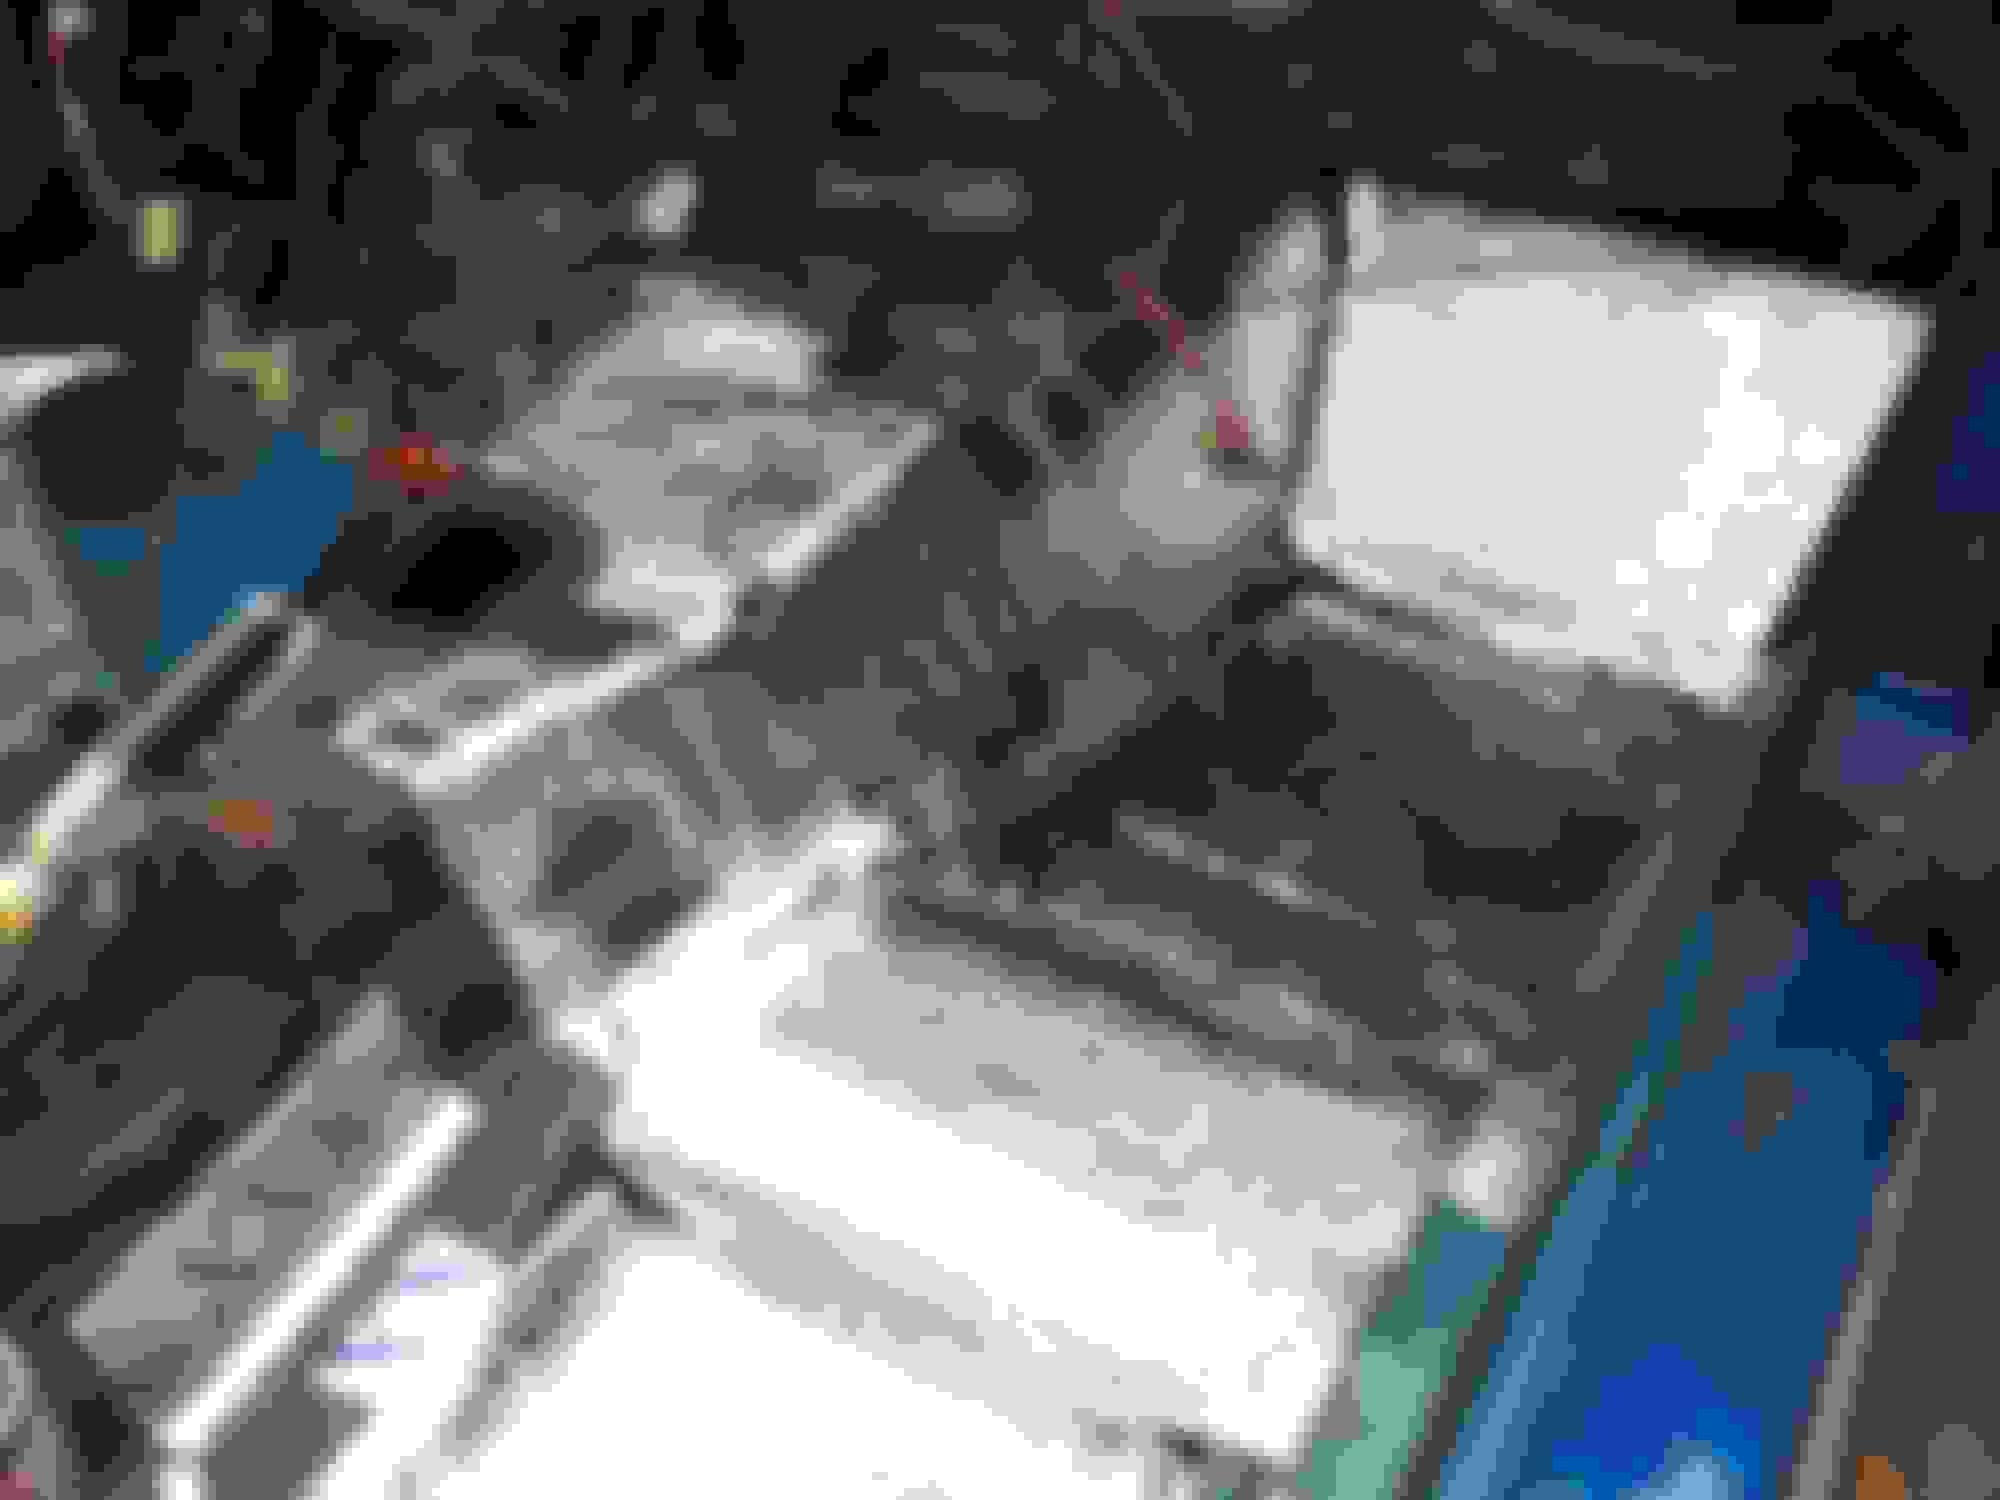
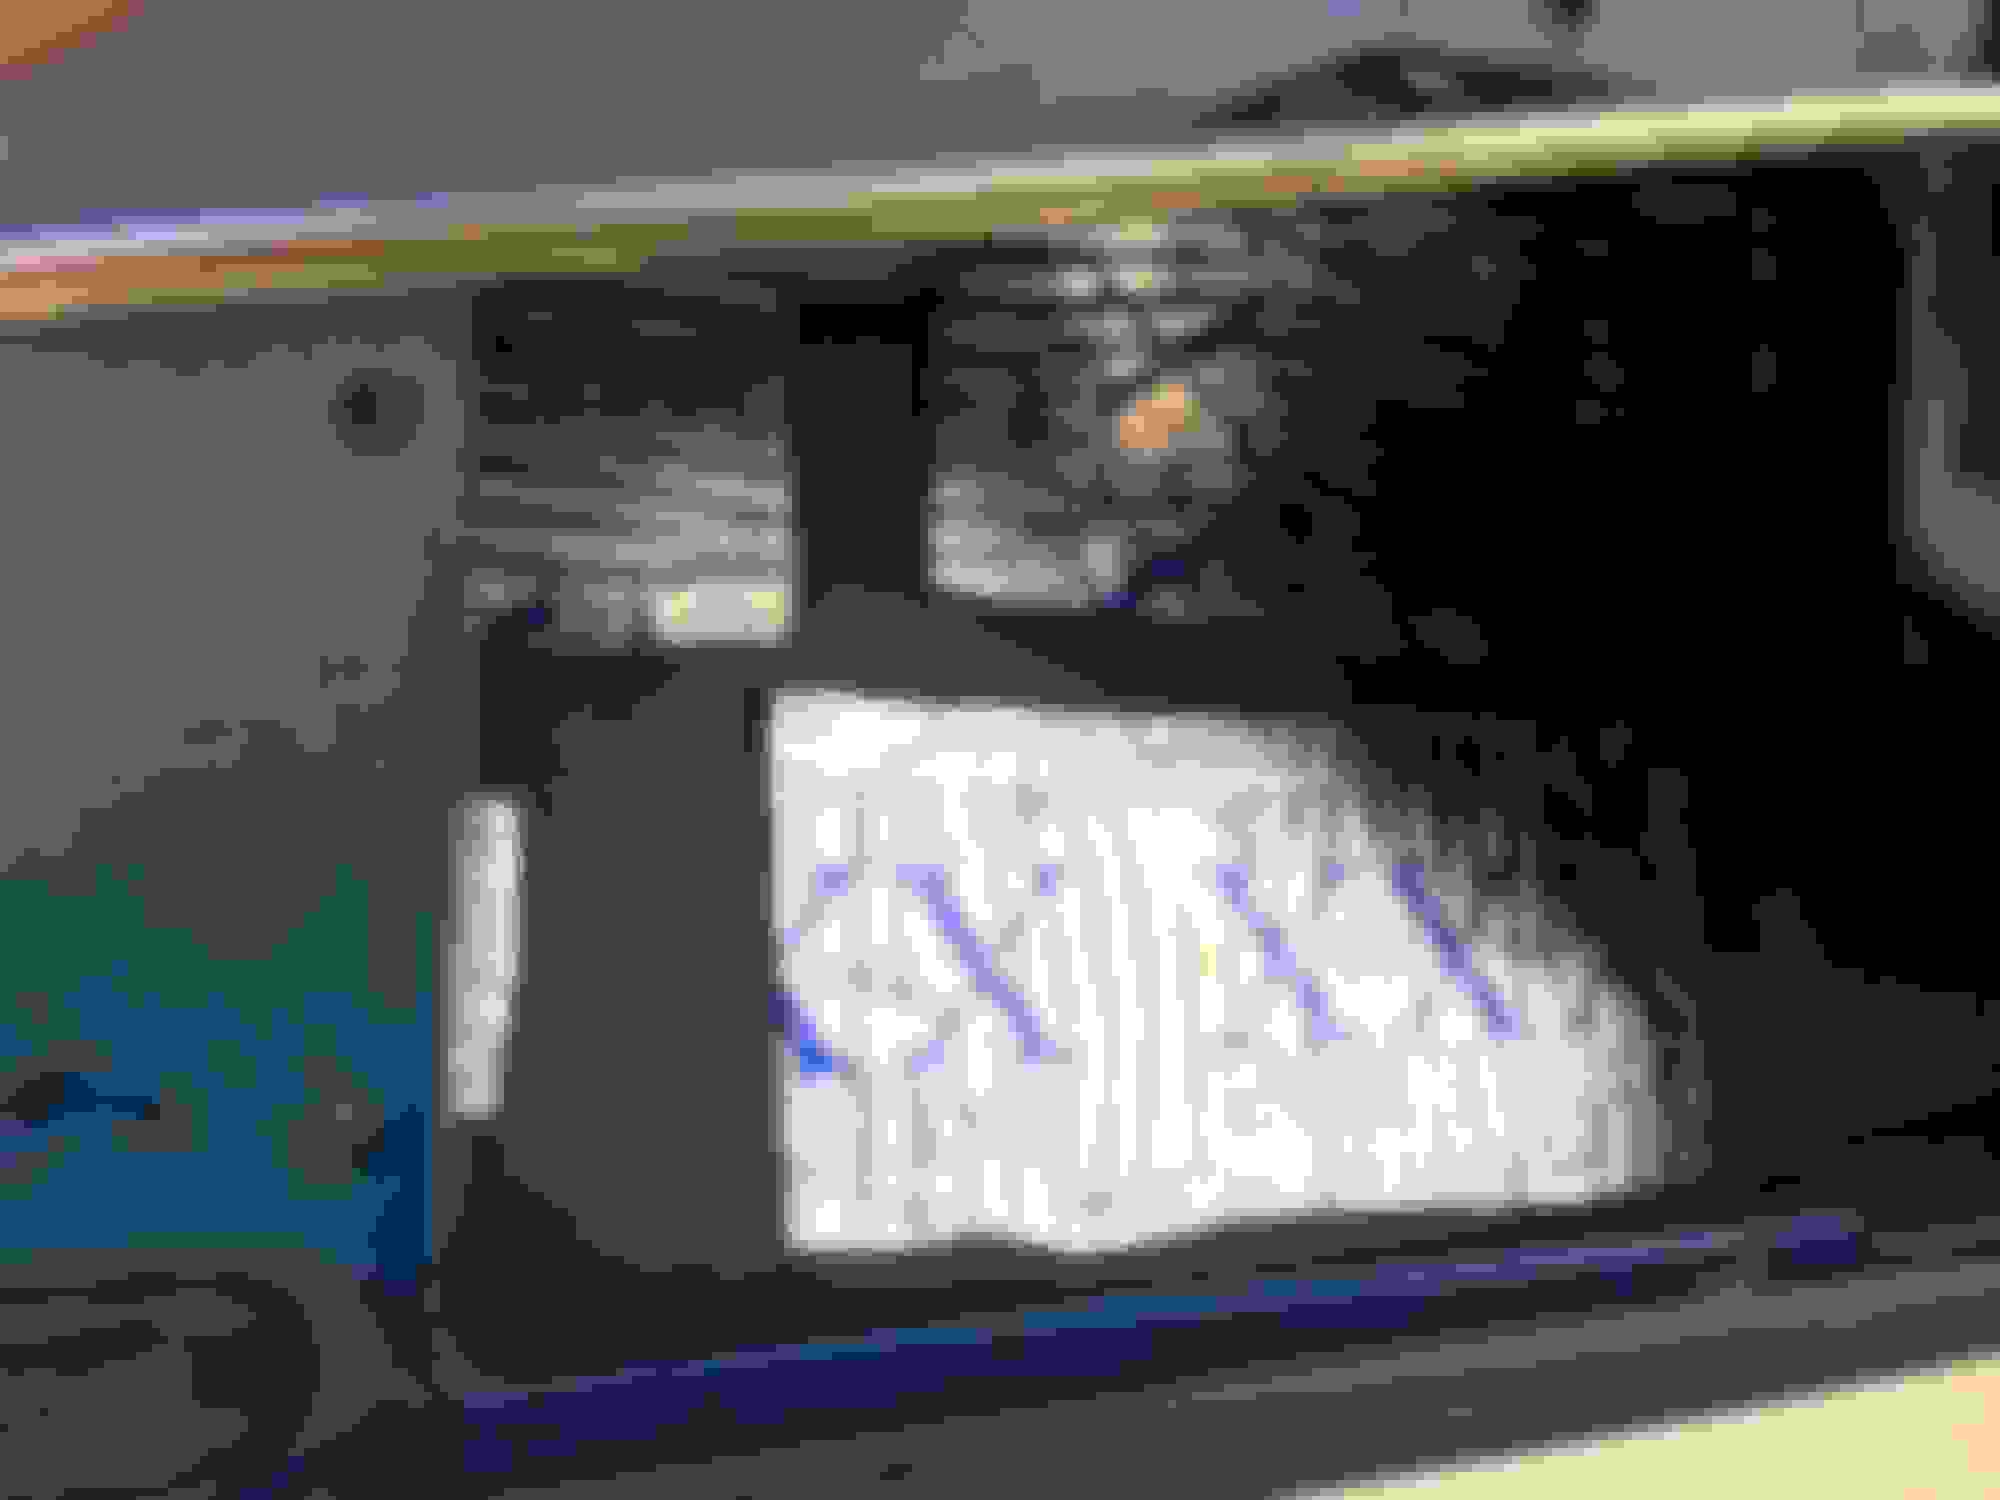
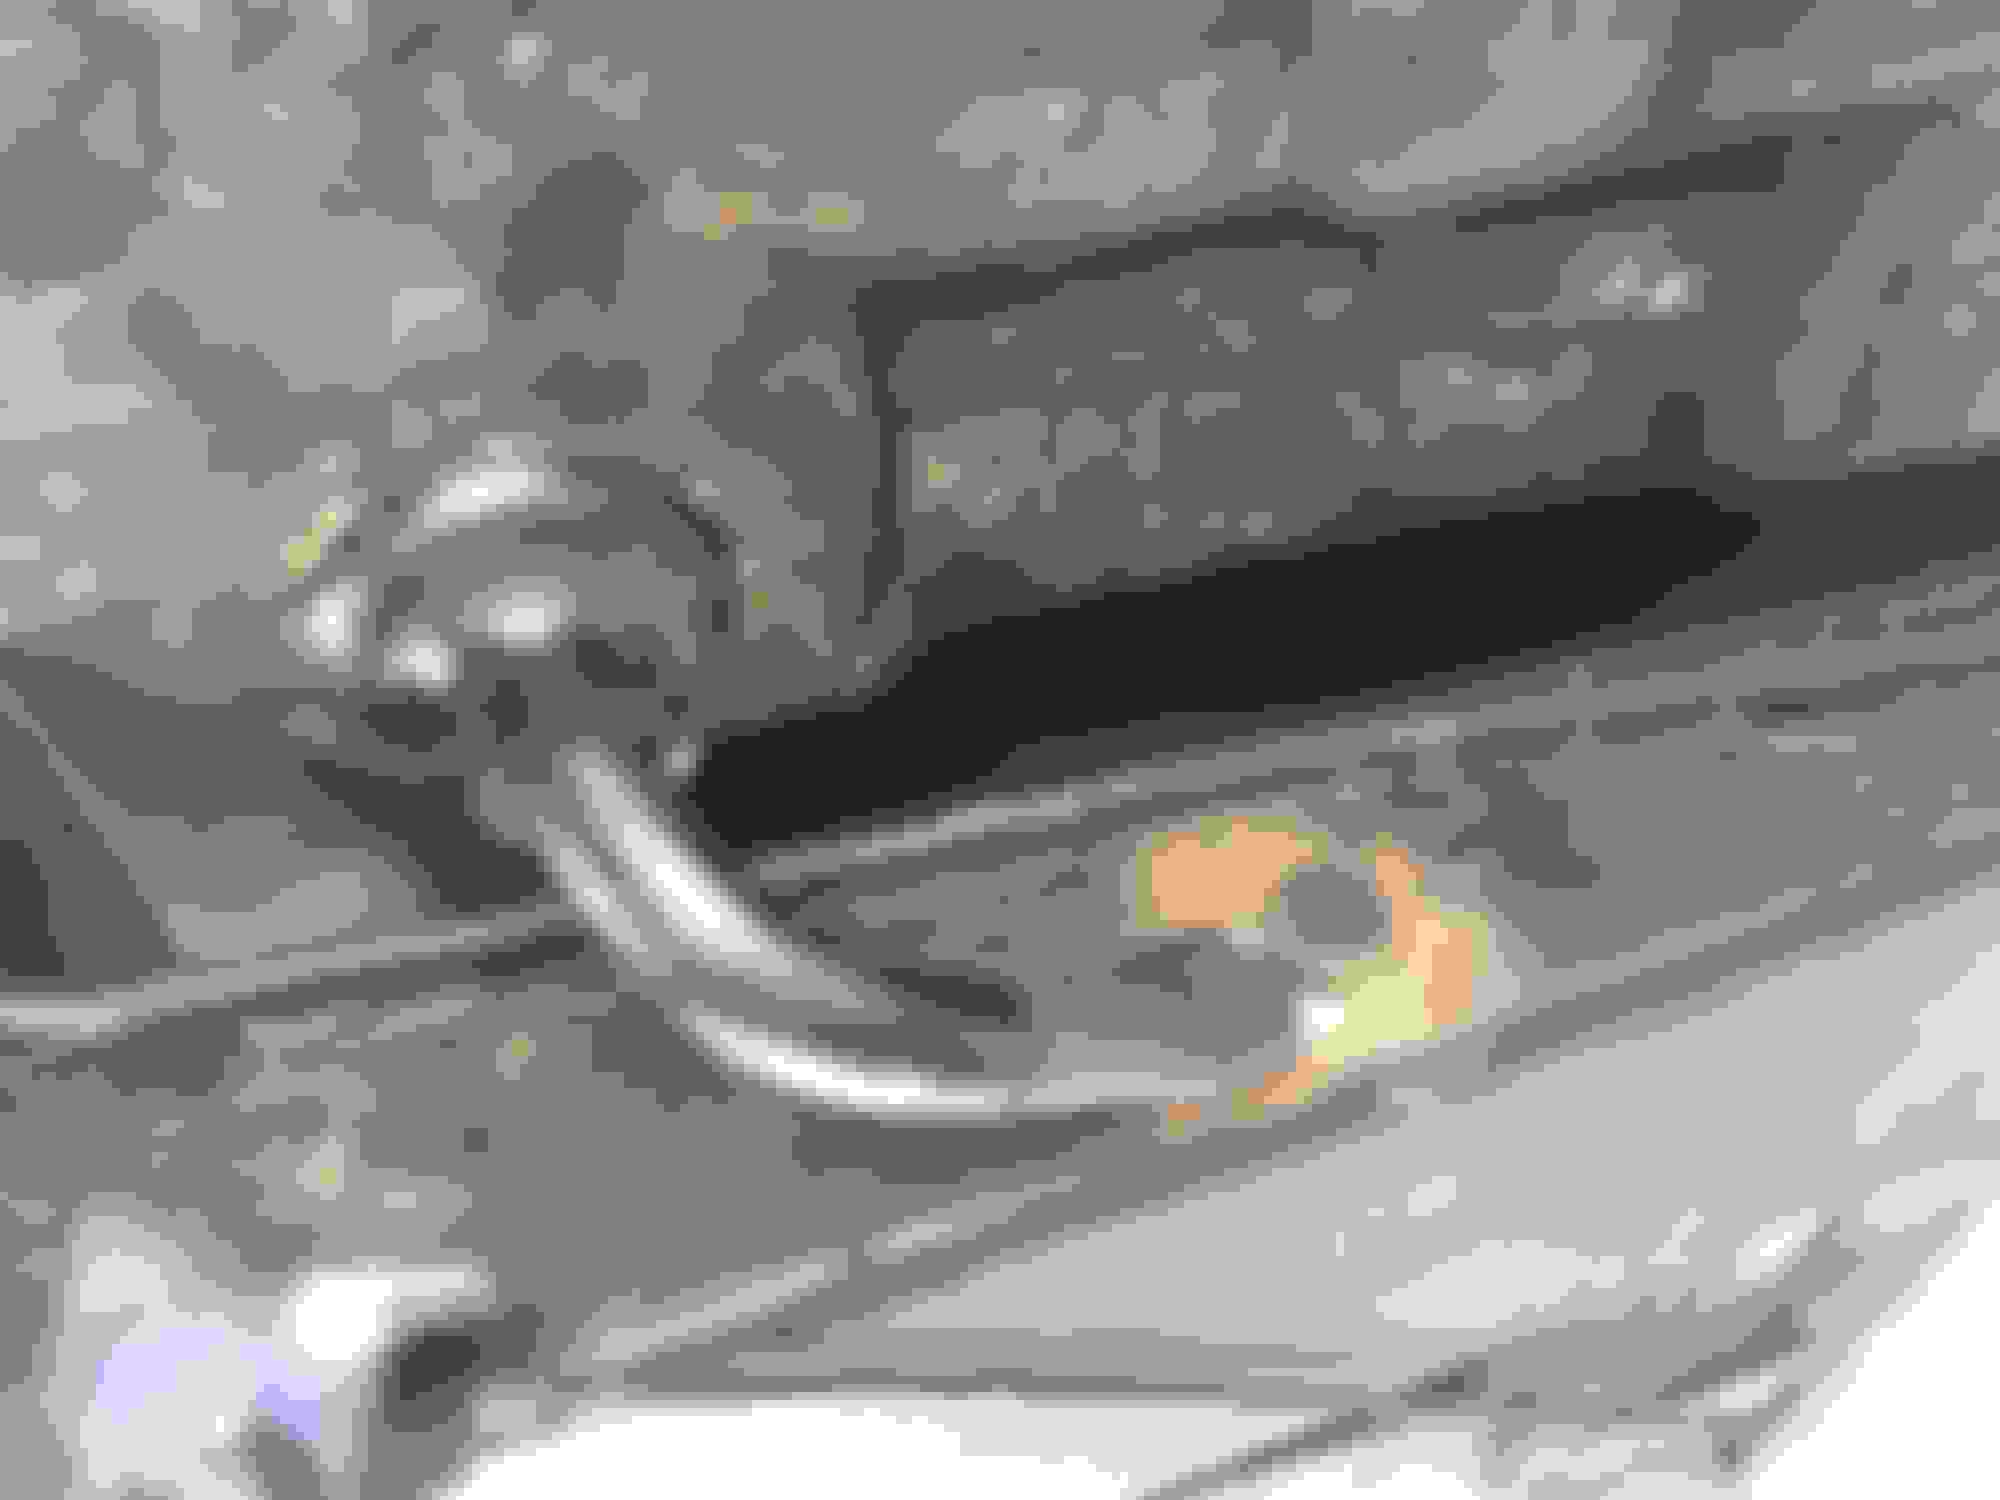
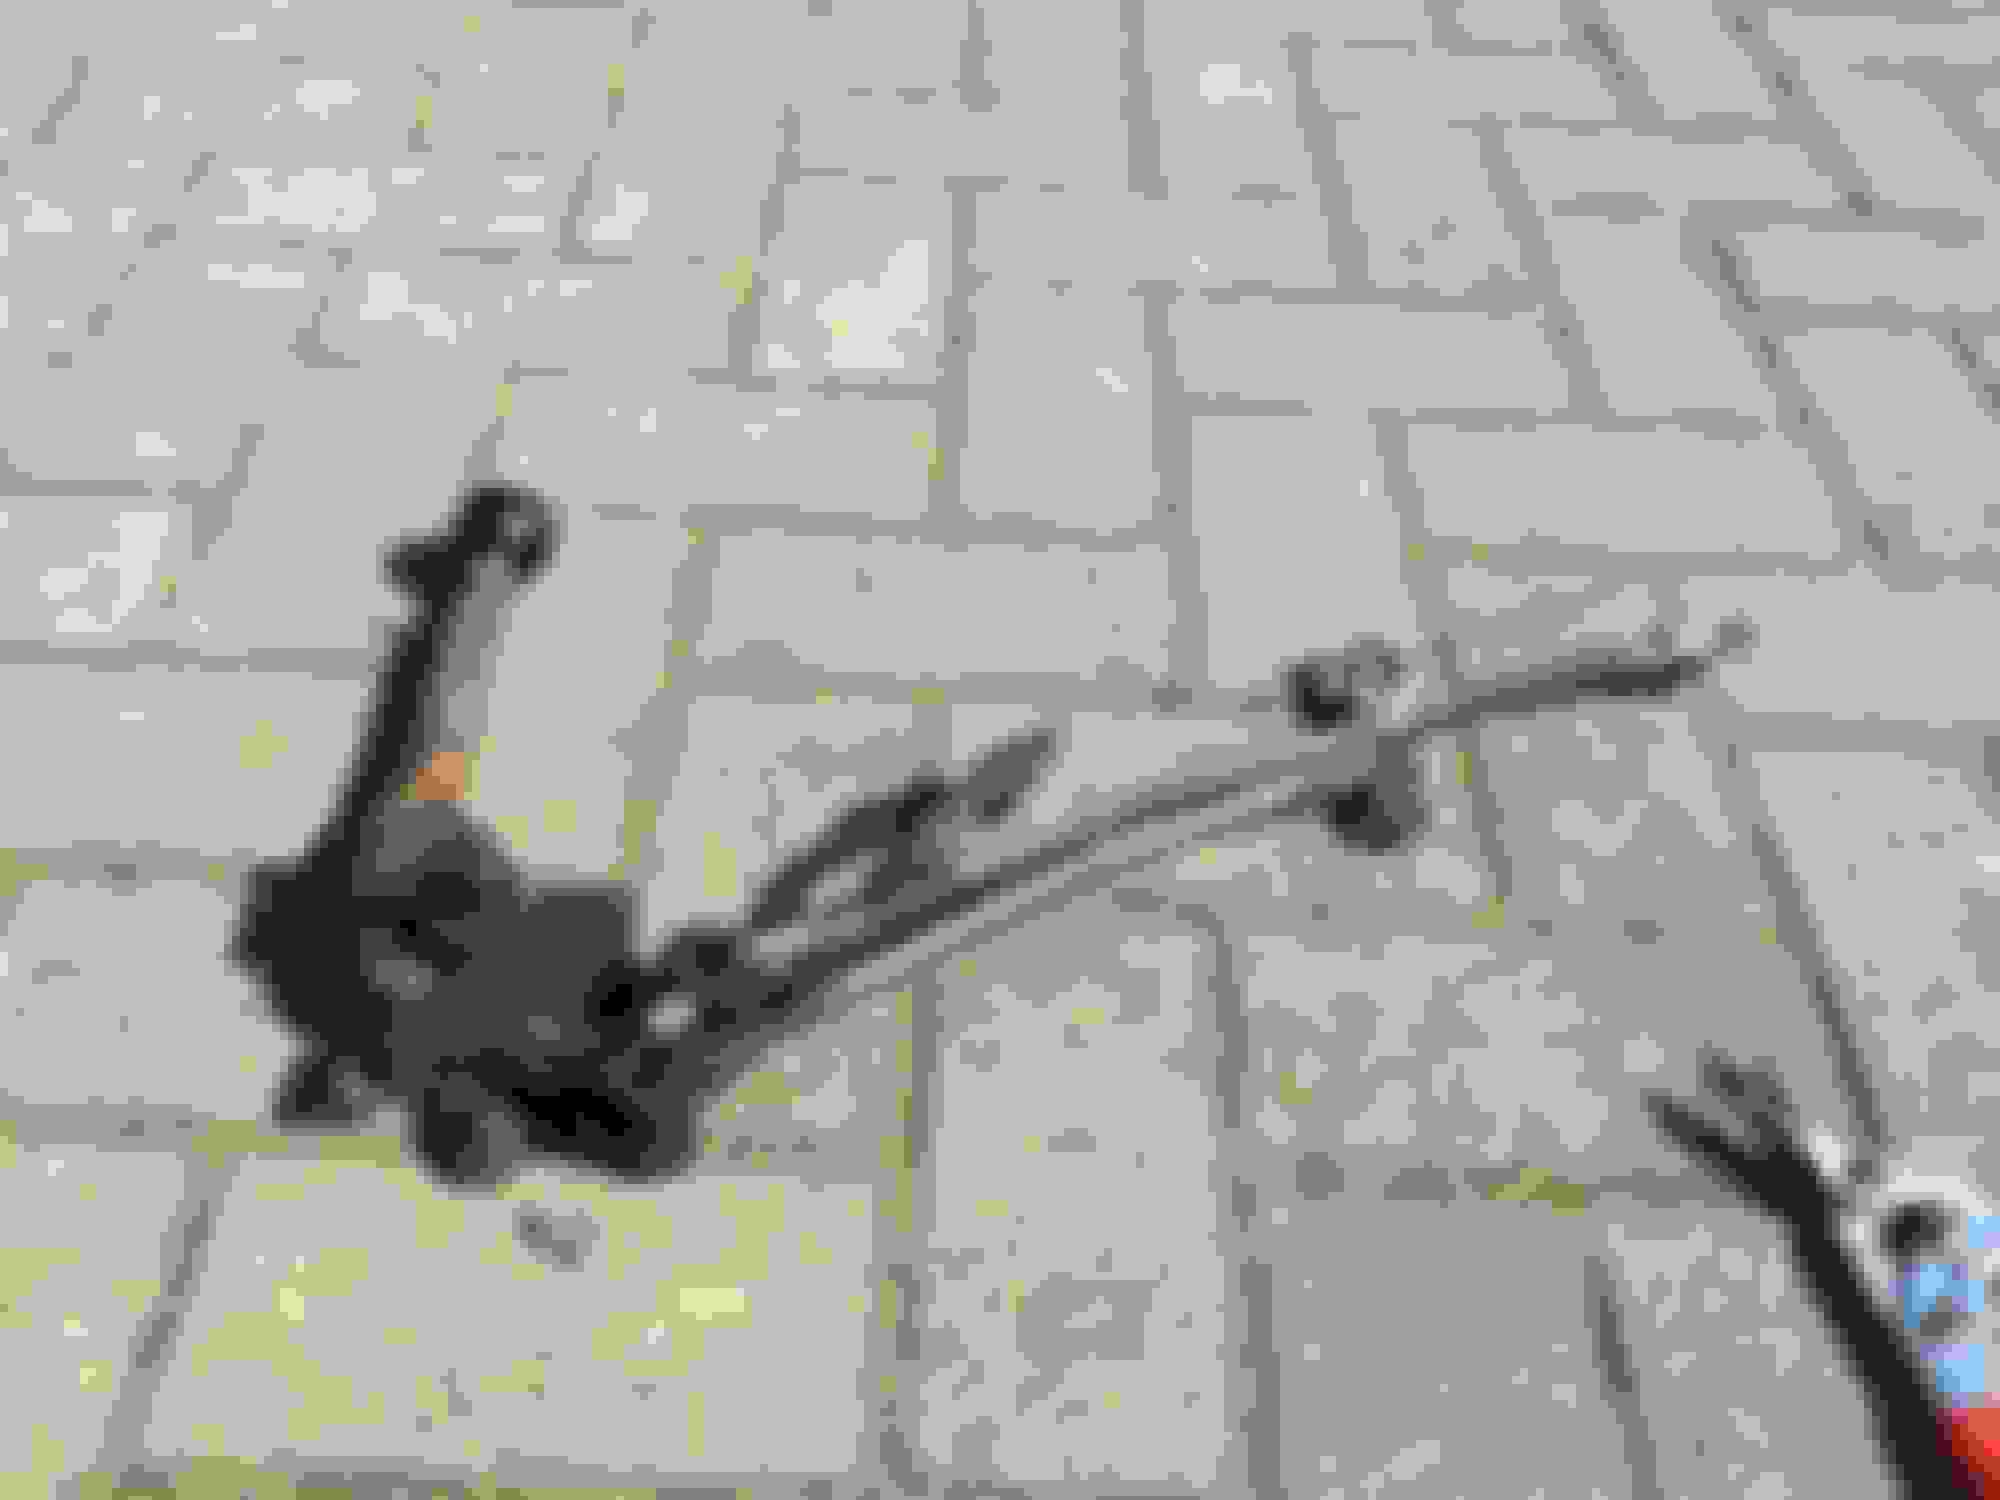
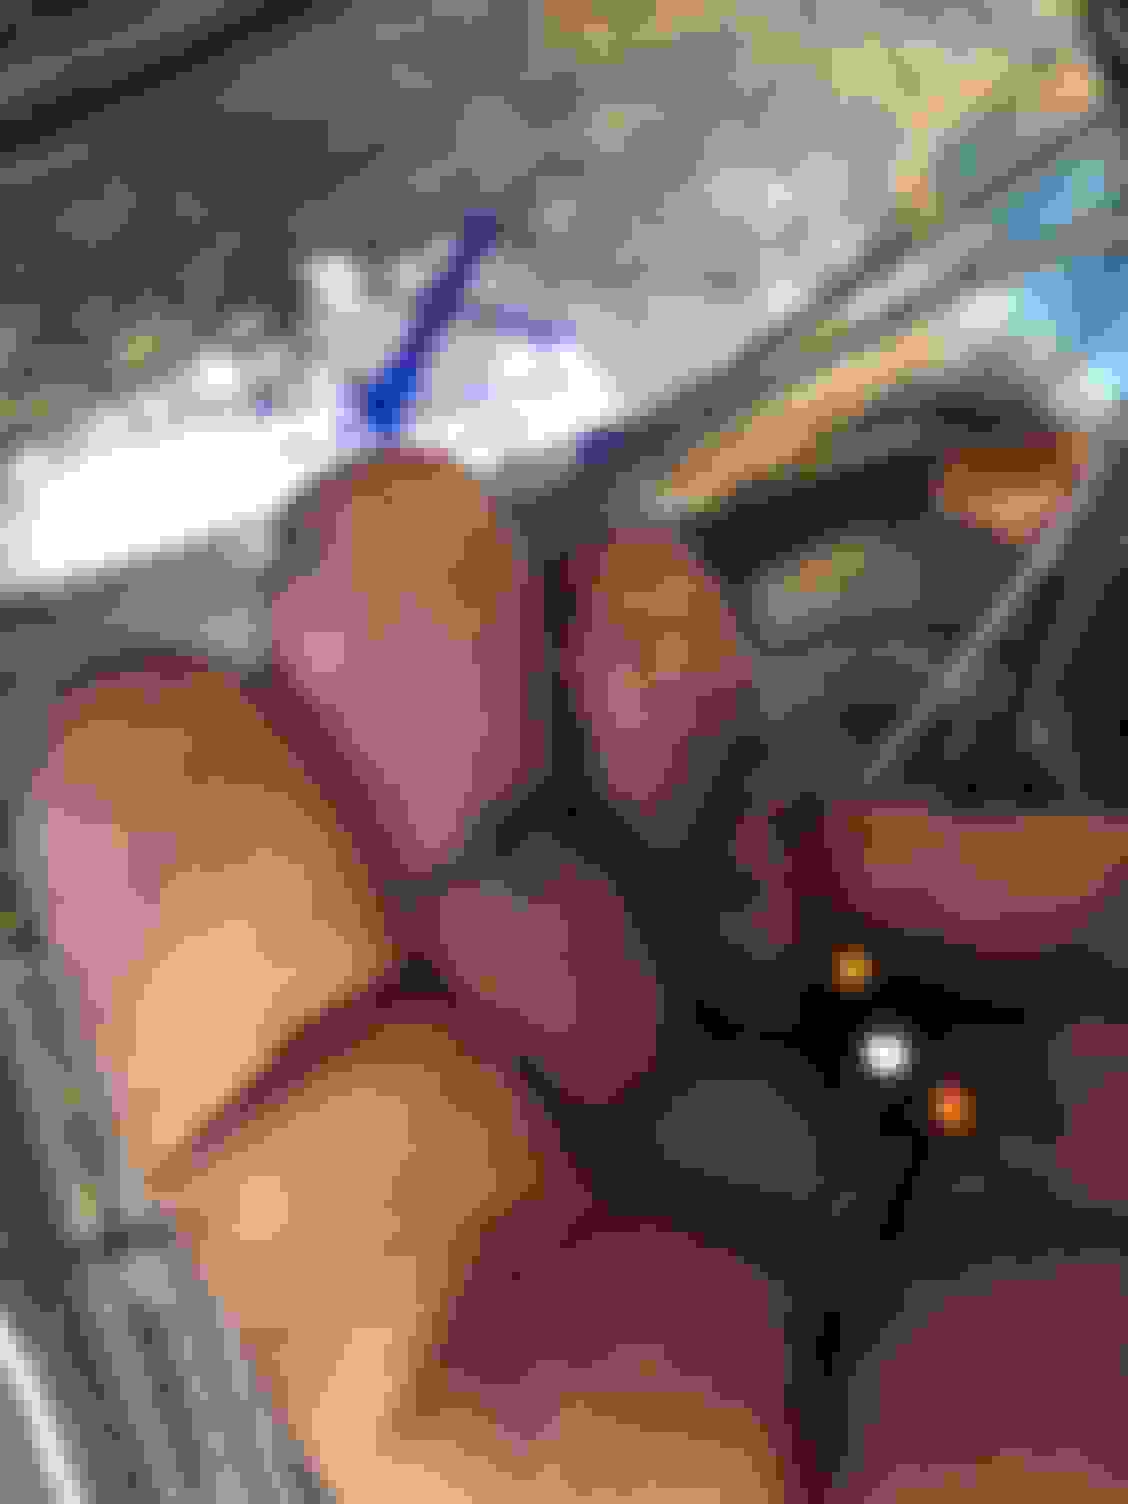
Reinstalled the rear harness. I found a ground that was missing. Cleaned all the contacts and tested with a fused cat battery. I used a Superseal weather pack to reconnect the harness. I figured it would make future diagnosis easier.


Found a missing ground. It was simply cut off.

Tested light with a booster with a fuse.


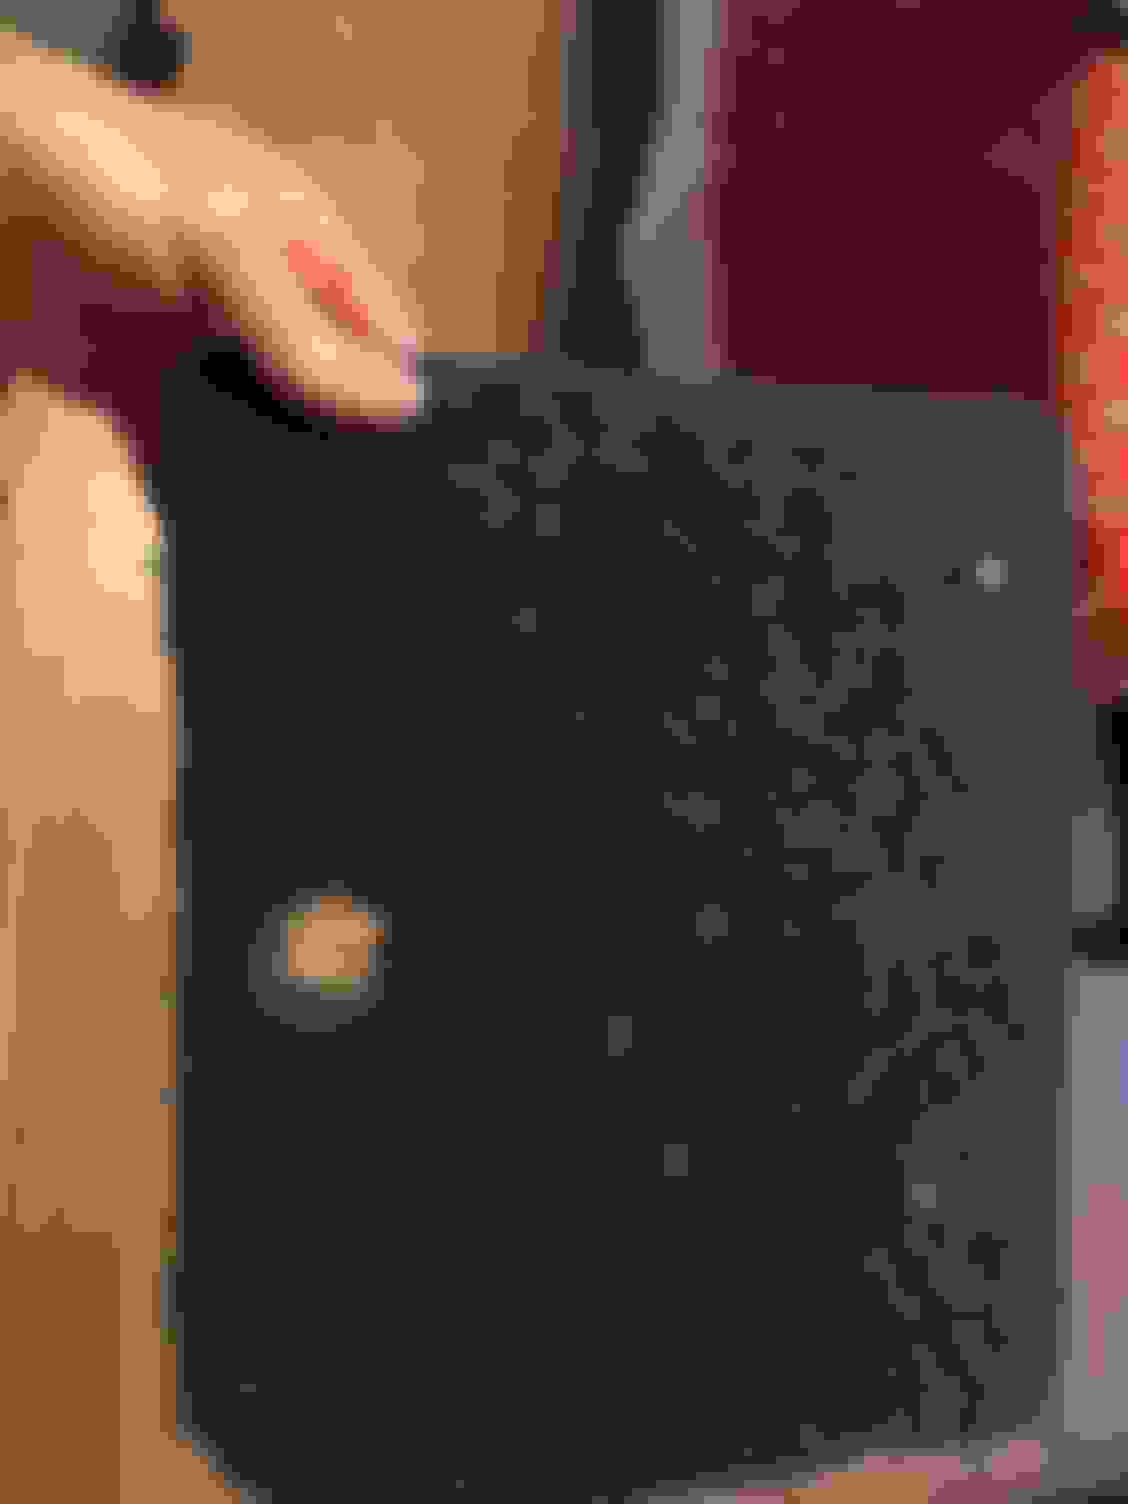
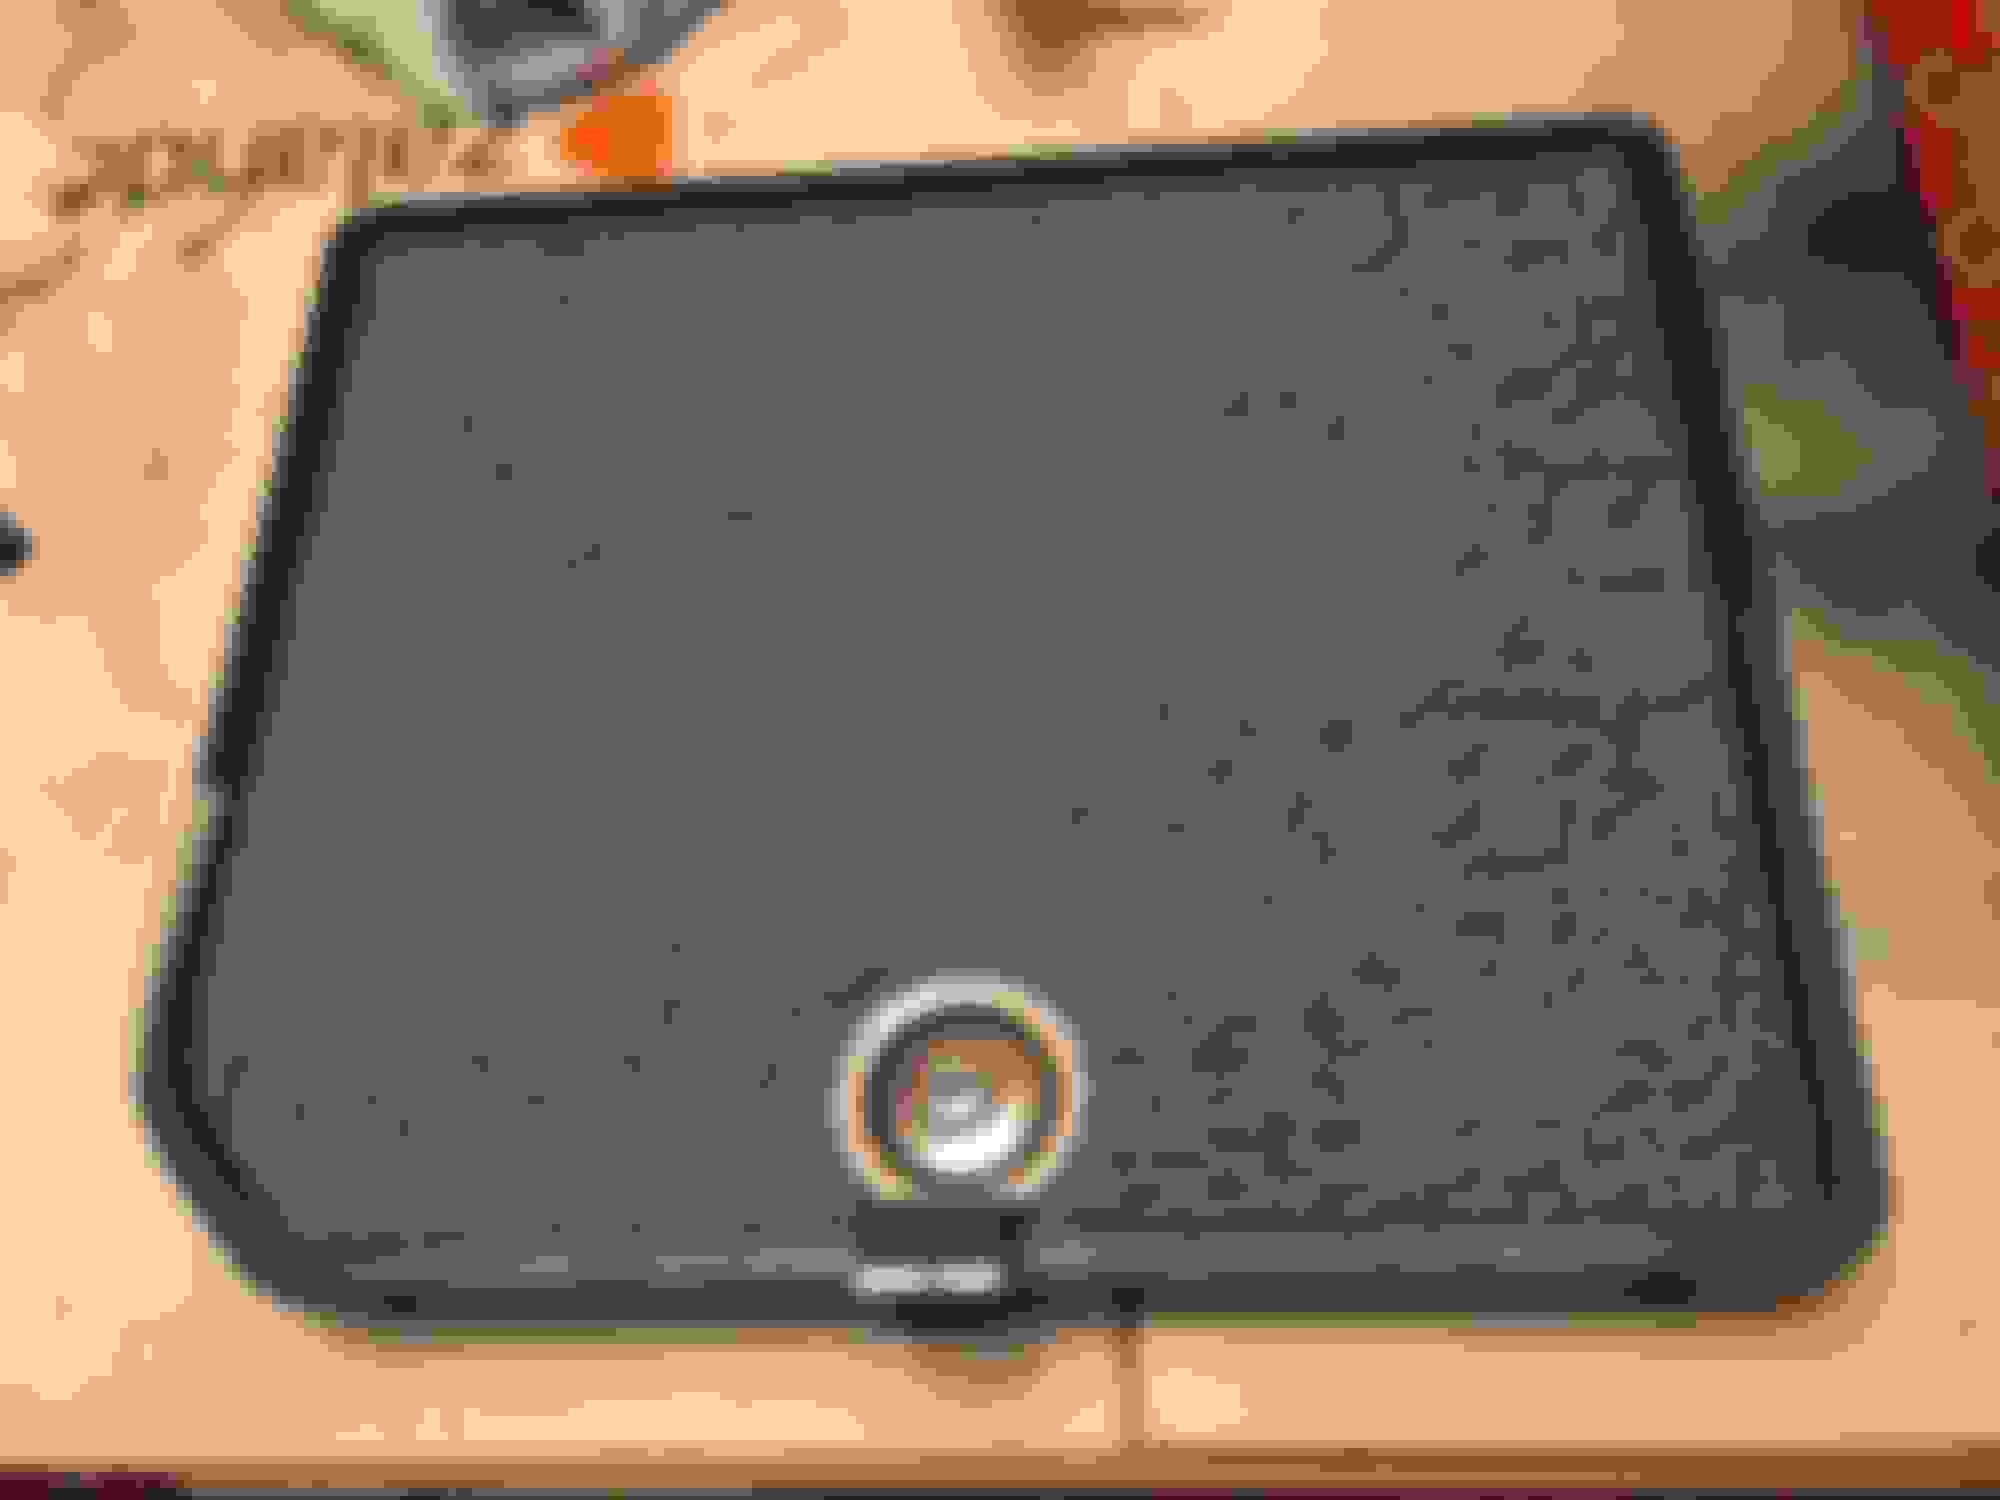
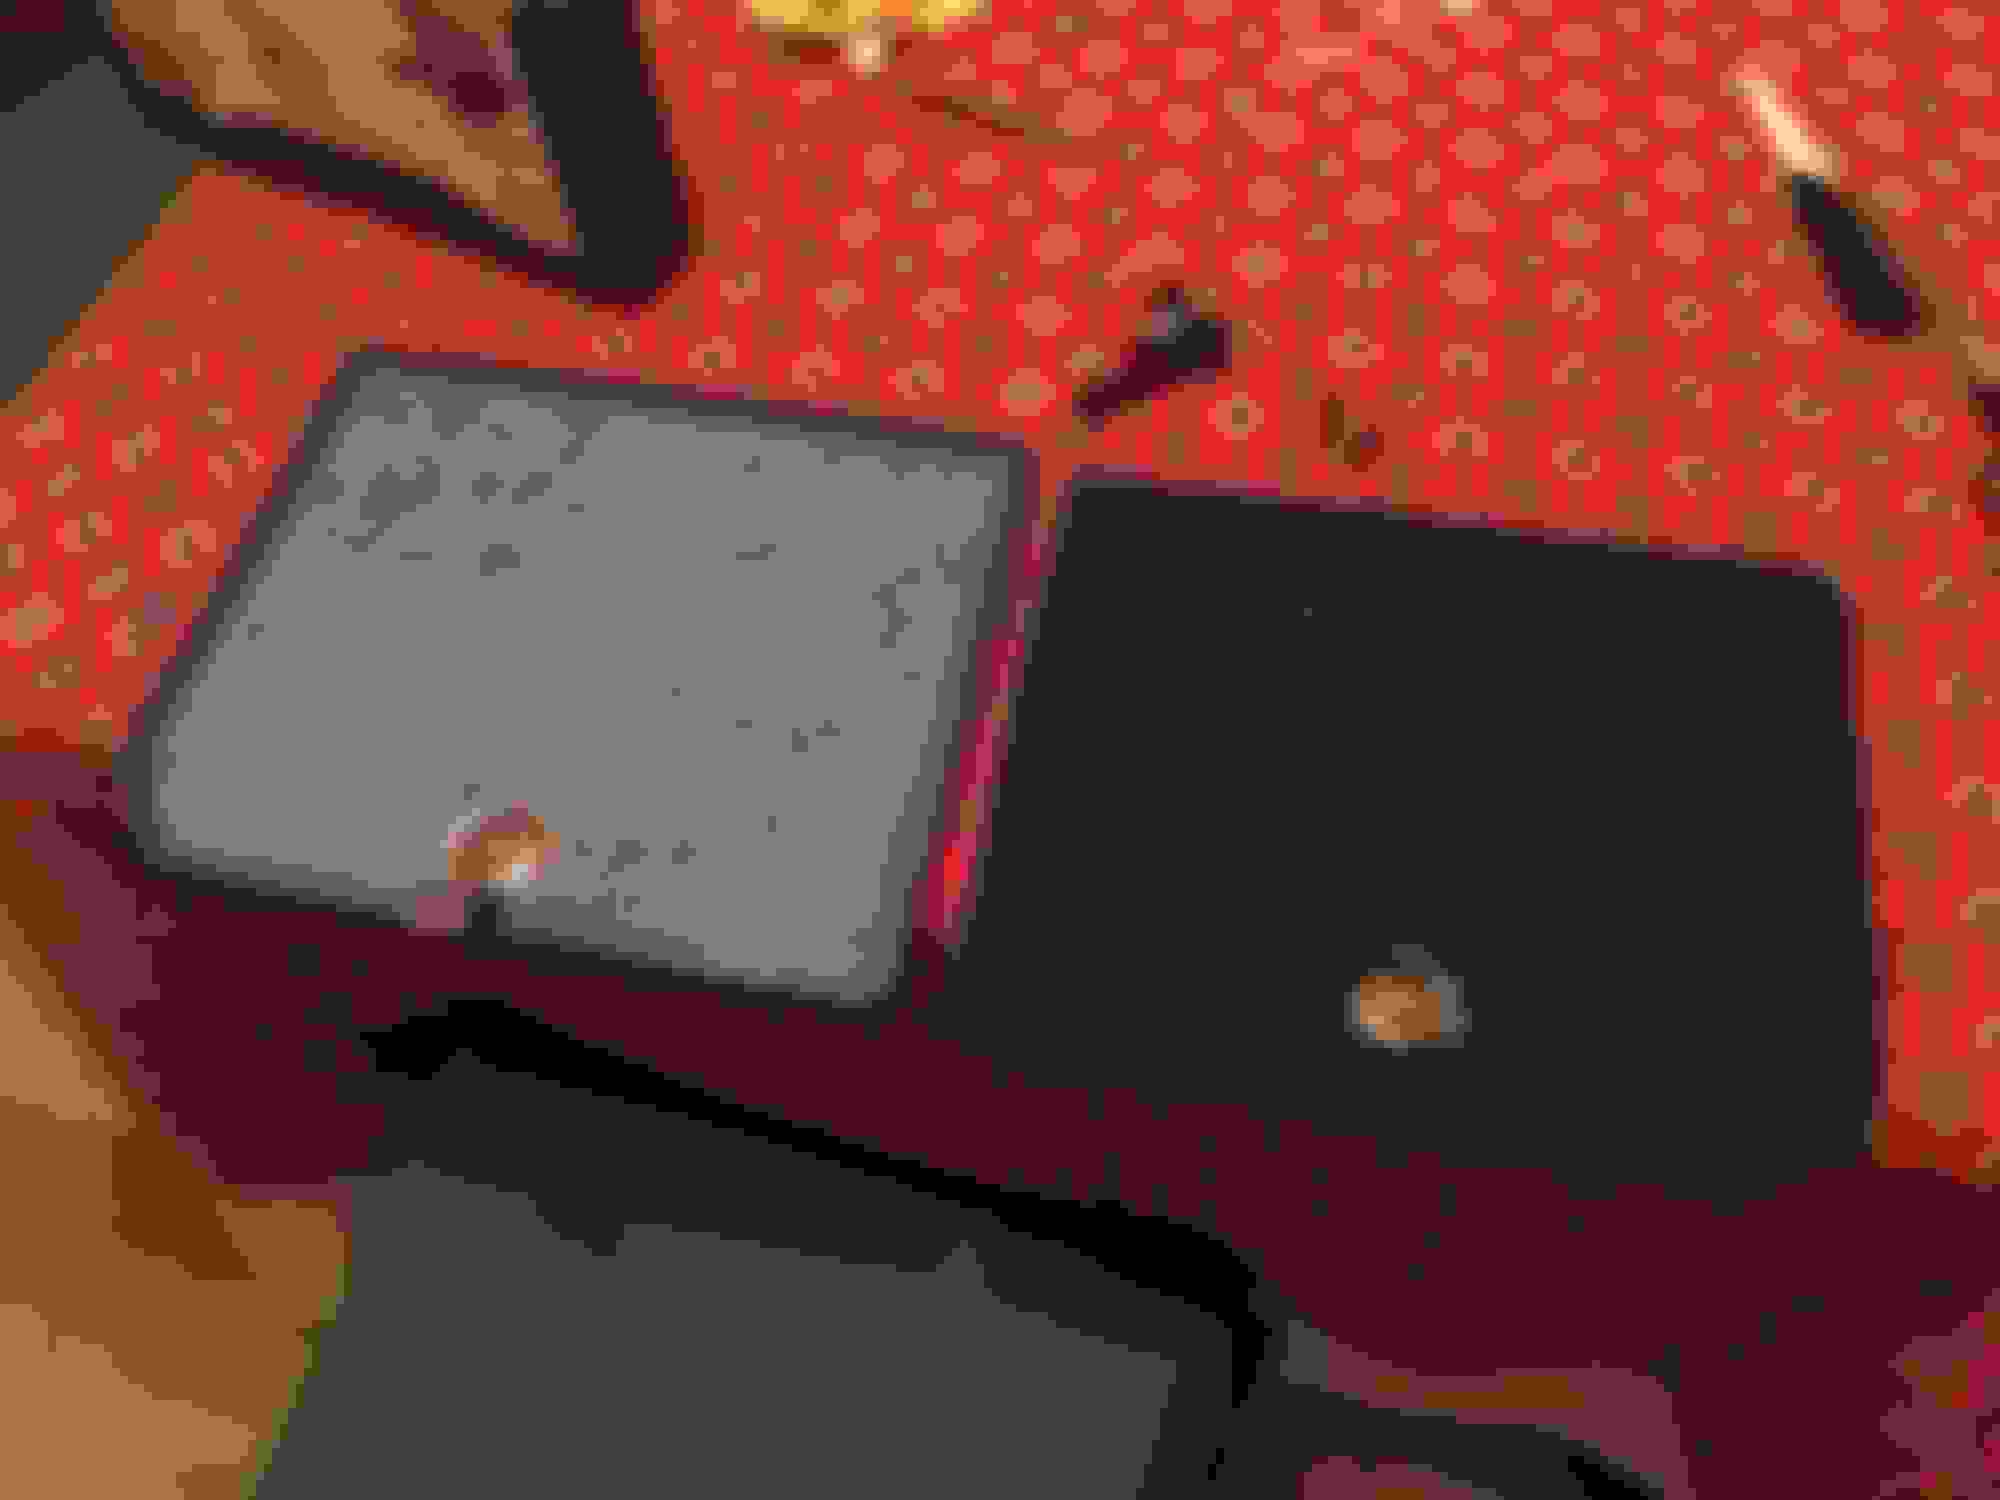
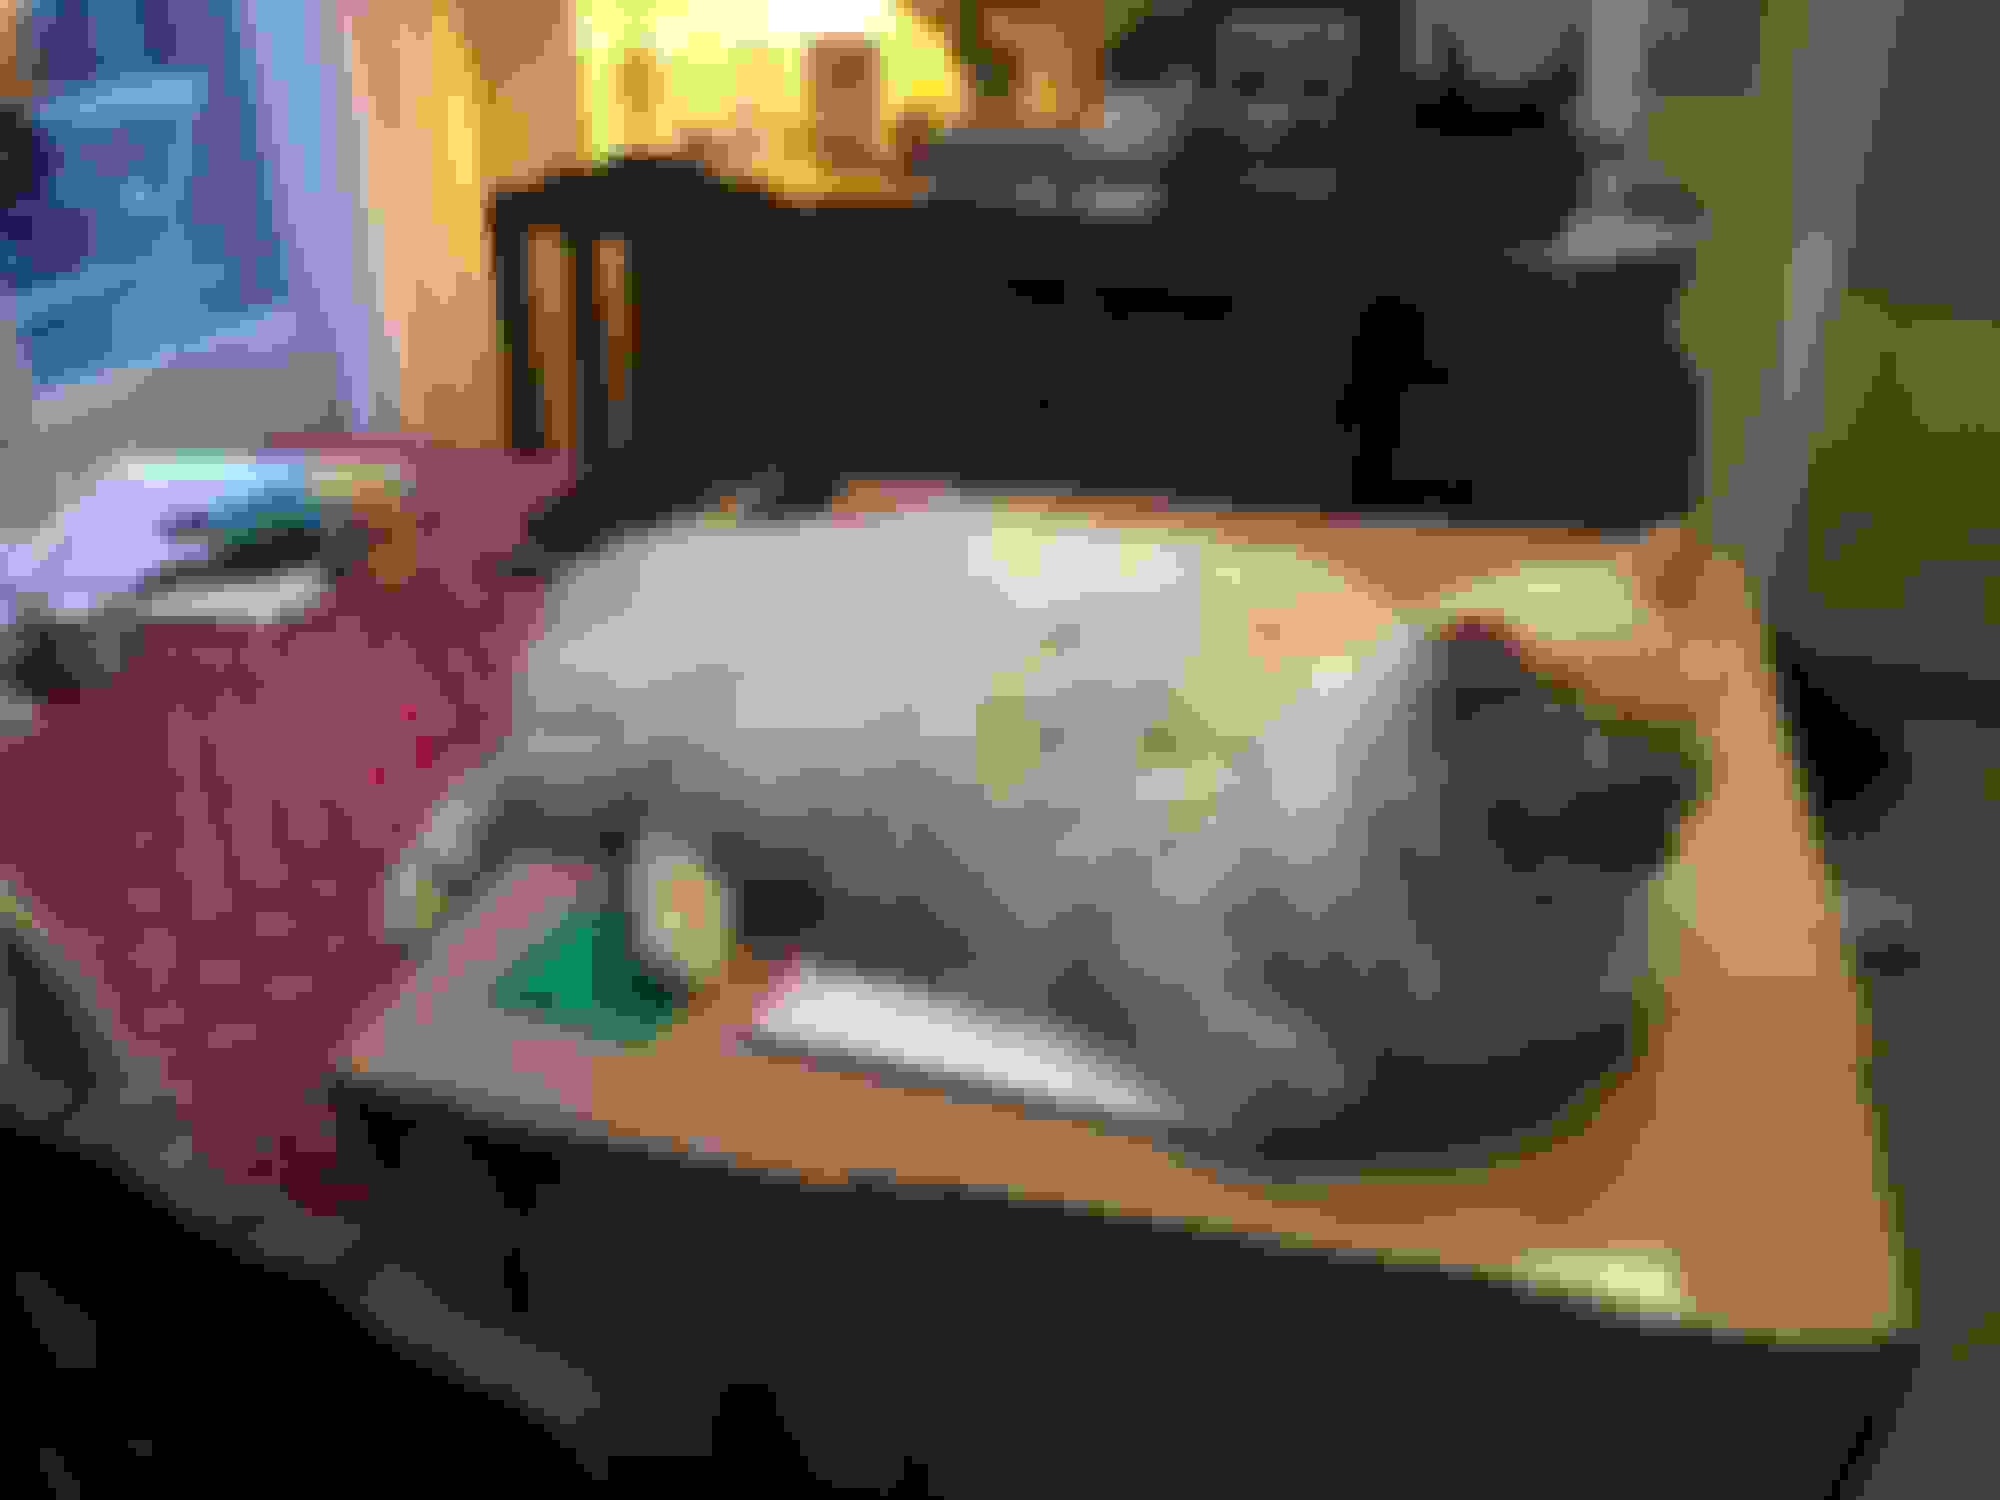
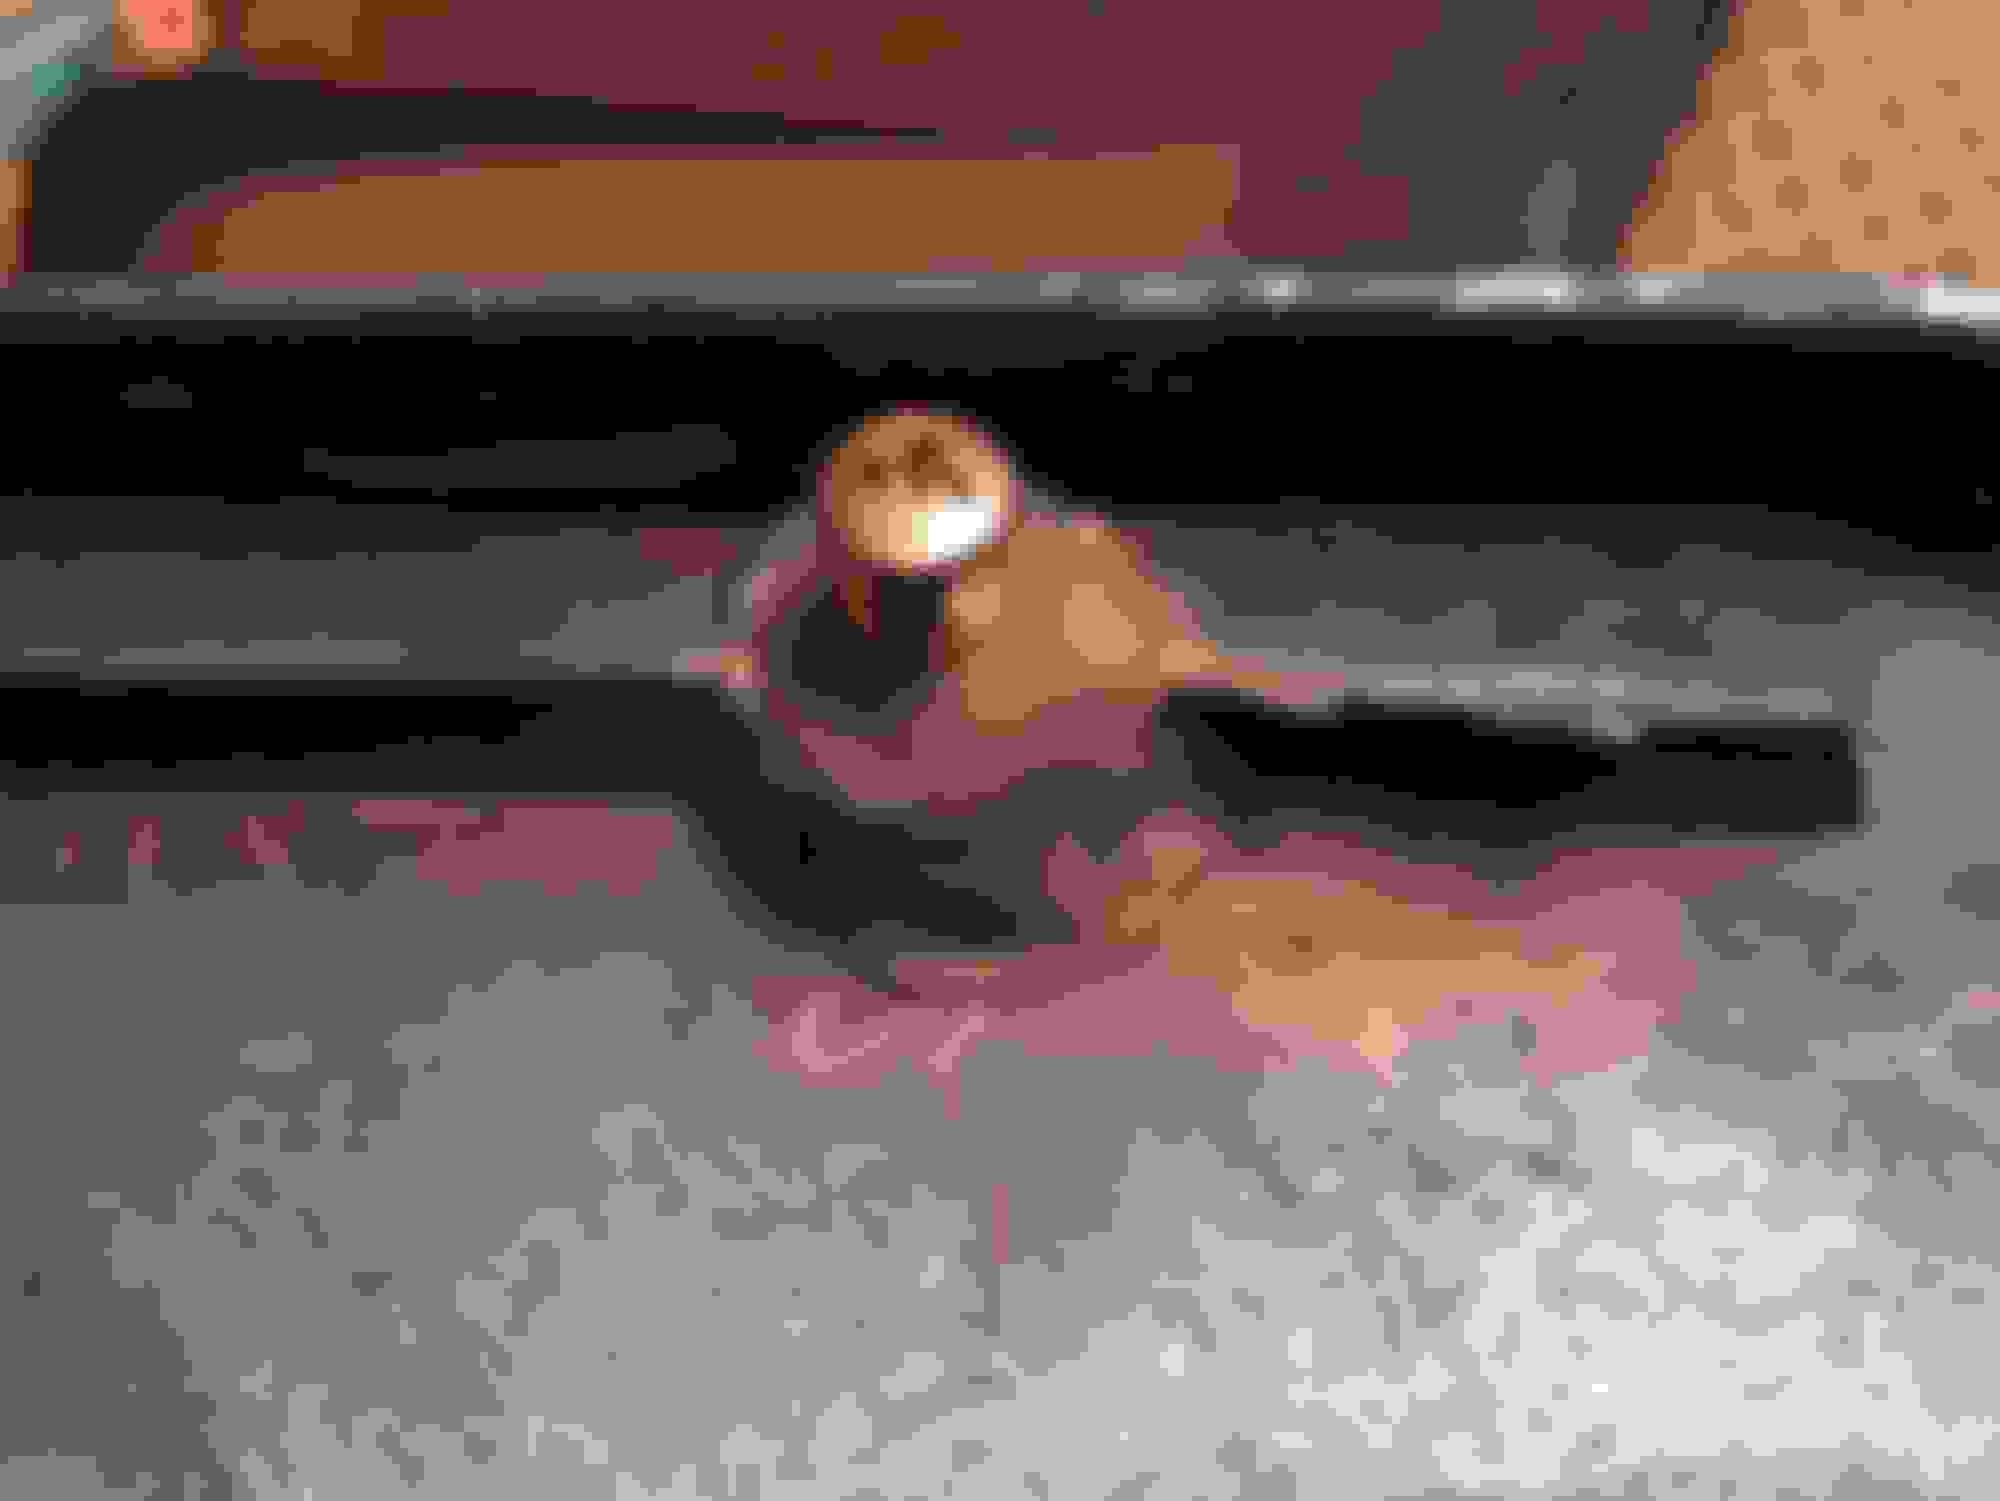
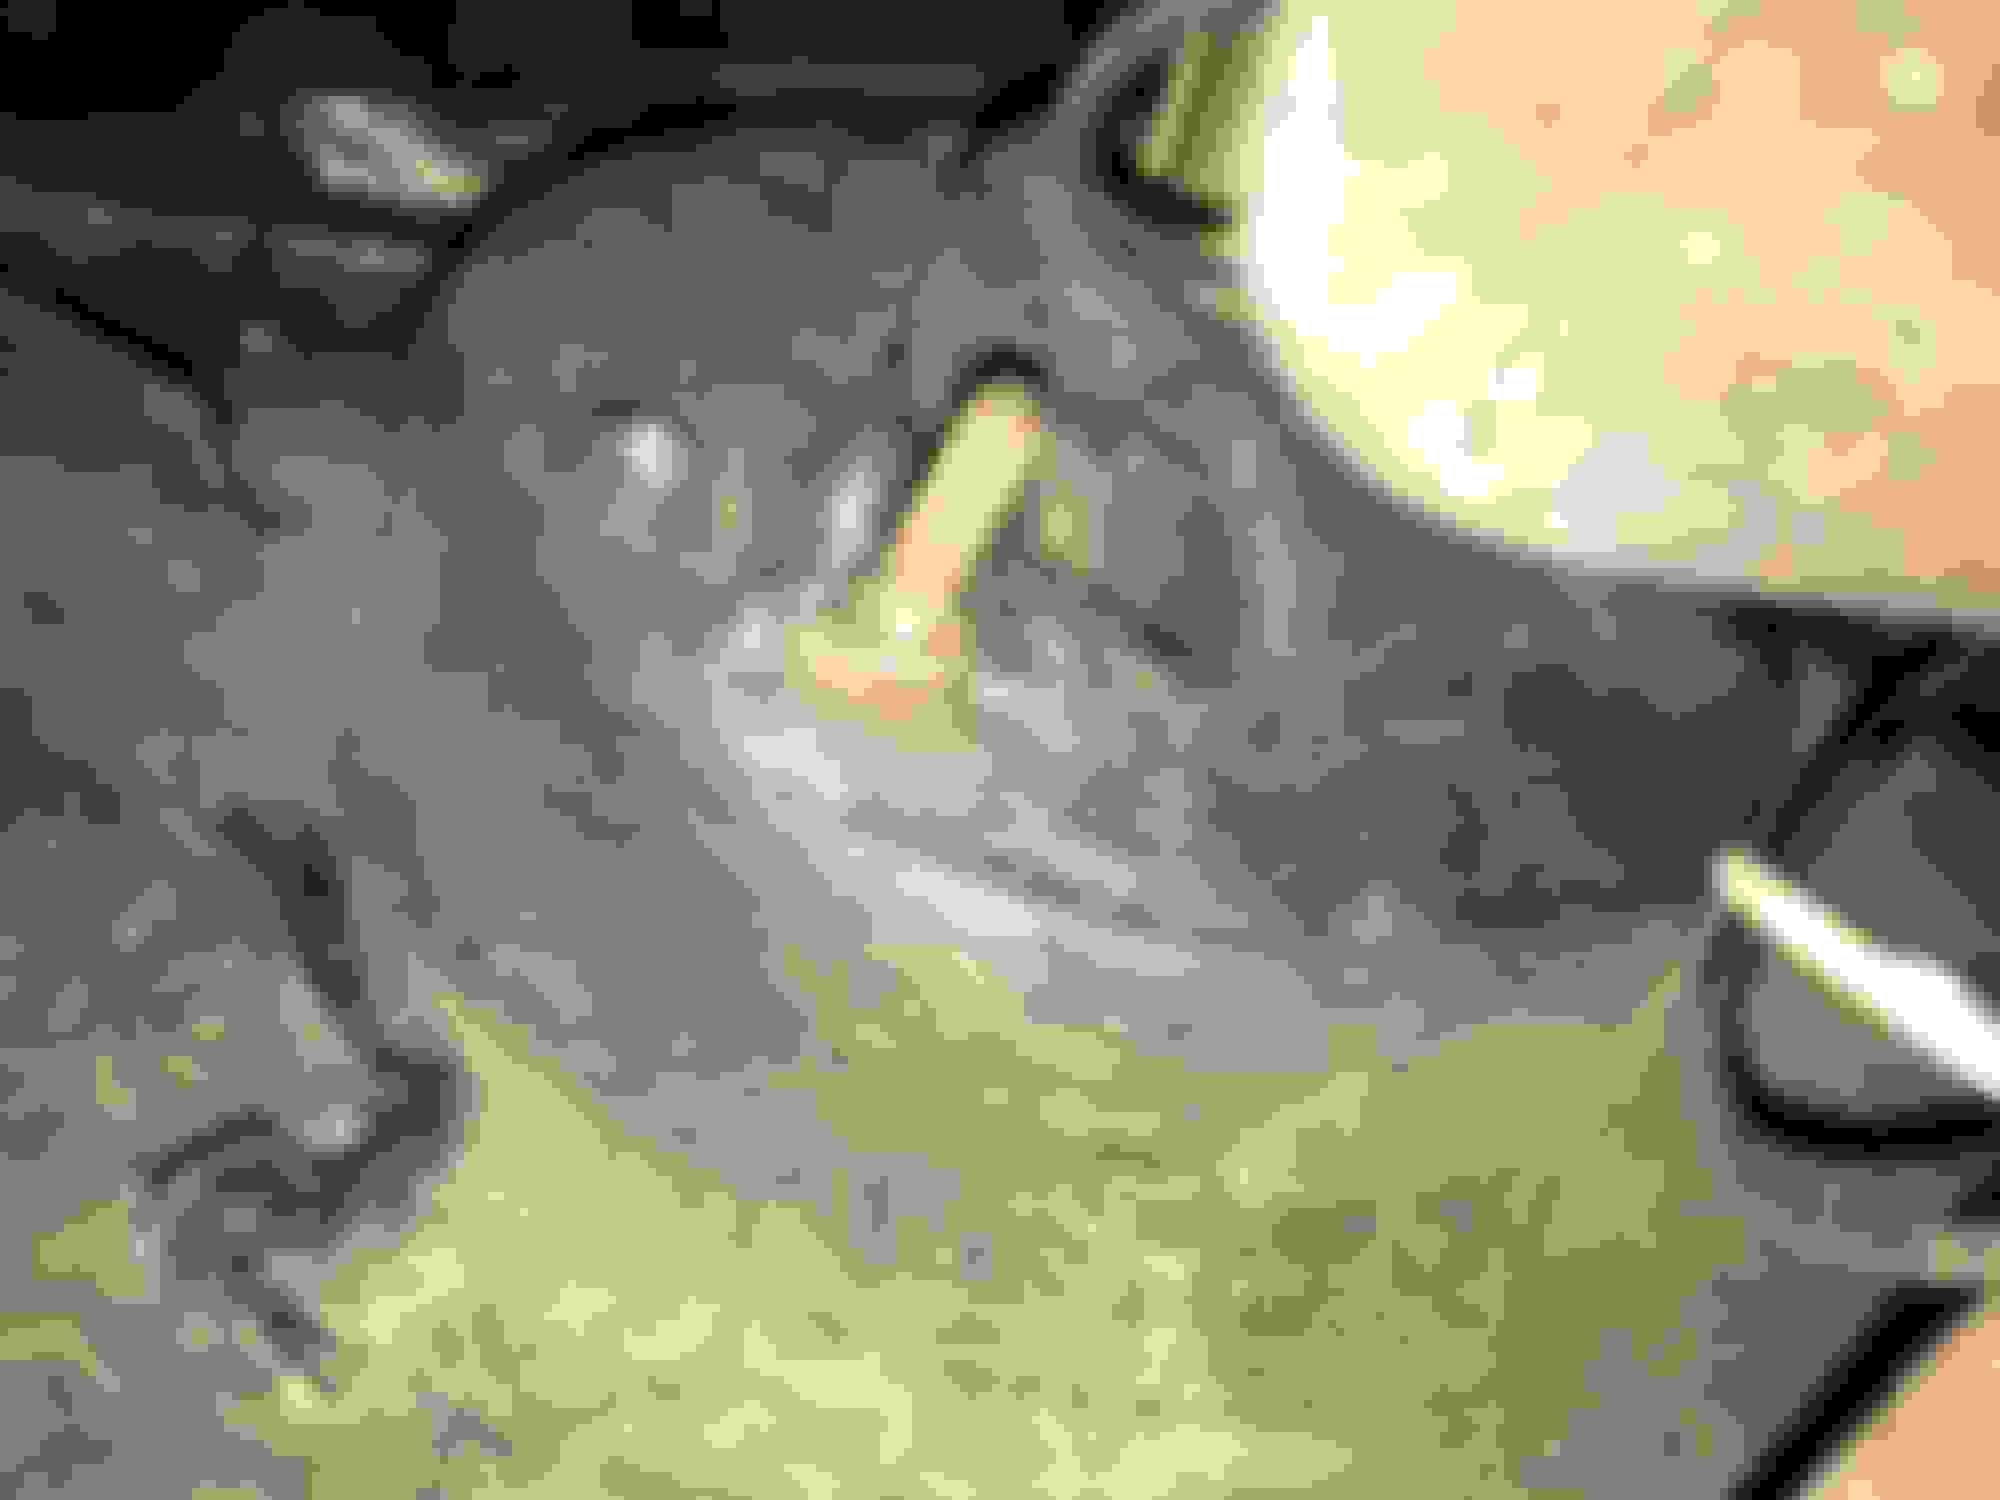
The fiber optic cable I bought seems a perfect fit. An easy job so far. In drilled a few holes in the rear rubber grommet and pushed the cables through. It seems to work well.


Tested the front as well - easy so far. I think I might find a way to get a cleaner cut.


Last edited by DorianC3; 04-22-2019 at 04:10 PM.
Old 04-22-2019, 04:17 PM
  #231  
DorianC3
Melting Slicks
Thread Starter
 
DorianC3's Avatar
 
Member Since: Nov 2017
Posts: 2,090
Received 354 Likes on 265 Posts
Default

So, the rear harness is fine.

Now I need to check the door ajar switch and the rear dome light. Once I pull in the rest of the front fiber optics (which should be an easy job) and check a few other small electrical things... I can start putting in the carpet. and this will begin to feel like a car again.

I like putting in the carpets. I plan on making the very sharp. That makes a huge difference.

Last edited by DorianC3; 04-22-2019 at 04:18 PM.
Old 04-26-2019, 06:47 PM
  #232  
DorianC3
Melting Slicks
Thread Starter
 
DorianC3's Avatar
 
Member Since: Nov 2017
Posts: 2,090
Received 354 Likes on 265 Posts
Default

DHL should deliver the dye I’ve been waiting for for months now, and a whole bunch of other things - enough to get my entire interior back together. I look FW to that.

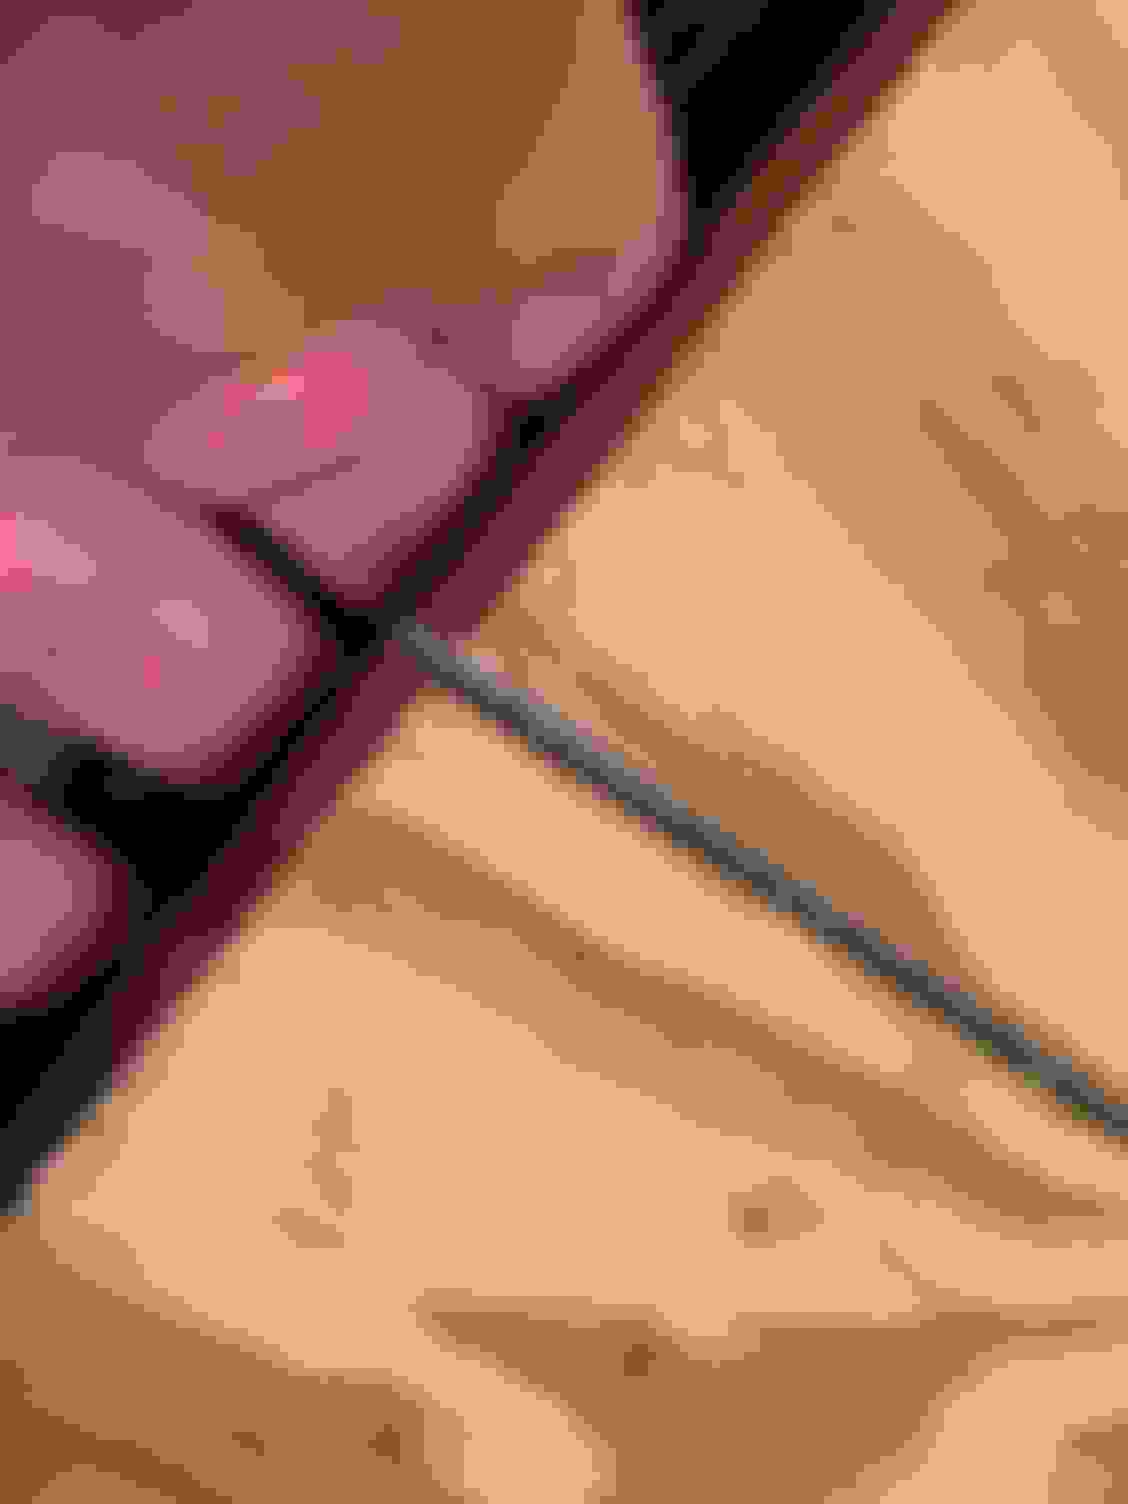
The door oit panel is frustrating me to no end. The gaps are the sides are too big to my taste.

I tried heating up the ABS but that had very little effect. Hmmmm.


In the meantime, let’s get a look at the carpet and test a little.

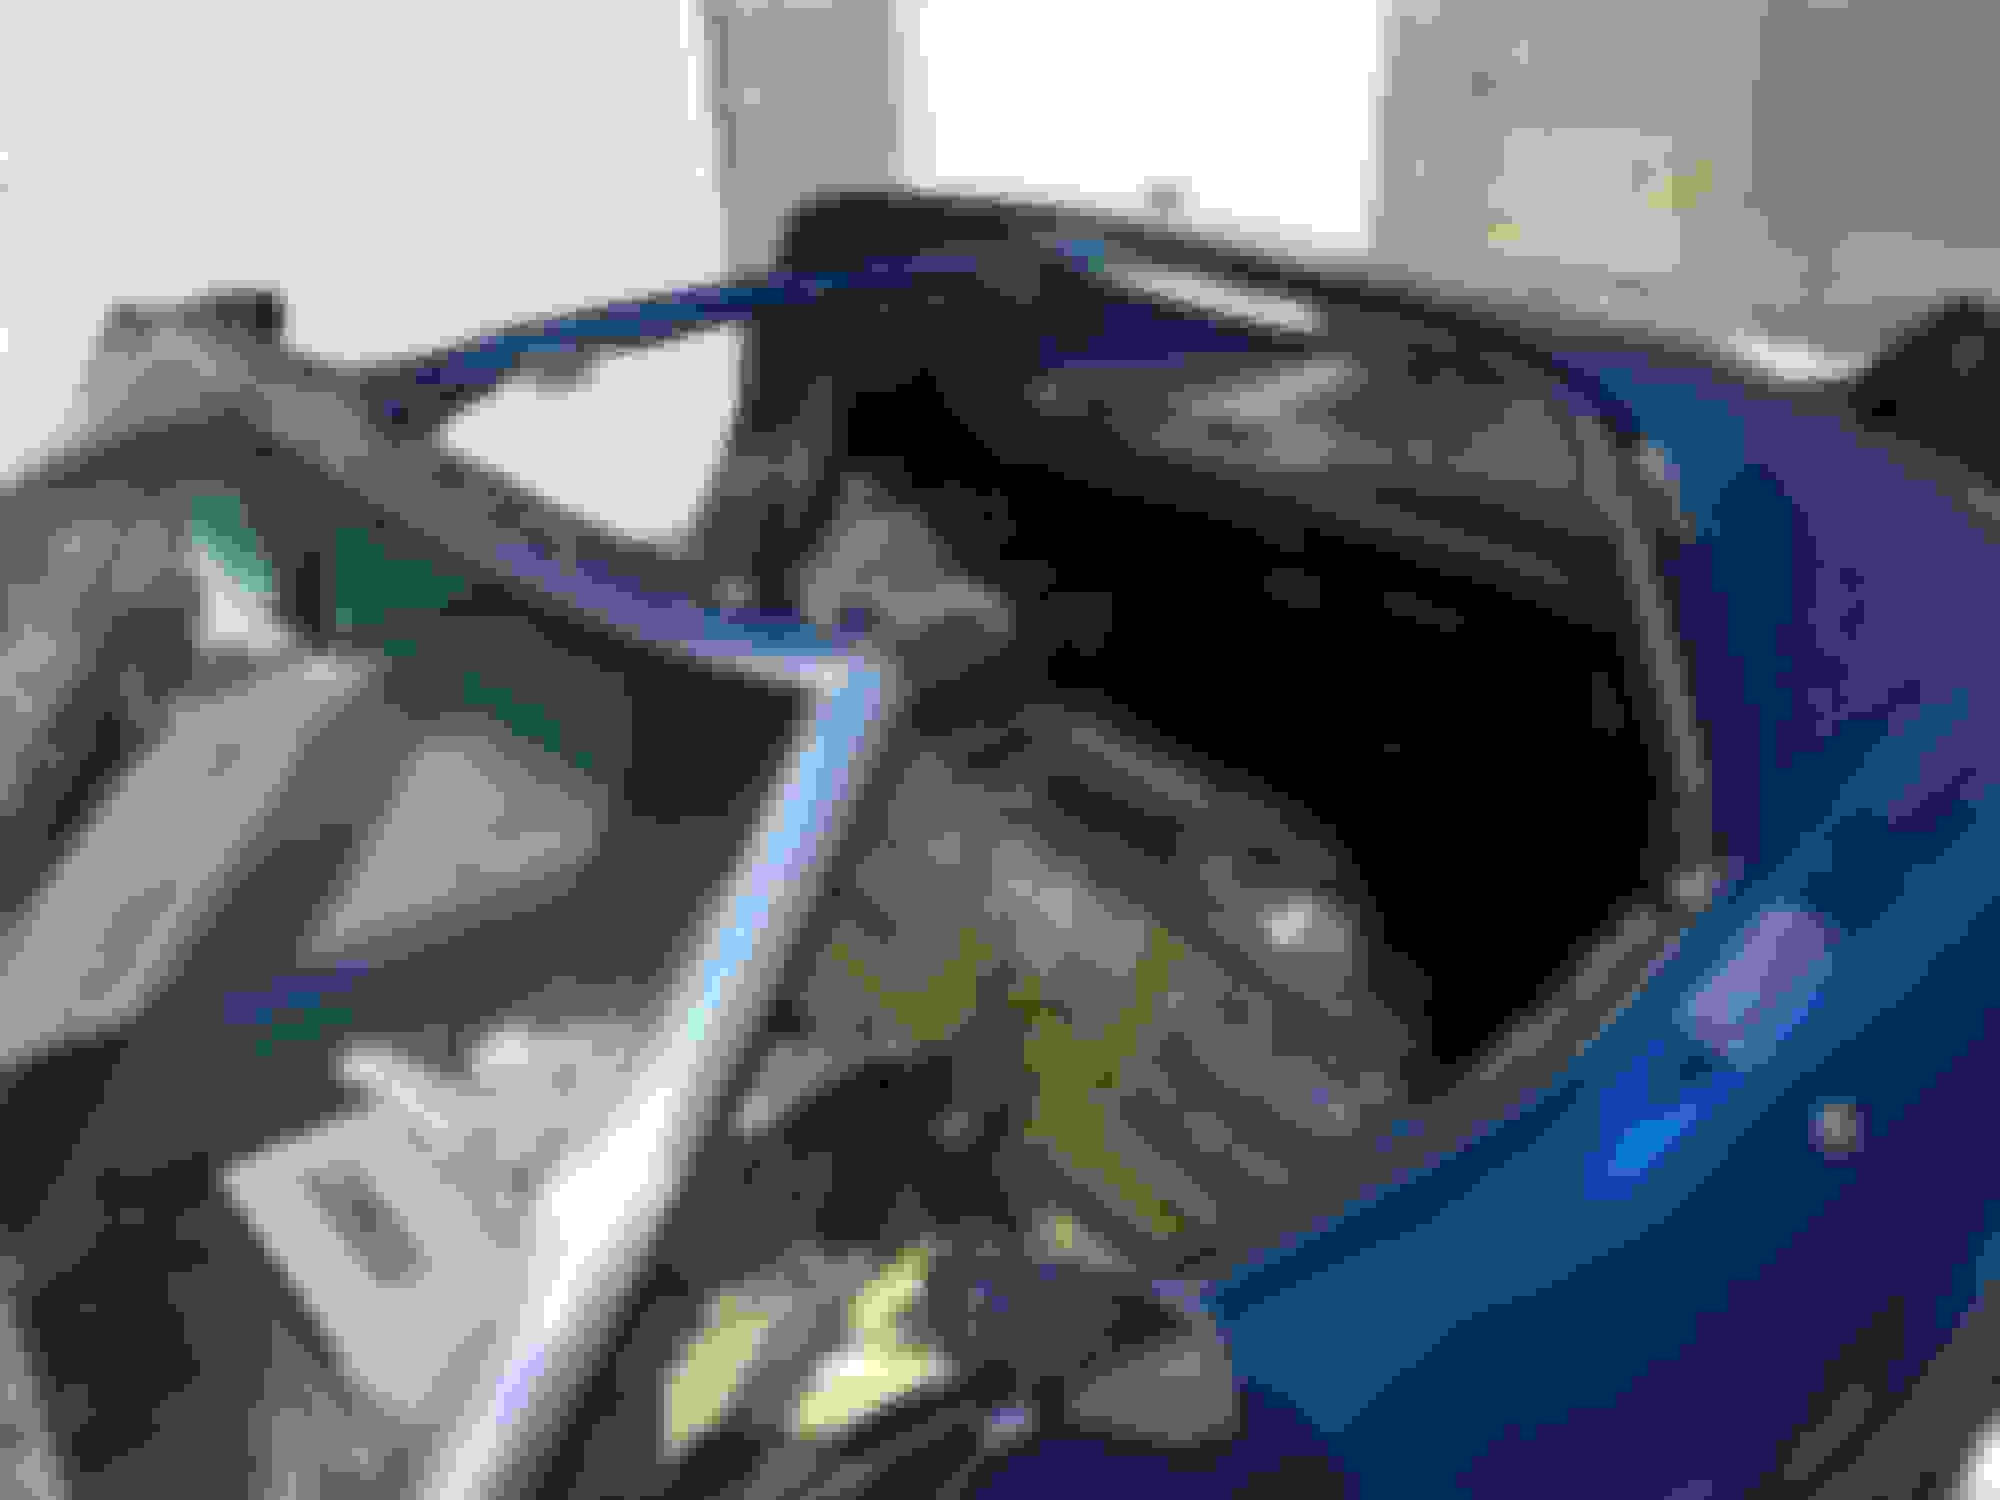
The old compartment doors are... well, Bubba


Why you would install this and butchered the way it is, is beyond me.

Time for more color.


Glueing and trimming. New razors make all the difference.

Clean this up too.


Mending a crack in the frame with epoxy and a monster can.


Still need to paint the VERY brittle plastic, but... looking much better I think.


Old 04-27-2019, 07:23 AM
  #233  
74_stingray
Burning Brakes
 
74_stingray's Avatar
 
Member Since: Jul 2018
Location: LaFayette Georgia
Posts: 804
Received 280 Likes on 217 Posts
C3 of Year Finalist (performance mods) 2019
St. Jude Donor '19
Default

Your work is progressing nicely, the compartment door looks terrific. I admire your patience and tenacity in the restoration, thanks for sharing your work. I know you are eagerly waiting for the shipment.
Eddy
The following users liked this post:
DorianC3 (04-27-2019)
Old 04-27-2019, 02:15 PM
  #234  
DorianC3
Melting Slicks
Thread Starter
 
DorianC3's Avatar
 
Member Since: Nov 2017
Posts: 2,090
Received 354 Likes on 265 Posts
Default

Thank you.

Spent a lot of time working on the door cards. I think if I can do a very neat job with some screws I can get it to look decent.

Also so started working on the insulation. I’ll keep it to the floor and tunnel.

Strangely, it also makes dealing with the wiring easier.


I hope to be installing the carpets next weekend. I’d be happy as a pickle.

Last edited by DorianC3; 04-27-2019 at 02:17 PM.
Old 04-29-2019, 05:10 PM
  #235  
DorianC3
Melting Slicks
Thread Starter
 
DorianC3's Avatar
 
Member Since: Nov 2017
Posts: 2,090
Received 354 Likes on 265 Posts
Default

Most of the parts came in... but I can wait a little longer.


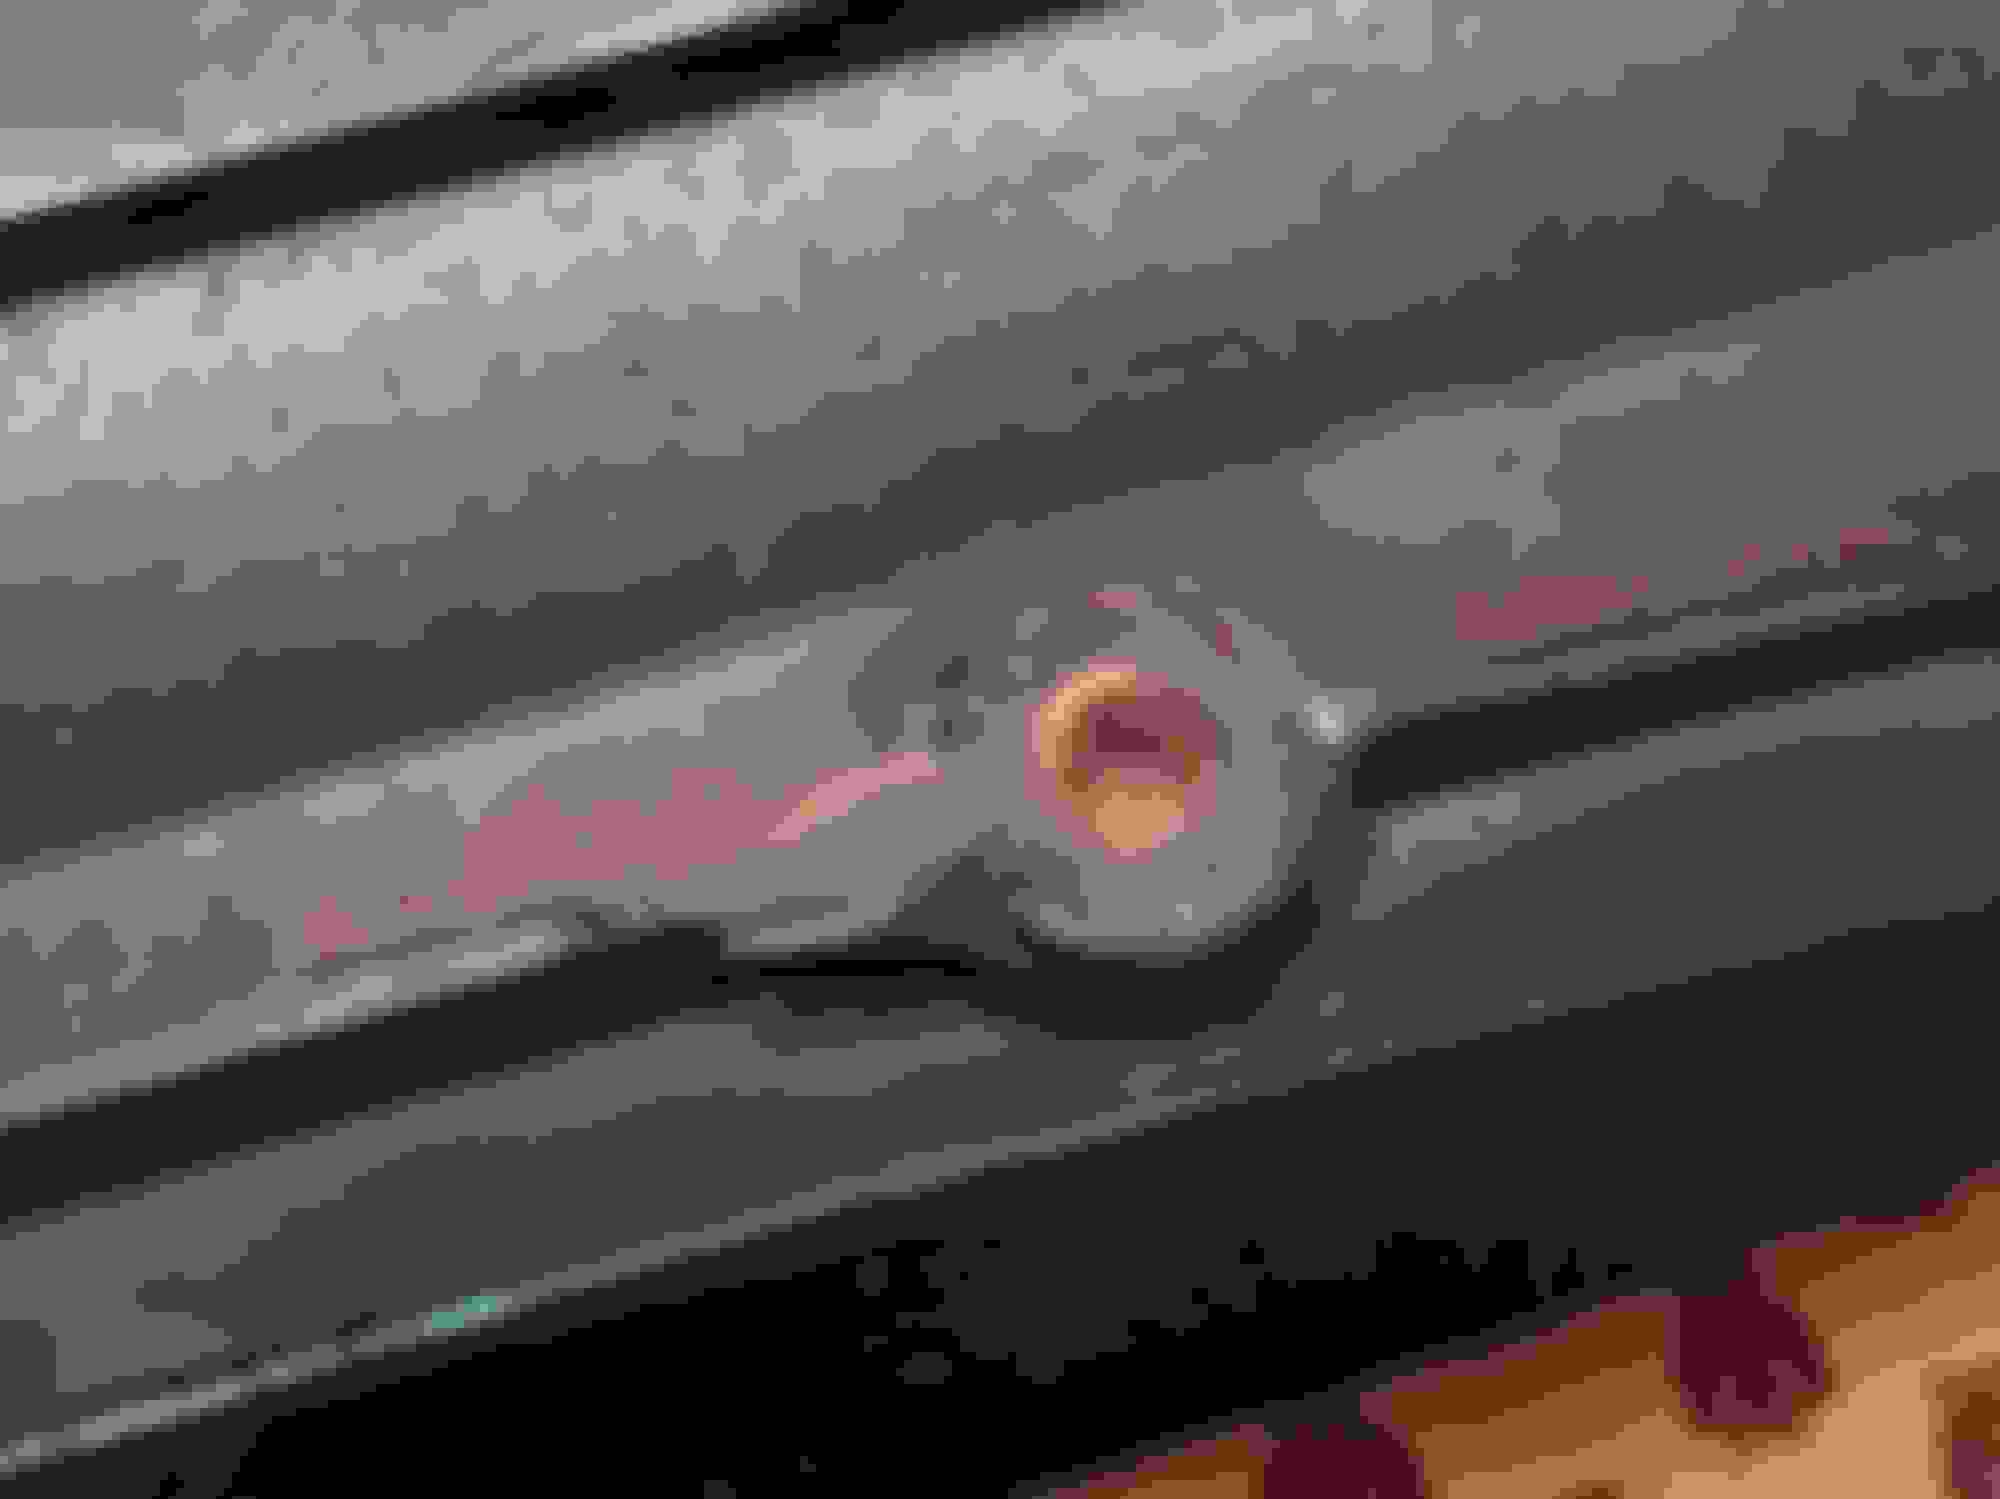
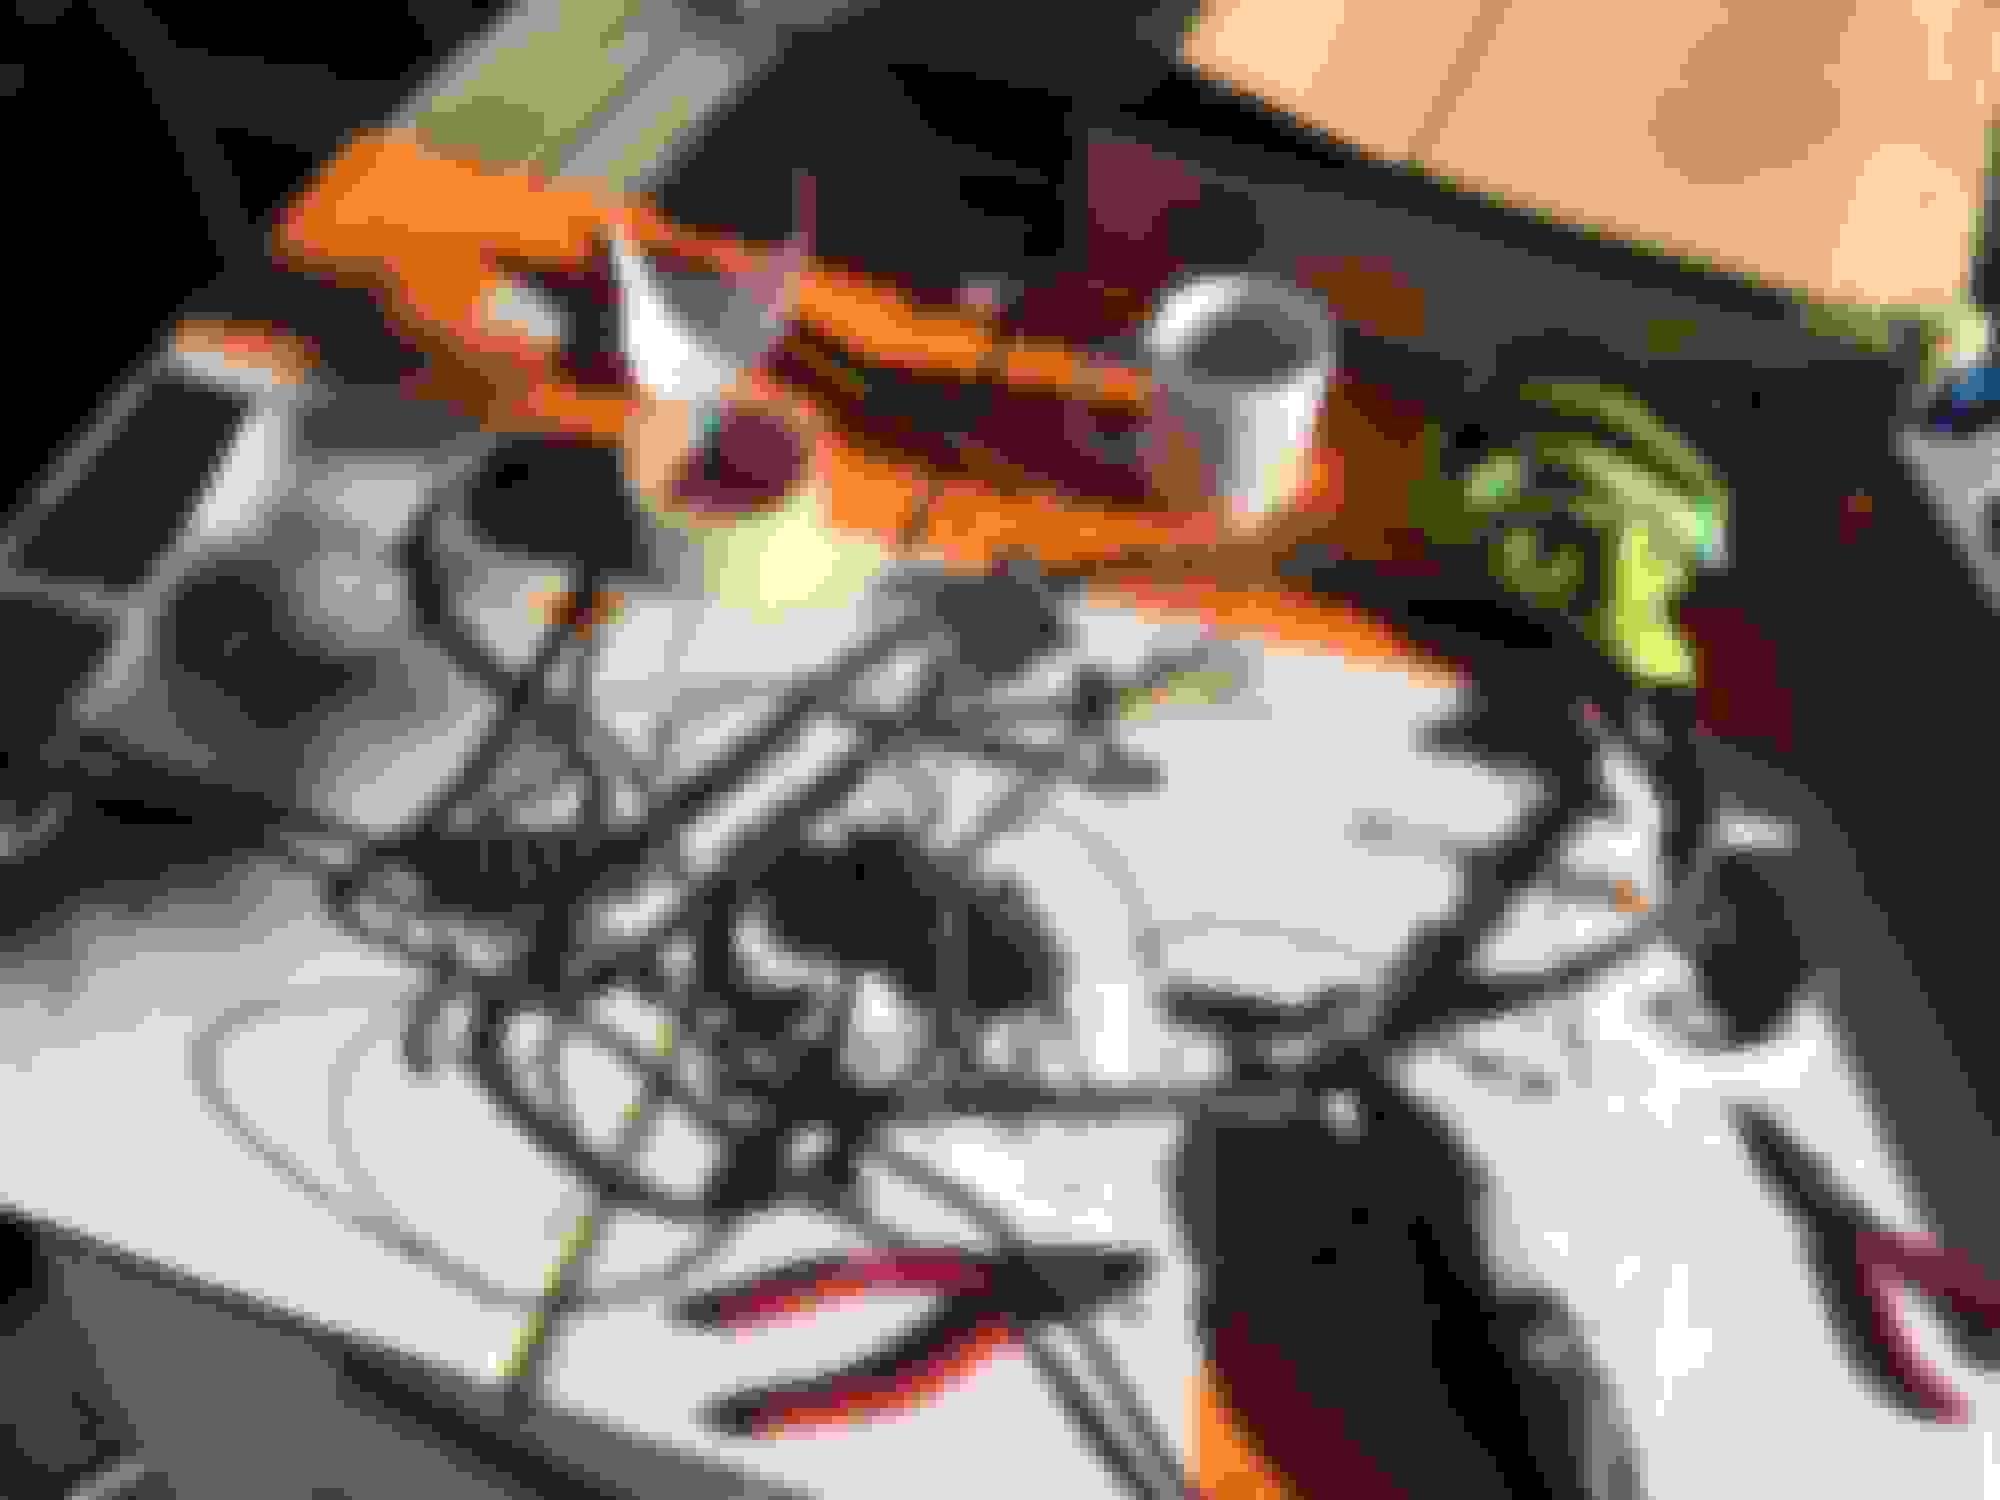
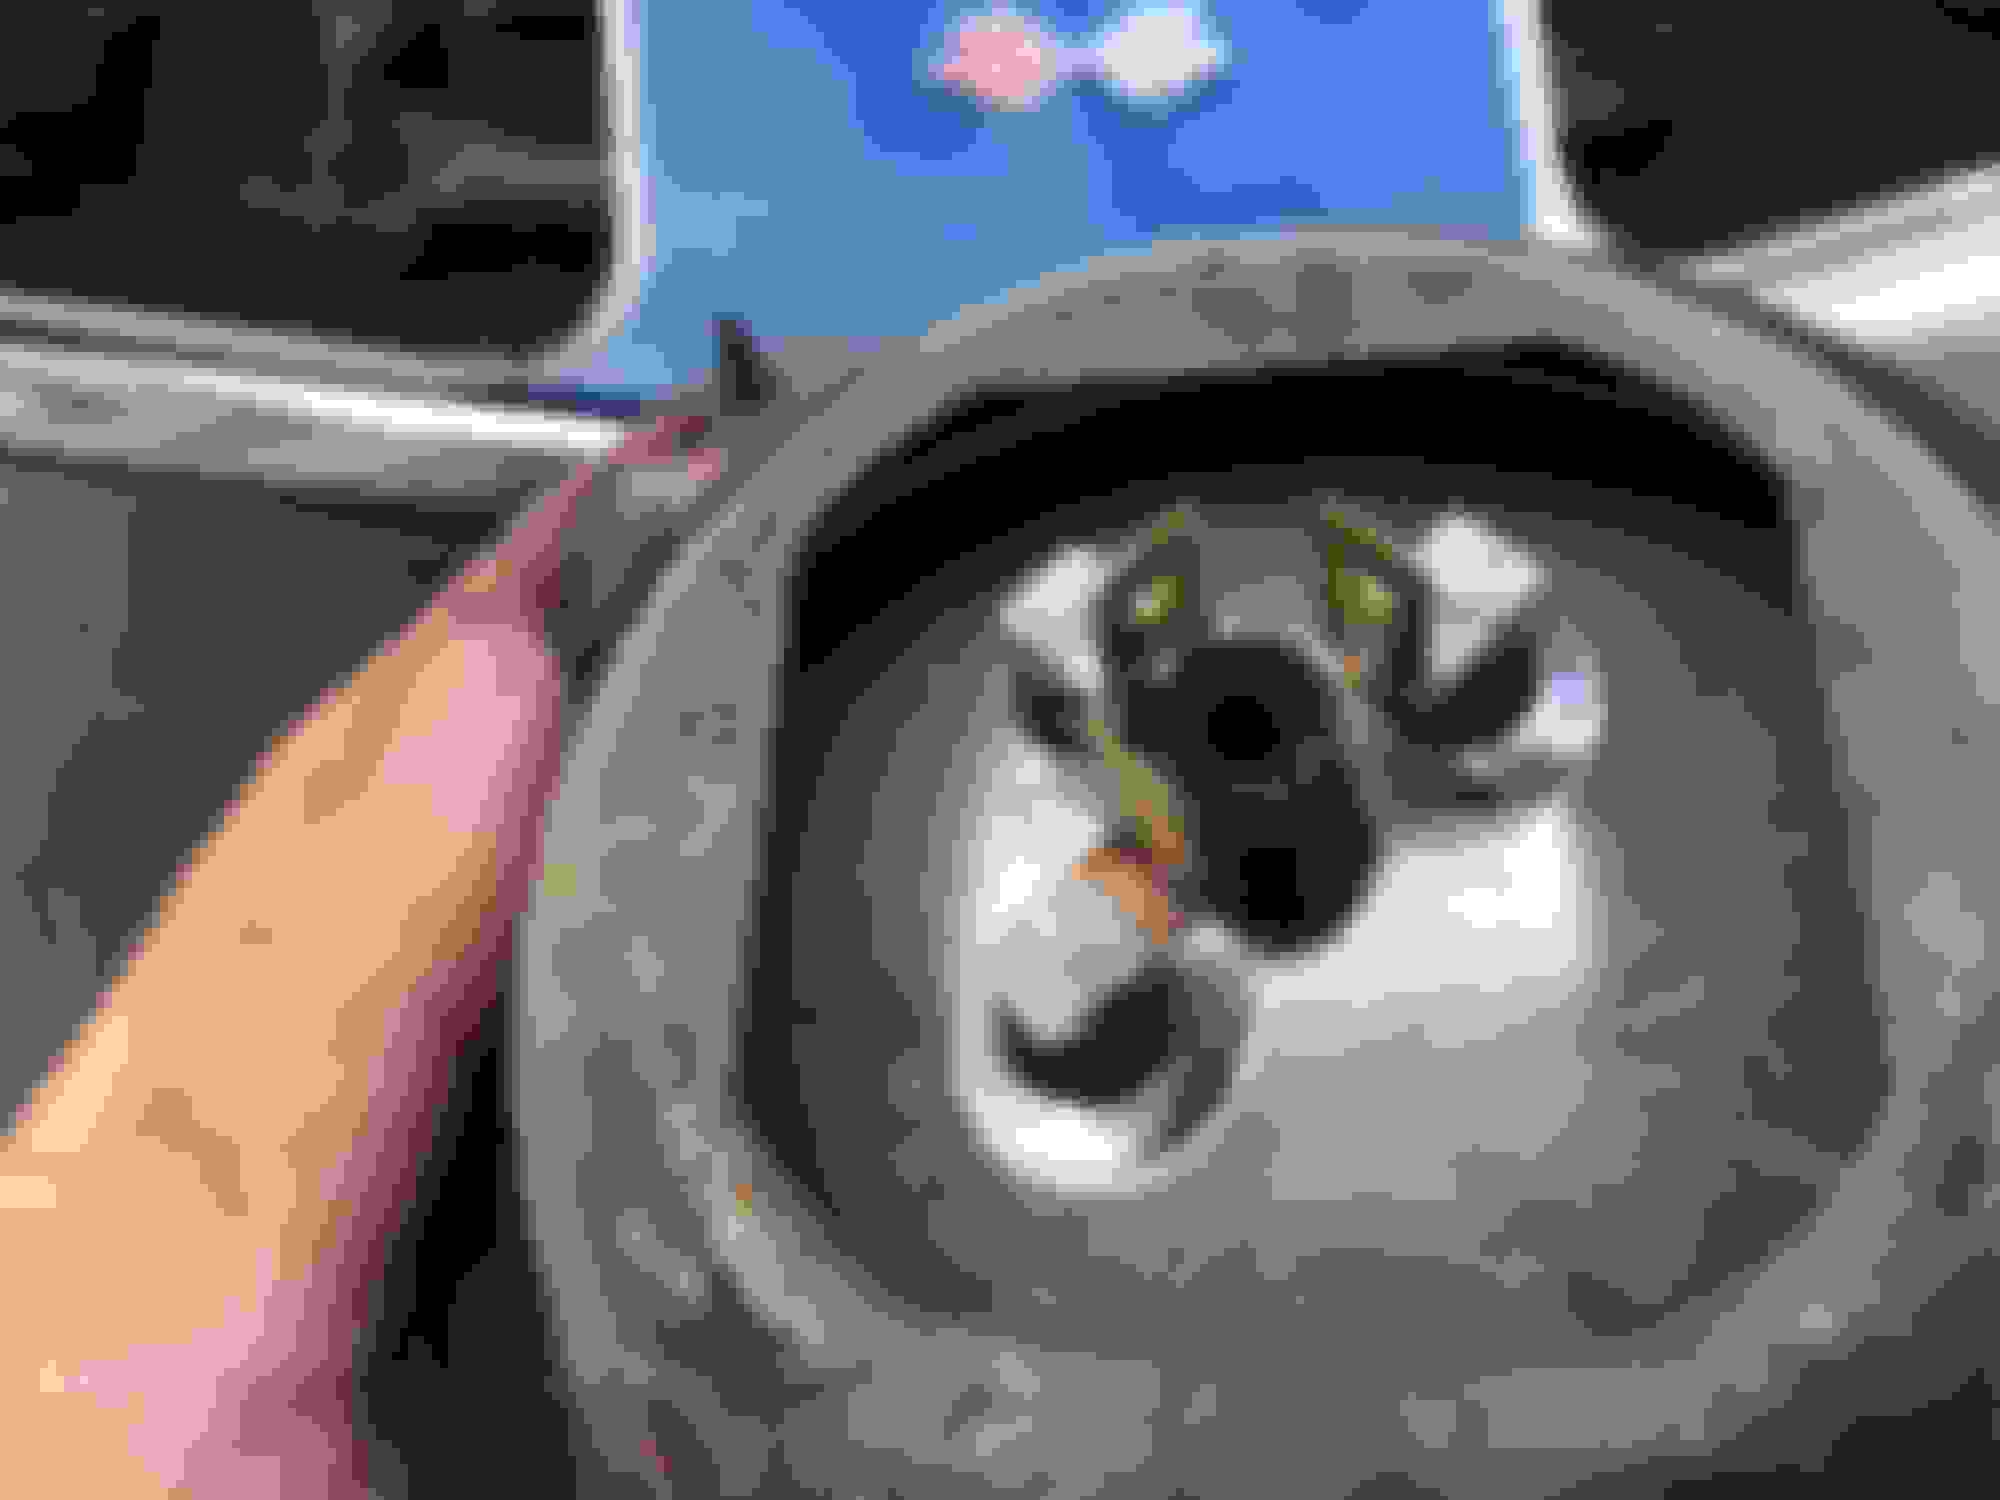
Started reconnecting 5 missing instrument cluster bulb sockets. (Why were they cut out?) I also tugged on all the connections and connectors. ALL failed except for one. And I replaced that one anyone, cuz I don’t trust the work done.

Last edited by DorianC3; 04-30-2019 at 01:45 AM.
Old 05-02-2019, 09:15 AM
  #236  
DorianC3
Melting Slicks
Thread Starter
 
DorianC3's Avatar
 
Member Since: Nov 2017
Posts: 2,090
Received 354 Likes on 265 Posts
Default

A lovely day off... let’s work on the carpeting.

I let the carpet settle overnight out of the box but it still had a lot of spirit the next morning.


The color change will be stunning, I’d wager.


The first cut is the deepest.


Old 05-02-2019, 09:22 AM
  #237  
DorianC3
Melting Slicks
Thread Starter
 
DorianC3's Avatar
 
Member Since: Nov 2017
Posts: 2,090
Received 354 Likes on 265 Posts
Default

The second cut was pretty deep too


I used the seat bolts to hold the carpet in place.


Masking tape to mark and make sure I don’t trim off too much.


The storage compartment door frames are not painted yet, but I needed to mock up the carpet fit.


A few minor mistakes. Nothing I can’t tweak away.

Get notified of new replies

To The Force Awakens...

Old 05-02-2019, 09:26 AM
  #238  
DorianC3
Melting Slicks
Thread Starter
 
DorianC3's Avatar
 
Member Since: Nov 2017
Posts: 2,090
Received 354 Likes on 265 Posts
Default

Test fitted the upper dash pad from the 1977. The idea is to move the speakers up from the kick panels. My feet don’t have ears.

Also testing the dye. At first glean I seems darker than it should be... but I can live with that. (Or it takes another layer or two.)


Old 05-02-2019, 09:31 AM
  #239  
DorianC3
Melting Slicks
Thread Starter
 
DorianC3's Avatar
 
Member Since: Nov 2017
Posts: 2,090
Received 354 Likes on 265 Posts
Default

Hmmmm some of those pics are out of focus... what's up with that ?
Old 05-02-2019, 10:10 AM
  #240  
74_stingray
Burning Brakes
 
74_stingray's Avatar
 
Member Since: Jul 2018
Location: LaFayette Georgia
Posts: 804
Received 280 Likes on 217 Posts
C3 of Year Finalist (performance mods) 2019
St. Jude Donor '19
Default

Carpet looks great, I like the color choice. Looking good, enjoy the day!
Eddy


Quick Reply: The Force Awakens...


All times are GMT -4. The time now is 04:15 AM.