






Tachout's Project....

Thread Starter
Racer


Joined: Jun 2007
Posts: 486
Likes: 0
From: Sandy Ut

On a side note, Sometime next month I will be setting up a BBQ down here at my house. If you want to come down you can check out my progress then, and enjoy some great food!
Thread Starter
Racer
Joined: Jun 2007
Posts: 486
Likes: 0
From: Sandy Ut
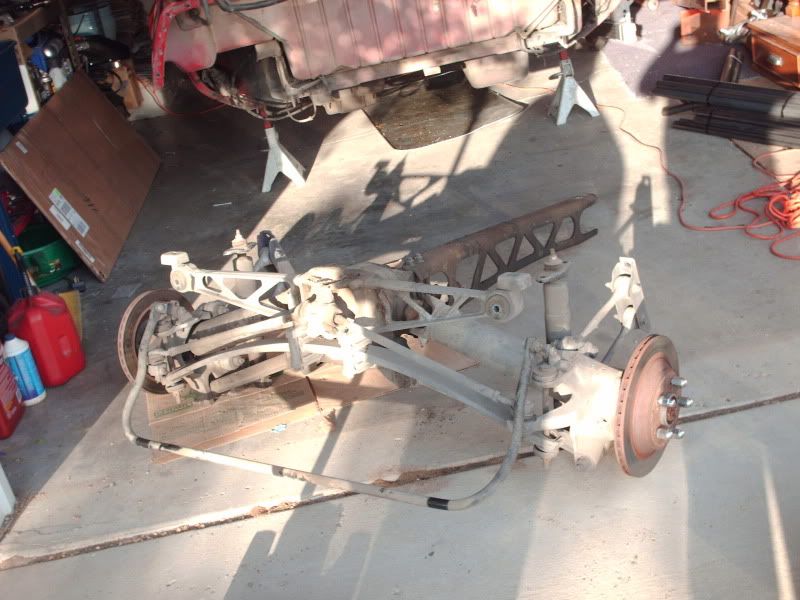
Well it has been a couple weeks since I had a chance to go out and do much to it, and the little I did do, was not much to show so I have not updated this for a little while. Had to get the rear end pulled, and take the diff off, as that is sold to a guy in Denver, and had to get the axles out as they are going to Croatia. Got it out and now have it apart, and laying on the garage floor.
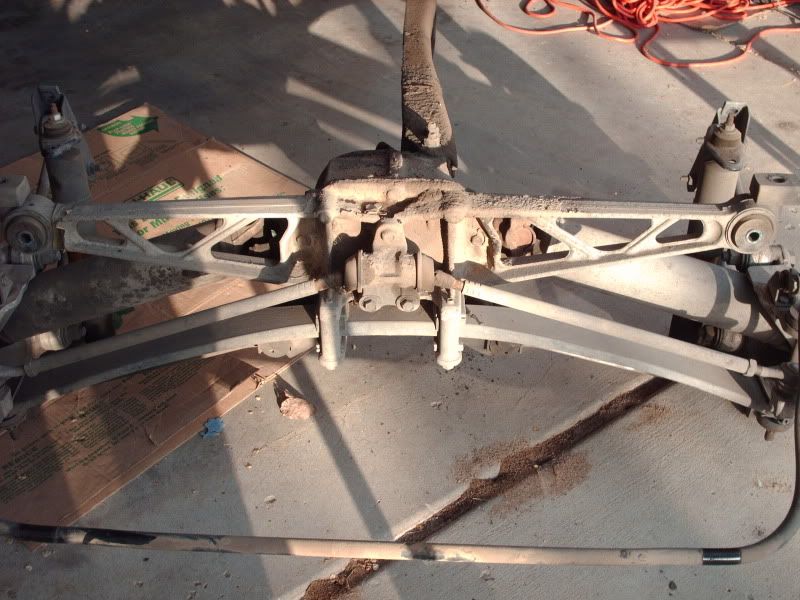
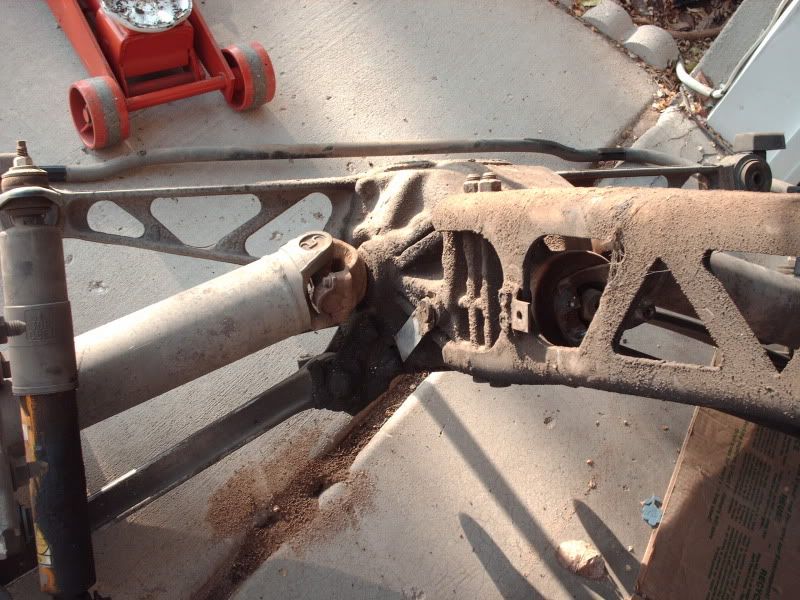
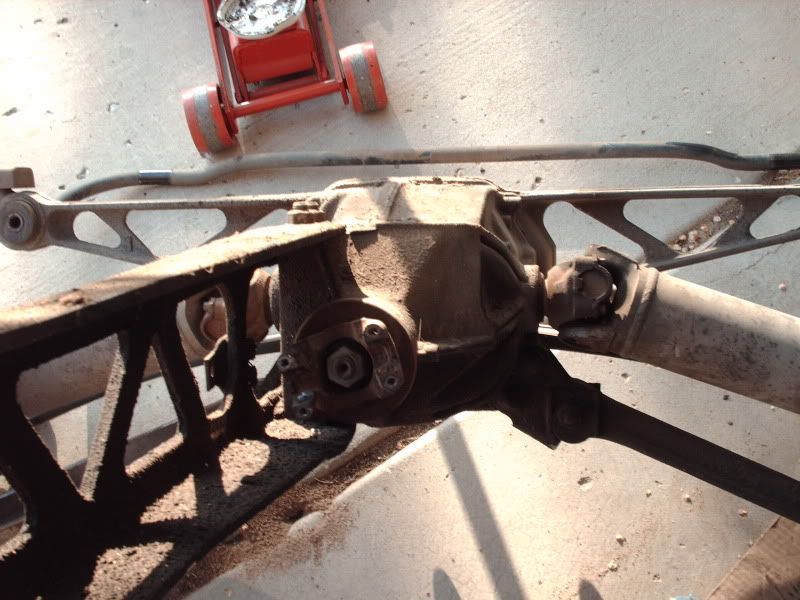
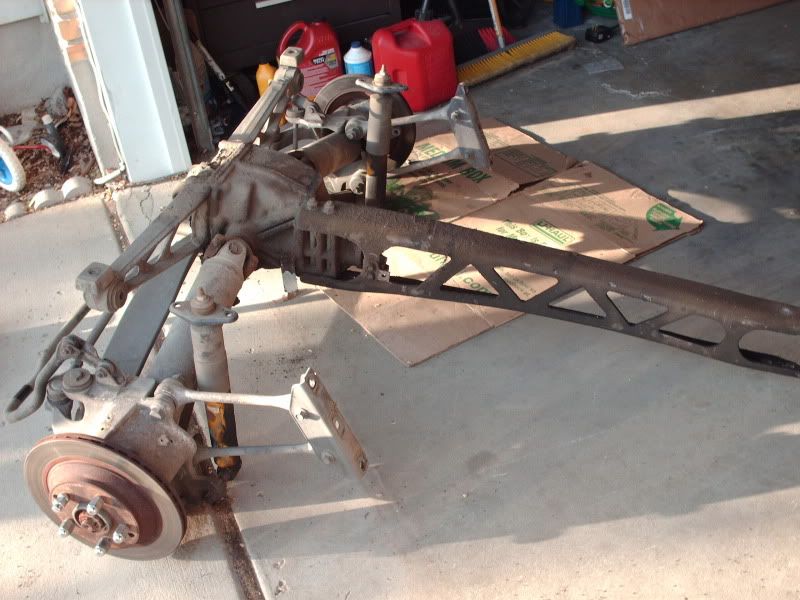
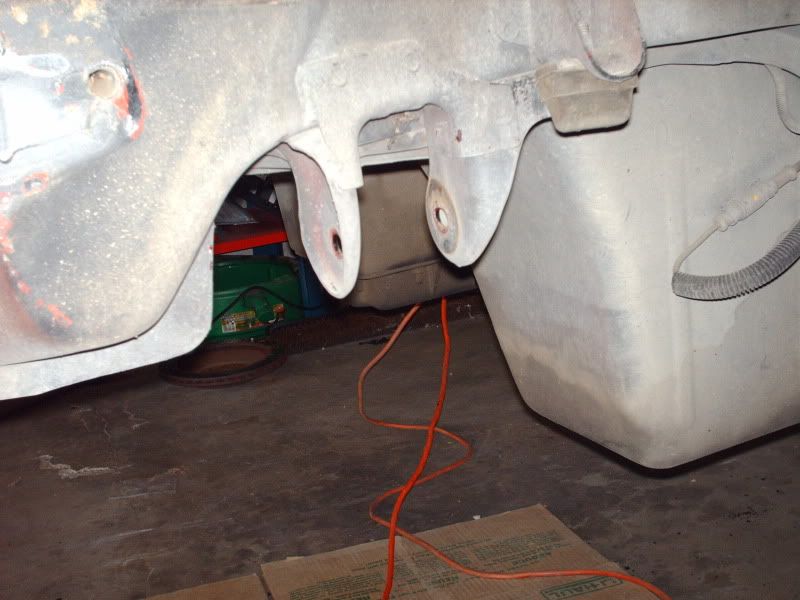
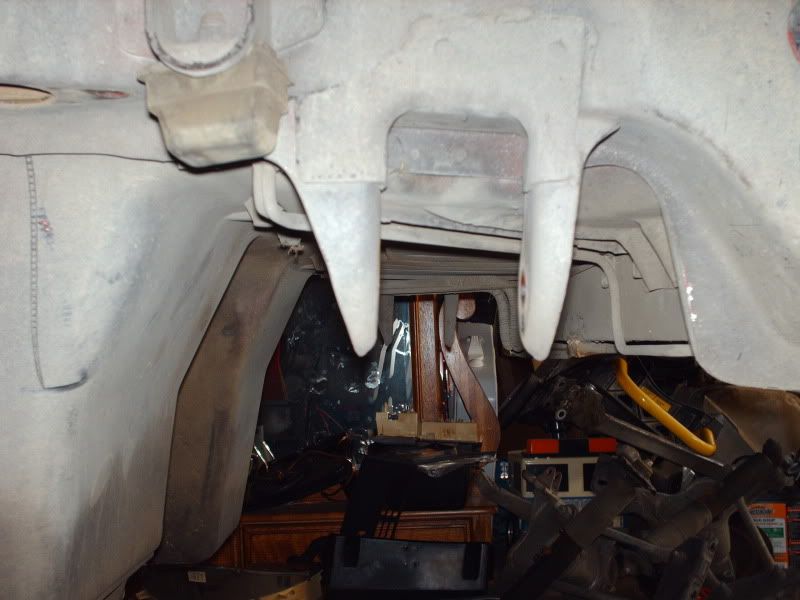
Well today I had the chance to get a little done on stripping the interior so I could get in there and start cutting body out of the way, and preping for the cage. I did not finish 100% of what I wanted, but I got most of it completed.
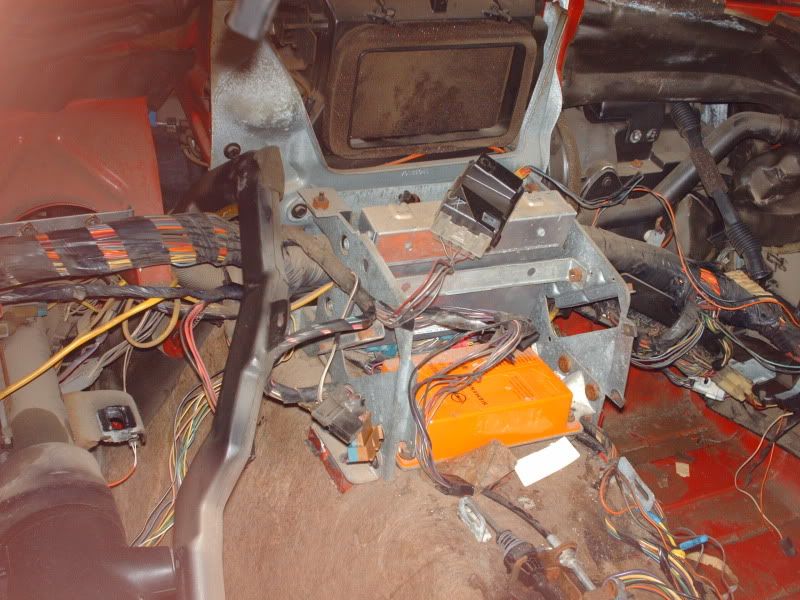
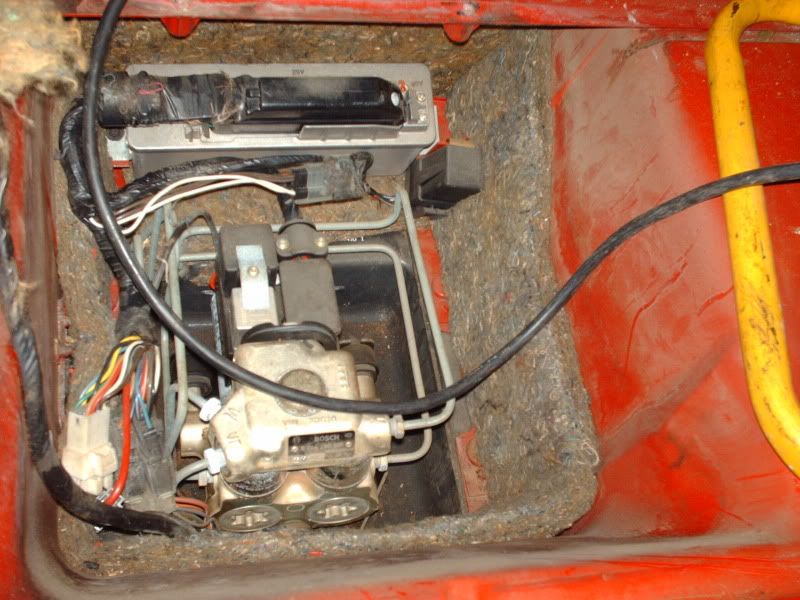
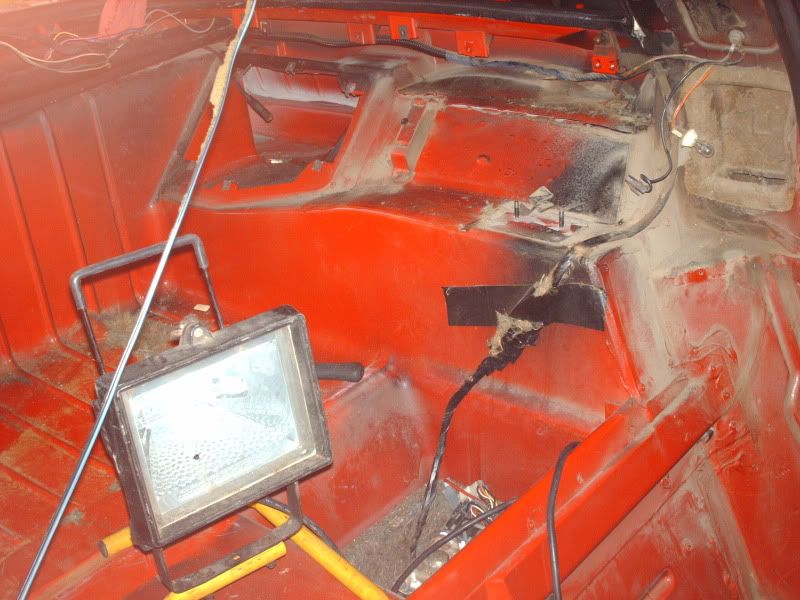
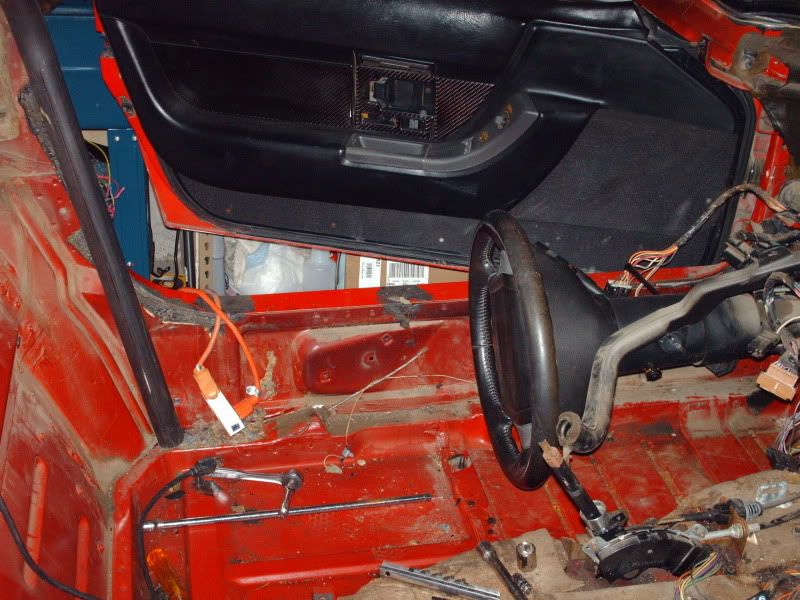
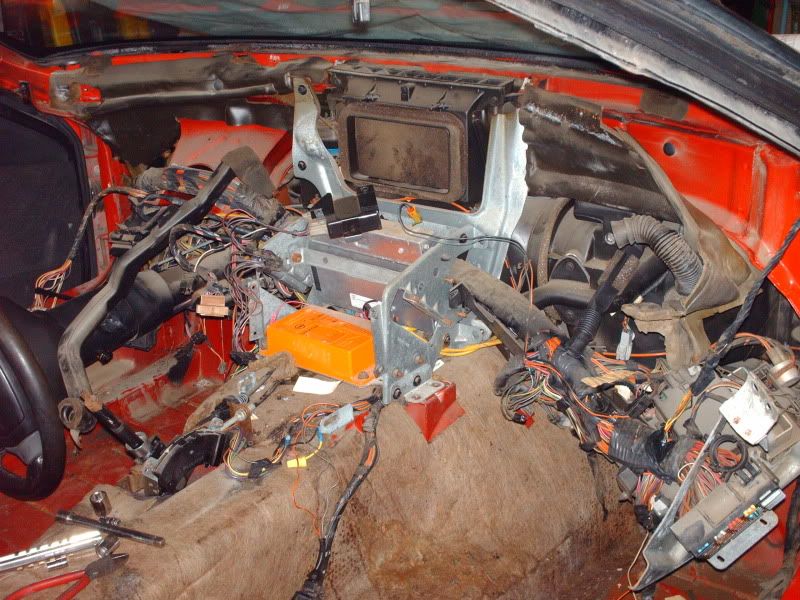
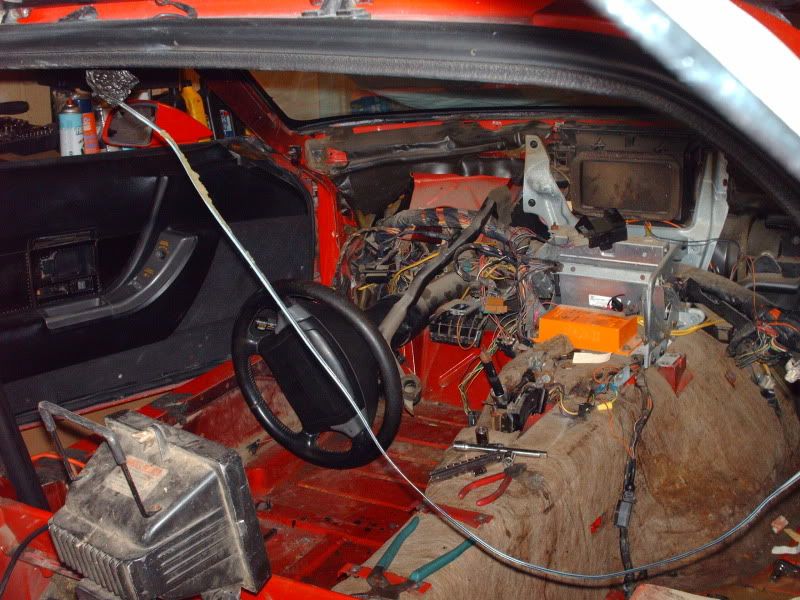
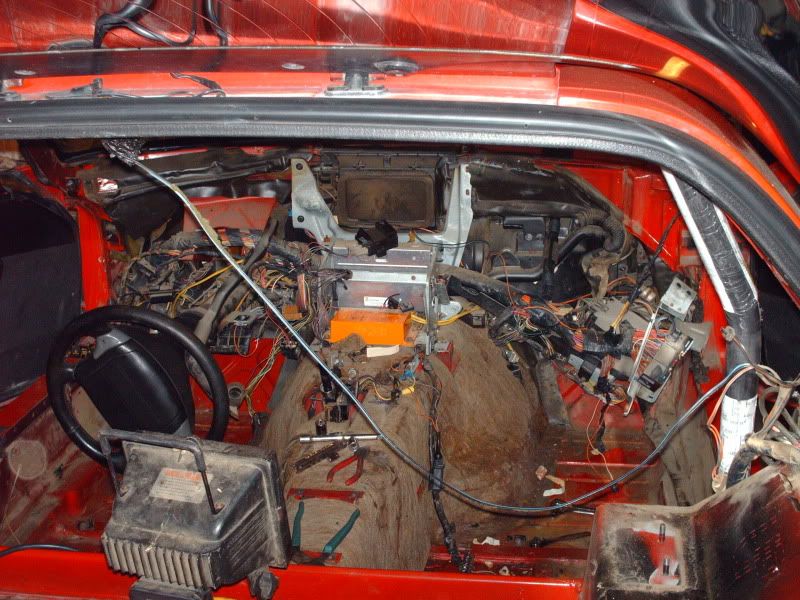
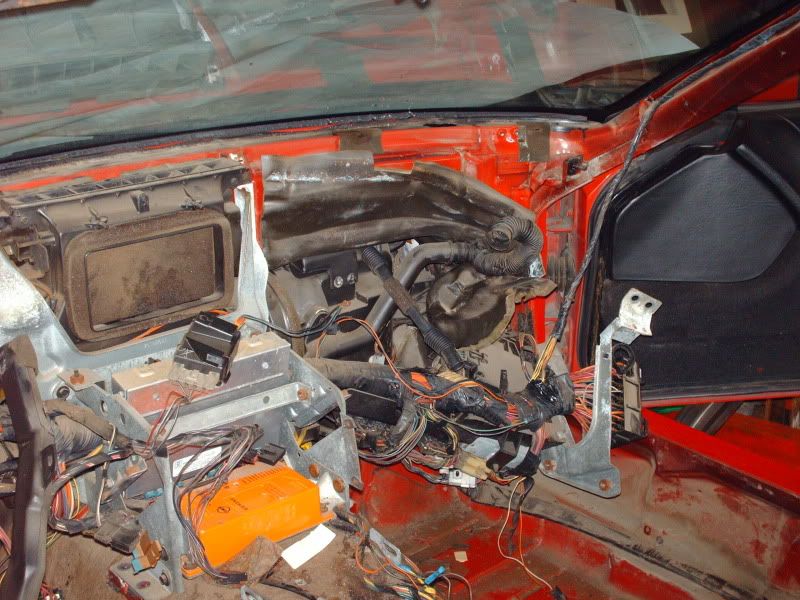
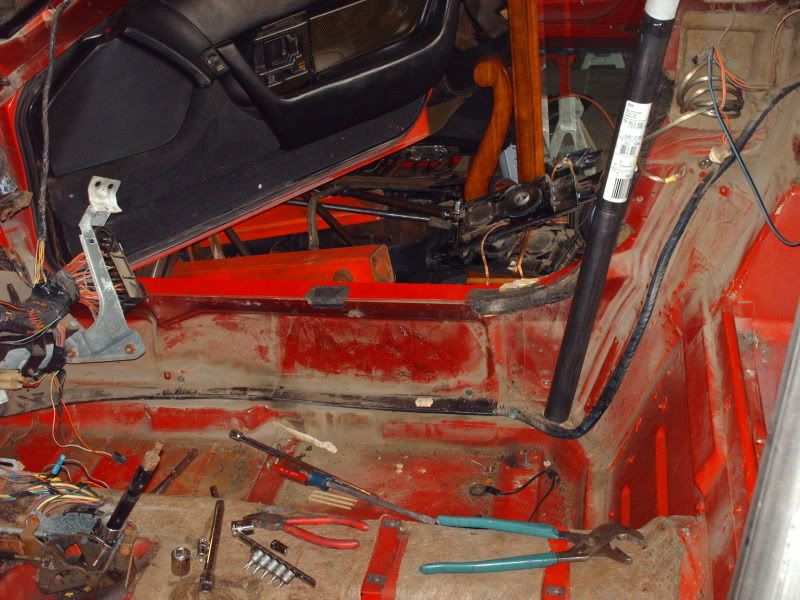
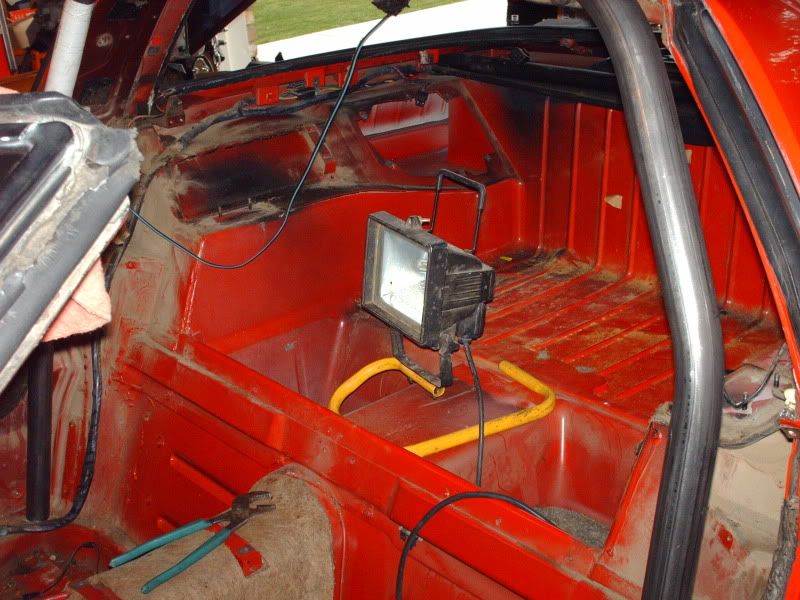
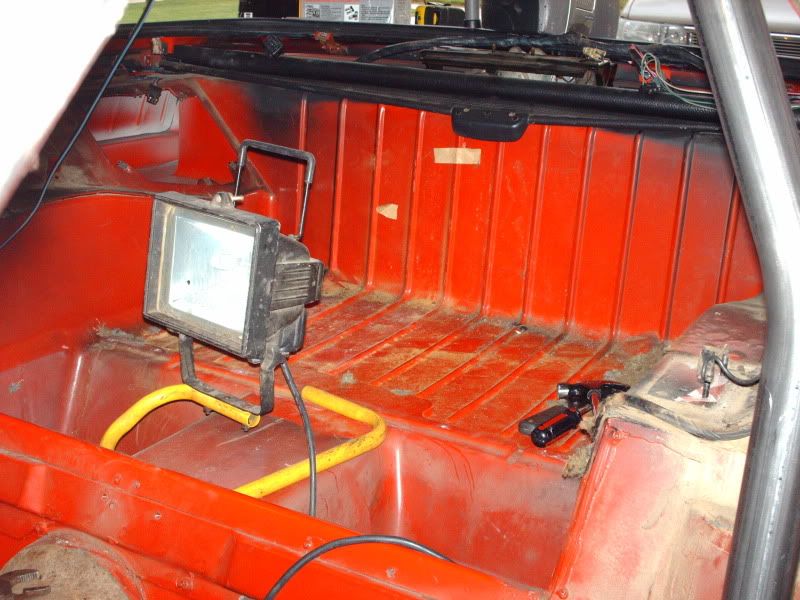
Well today I had the chance to get a little done on stripping the interior so I could get in there and start cutting body out of the way, and preping for the cage. I did not finish 100% of what I wanted, but I got most of it completed.
Thread Starter
Racer
Joined: Jun 2007
Posts: 486
Likes: 0
From: Sandy Ut
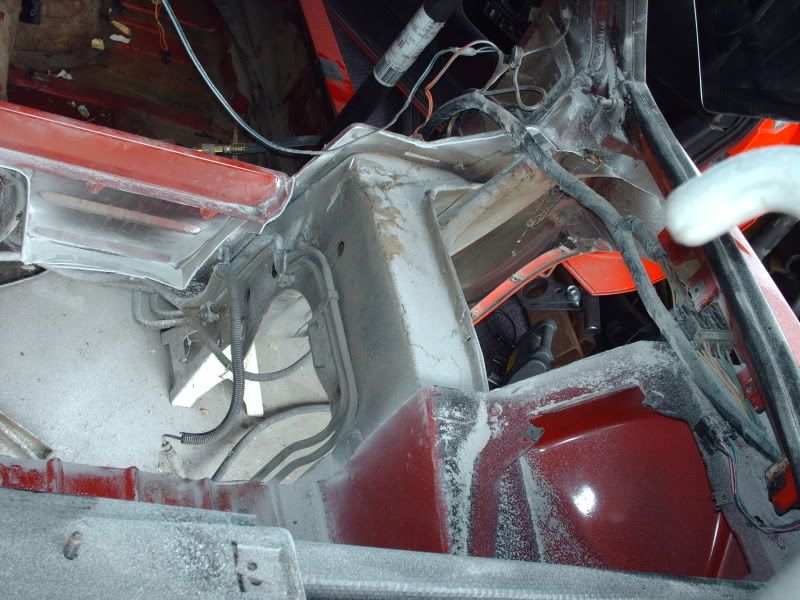
Well I thought it was time for an update. I started the Cutting today. The first piece is cut out, however I now need to go in and remove some more stuff that I could not get at, and clean up the area down there, and figure out how much more needs to be removed going back to make the backhalf fit the way I want. Still have a long way to go but wanted to update and share pics. If you ever wondered how to tub a car, now would be the time to see.
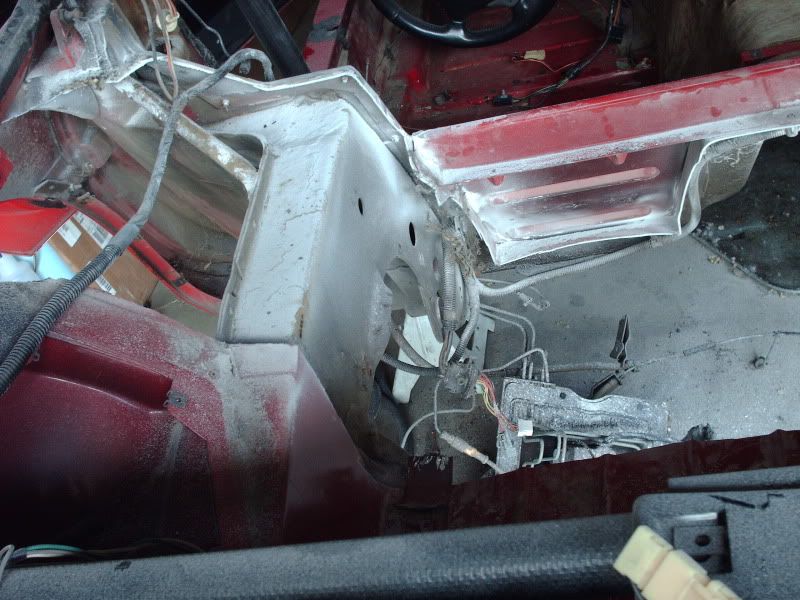
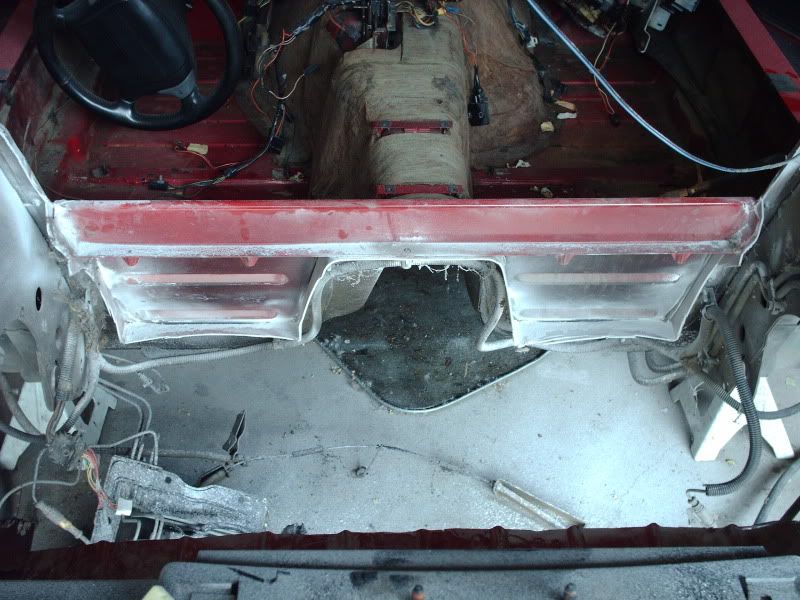
Thread Starter
Racer
Joined: Jun 2007
Posts: 486
Likes: 0
From: Sandy Ut
Well the wings were great, but never did crack a cold one. Decided to pull the second piece out, and try to do a little clean up. I can see the frame rails where I need to clean off the paint, and trim the cross bar of the new narrowed rear frame rails. I am open all the way to the back, and can now get in there with the rear frame and decide where I am going to put that as well. This is a ton of work, but I cannot wait till I can see it start to come together. Here are a few more pictures with the back tub all the way out now.
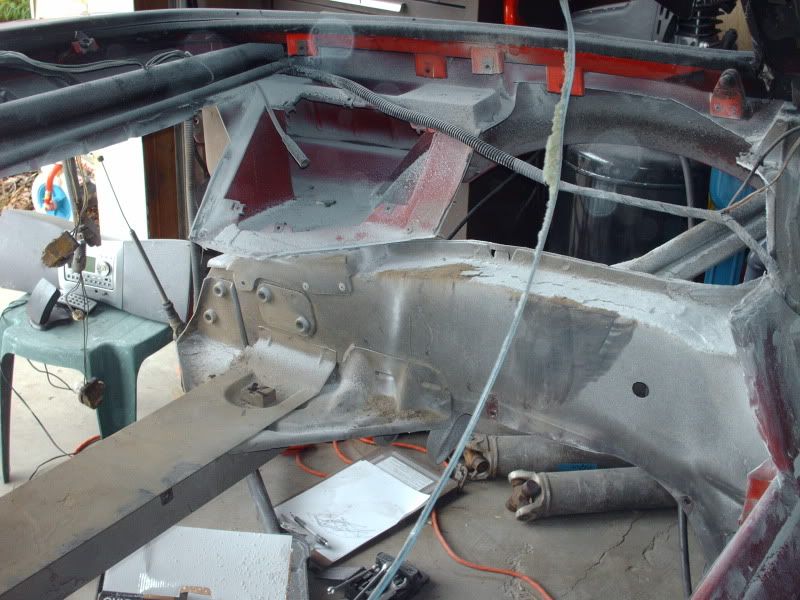
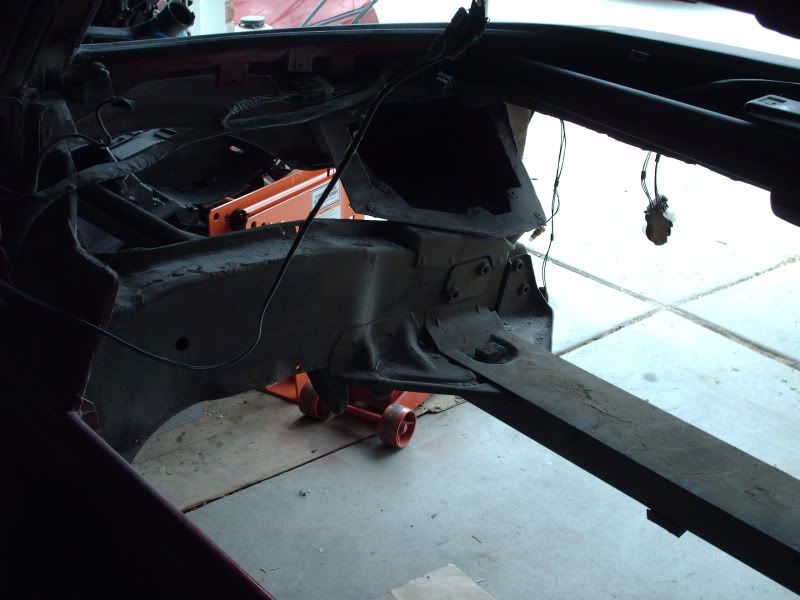
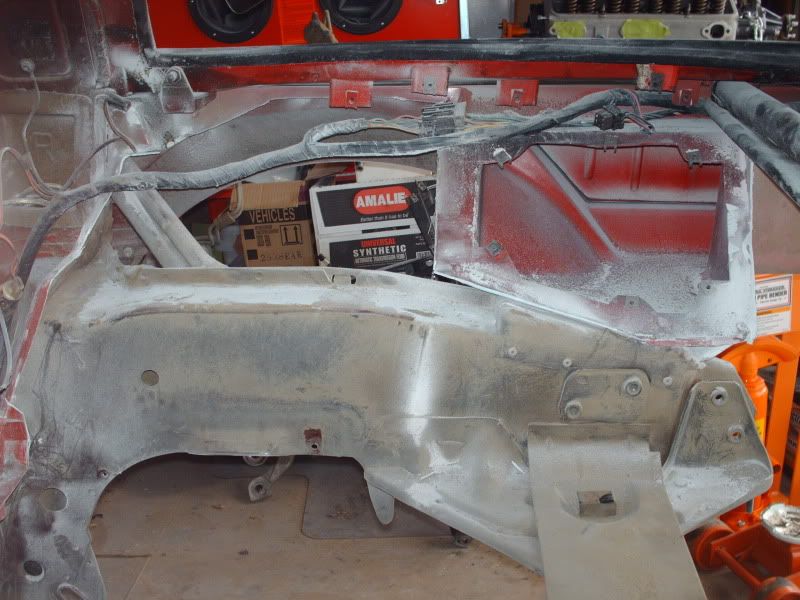
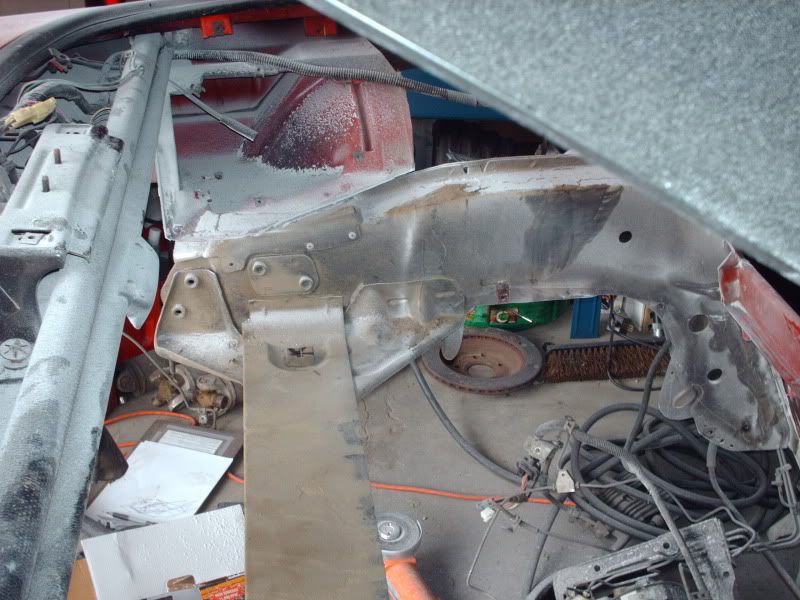
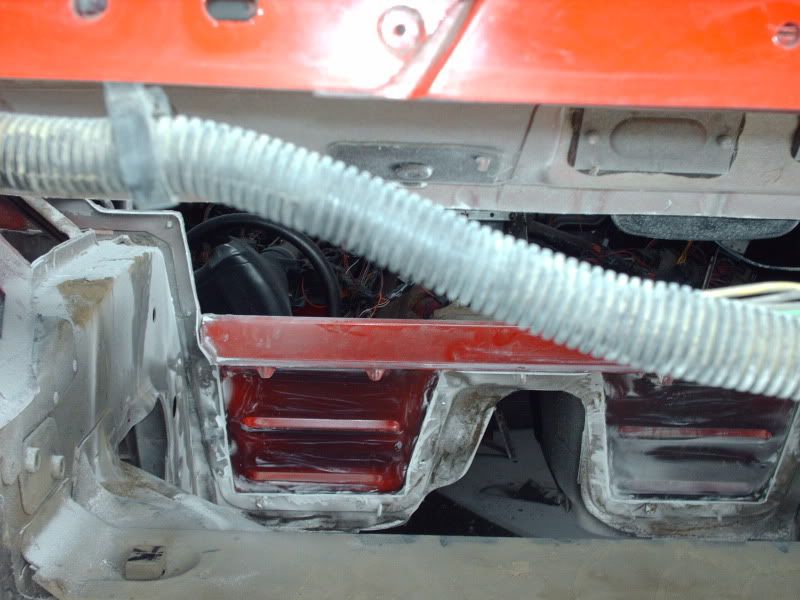
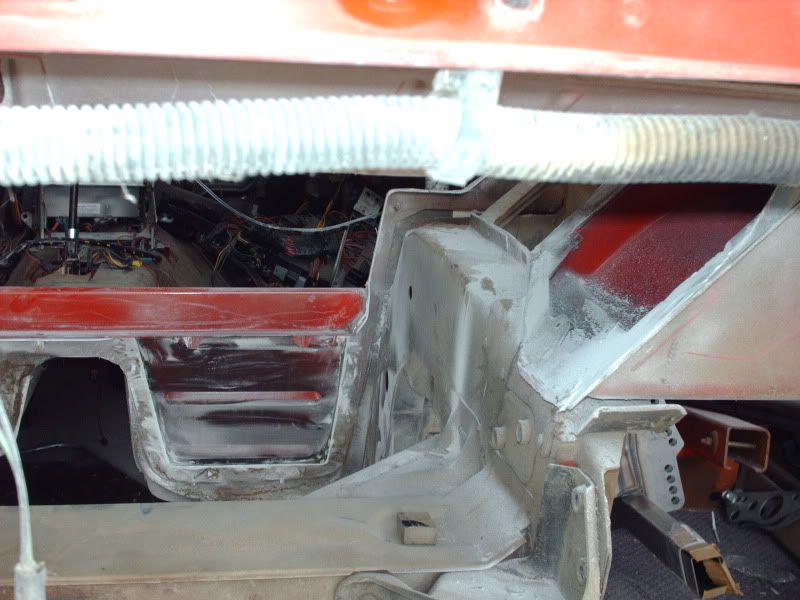
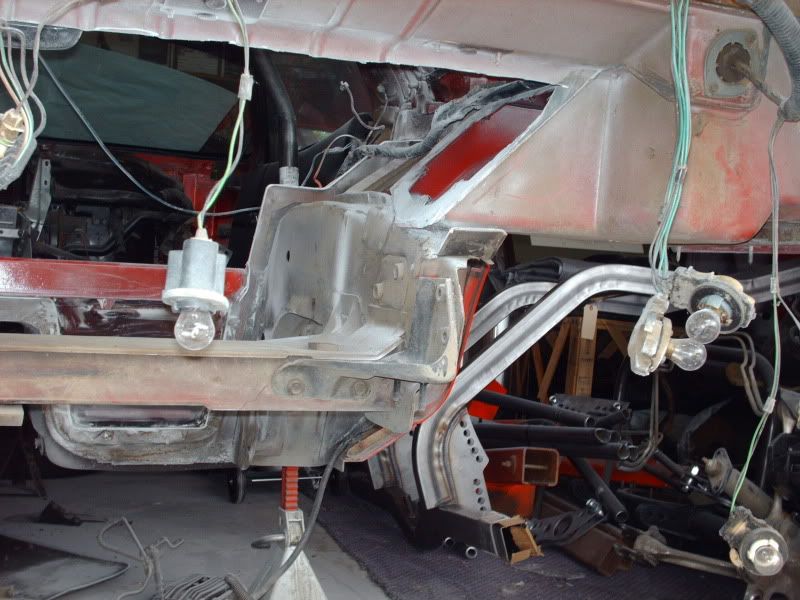
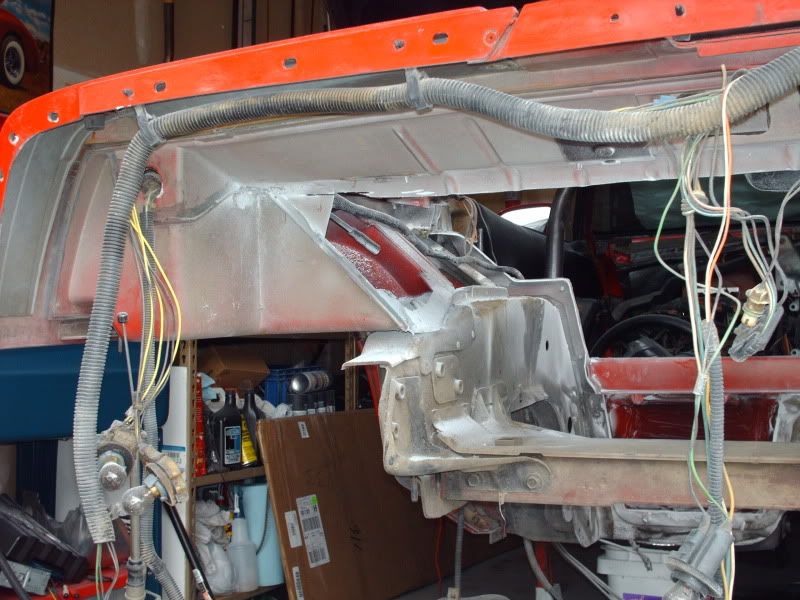
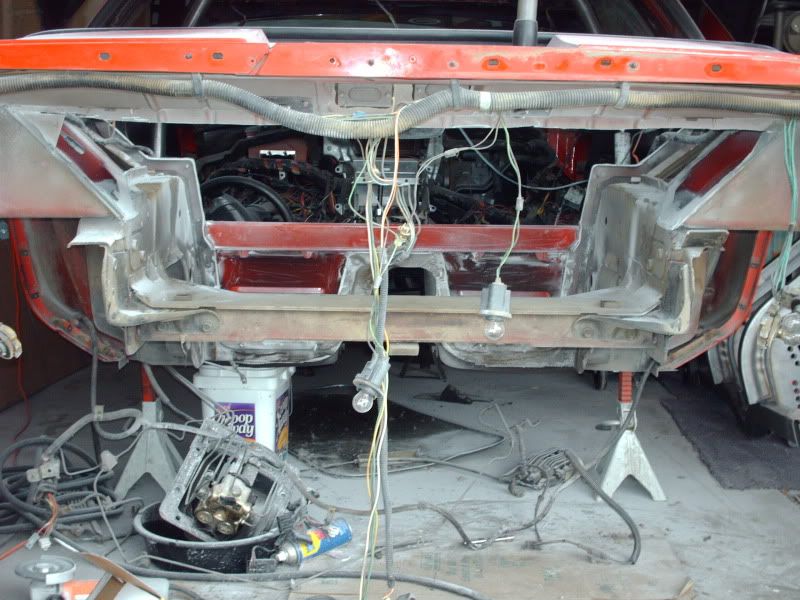
I think I am going to pull the rear harnesses, and try to clean that up, along with removing the antilock unit and getting that cleaned up and ready to sell. Then I can start sizing, and preping the rear of the car for that back half as part of my projects tomorrow.
I think I am going to pull the rear harnesses, and try to clean that up, along with removing the antilock unit and getting that cleaned up and ready to sell. Then I can start sizing, and preping the rear of the car for that back half as part of my projects tomorrow.
Corvette Stories
The Best of Corvette for Corvette Enthusiasts

5 Best & 5 Worst Corvette Daily Drivers
Joe Kucinski
The Headlights of Every Corvette Generation Explained
Joe Kucinski
5 Best & 5 Most Overrated Corvette Track Packages of All Time!
Joe Kucinski
Every 2027 Corvette Engine Explained
Joe Kucinski
Designer Imagines A Corvette That Looks More Like a Corvette Than the Corvette
Verdad Gallardo
10 Ugly Corvettes That We Still Kinda Love
Joe Kucinski
Top 10 Most Expensive Corvettes Ever Sold on Bring A Trailer
Brett Foote
10 Things Every Corvette Owner Needs (2026 Edition)
Michael S. Palmer
8 Most "Only Corvette Owners Understand" Quirks and Problems
Pouria Savadkouei

Thread Starter
Racer
Joined: Jun 2007
Posts: 486
Likes: 0
From: Sandy Ut
Thanks for checking in on the build off and on. Kinda cool getting to share what I am doing each time I work on it. I have actually considered taking off a couple days from work and just working on it each day to get the Cage in, but then I would not have those days for later in the summer.
Well for the next update I will say I did not get near as far as I wanted to. Now lets talk about the Rear Sub Frame. First remember to measure twice, and cut once..... Well here are the measure twice pictures.


Then I measured and marked the outriggers on the sub frame assembly. Just so everyone knows I do have one major recommedation for you. If you are going to attempt to do all this cutting, get a Sawzall. I have been using a die grinder with a cut off wheel. Cuts the fiberglass like butter, and is perfect for cleanup and all. For the steel cuts my compressor cannot keep up with the die grinder so it takes some time. By the time all is said and done, I am going to have the tools of a small body shop, as well as a major mechanics shop! Yes on payday I will probably go buy a sawsall too. If I use a tool more than twice I probably should buy it, so I do. Makes things easier down the road.


After I cut the subframe it was time to take a break. I did not get back out there till today, and let me tell you, no matter how we twisted it, that frame still would not go in. After some thinking, and looking I called upon someone who has already cut up a couple of these..... Thanks Vince, when I gut the rear crossmember nothing moved! Matter of fact it still hasnt. Anyway as you can imagine, I cut a section out of the rear crossmember so I could slide it in there. A little twisting and pushing and it got in there today.... Well part the way anyway. I cut just outside my lines, and wanted it to be a grind to fit kind of thing. Well it is! I have done some of the grinding, but it was getting late so this is where it is being left for tonight.


I think beyond the Sawzall, I am also going to get a couple of other body tools to grind all the fiberglass out where I need to (As it is glued in with fiberglass resin to the sheet metal I need to weld.) Besides it would make it so much easier to clean up the weld joints of the paint, and all the crap before I weld anyplace. Now the space in my garage is really really limited, so I just shoved stuff back under there and YES I do have a major case of the fiberglass itch. No worries as sooner or later it will all wash out. Anyway The outriggers you see in the pictures will drop down over a 16" and be all the way down to the bottom of the seat pan. I am going to need to do a lot more cleaning in there, as well as grinding out the fiberglass, but as you can see, the outriggers are just a hair too big! That is a good thing. I can just hit them with the grinder and grind them to fit. Not that it is going to be easy, but I would rather it be tight as it can be rather than loose and have to use weld to fill it and hope that it holds with a hard as hell launch. Not me! Anyway once I get the outriggers to fit inbetween the frame rails I will need to level it and square it with the cars frame. Then with a jack on the back end, I need to get the angle set. I can then tack it if I want.... (Which I am not going to do as I do not want it in the way for the next step.
From there I need to take my main hoop for my cage, and make a couple bends in the down legs to make it more of a custom fit, and I need to size it to the correct height. I plan on making it really really tight. Then I am going to size and cut to length the rear bars coming down to the shock towers and frame from the hoop. Then I am going to size the halo. I am still not planing on even tacking a thing. From there you will see an art project to end all art projects. I am going to be out there with all of it removed except the rear frame rails and I am going to be cutting and taping posterboard to be pretend wheel wheels (Yep I am tubbing this pig too!) In the coming weeks, I hope that everyone gets the chance to follow along, and if you want to come check it out, and see the progress at any point, or pick my brain as to how I did something, or share with me your insights on a better way, please feel free. Everytime the garage door is open it seems someone driving buy stops to check it out. I really do enjoy it.
Well for the next update I will say I did not get near as far as I wanted to. Now lets talk about the Rear Sub Frame. First remember to measure twice, and cut once..... Well here are the measure twice pictures.
Then I measured and marked the outriggers on the sub frame assembly. Just so everyone knows I do have one major recommedation for you. If you are going to attempt to do all this cutting, get a Sawzall. I have been using a die grinder with a cut off wheel. Cuts the fiberglass like butter, and is perfect for cleanup and all. For the steel cuts my compressor cannot keep up with the die grinder so it takes some time. By the time all is said and done, I am going to have the tools of a small body shop, as well as a major mechanics shop! Yes on payday I will probably go buy a sawsall too. If I use a tool more than twice I probably should buy it, so I do. Makes things easier down the road.
After I cut the subframe it was time to take a break. I did not get back out there till today, and let me tell you, no matter how we twisted it, that frame still would not go in. After some thinking, and looking I called upon someone who has already cut up a couple of these..... Thanks Vince, when I gut the rear crossmember nothing moved! Matter of fact it still hasnt. Anyway as you can imagine, I cut a section out of the rear crossmember so I could slide it in there. A little twisting and pushing and it got in there today.... Well part the way anyway. I cut just outside my lines, and wanted it to be a grind to fit kind of thing. Well it is! I have done some of the grinding, but it was getting late so this is where it is being left for tonight.
I think beyond the Sawzall, I am also going to get a couple of other body tools to grind all the fiberglass out where I need to (As it is glued in with fiberglass resin to the sheet metal I need to weld.) Besides it would make it so much easier to clean up the weld joints of the paint, and all the crap before I weld anyplace. Now the space in my garage is really really limited, so I just shoved stuff back under there and YES I do have a major case of the fiberglass itch. No worries as sooner or later it will all wash out. Anyway The outriggers you see in the pictures will drop down over a 16" and be all the way down to the bottom of the seat pan. I am going to need to do a lot more cleaning in there, as well as grinding out the fiberglass, but as you can see, the outriggers are just a hair too big! That is a good thing. I can just hit them with the grinder and grind them to fit. Not that it is going to be easy, but I would rather it be tight as it can be rather than loose and have to use weld to fill it and hope that it holds with a hard as hell launch. Not me! Anyway once I get the outriggers to fit inbetween the frame rails I will need to level it and square it with the cars frame. Then with a jack on the back end, I need to get the angle set. I can then tack it if I want.... (Which I am not going to do as I do not want it in the way for the next step.
From there I need to take my main hoop for my cage, and make a couple bends in the down legs to make it more of a custom fit, and I need to size it to the correct height. I plan on making it really really tight. Then I am going to size and cut to length the rear bars coming down to the shock towers and frame from the hoop. Then I am going to size the halo. I am still not planing on even tacking a thing. From there you will see an art project to end all art projects. I am going to be out there with all of it removed except the rear frame rails and I am going to be cutting and taping posterboard to be pretend wheel wheels (Yep I am tubbing this pig too!) In the coming weeks, I hope that everyone gets the chance to follow along, and if you want to come check it out, and see the progress at any point, or pick my brain as to how I did something, or share with me your insights on a better way, please feel free. Everytime the garage door is open it seems someone driving buy stops to check it out. I really do enjoy it.

Thread Starter
Racer
Joined: Jun 2007
Posts: 486
Likes: 0
From: Sandy Ut
Would you believe it was black when I started. I have asked for another had for Fathers day.
By the way Tachout means to drive past the redline. I have worn that name since I was in High School. Most of my hats seem to have a Tach on them. I am hoping that the next one she (The wife) finds me is red, but I am good with anything. I also would not mind a yellow one with Jake on it!
By the way Tachout means to drive past the redline. I have worn that name since I was in High School. Most of my hats seem to have a Tach on them. I am hoping that the next one she (The wife) finds me is red, but I am good with anything. I also would not mind a yellow one with Jake on it!



Thread Starter
Racer
Joined: Jun 2007
Posts: 486
Likes: 0
From: Sandy Ut
I cannot wait either. Nice thing it now that I have been tearing it apart for so long, I am finally starting to put it together. It is like someone turned on a switch now! Every time I see it in the garage, it is a little shot of energy to get my lazy butt out there and get busy!


Safety Car

Joined: Jul 2008
Posts: 3,966
Likes: 4
From: Made In America
St. Jude Donor '10-'11