When you click on links to various merchants on this site and make a purchase, this can result in this site earning a commission. Affiliate programs and affiliations include, but are not limited to, the eBay Partner Network.
Yes - we have pretty high import taxes and VAT - so every USD spend in the US (shipping included) costs me aprox. 11,00-11,50 DKK even though the official exchange rate is 6,7-7,0...
And then I guess we have the most expensive license plate in the world. We pay a "tax" in order to get the vehicle registred in the Danish DMV and be able to drive it on Danish plates. A few month ago they deducted the tax from 180% to 150% of the import price (but still a lot of Money).
The numbers speaks for itself: when I registred the vette in 2013 it was 12 years old and had 100.000 km on the odometer. It was not in show condidition - but even though I paid almost 34k USD in registration taxes. It is calculated based on the Danish selling price in 2001 which was about 190k USD, and then adjusted to actual selling price for a 12 year used vehicle. Now in 2016 registred C5�s are offered for sale from 44k to 66k USD - depending on options, year and condition.
But we have lots of other good things in Denmark, and who really cares about cars...
Thanks for all you positive reply�s. In my job I work with corporate finance, and I really think its fun to do this resto in the weekends. It�s an old dream to take it apart and add my "own touch". Before the Z I had a 69 vert with one of the old aftermarket bowtie L88 blocks, the bowtie 1. design heads and lots of other nice mods. It was fun to drive but it was not really useful because of the engine, and I only put few miles on it during 6 years. So that was the reason to sell it and buy the Z
'Hells Bells', looks like all your hard work will soon pay off.
frank
Yeah - the old men from Australia still have some of the best and memorable hits. I had the opportunity to be at their concert i Denmark in 2015 - the last one in Denmark with Brian Johnson as lead singer - and they really know how to make 55.000 people rock
When I was 16 we went to the "AC DC's Fly on the wall concert" Some un-heard of guy named Yngwie Malmsteen opened for them the first time. He is not from your country but from your neck of the woods.
Progress have been made since my last post - but I haven�t had time to update this thread
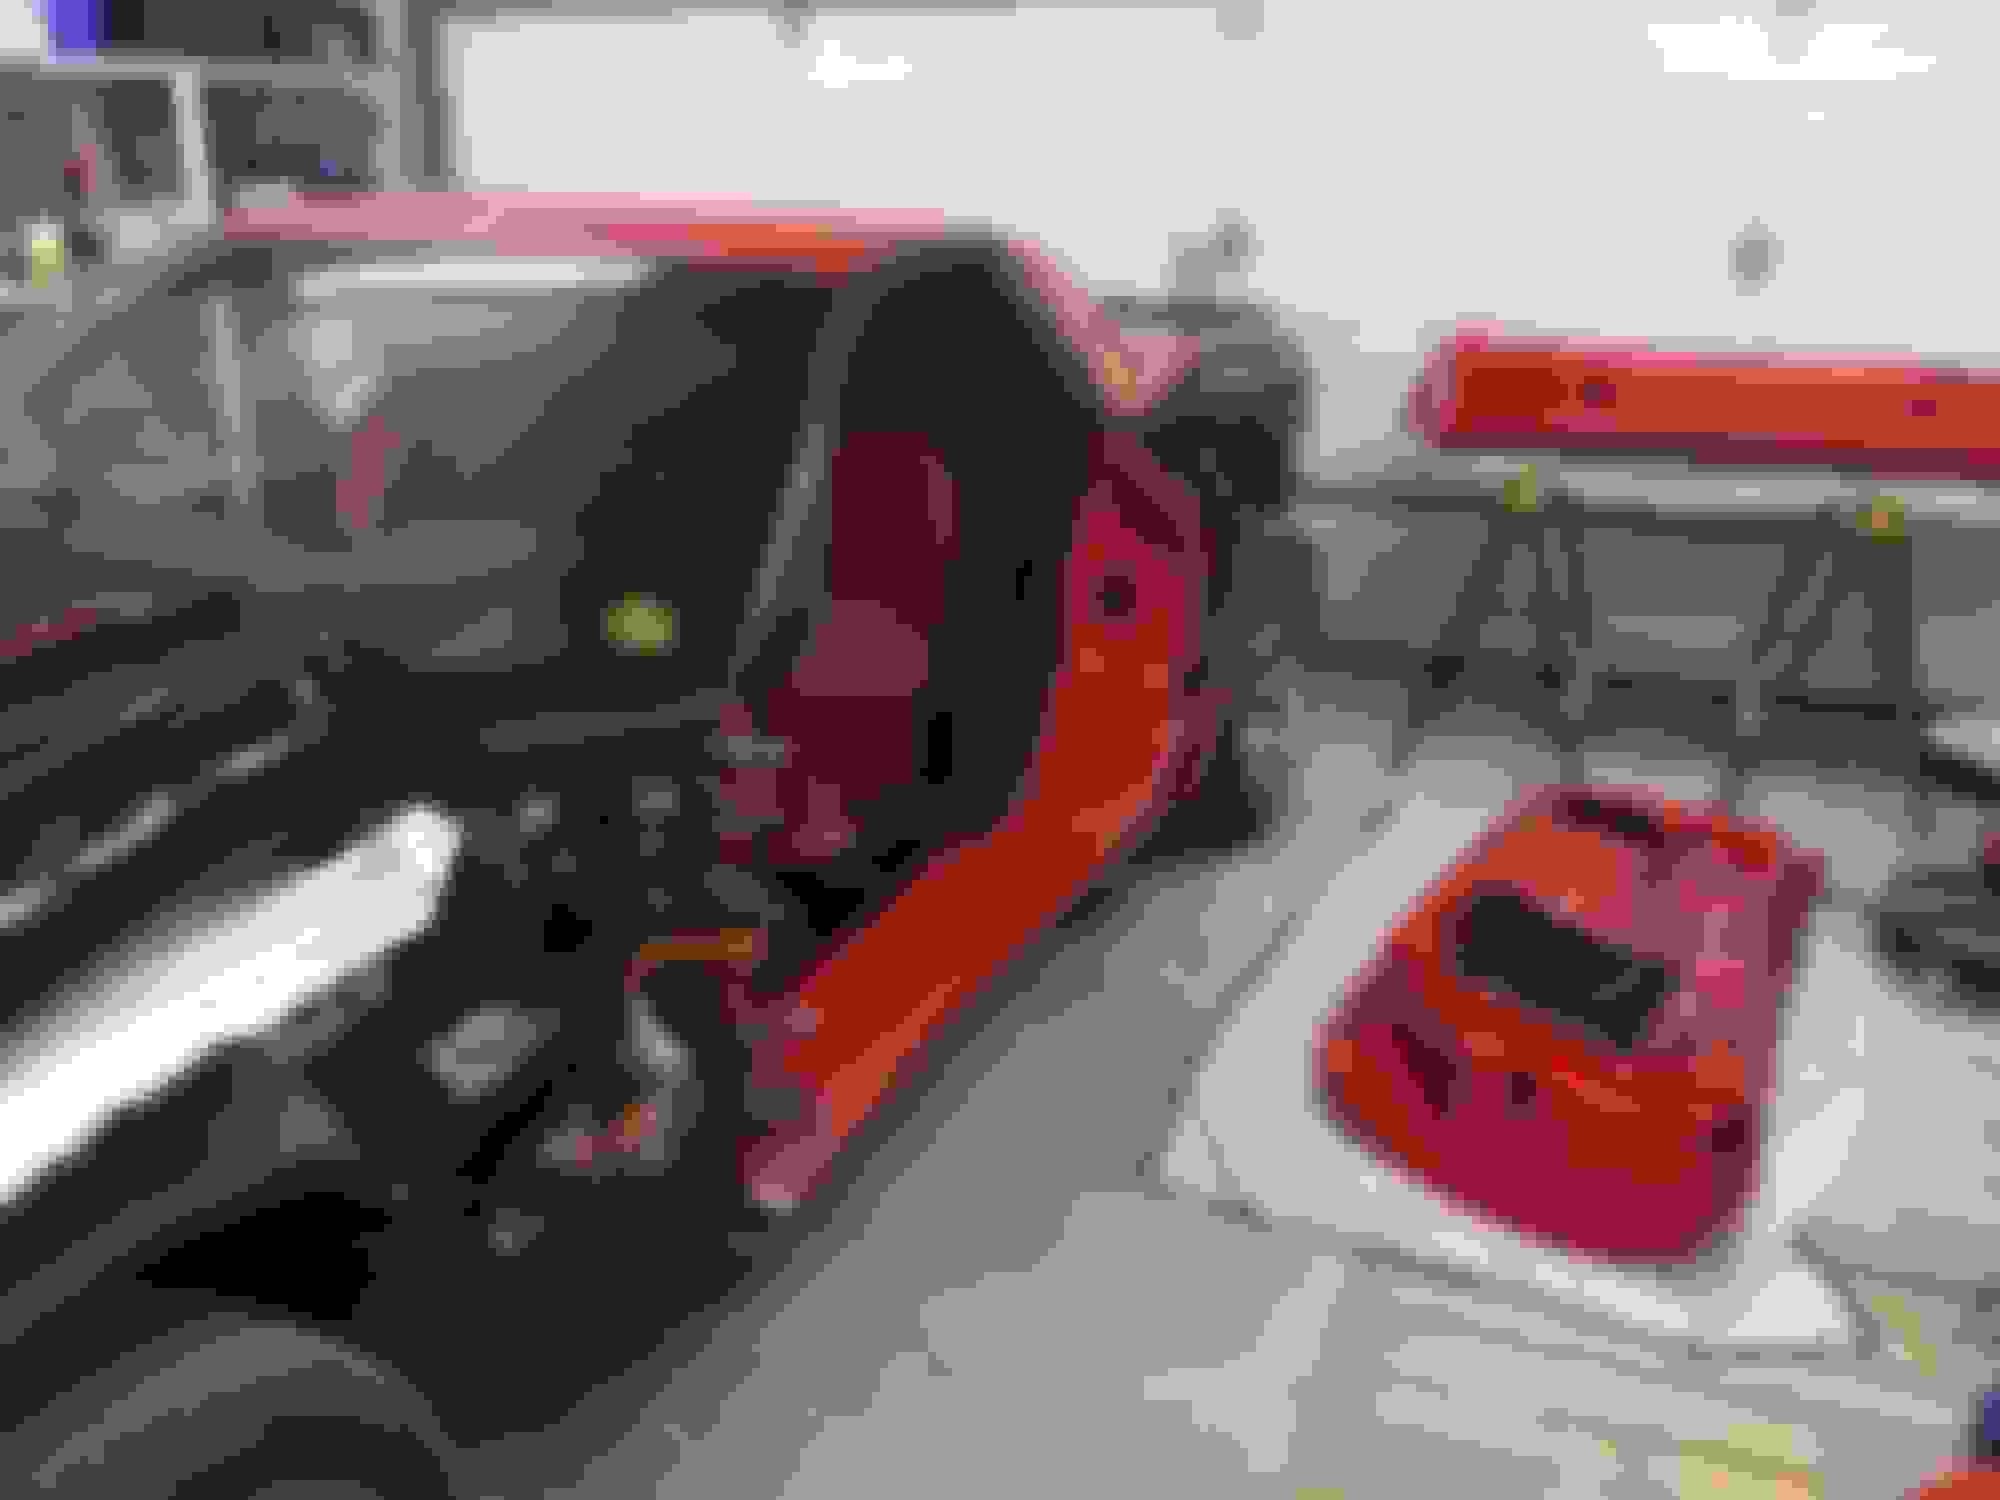
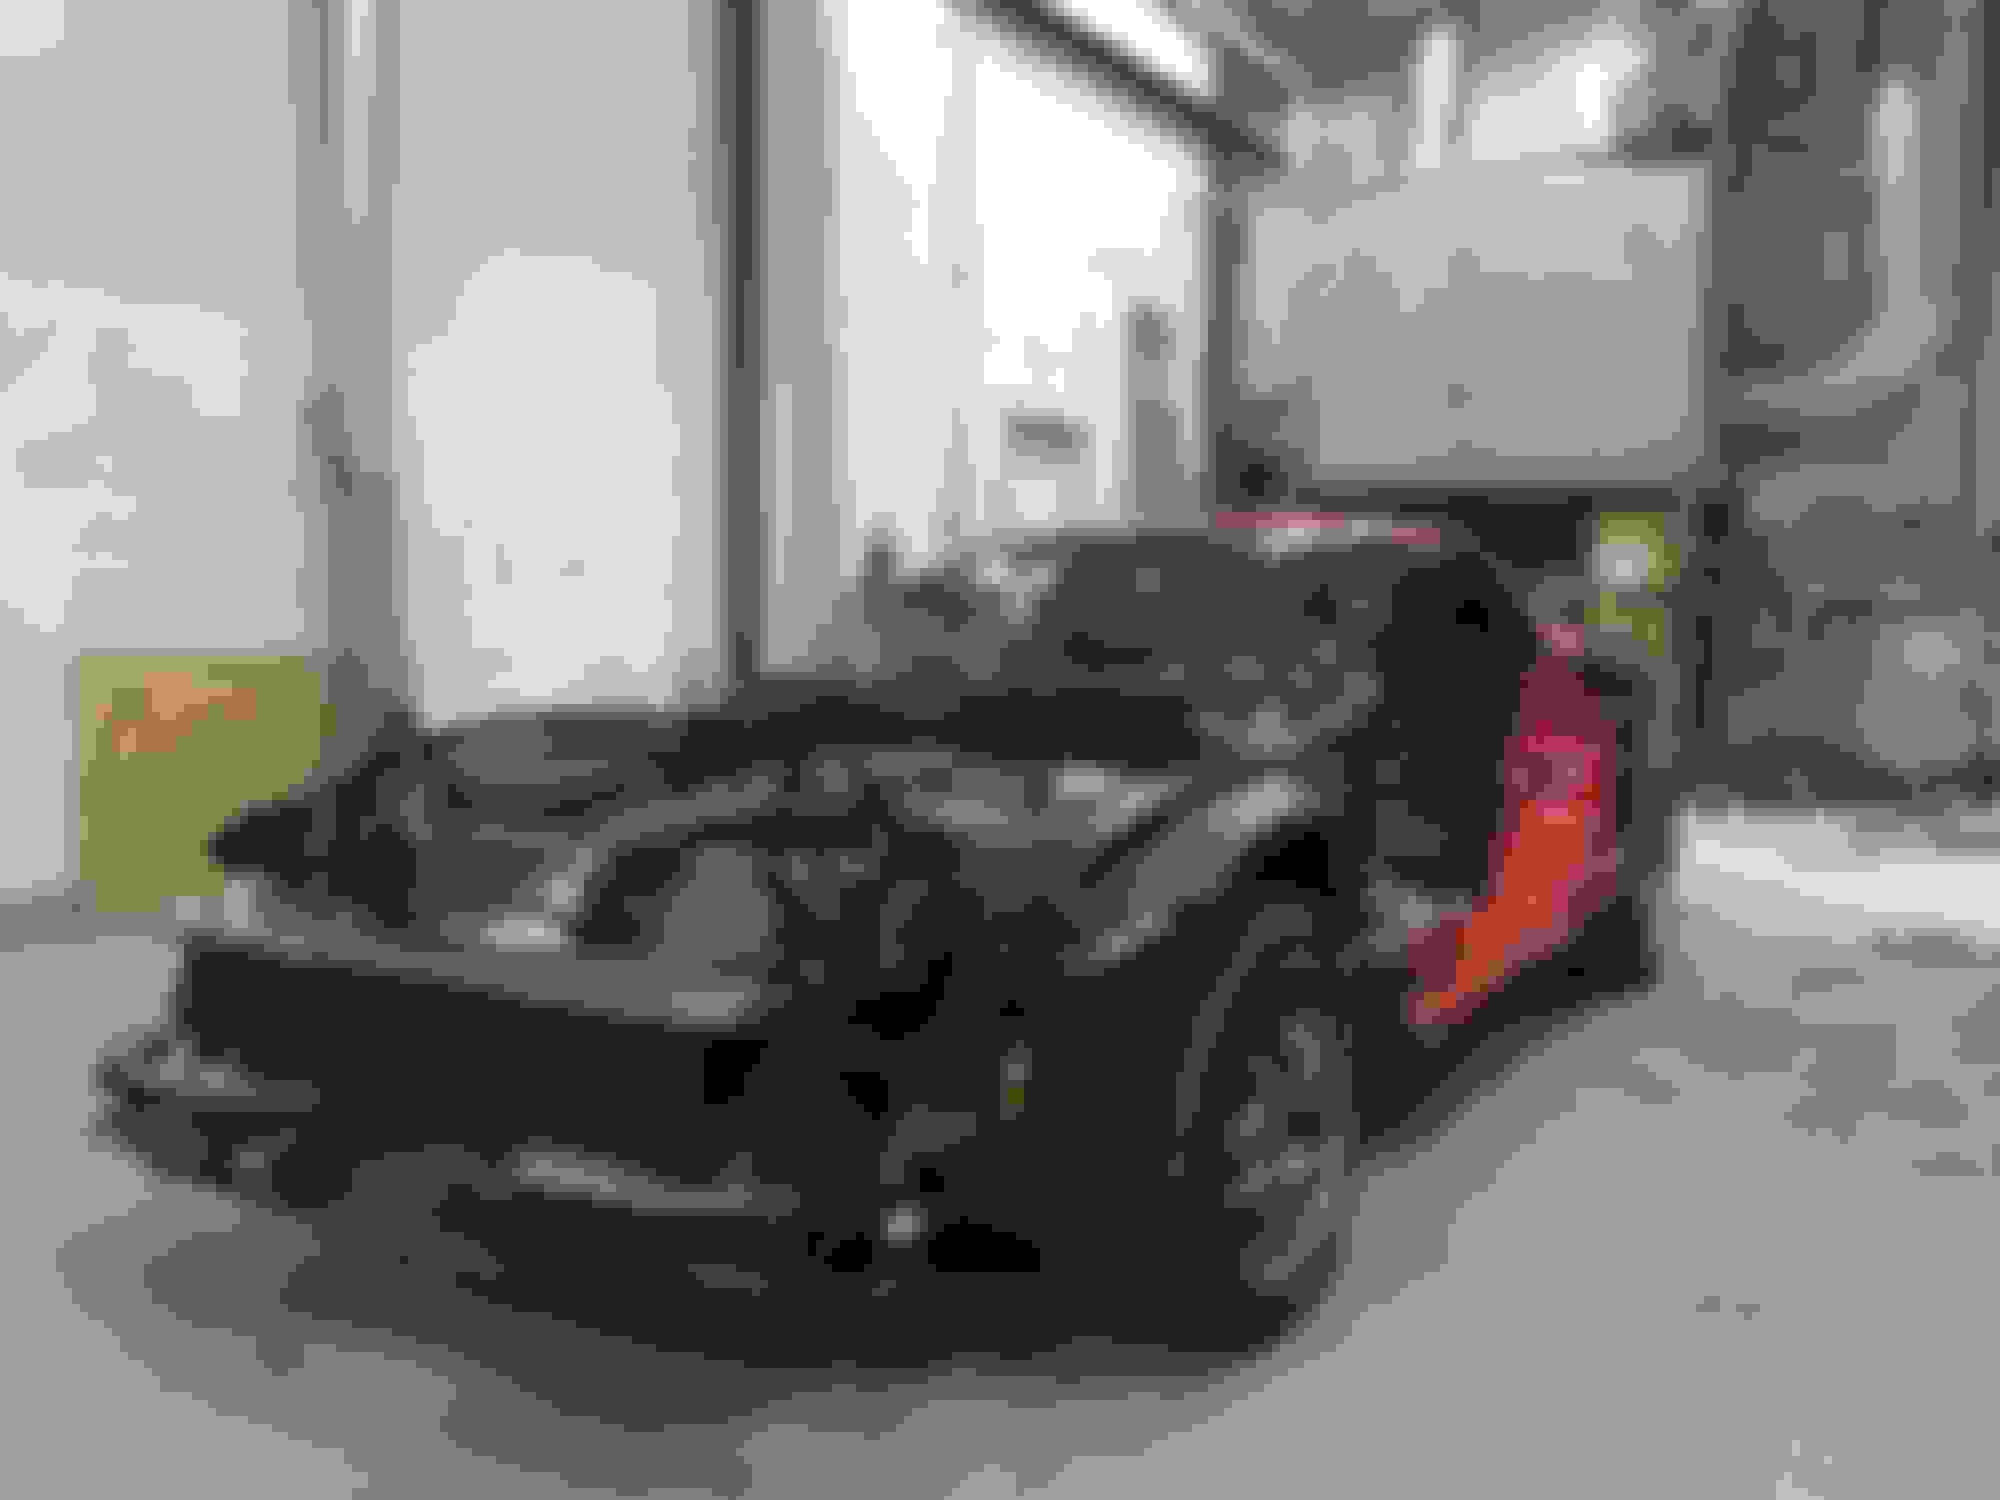
I�m done disassembling the car. The doors have been removed together with the weatherstrip and moldings around the door opening (it was HARD to remove the moldings but I managed to do it without any cracks. But they do look old and almost ready to crack - so I consider buying some new ones (though the seem to be pretty expensive).
I removed the seats and carpets too, as it makes cleaning more easy and I�m about to order the insulation kit from Vettenuts (a good thing to get done while there is easy access).
Transport to the paint shop was scheduled two days ago - and a very nice feeling when ignition was turned on and the "bullets" disturbed the neighborhood after almost a year in the garage.
And then it�s time to the major clean up in the garage - which suddenly looks very empty especially when all the parts was gone.
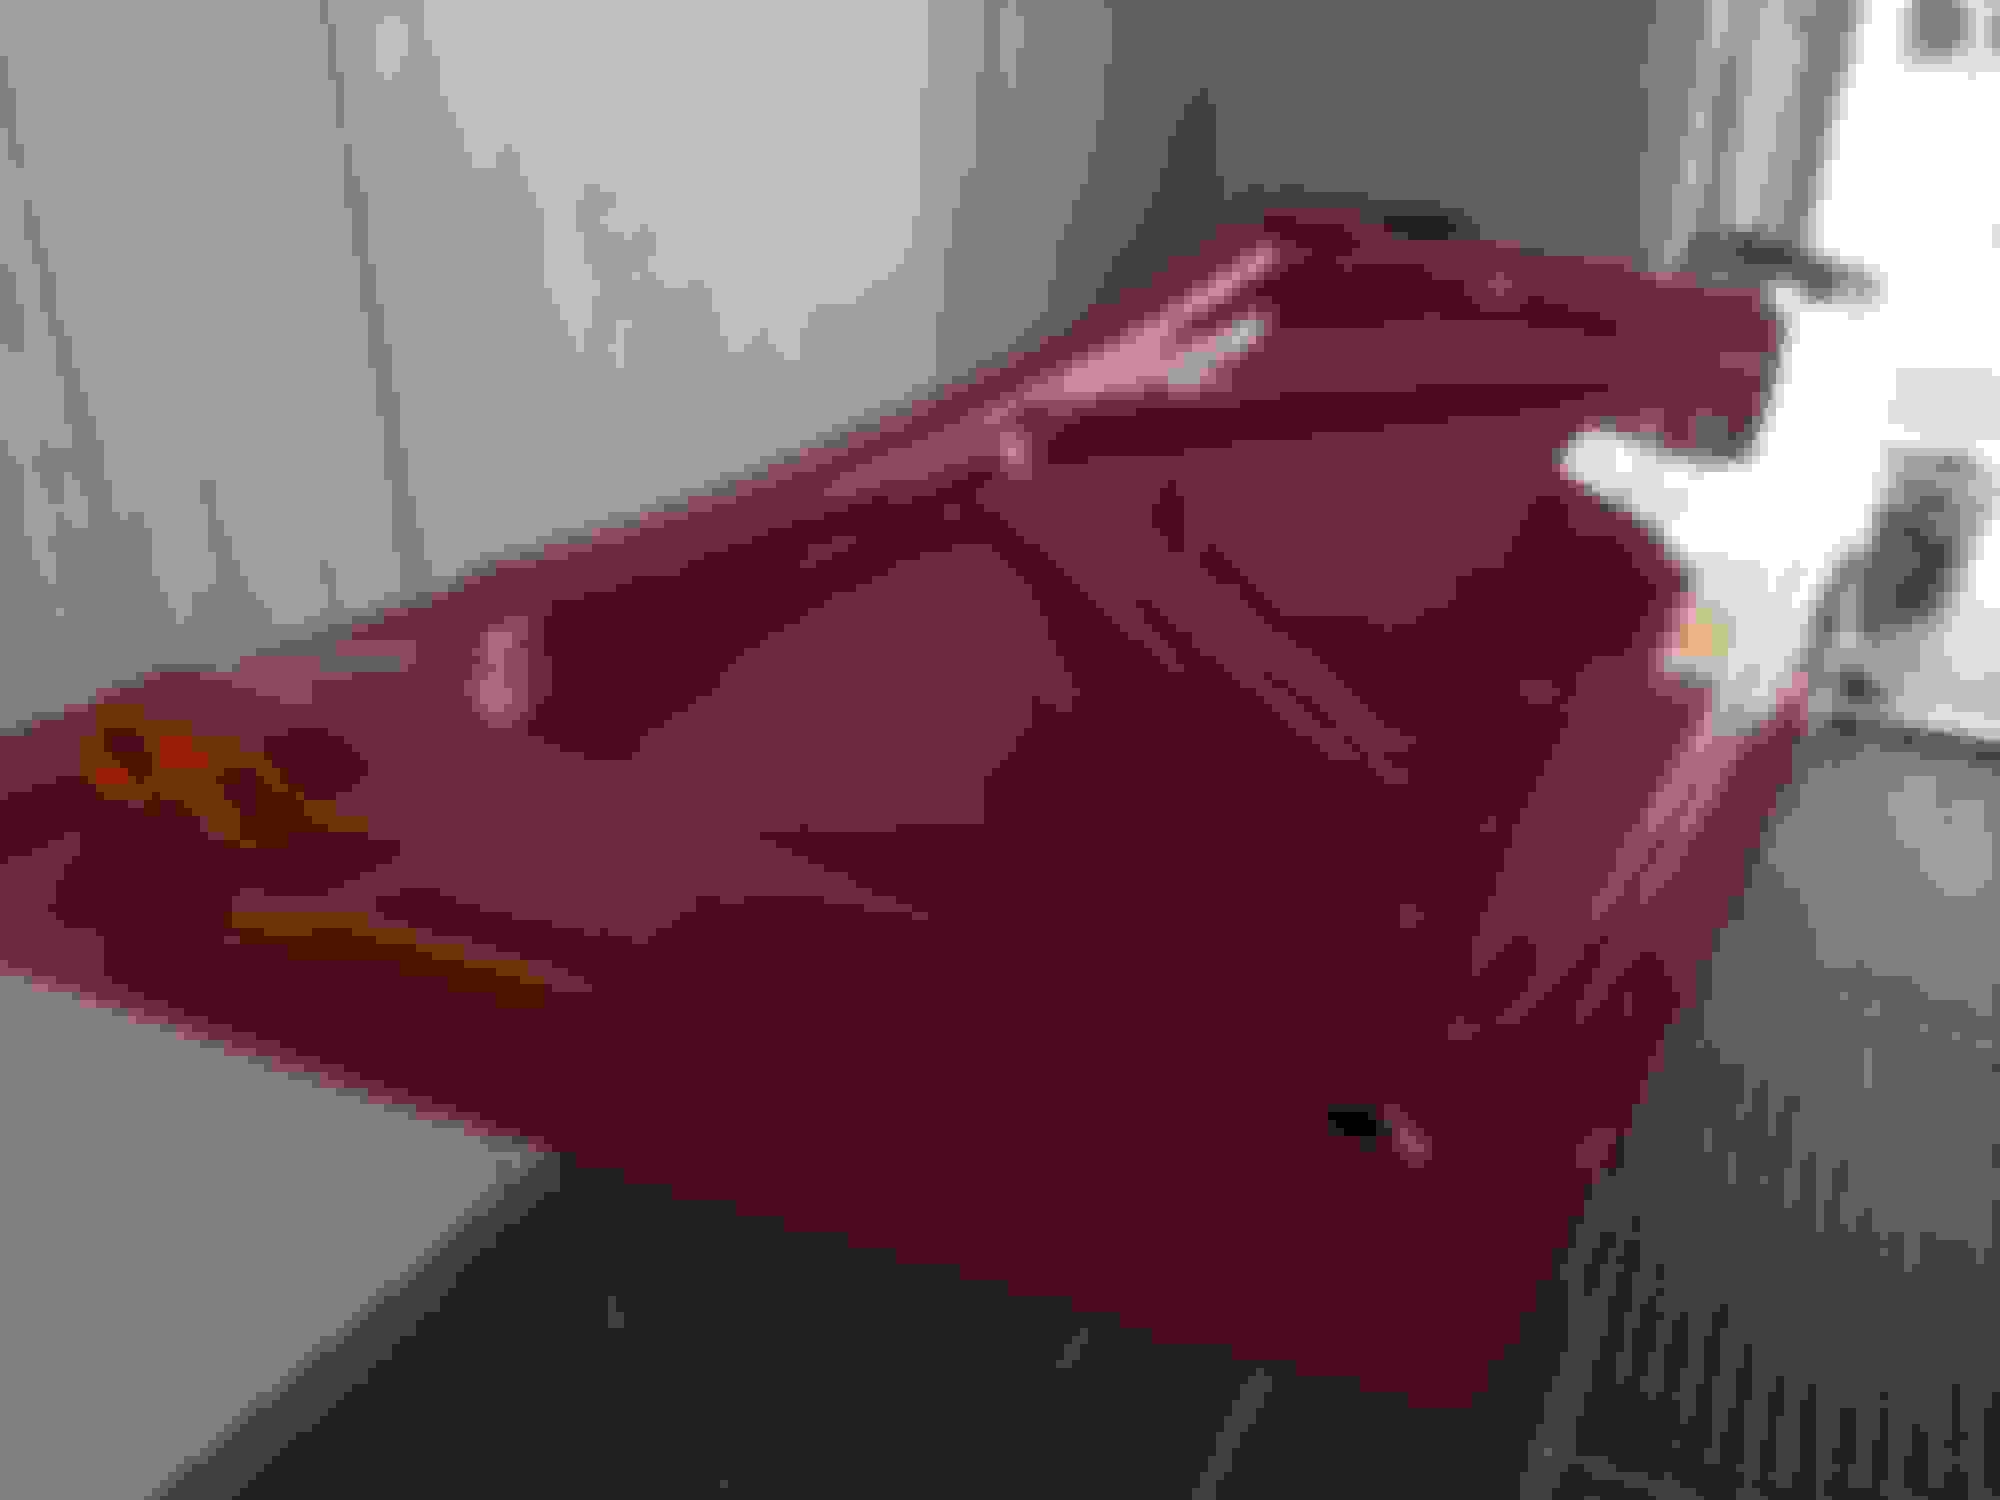
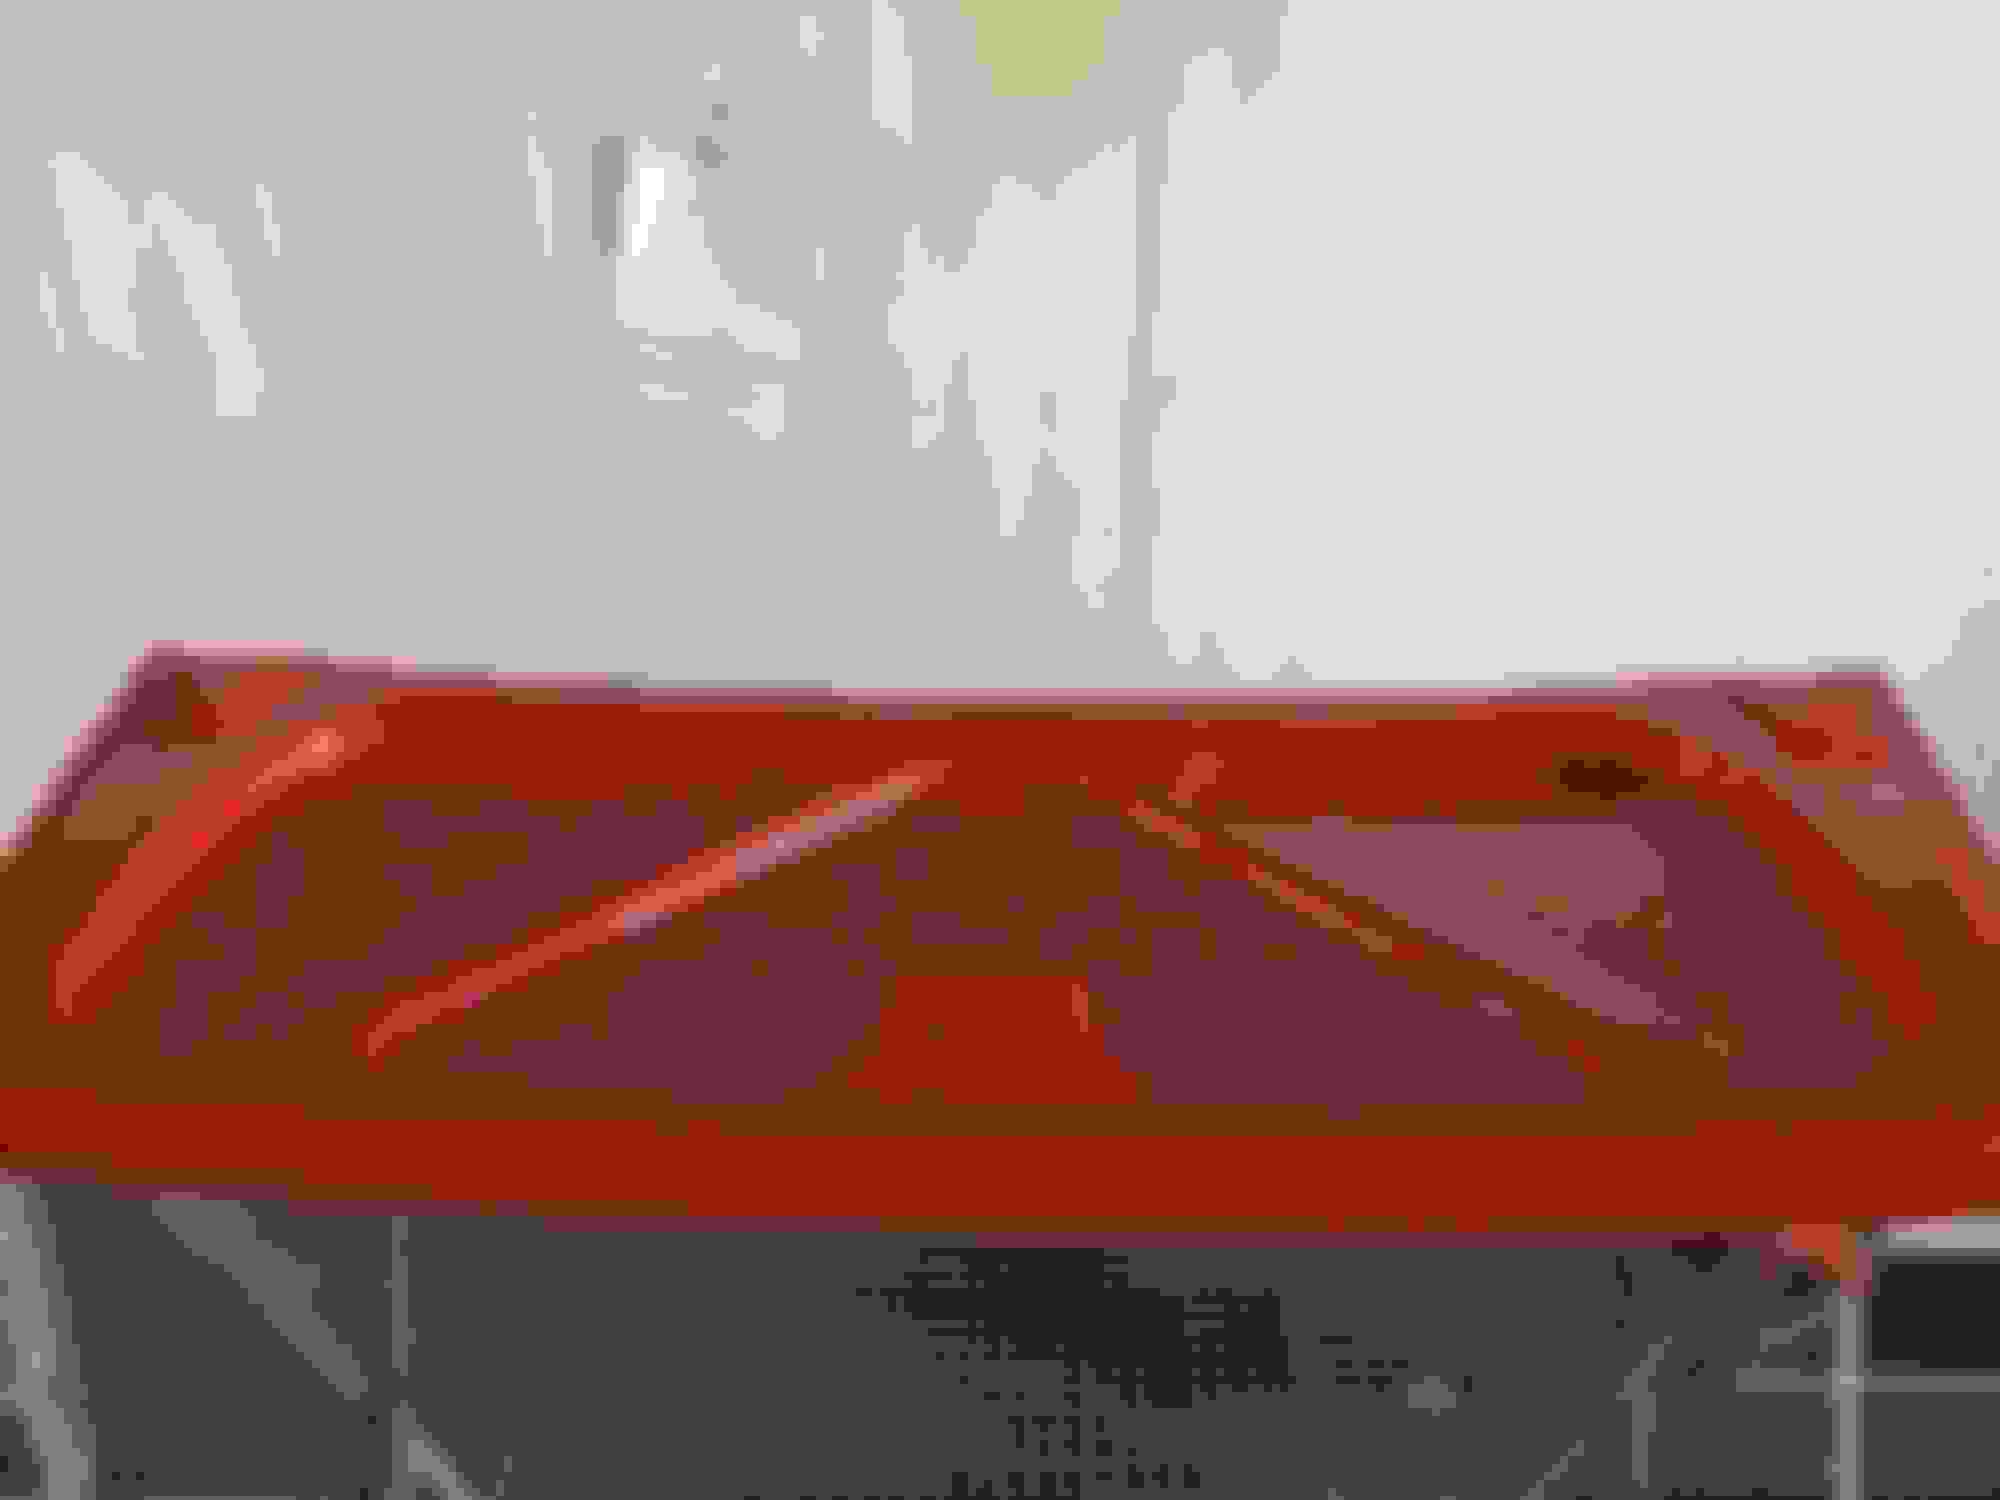
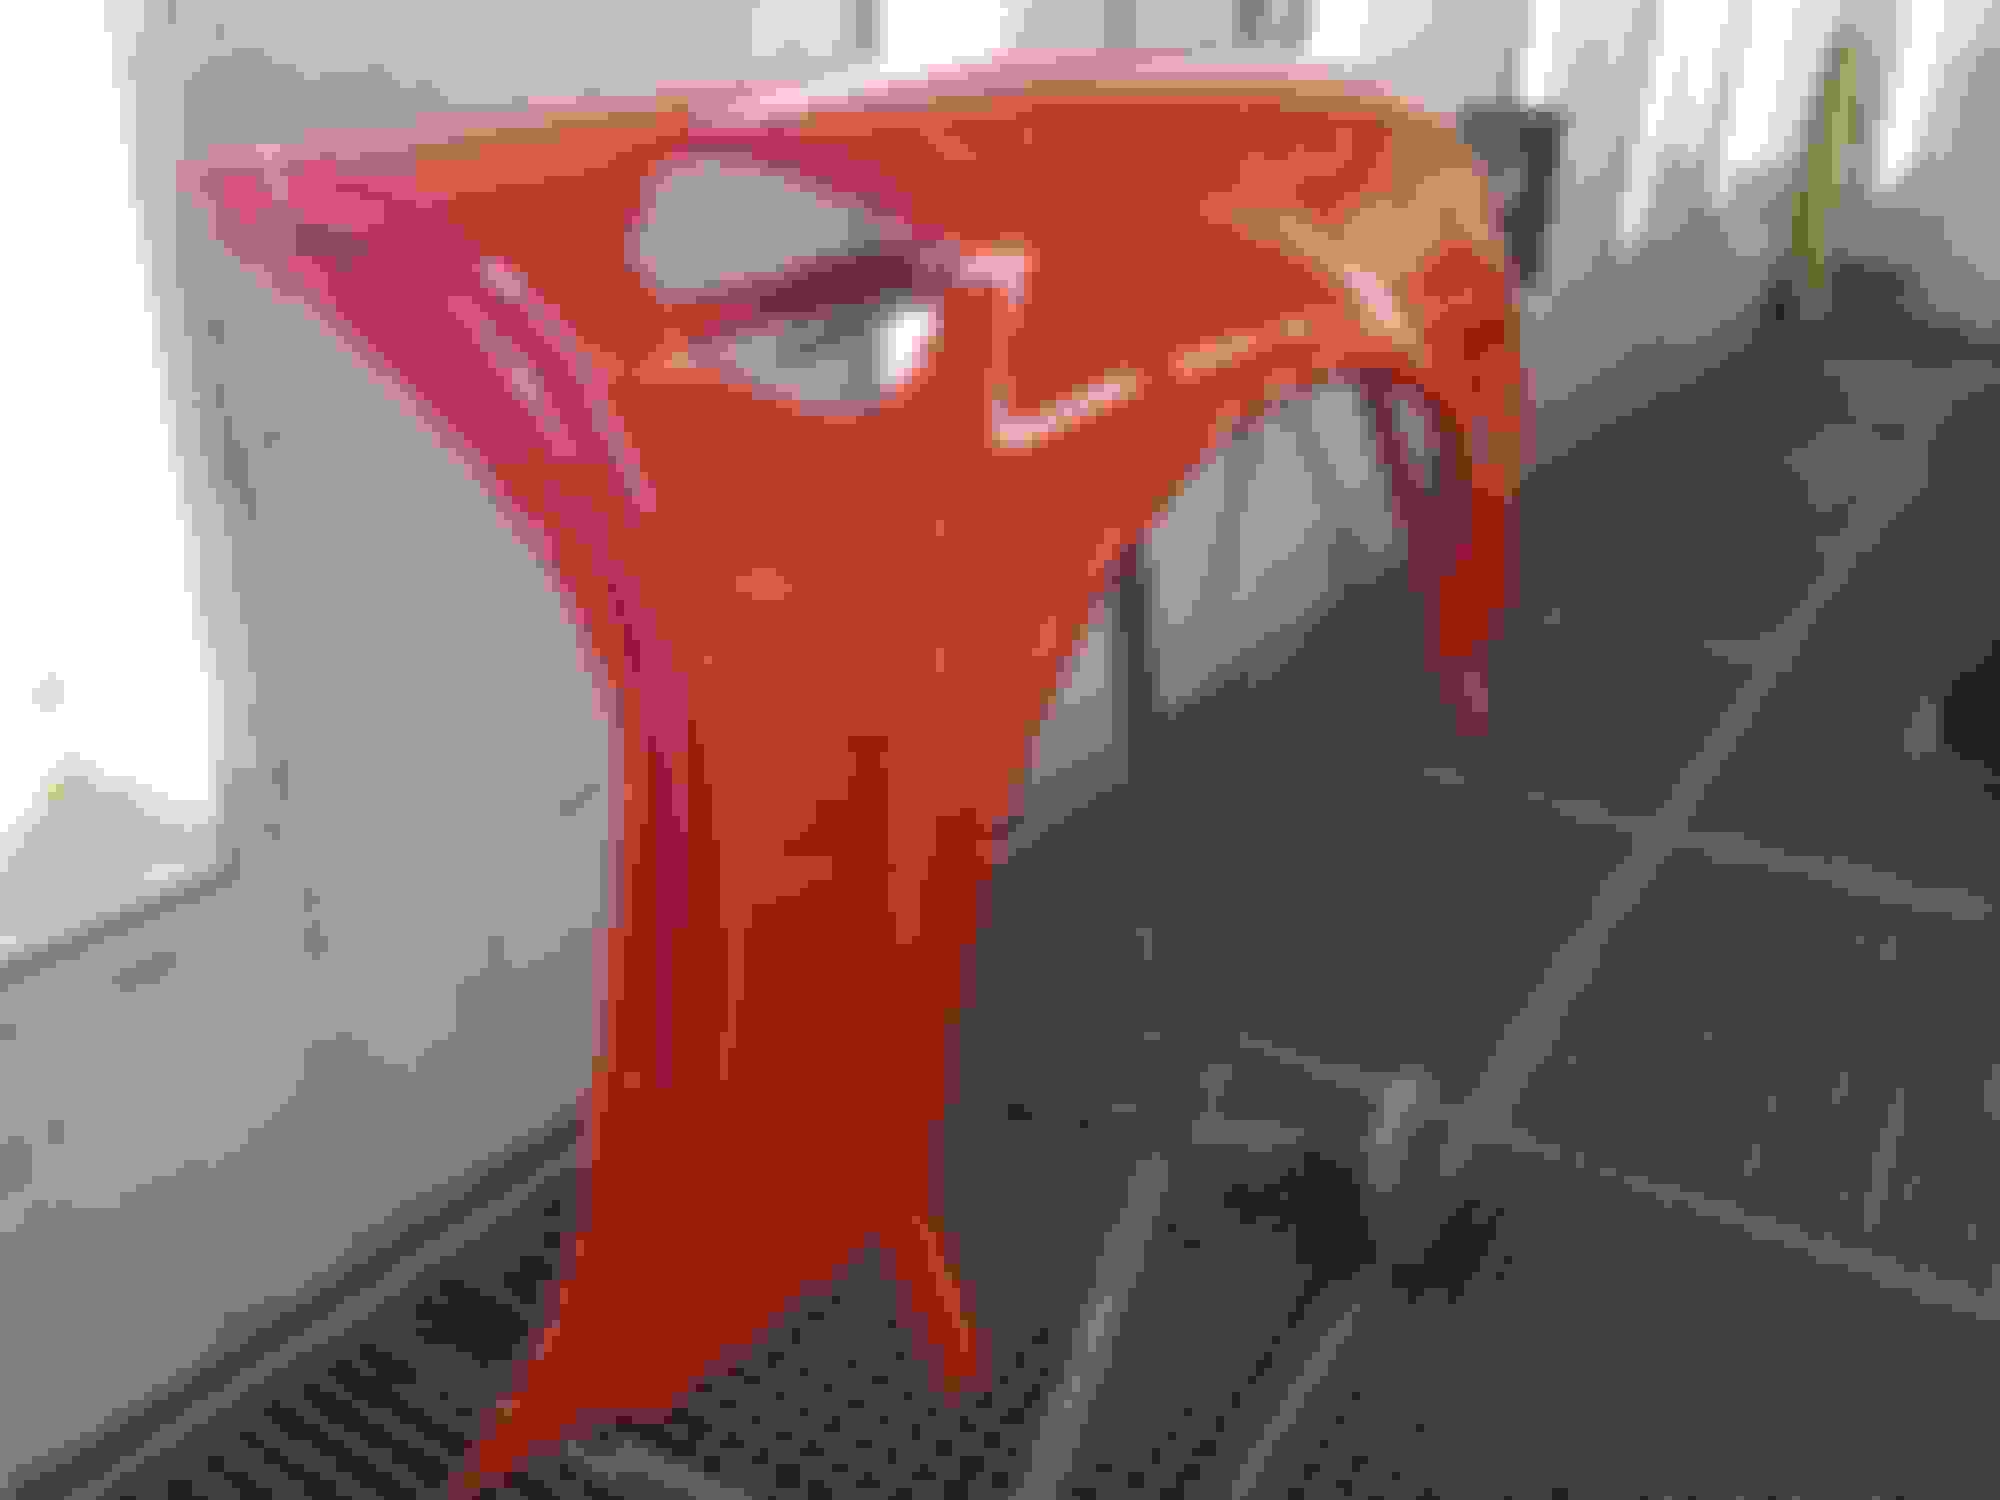
As written earlier the paint scheme will be "Lamborghini Rosso Mars Pearl" at the exterior - except for the roof and lower part of the rear bumper which will be "piano black". All the fiber glass cover for the engine compartment will be black too - except the 1-piece engine cover which will have the exterior color.
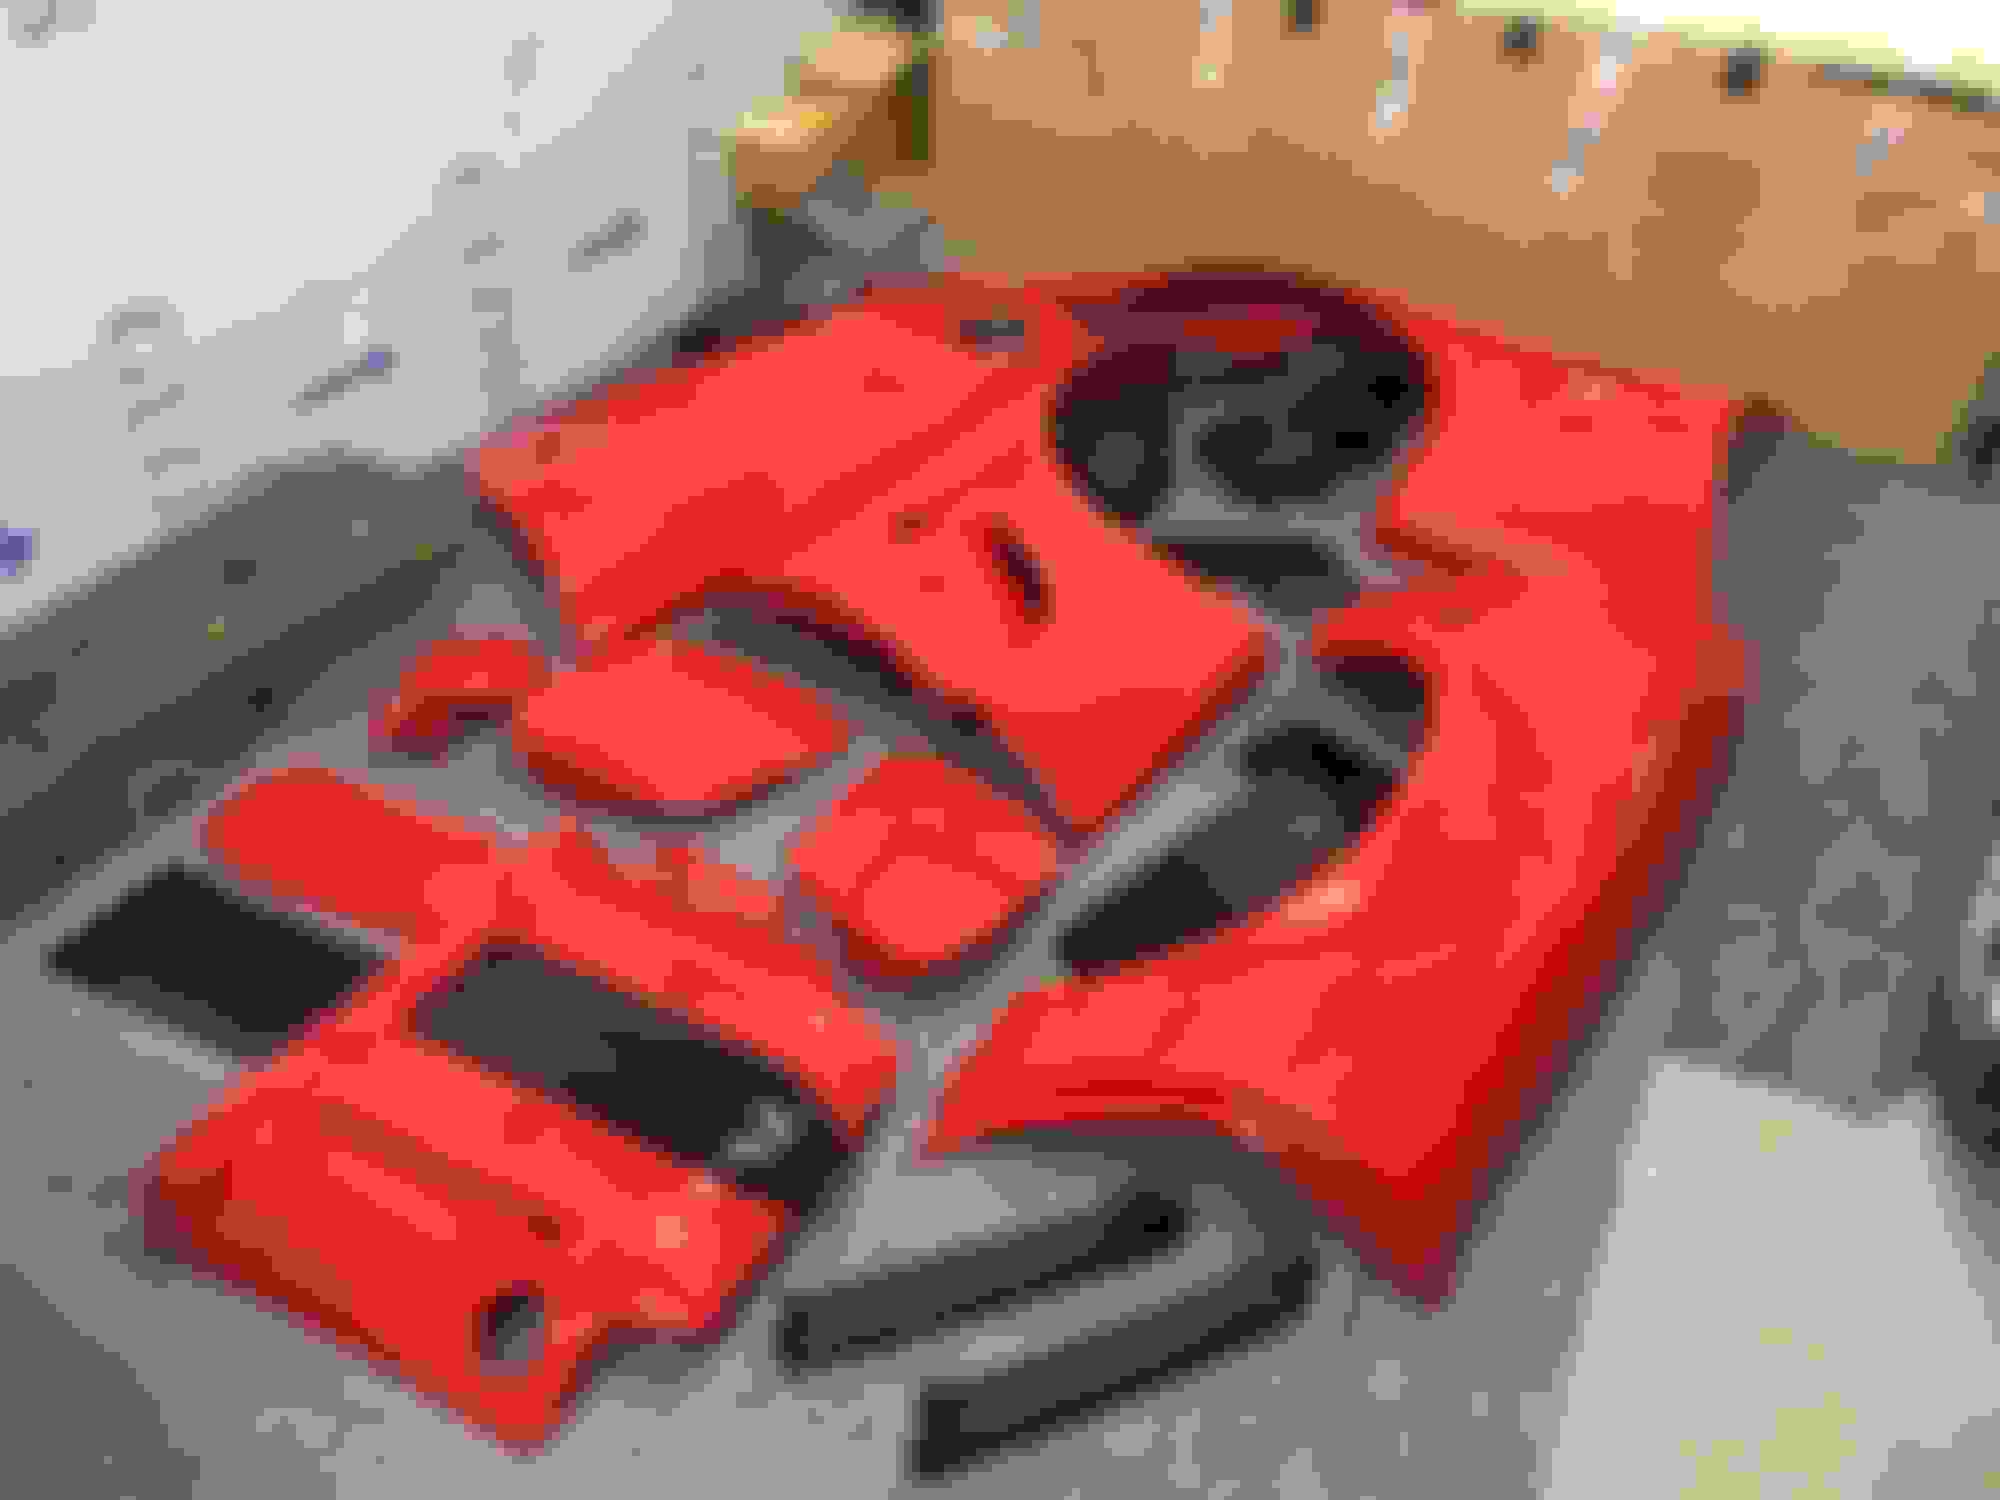
Here is some pictures from the process - please mind that all the parts still needs the final "buffing", but you�ll get the idea
Lots of hours invested in more sanding...
The hood and deck lid is finished on the backside. The photos dont do any justice - the surface is almost glass like and all my sanding really makes sense now...
One of the L5-fenders - still needs buffing...
The torch red door handle compared to the rosso mars - its hard to see in a photo - but the rosso mars is way more "deep red" and shiny. Next summer I�ll have to park next to a torch red C5 at a car meet, and take some photos.
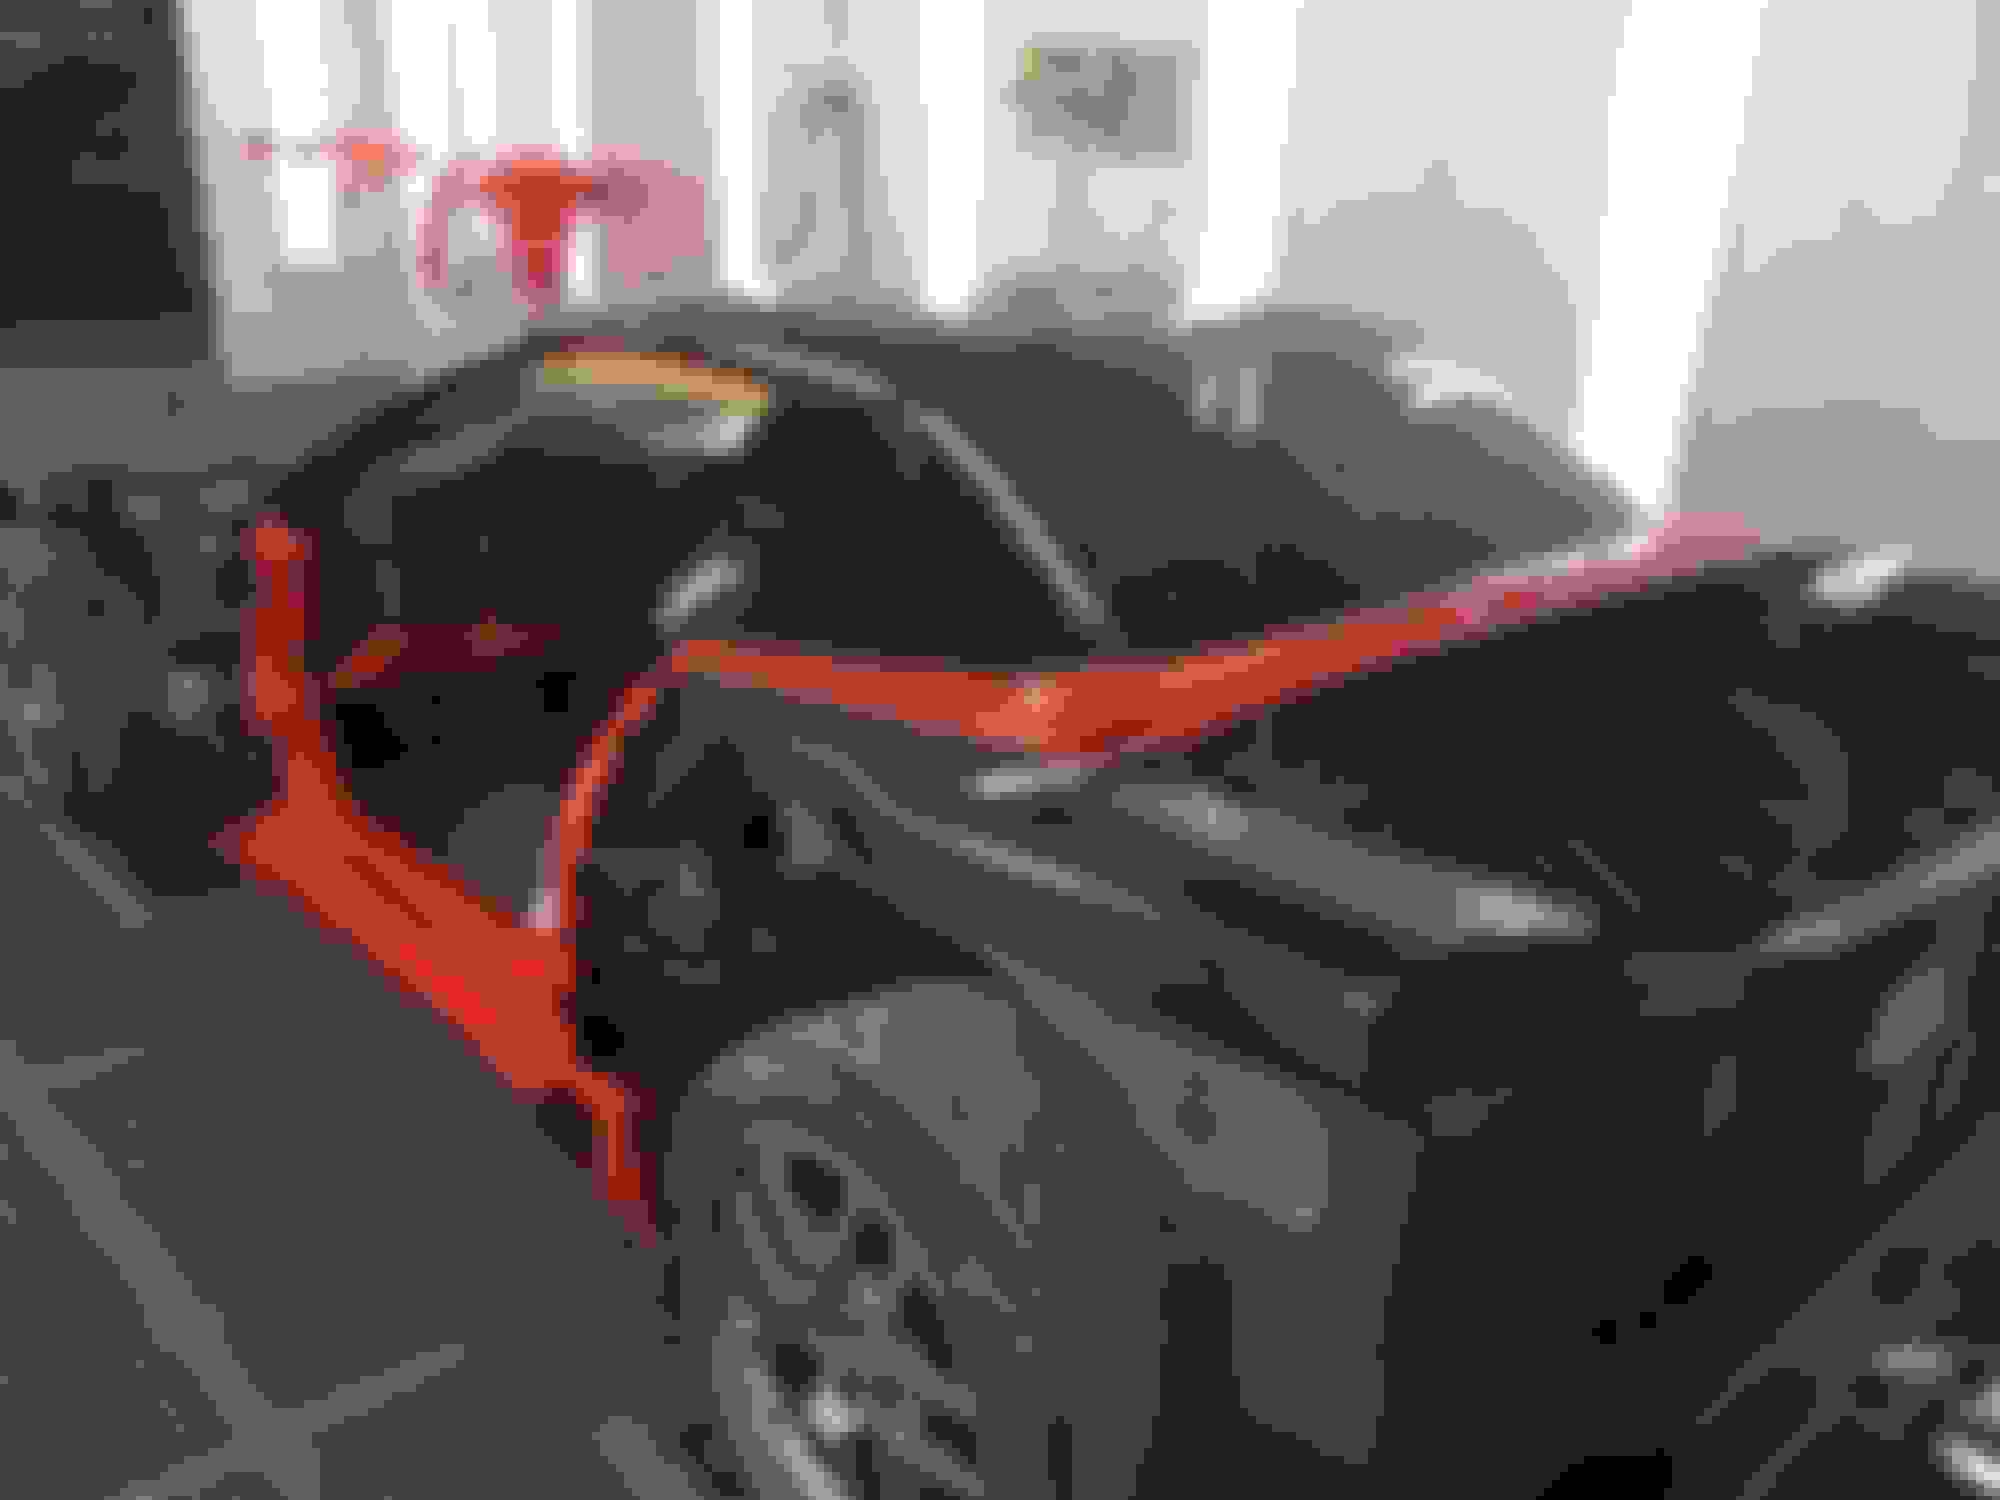
The body is finished - and I�m very satisfied with the result. The black roof makes it look lower and it will be even more characteristic when the wide L5-fenders and 345 tires are installed.
Tomorrow we need to finish buffing all the parts - and then everything is going back to my garage, and the re-assembly can begin
Reminds me of the 2 year project on my engine. There was a point in time when I thought I'd gone too far but in the end I smile everytime I look at the details.
Paint job is finished and all the parts are back in my garage again - and now the fun work can begin
In this light you really see the how glossy black roof - one of my favorite mods for this project
Some of the painted fenders and covers
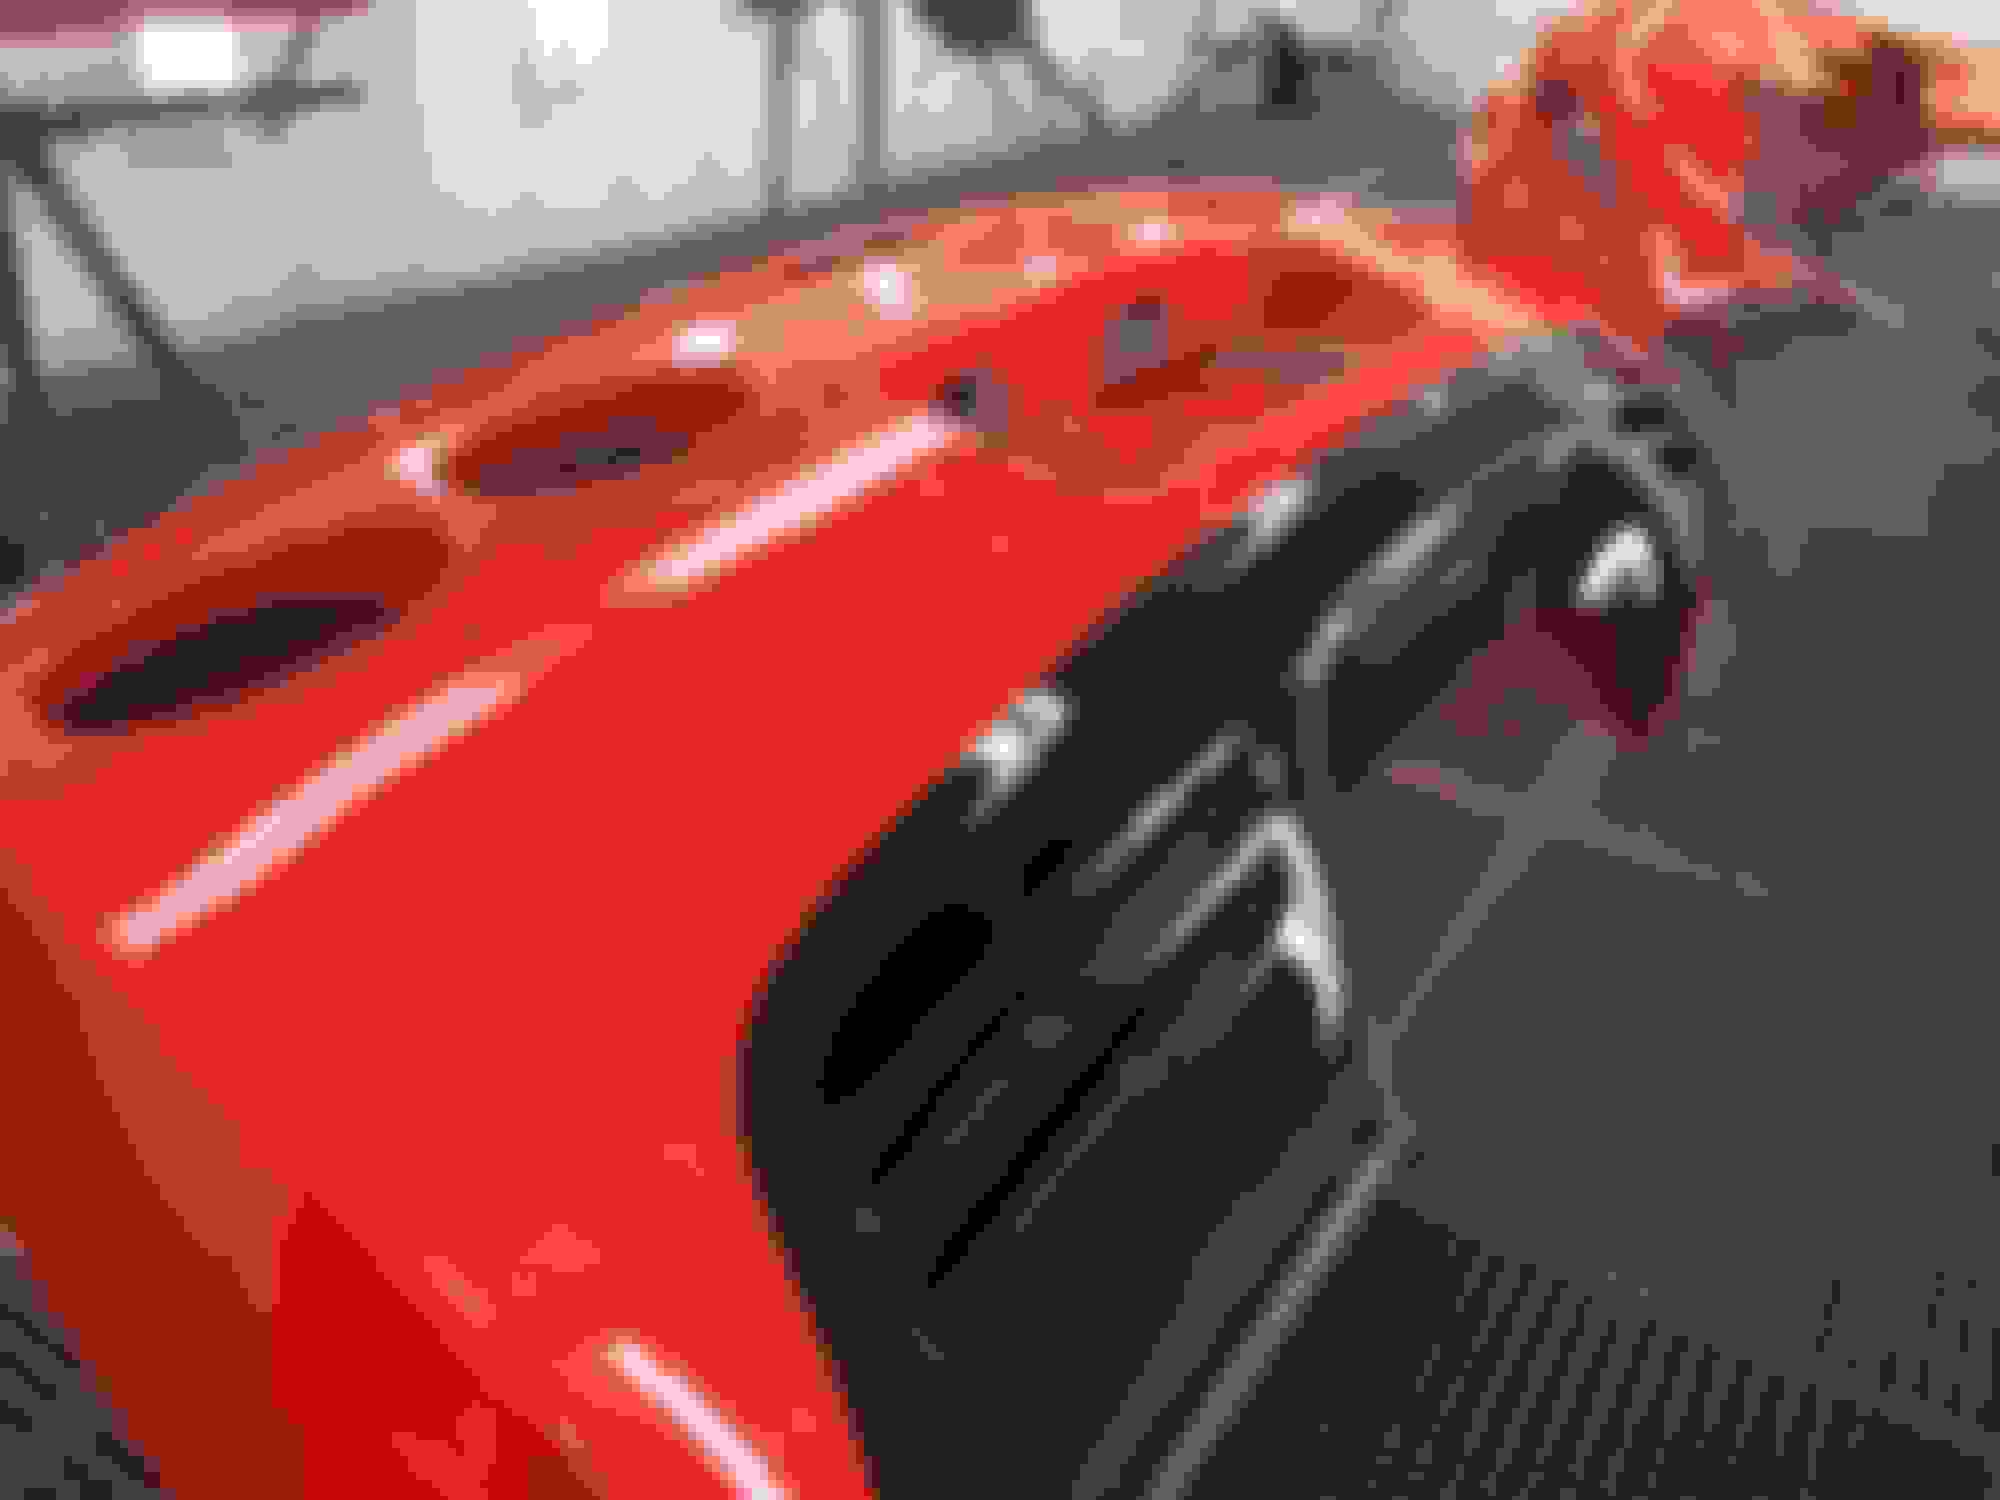
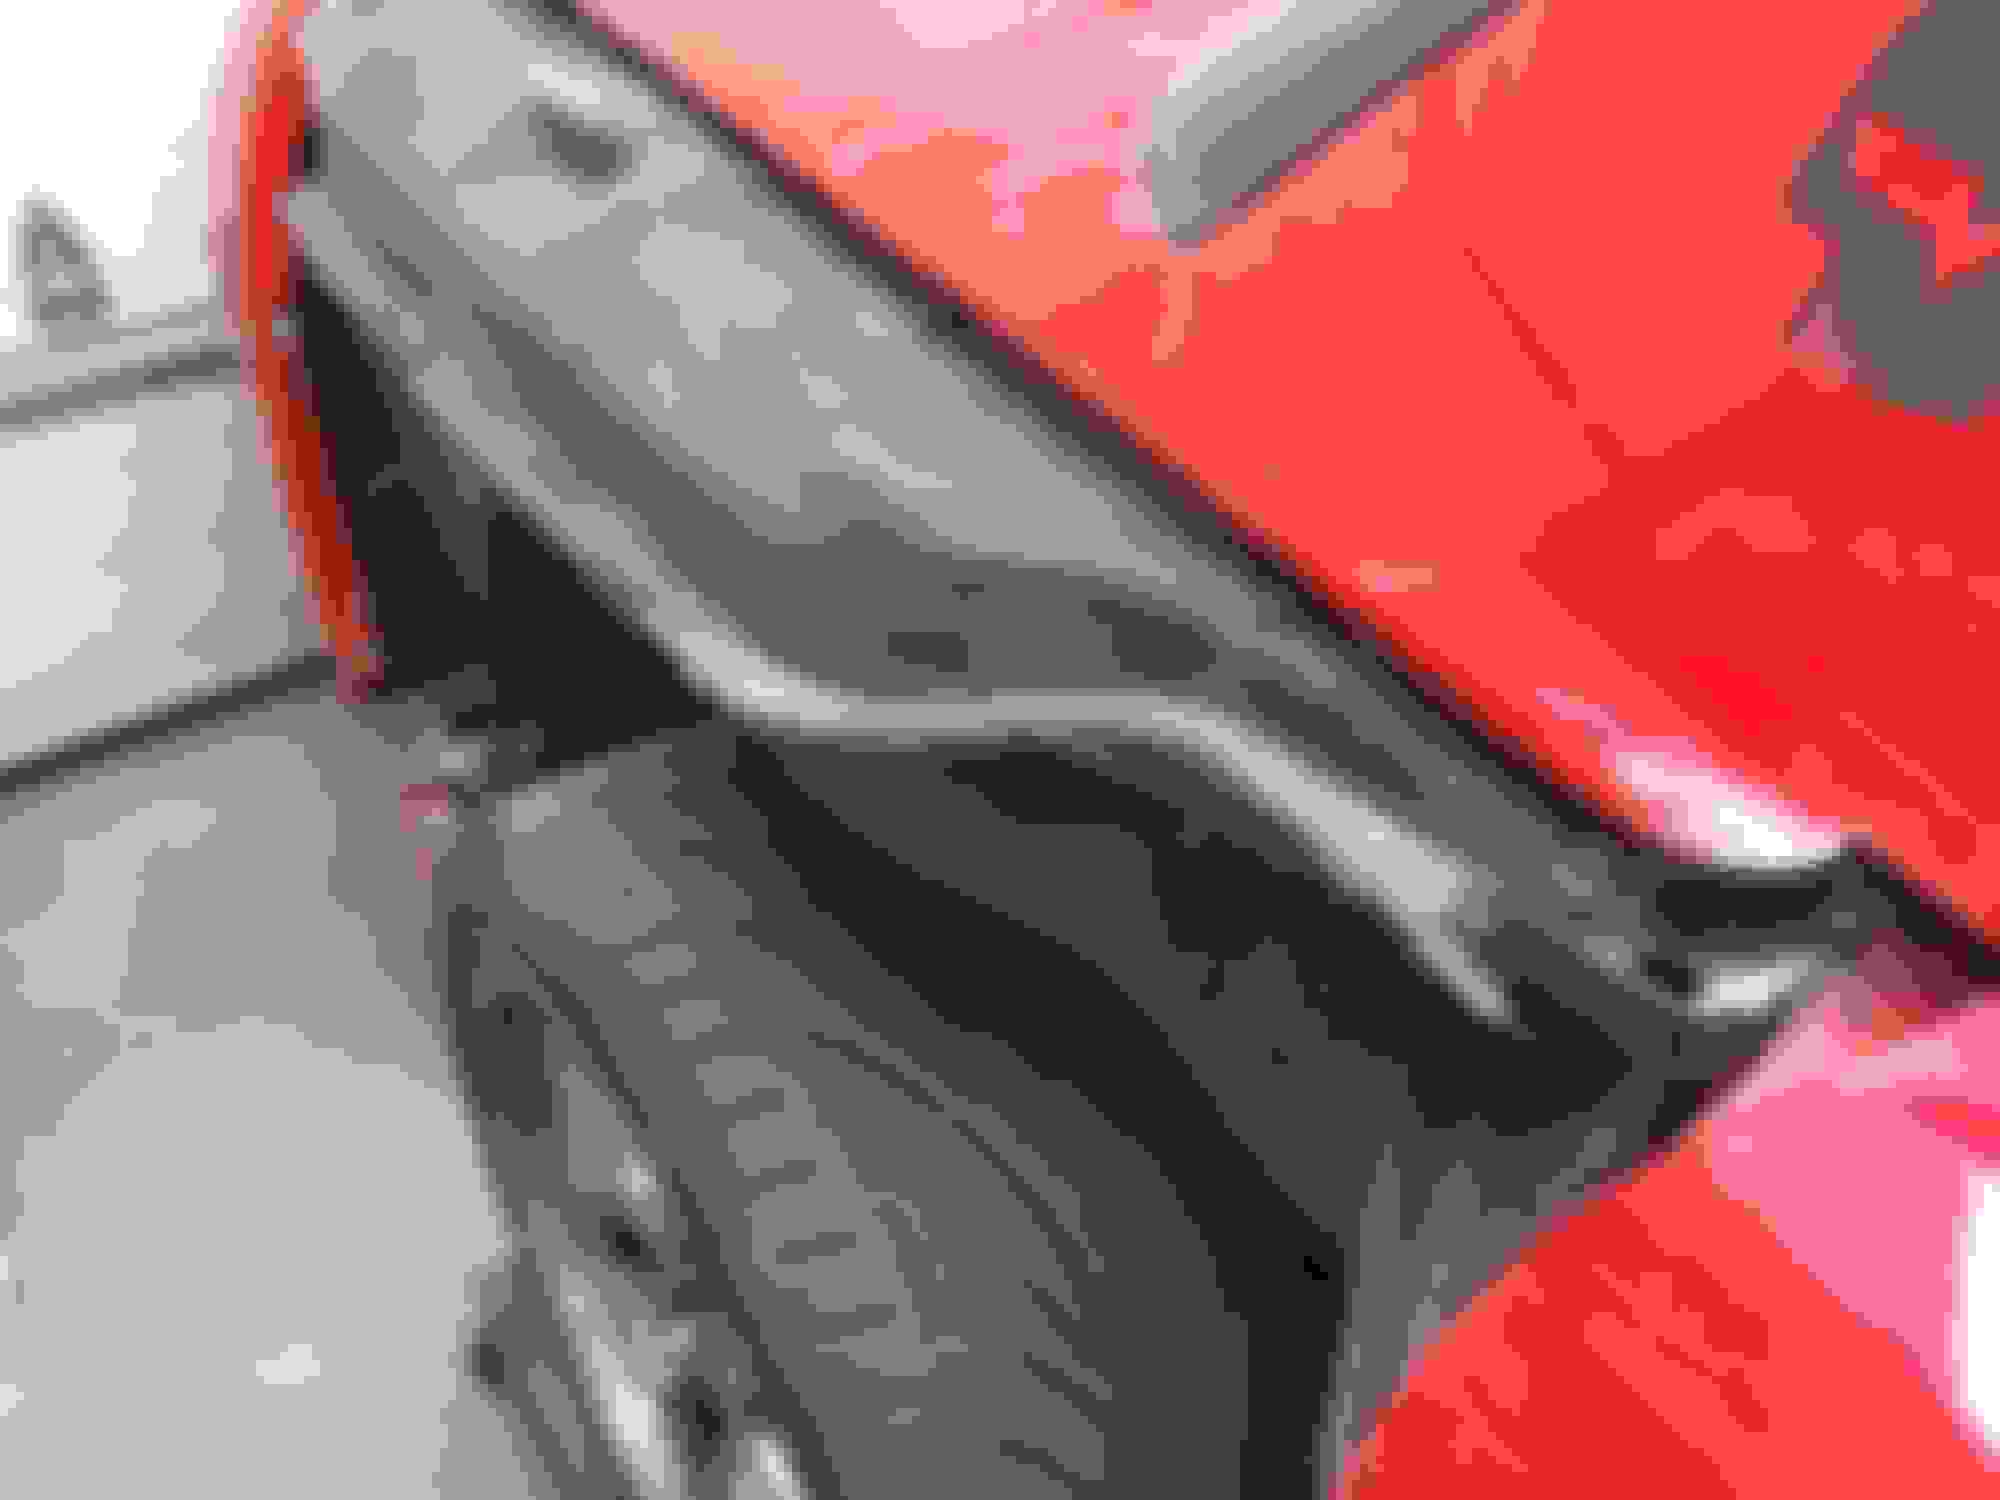
The rear bumper with black painted lower facia
The rear brake ducts - and yes, I�m aware that the paint will get ruined after some use, but its an easy part to "re-paint" - and it will look cool
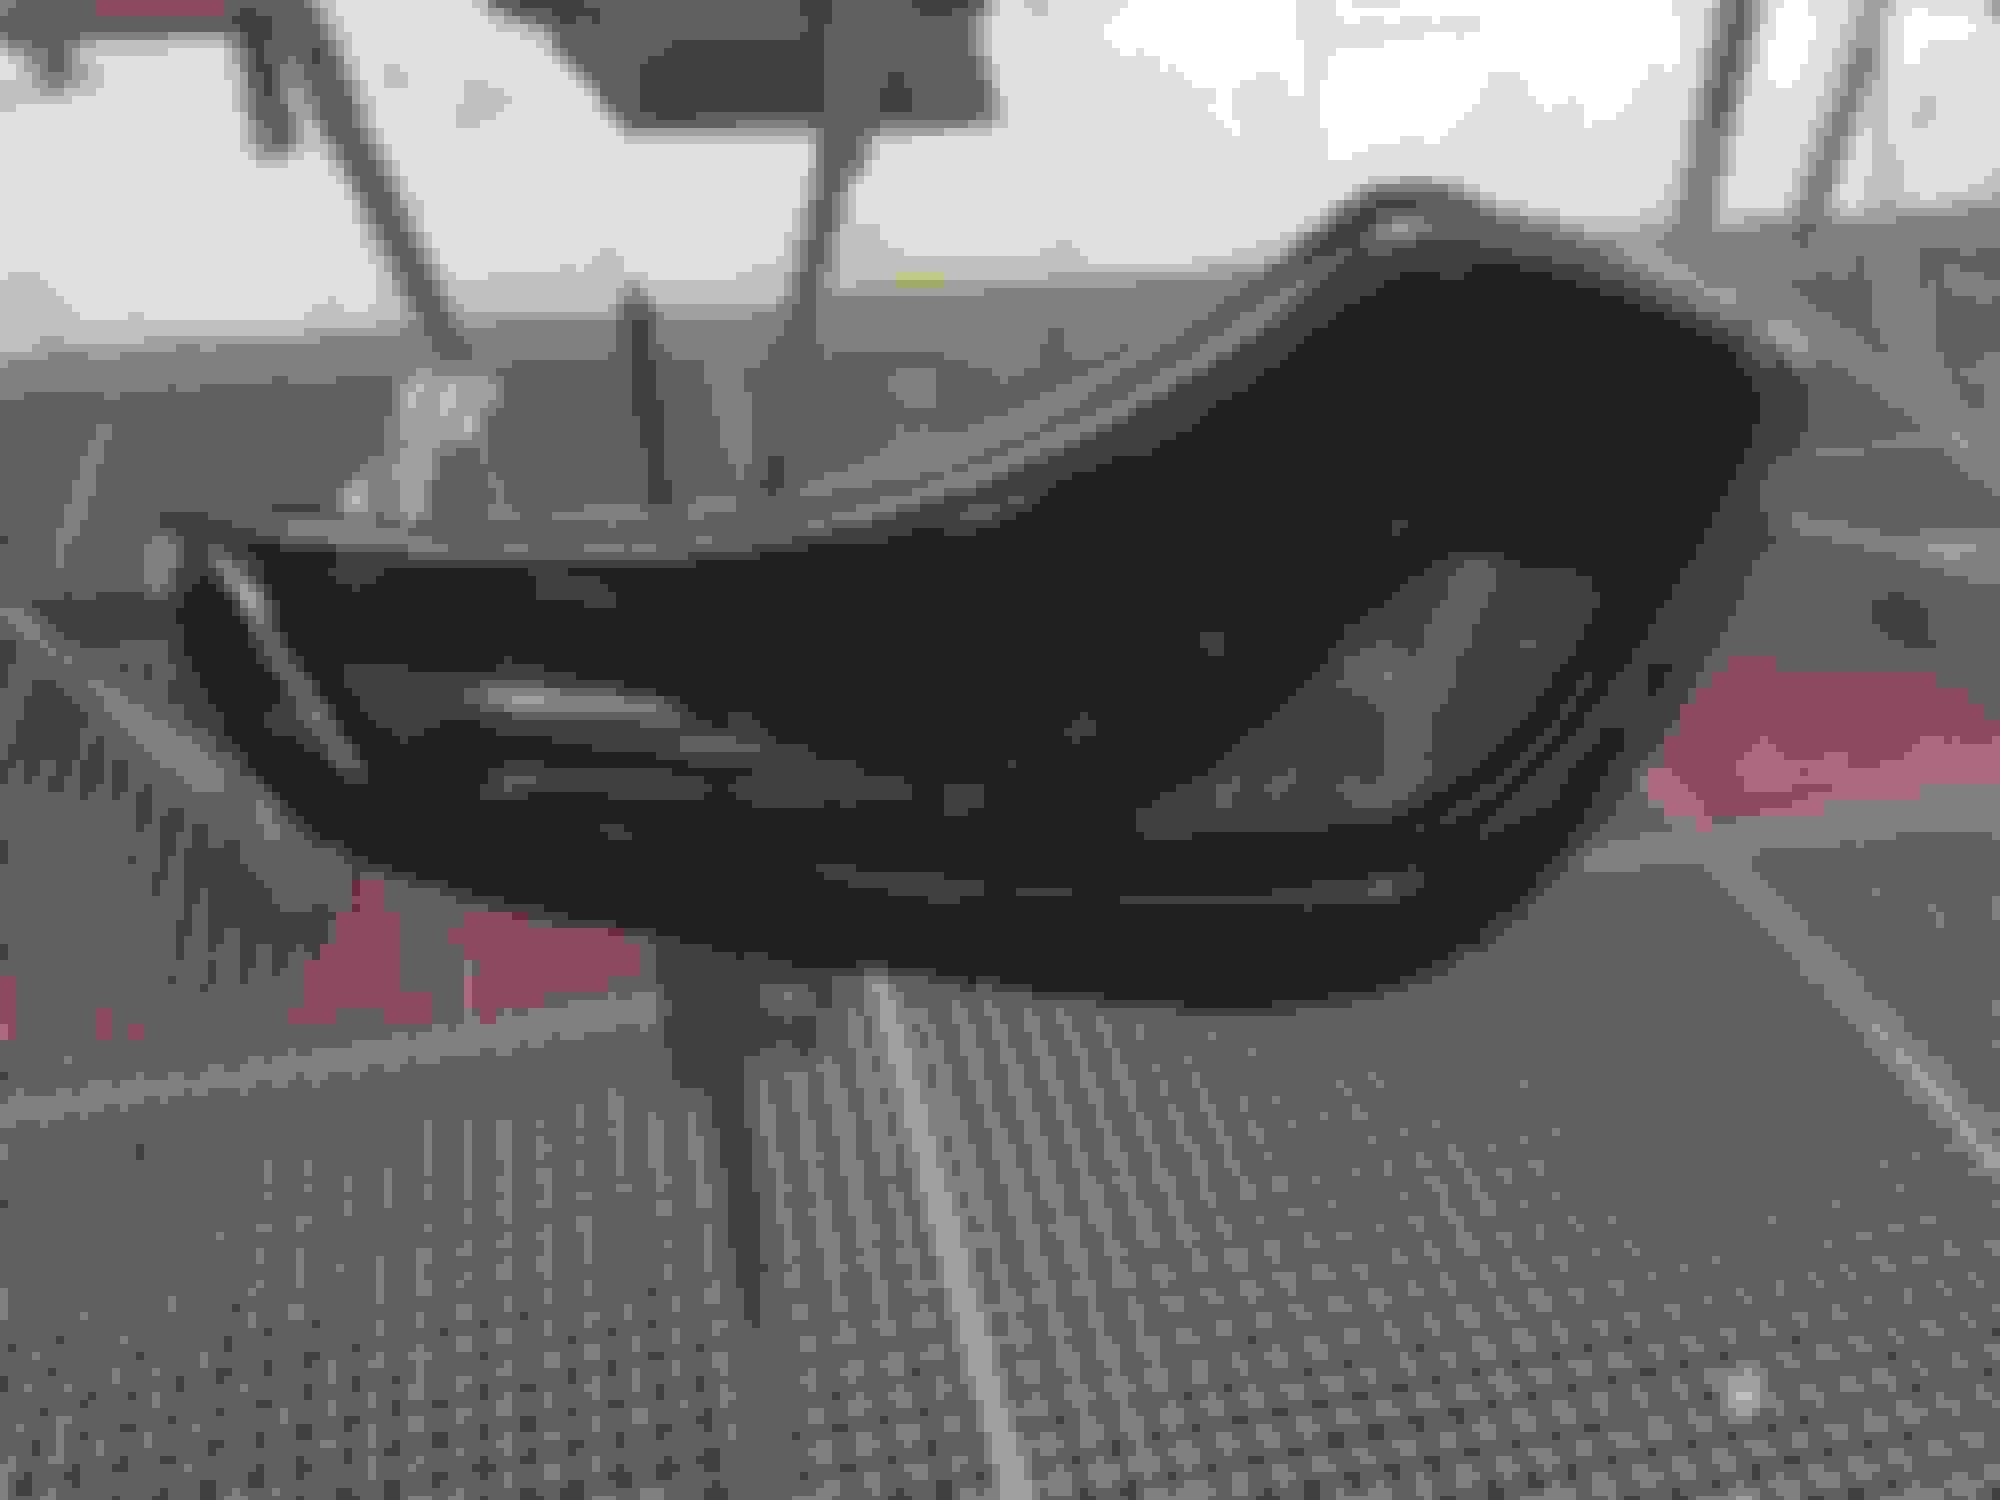
The carravaggio rear spoiler with a black area
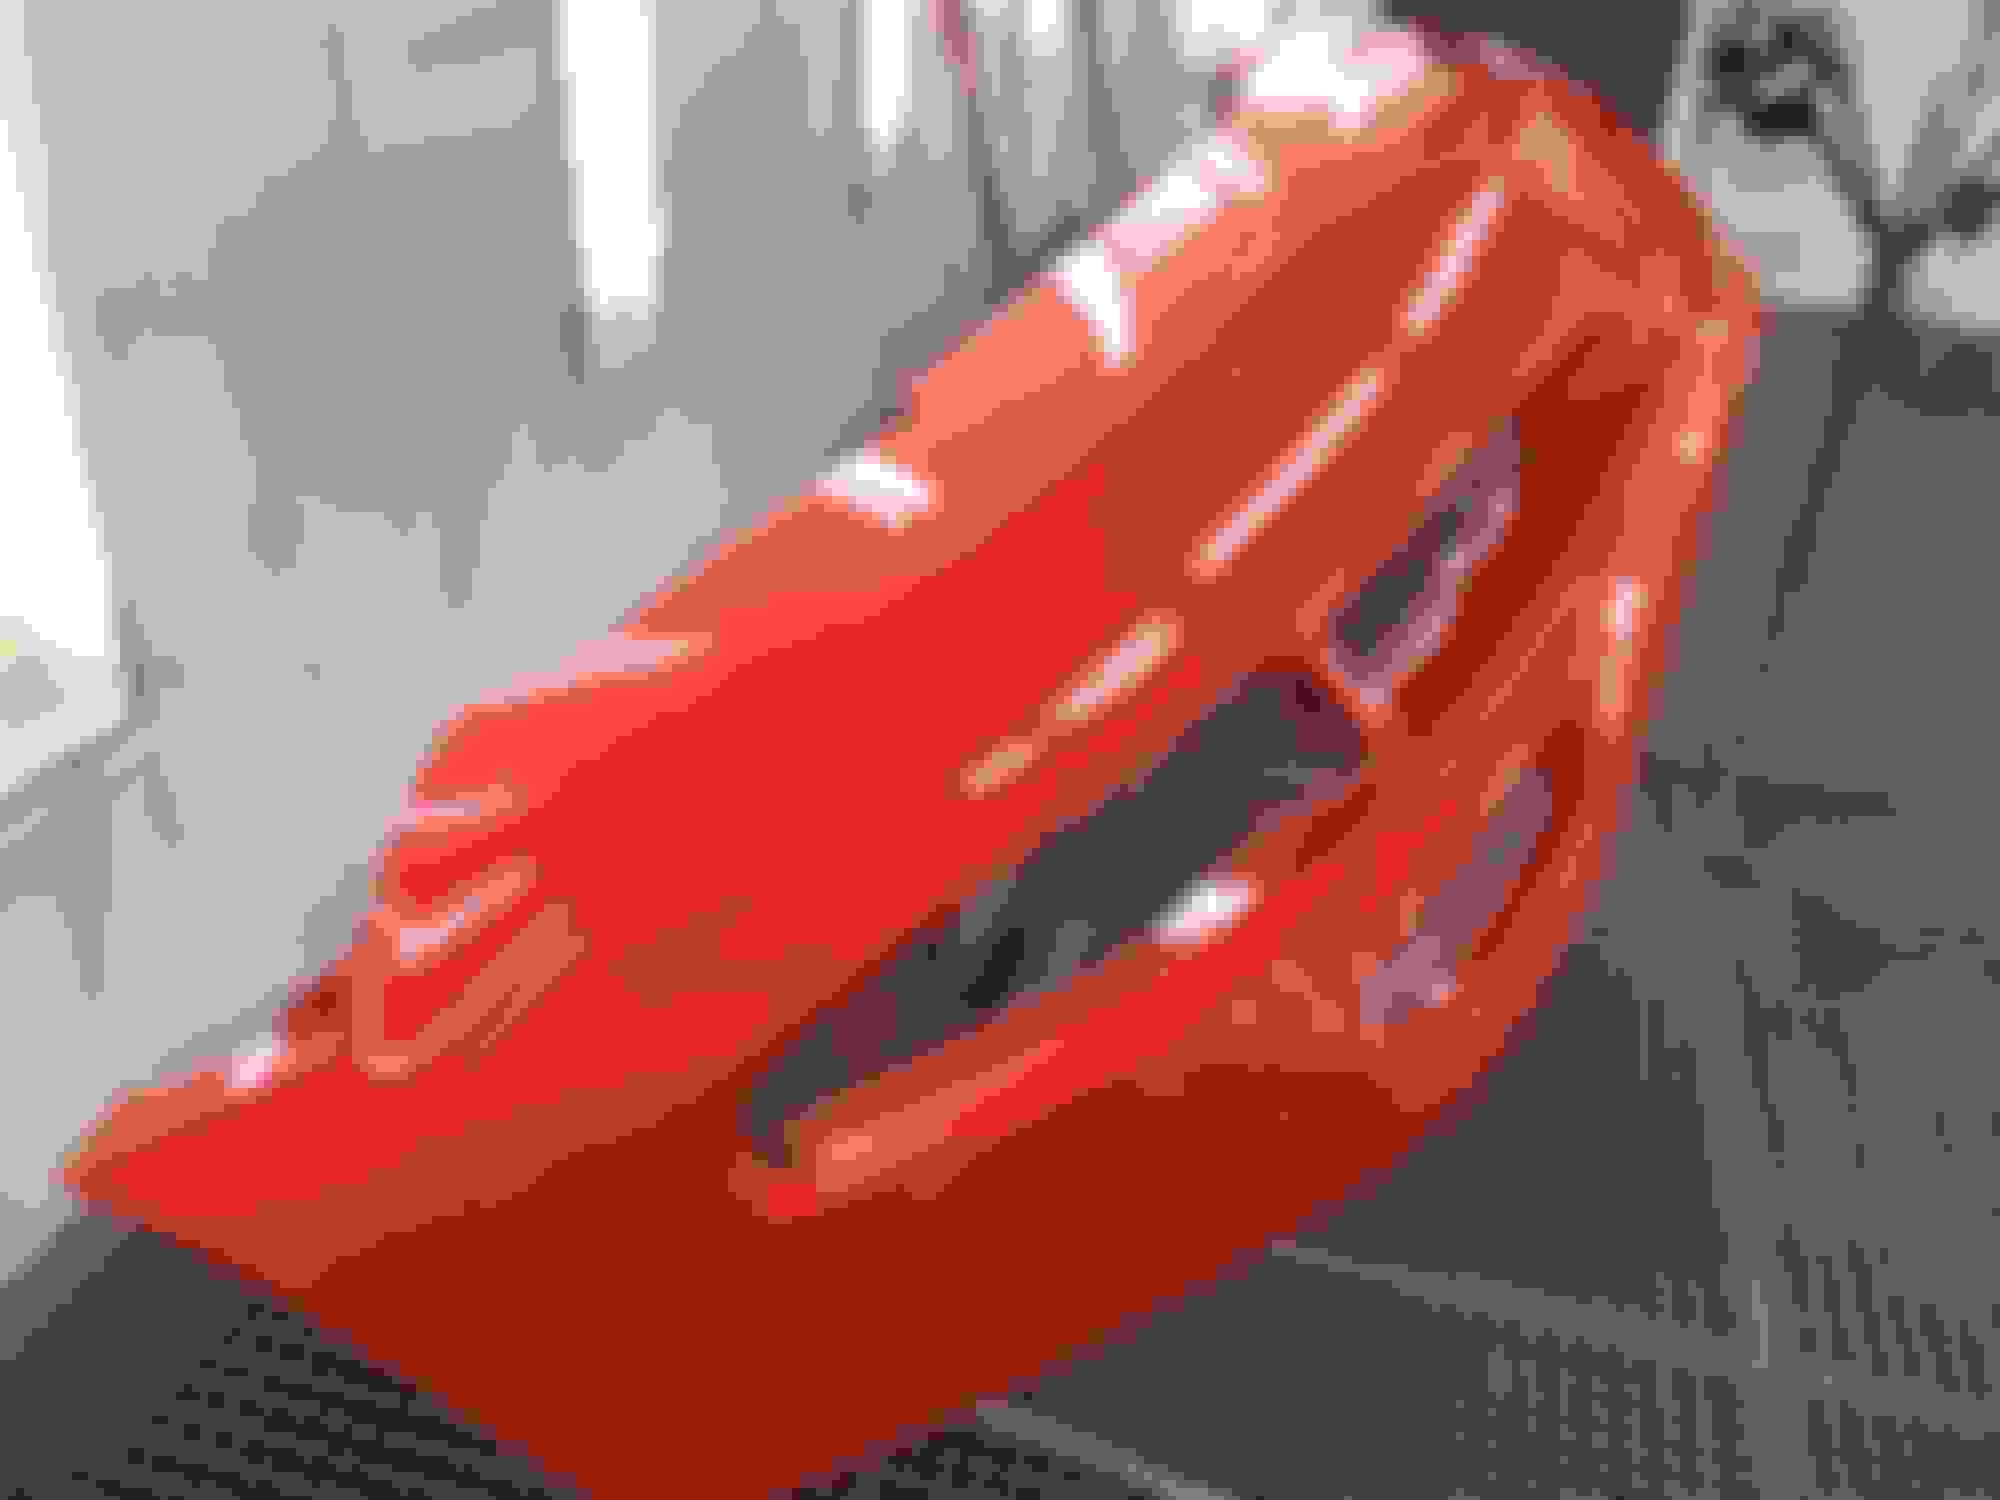
The hood and front bumper - clean and smooth
My "custom" front emblem - I�ve removed the circle and painted it black. IMHO it gives a custom touch, but you will still recognize the C5-element, instead of using emblems from C6/7.
The custom coolant cover turned out very smooth - and way better than the original product. I do look forward installing all the engine covers for a whole new look under the hood.
The rear brake ducts are going to take a beating. That will be the fastest aging part of anything. Mine have various rock chips and scrapes and I have no idea how they got there. Just normal driving.
The rear brake ducts are going to take a beating. That will be the fastest aging part of anything. Mine have various rock chips and scrapes and I have no idea how they got there. Just normal driving.
Yep mine are painted black and they are all chewed up, I definitely regret painting mine
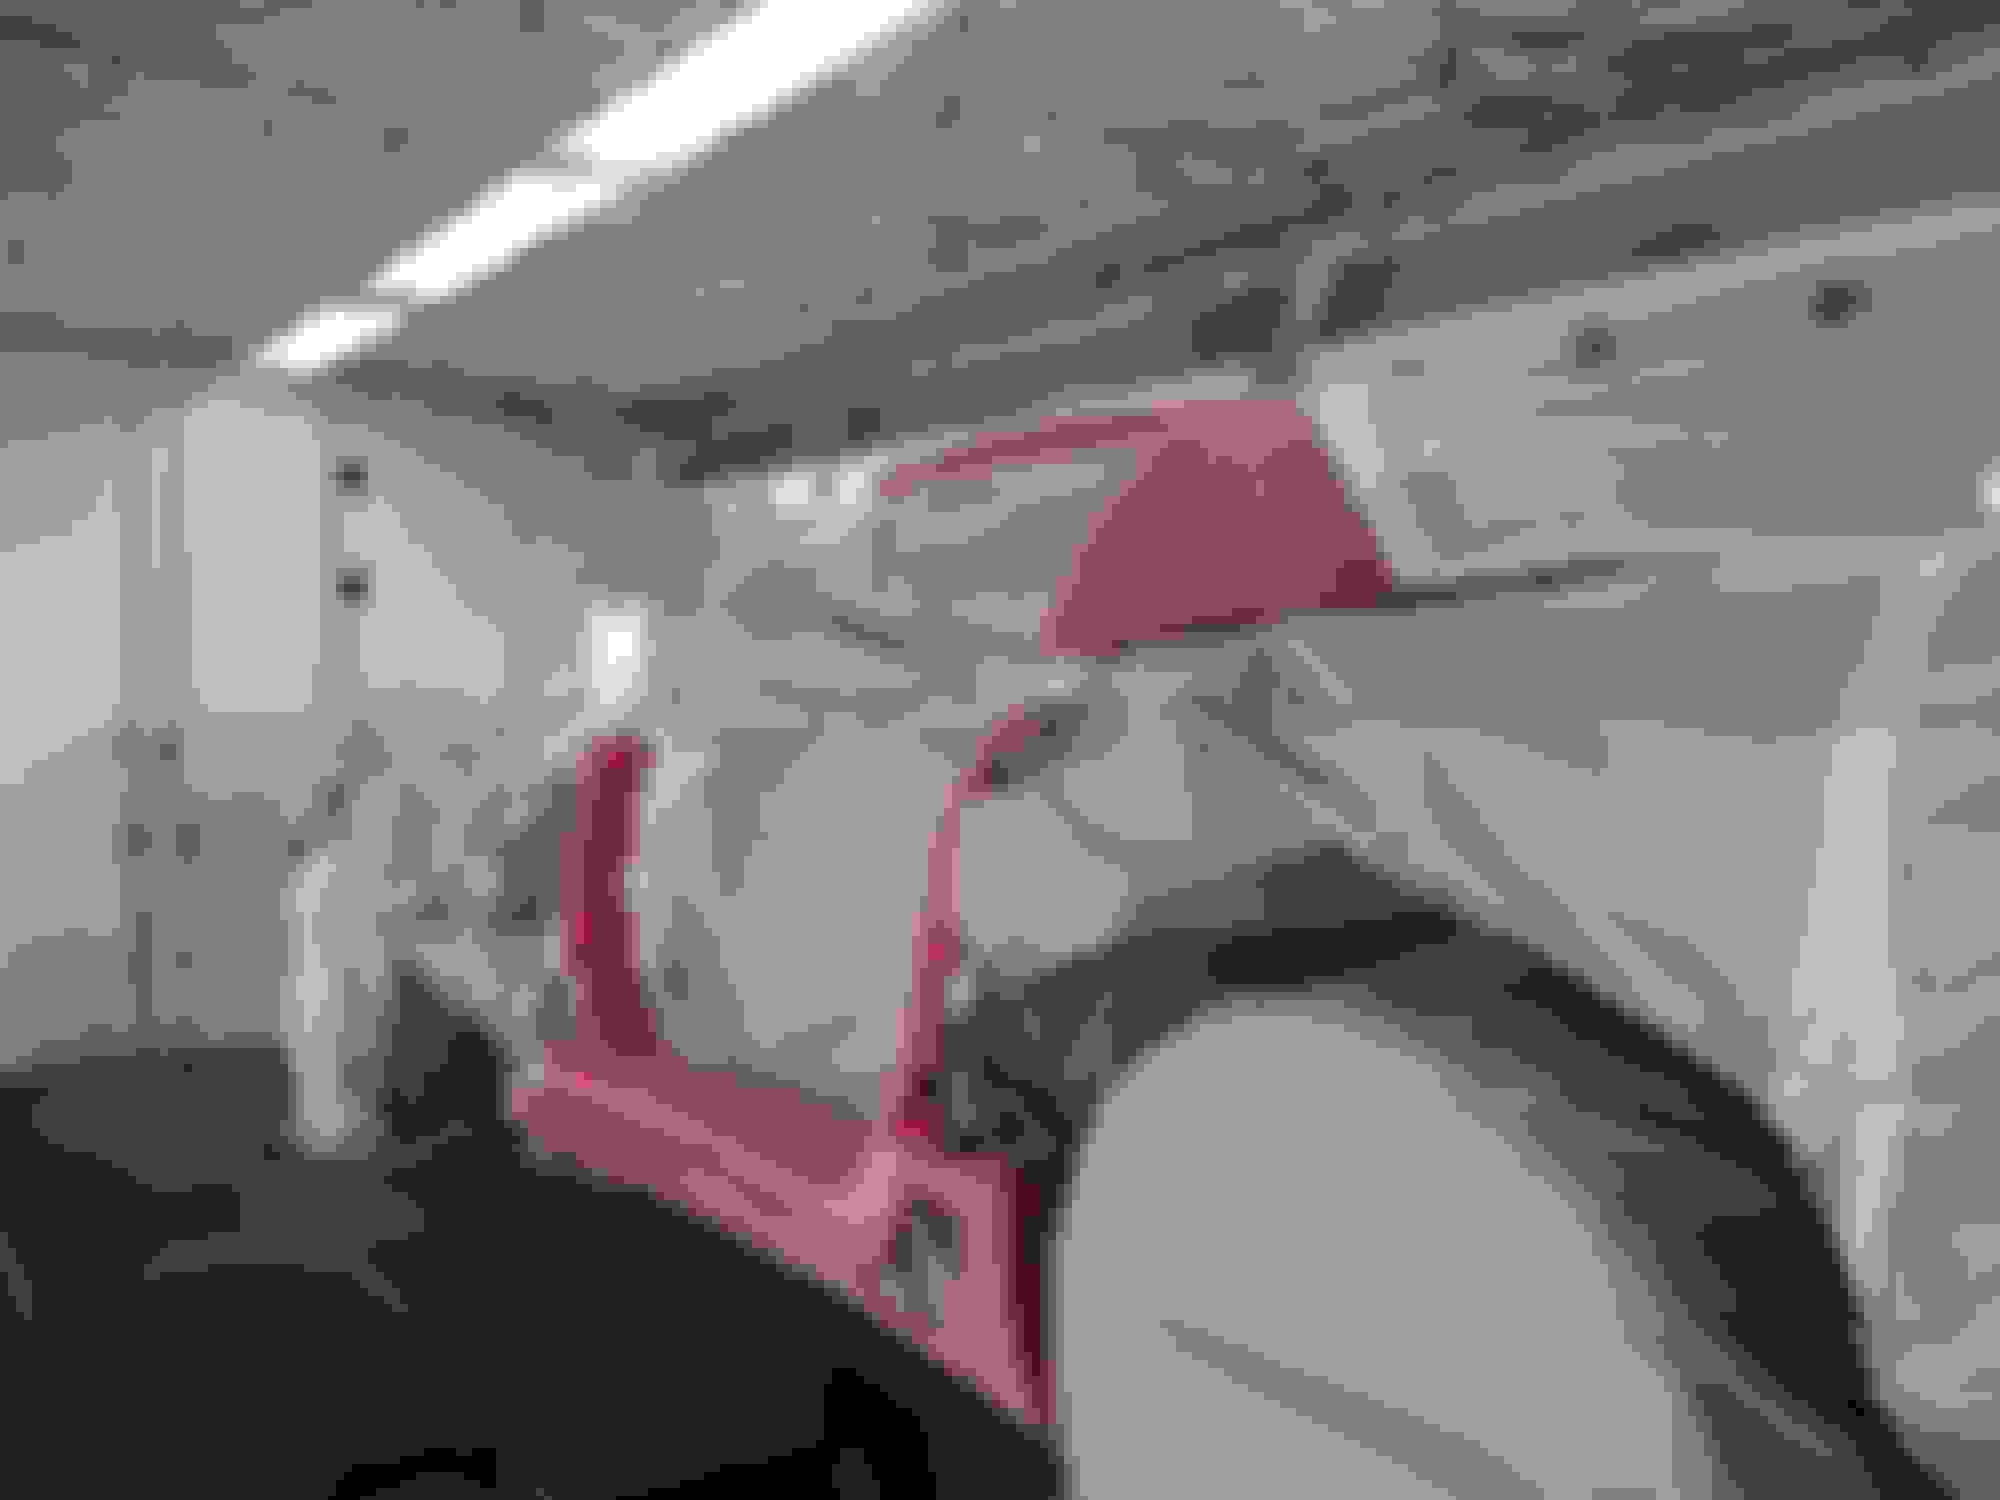
I would like to install an hidden antenna behind the rear bumper - is it possible just to remove the current antenna? (it seems to be grounded to one of the quarter panel/rear bumper bolts, which also connects to this wire that runs both on top of the left quarter paned and on top of the rear. I dont know the purpose of this wire - some says its the key fob antenna and some says its for the radio antenna?
Have any of you removed your antenna - and have any good advices?
I would really like to do it the right way before assembling the rear panels.
I've unscrewed the antenna itself and put a black rubber nub to slip over the threads. Weak radio stations aren't as clear in some areas but I don't listen to the radio much anyway when I'm driving this car.
I've unscrewed the antenna itself and put a black rubber nub to slip over the threads.
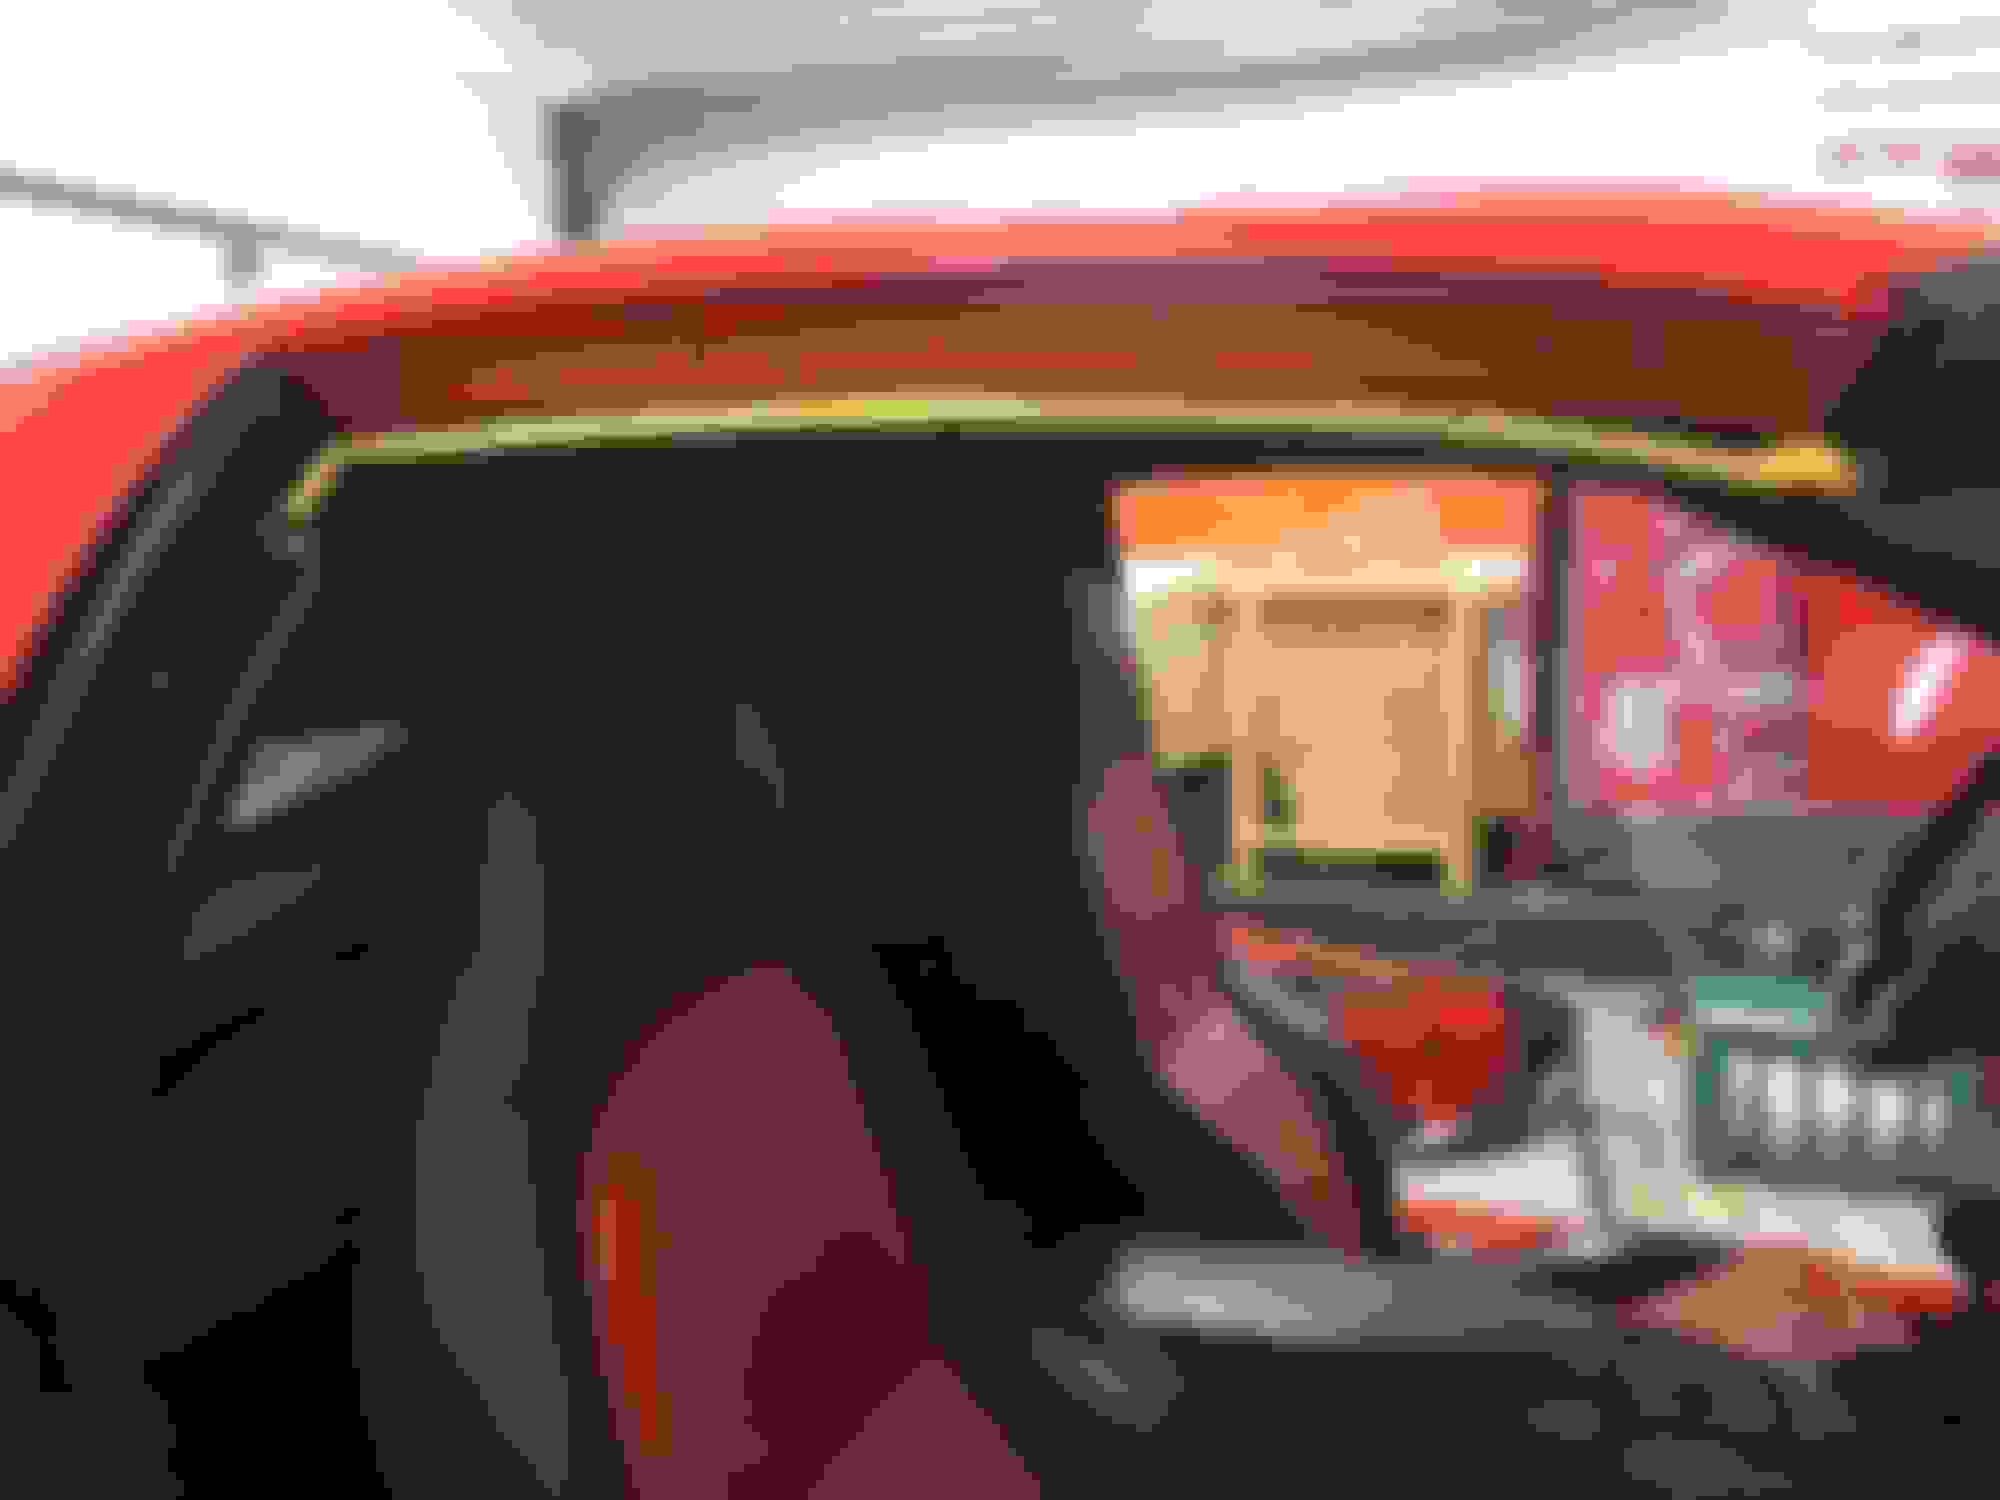
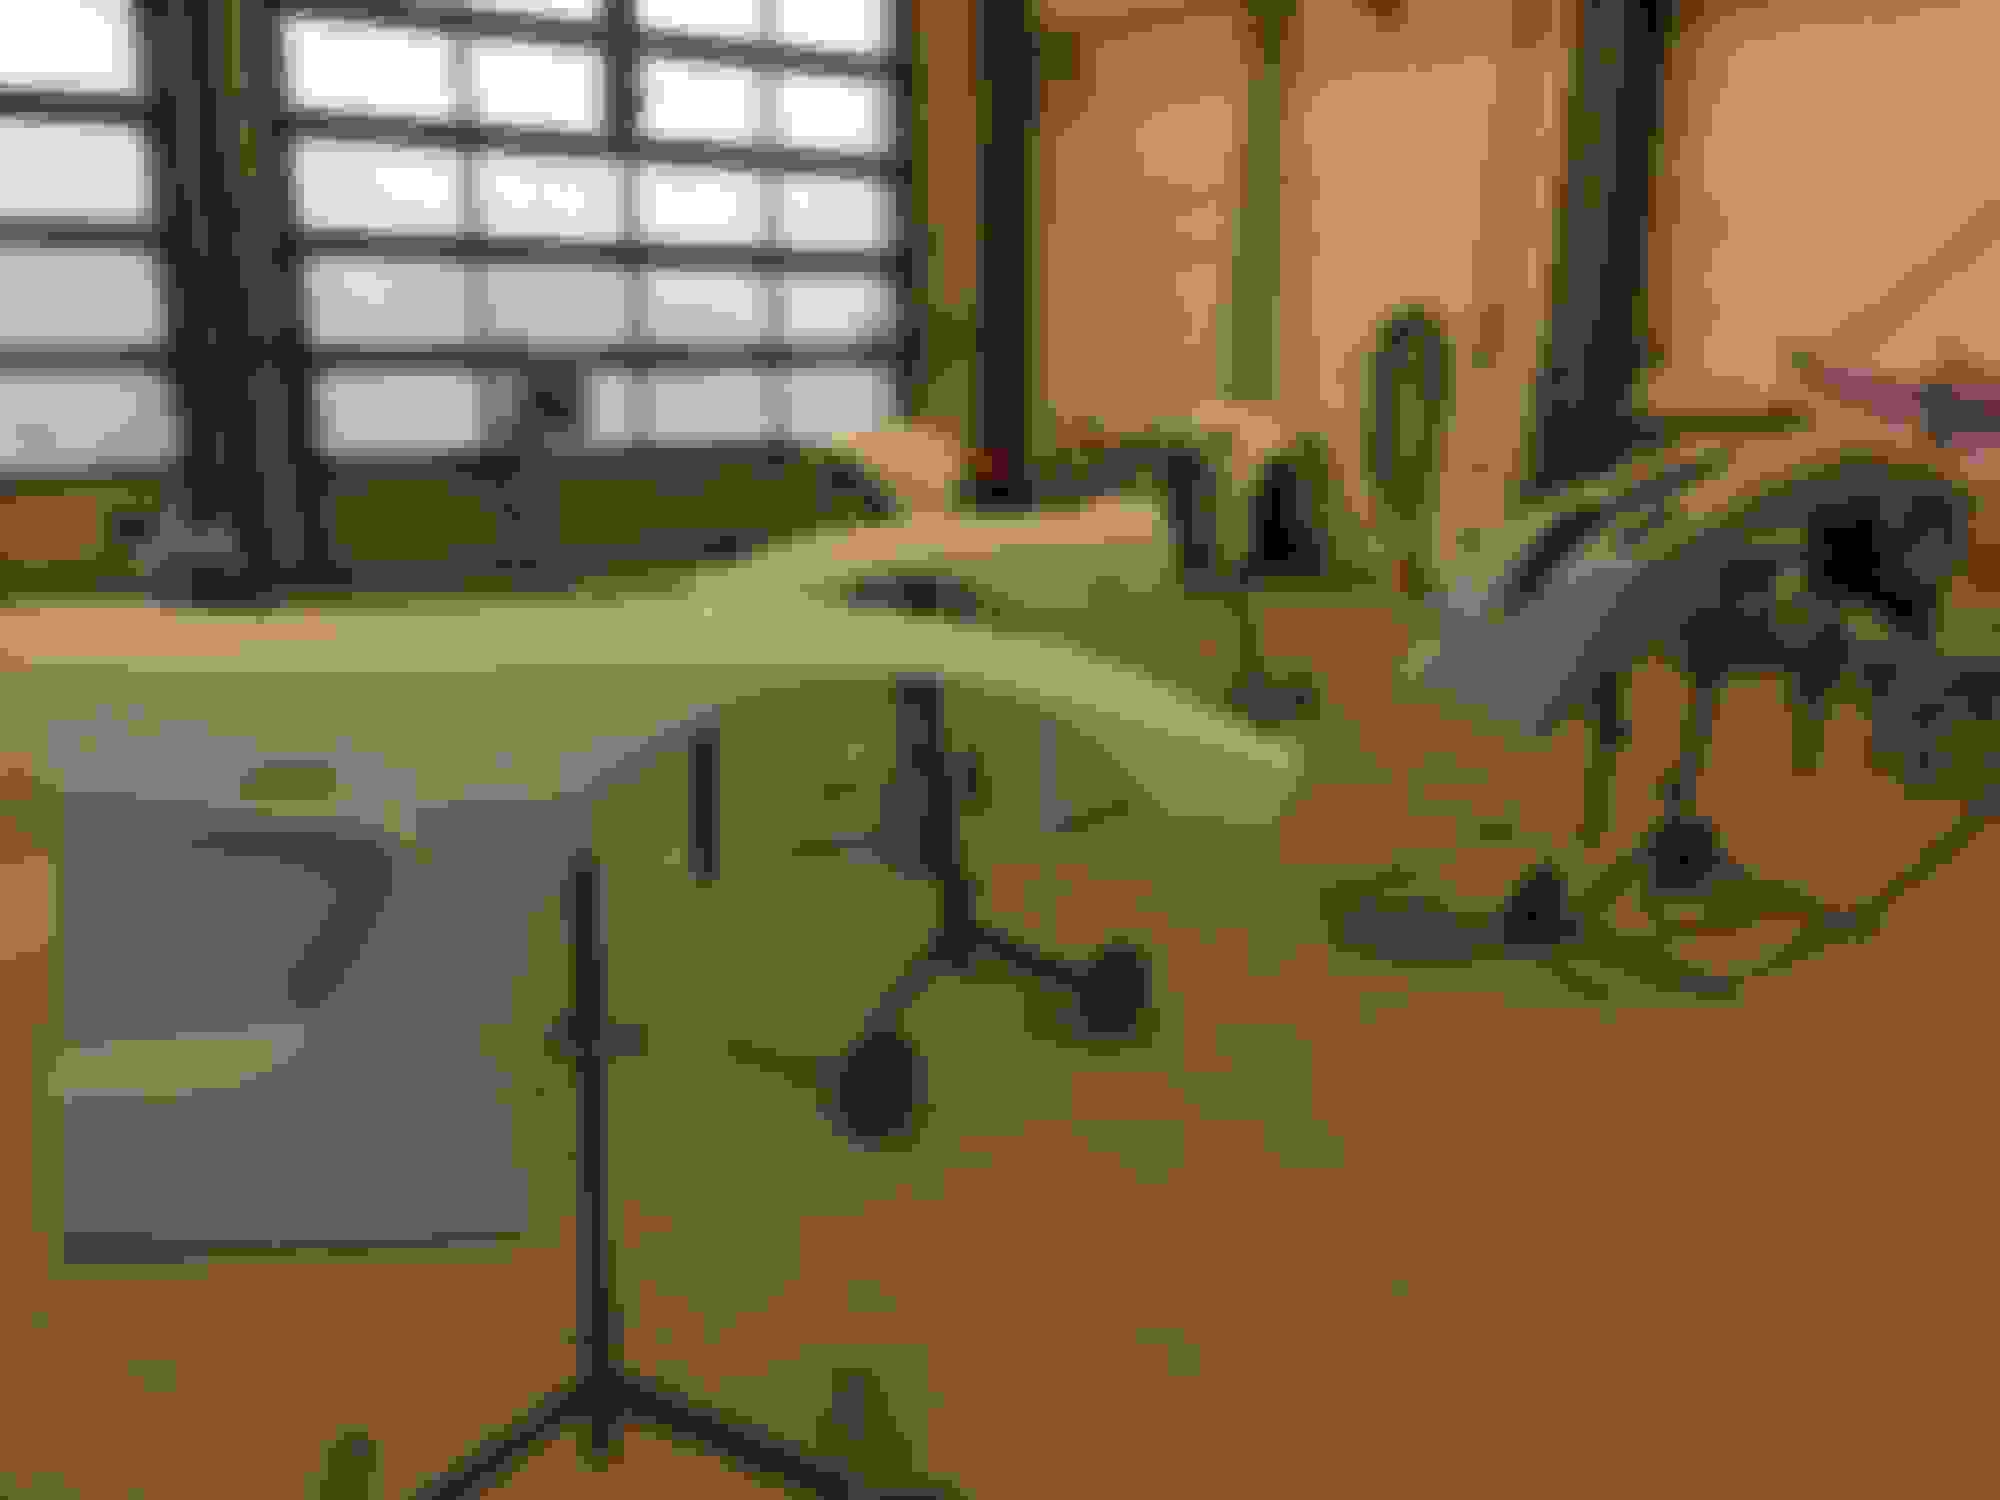
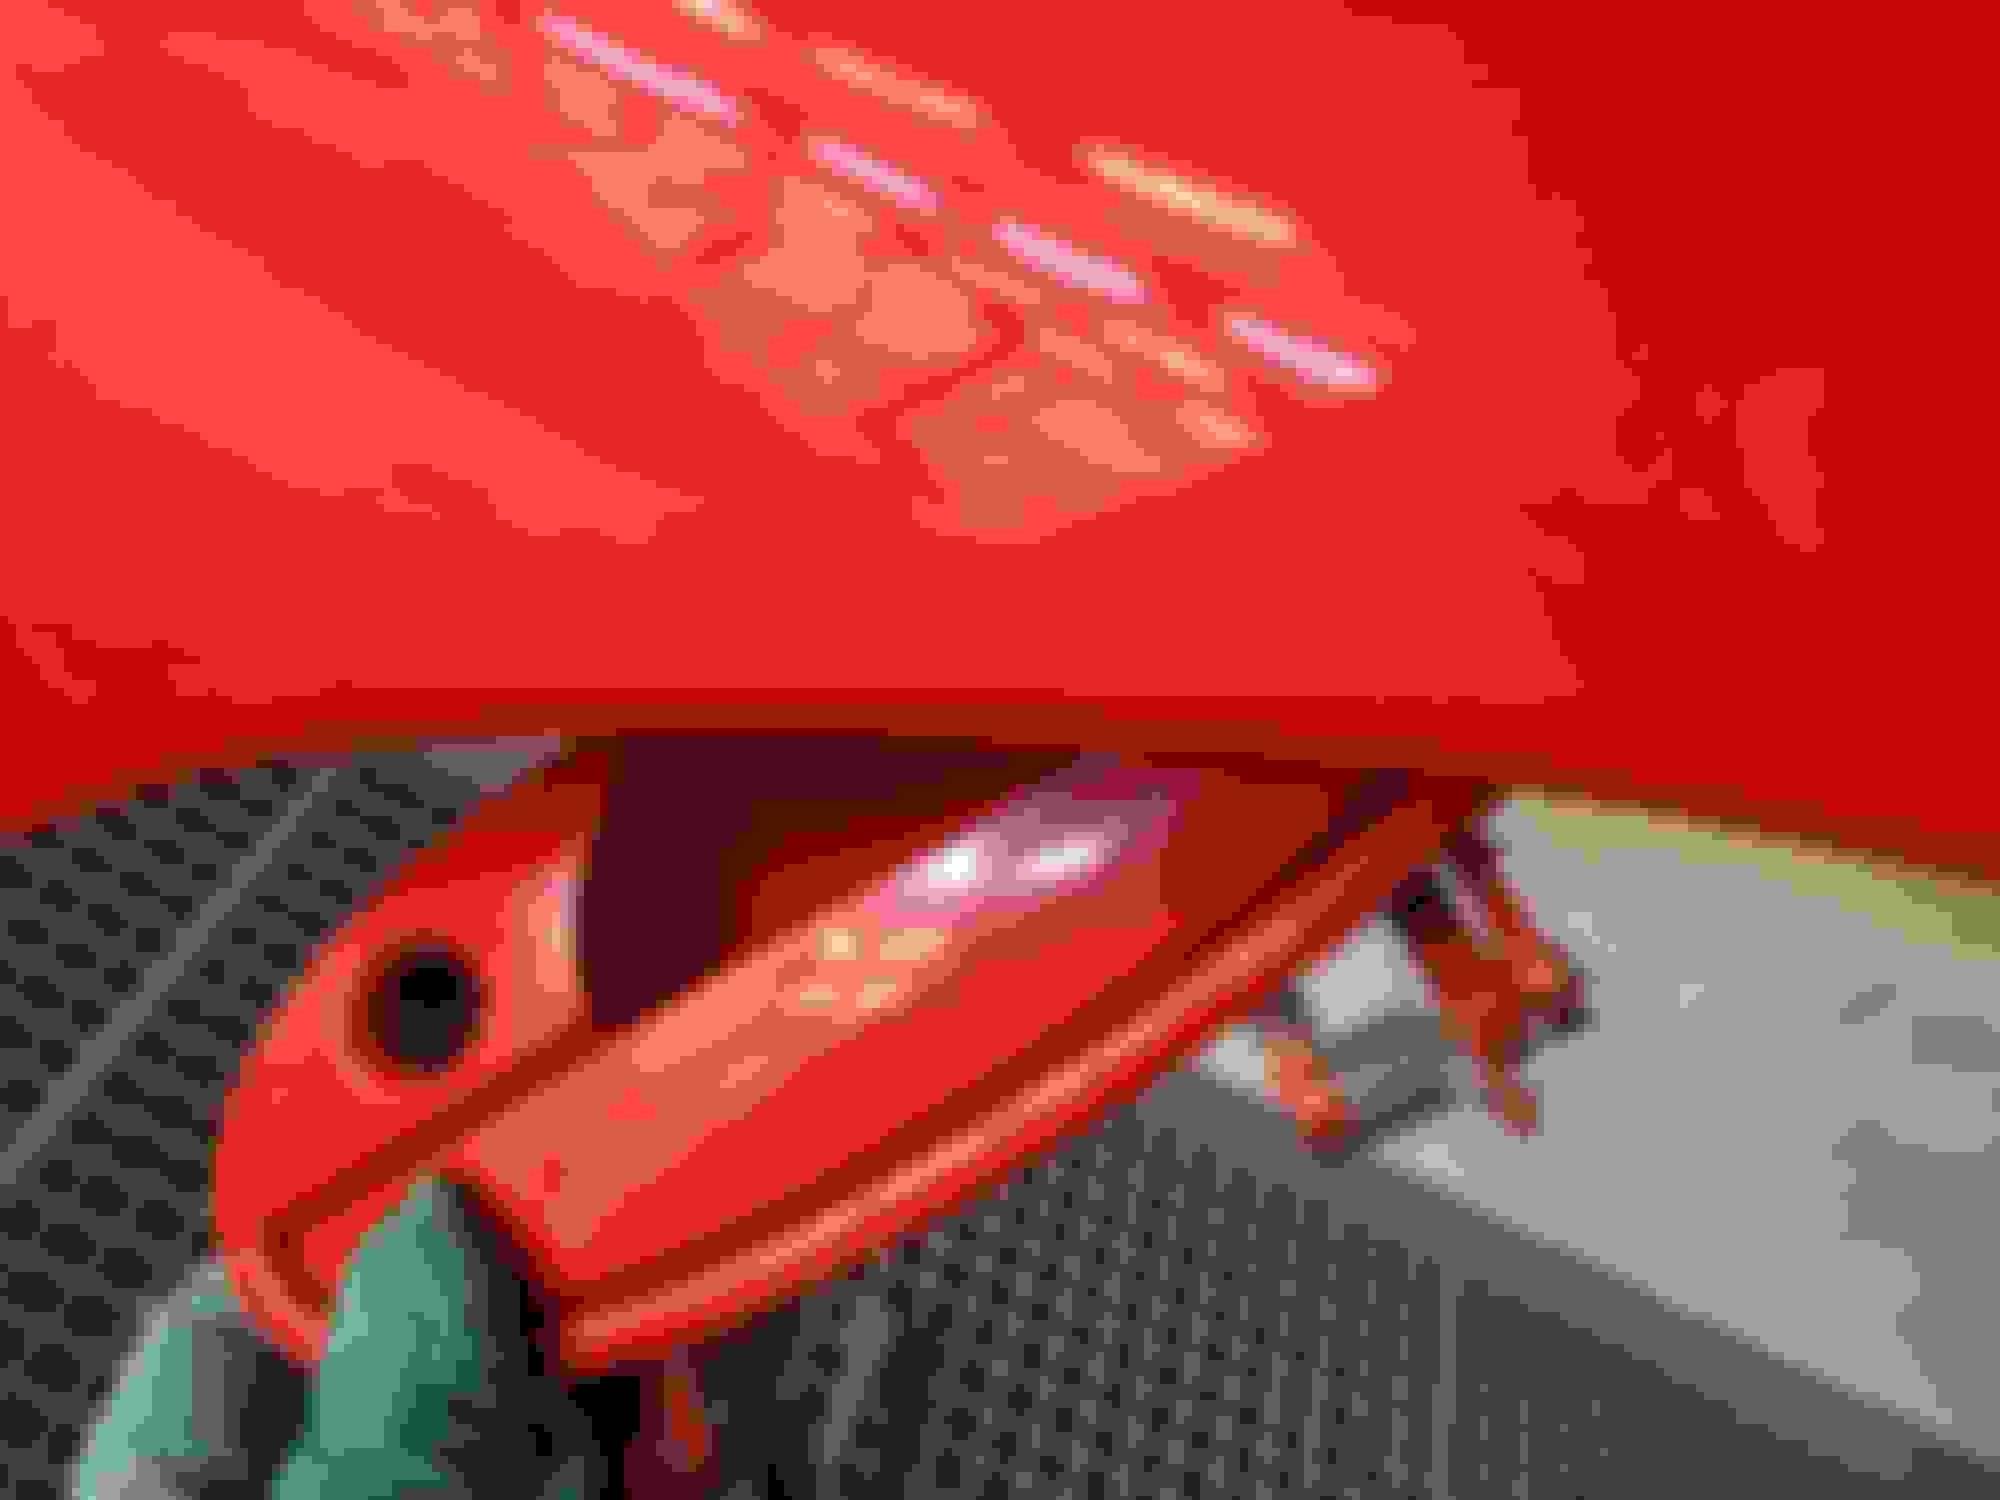
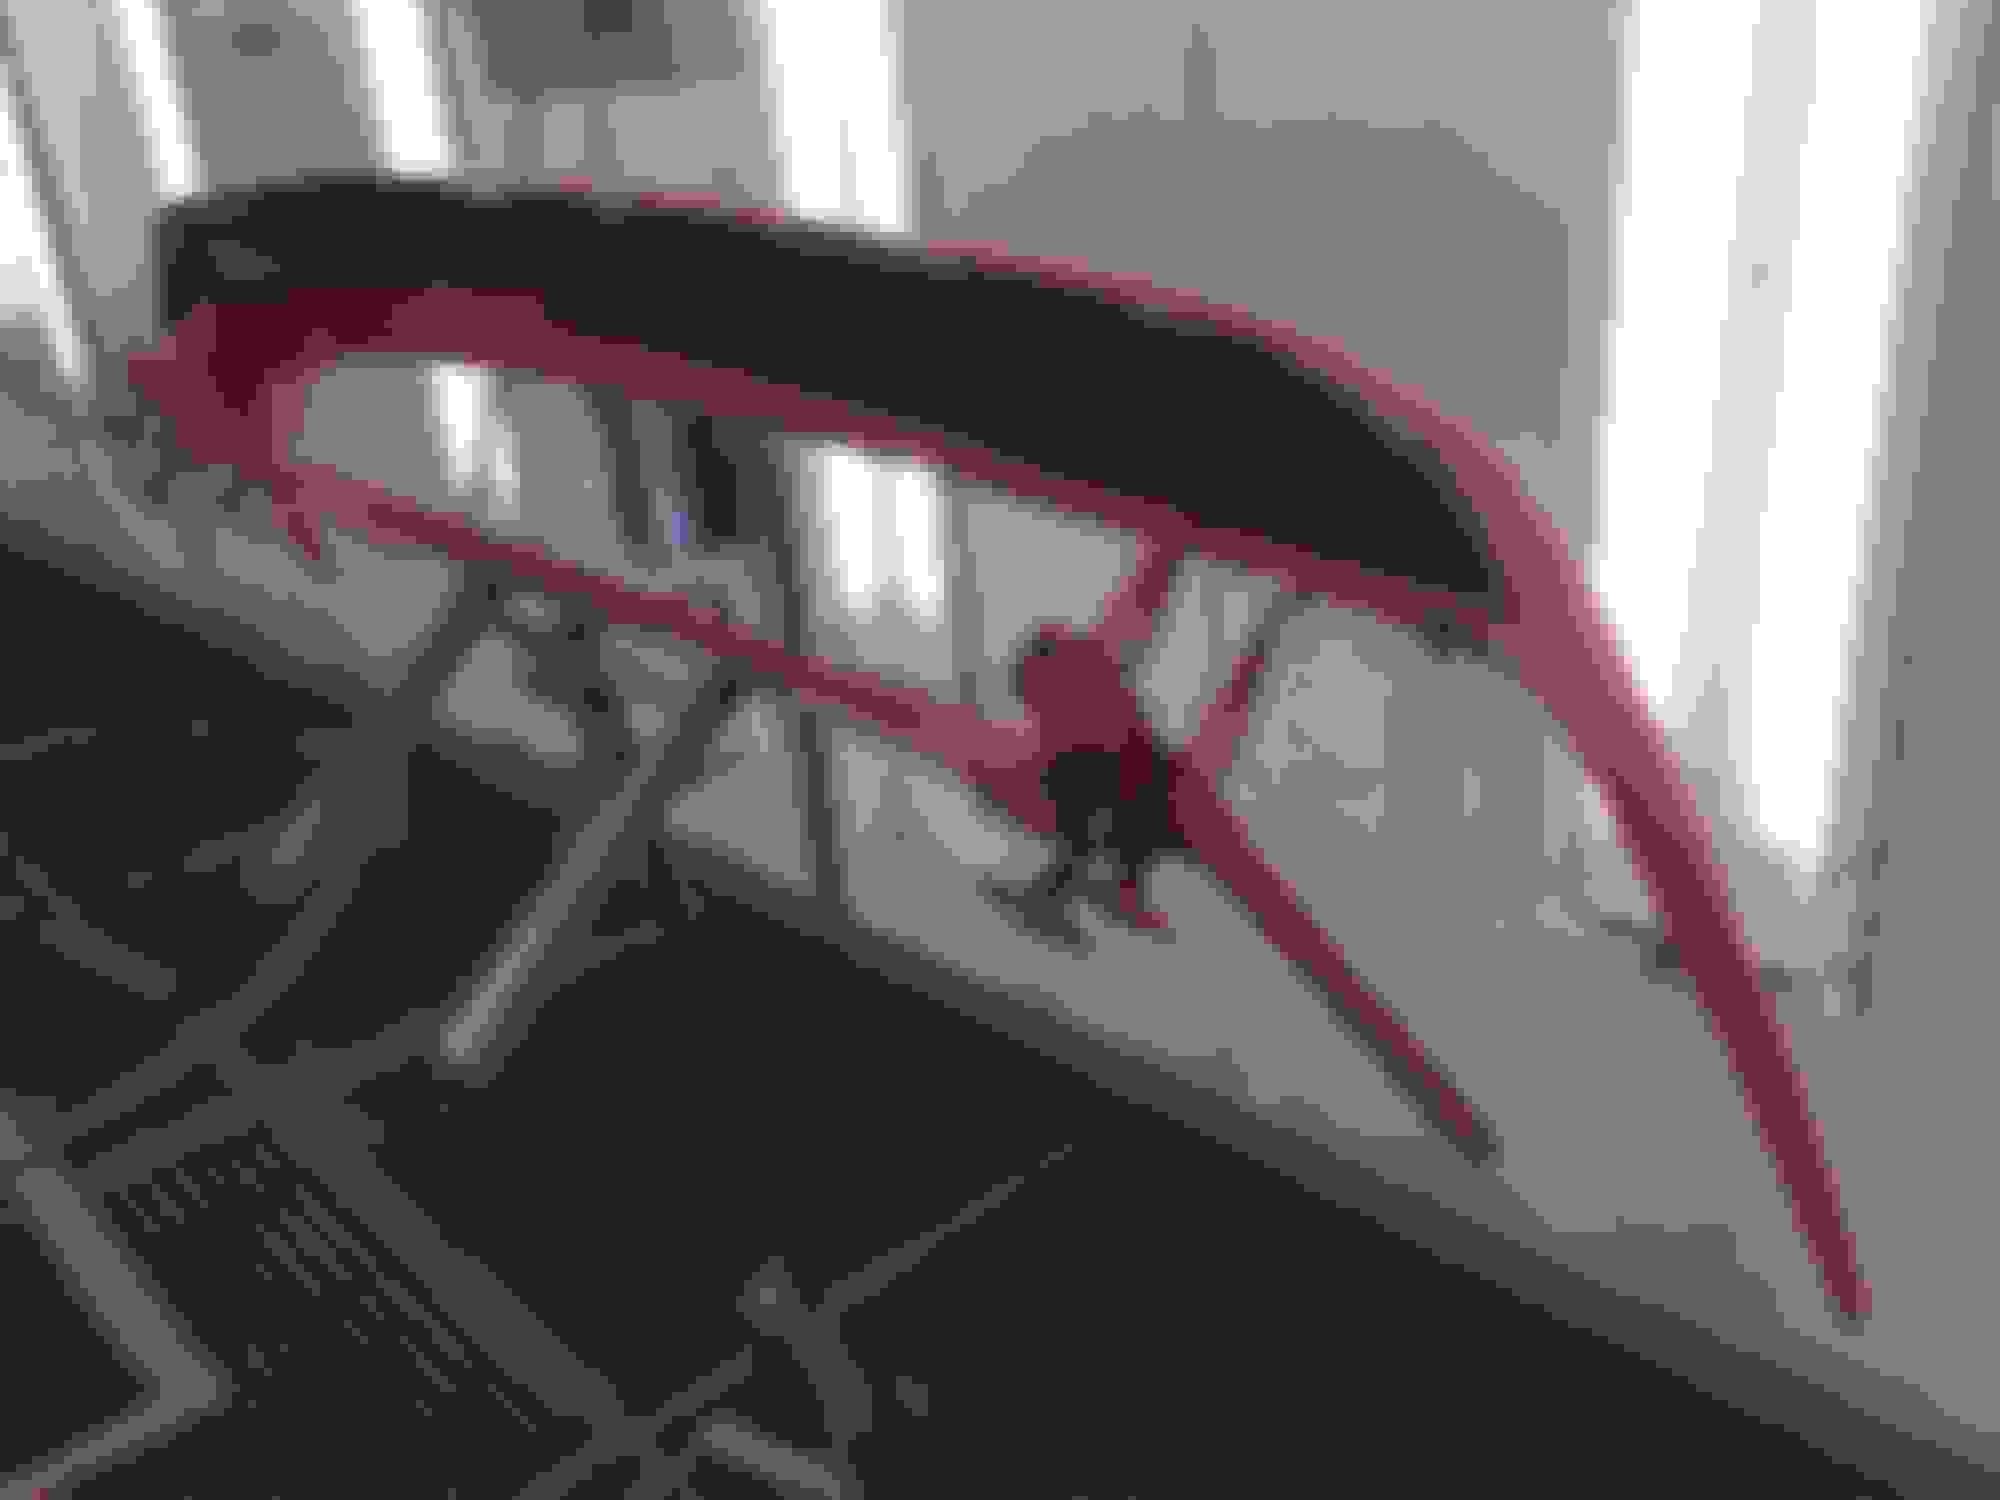
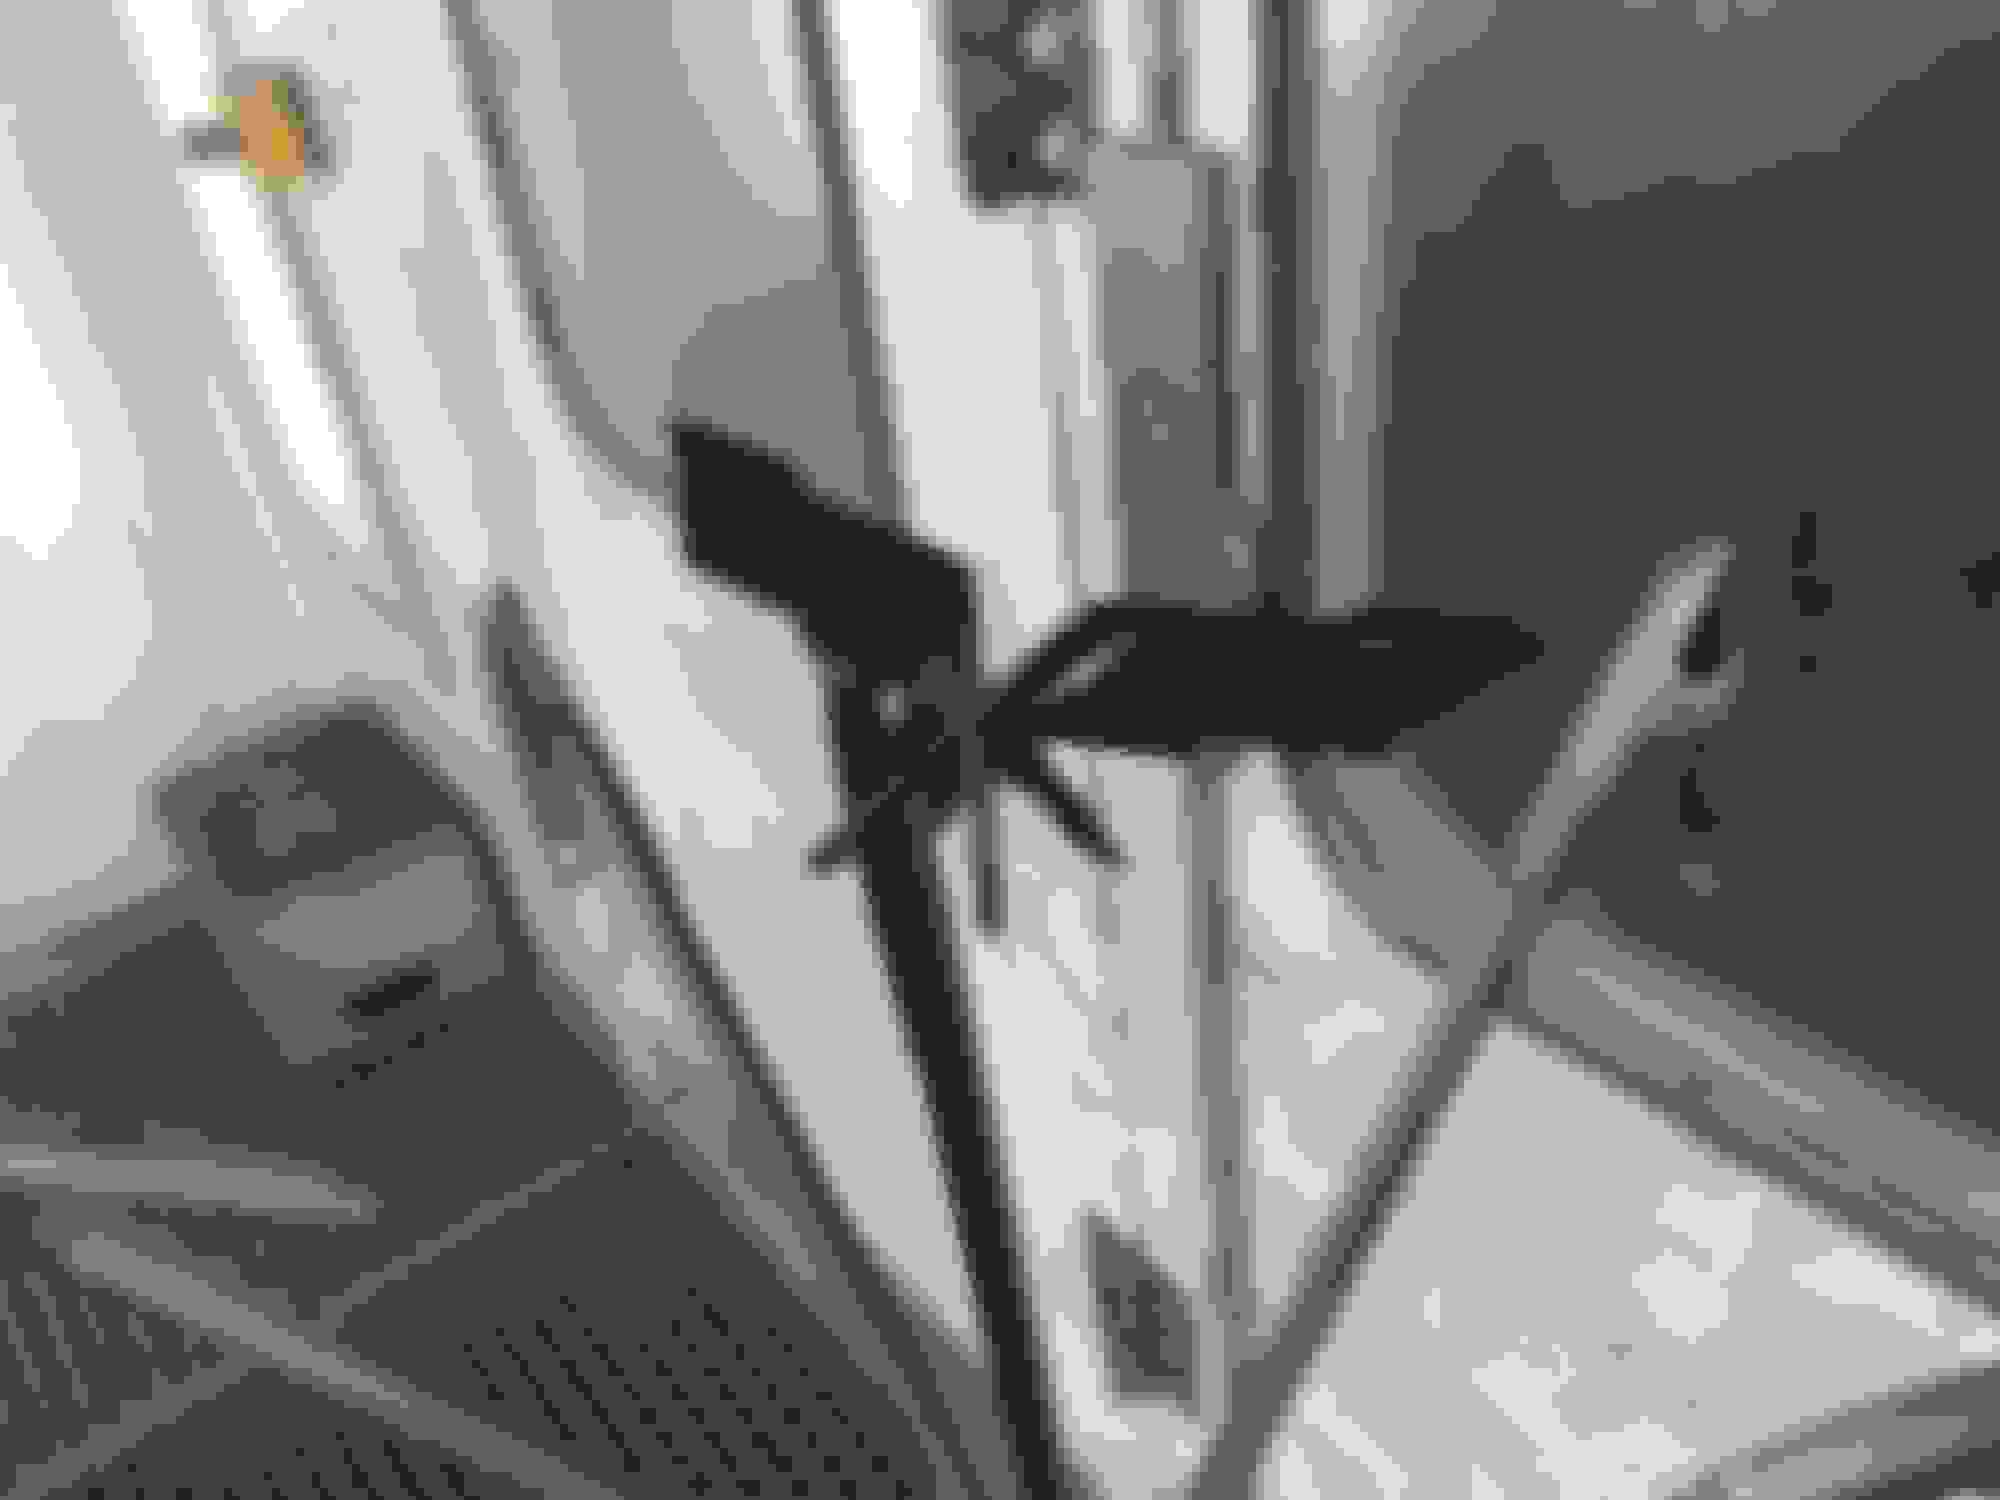
It�s the complete antenna assembly I want to remove - so only thing left is the antenna cabel that routes to the radio, which will be used for a new internal antenna (I didn�t either make a hole for the antenna in the new L5-fender). This pictures doesn�t show my own vette (but another CF-member I think), but you can see the mounting bar/frame and the antenna, which all should be removed).
My biggest concern is that I dont know the purpose of the two wires that is connected to the antenna ground, and runs un-capped on top of the passenger side rear quarter panel and on top of the rear tub (ends aprox. at the brake light). I dont know if I need to keep these wires, or if they can be removed? I would like to remove as much of it as possible.
Please chime in if you have any advice in this matter
I believe the wires are to improve the ground for the antenna because of all the fiberglass and plastic. My XM antenna is mounted vertically behind the RR tailight under the fascia as close to possible to the top surface and seems to work pretty good there. My radio started cutting out and the antenna mount had came loose and allowed it to drop low in the facia, works good now.