When you click on links to various merchants on this site and make a purchase, this can result in this site earning a commission. Affiliate programs and affiliations include, but are not limited to, the eBay Partner Network.
I applaud Marc for taking a risk and having these bezels designed and built for the C5 community.
A "one size fits all" bezel doesn't exist. The DD head unit sizes vary widely and the sizes may change with each new model.
I couldn't agree more. Thankfully I think everyone in this thread understands that.
Hey QuickSilver, I think that's the same Sony I was thinking about, but the one I looked at was 7" wide... Did you need to take plastic off the sides to get it in?
I'm really curious how others might have sanded the sides, while keeping is straights and squared in the corners like original.
Last edited by lancedolan; May 9, 2018 at 11:23 PM.
Be very careful with those plastic brackets and make sure you carefully enlarge the mounting slots if you plan to use the original mounting spot on the car's framework.
This - others make sure to do this. First I made the mistake of pushing the bracket onto the original mounting post because it looked like just a nice snug fit. This snapped the side of the bracket open, luckily without completely ruining it.
I just wrapped some 320 grit around a screwdriver and sanded in there. Fits well now, but after seeing how easily it snapped I do wonder how the plastic mounts will hold up, esp if fastened too tightly.
Last edited by lancedolan; May 9, 2018 at 11:14 PM.
The bezel only has a 6.75" opening. The head unit is exactly 7" as Marc advised me to purchase.
Just received my Vettenuts DD Bezel - my opening size is (as stated above) 6 3/4" (W) X 4" (H). My Kenwood HU (DNX994S) measures 6 7/8" (W) X 4" (H). Wikipedia defines a Double Din to be 7" X 4". No way for my HU to fit. Looks like a careful mod to increase the opening is needed. Wish Marc would weigh in on the 7" X 4" question !
My bigger issue was that I needed to change my flasher switch while I had this all apart anyway. I did it without pulling the dash pad another handy tip via the Forum. What a PIA, glad my first one lasted 19 years and 170k miles.
So, how did you do that? The unit is held in by two tabs and one is almost up against the dash pad. With everything out on the bench, it took two hands on two screwdrivers depressing the locking tabs, and a third hand to pull the switch itself out of its mounting - it was really tight in there.
Note: I discovered eventually that although the face of my head unit is 7 x 4, the plastic of the face is molded to project forward a slightly smaller face that is slightly under 7 in, which was impossible to tell while I still had the protective sticky wrap on the face. This actually meant significantly less sanding than I expected. So keep an eye out for that
When it came to actually sanding, I used a metal file which allowed me to keep the sanding straight and not curvy, but I still ended up coming down not perfectly at a right angle and I am just a little bit disappointed about that. In the end it still looks pretty good I guess. Would have been nice to avoid this sanding altogether.
Also there is a picture earlier in this thread of a lip hanging down from the dash plastic that you can trim. I went to freaking Town sanding on that thing until there was basically nothing left of it and now my head unit actually goes far enough up to completely fill the top of the bezel opening without needing weatherstripping like the other guys have done. As a consequence however, the bezel no longer fits perfectly flush up there because the head unit presses on the tabs too much to allow them to get all the way in. I'm also afraid that I might have sanded a little bit on the area where the bezel tabs actually hook in, which I was trying to avoid and you really have to make sure you don't sand or trim that part.
It's a trade-off, I think the not-flushness looks better than having a head unit hanging down inside the opening with a bent divider between it and the HVac. Who knows, maybe I'll come back and change it later.
In the in the end, I think I still prefer the vet nuts bezel over the Metra, because I would rather have a couple janky edges than a purply surface that looks completely out of place in the car.
I think the only way to get the head unit to fit as well as I had originally imagined it would, would be to design a bezel where the HVAC actually gets dropped down a little bit, which would mean removing the support brackets for the HVAC and the double DIN inside the subframe. That's a lot of custom Fab work for the bezel sellers to expect of their customers though.
Last edited by lancedolan; May 12, 2018 at 11:58 AM.
Hey QuickSilver, I think that's the same Sony I was thinking about, but the one I looked at was 7" wide... Did you need to take plastic off the sides to get it in?
I'm really curious how others might have sanded the sides, while keeping is straights and squared in the corners like original.
Sorry, just saw your post. I didn�t need to file or trim the sides at all. I did file the bottom corners just a bit to get rid of the bowing on the piece between HU and AC control but that was it. The head unit is a Sony XAV-AX100.
Note: I discovered eventually that although the face of my head unit is 7 x 4, the plastic of the face is molded to project forward a slightly smaller face that is slightly under 7 in, which was impossible to tell while I still had the protective sticky wrap on the face. This actually meant significantly less sanding than I expected. So keep an eye out for that...
...Also there is a picture earlier in this thread of a lip hanging down from the dash plastic that you can trim. I went to freaking Town sanding on that thing until there was basically nothing left of it and now my head unit actually goes far enough up to completely fill the top of the bezel opening without needing weatherstripping like the other guys have done. As a consequence however, the bezel no longer fits perfectly flush up there because the head unit presses on the tabs too much to allow them to get all the way in. I'm also afraid that I might have sanded a little bit on the area where the bezel tabs actually hook in, which I was trying to avoid and you really have to make sure you don't sand or trim that part.
It's a trade-off, I think the not-flushness looks better than having a head unit hanging down inside the opening with a bent divider between it and the HVac. Who knows, maybe I'll come back and change it later...
Could you please post some pictures illustrating your descriptions? It will really be helpful. Thanks!
Sure, I'll try tomorrow if I decide to open it all back up again.. I have to admit I'm sick to death of taking it apart and putting it back together again. I must have done that literally 20 times while installing, hah.
However, I will say this: below is an image of the upper lip I'm talking about sanding.
Originally Posted by digi2t
My concern about sanding that lip is that it's also where the bezel's top 2 tabs click in. However, my concern when I said the following turned out to be wasted concern:
I might have sanded a little bit on the area where the bezel tabs actually hook in
... I re-adjusted everything today, and it turns out that the "not flushness" problems I was having were purely due to my head unit sitting too far forward. When I brought the head unit further back into the subframe today, it really brought everything into perfect alignment, so you can ignore everything I said about flushness. I created no problems by sanding the hell out of that lip, and in fact it made all the difference in allowing the head unit to sit up high enough to fill the opening. I really sanded it down low, but nevertheless if you're going to do the same thing, pay attention to where the bezel tabs click in and you might not want to sand those areas just in case. They happen to sit up higher and don't need sanding anyhow.
One final major tip I have, and this is what really saved my project: use shims between the HVAC and head unit! I'm using the 3D printed plastic brackets and they don't seem capable of holding the head unit up high. No matter how tightly I screwed in the vertical adjustment screws, it still dropped downward. However, I eventually made some shims out of carboard taped together, 2 cardboard layers thicks, and jammed them between the HVAC and head unit. It was the PERFECT height adjustment, and the cardboard shims are out of eye-sight entirely. This was a huge relief, and the final thing that changed my project from looking ghetto to "that might be OEM"
Last edited by lancedolan; May 13, 2018 at 02:38 AM.
Also, if your'e wondering how I sanded the lip, I used a dremel with a barrel-tip loaded with 180 grit. "Barrel tip" is not the proper name for the tip I used, but I don't know what they call it. I'm sure you could use any lower grit as well, like 120 or 80, which are readily available for dremel.
I just ordered mine and will be replacing one that I got from Dennis at DD mods. The one that I just took off NEVER fit well and I have been living with it for two summers now and I have been waiting for a quality product. I am looking forward to finally getting it right!
My final challenge is getting the tilt angle right. The top of the HU is flush against the opening, but the bottom has a tacky looking gap. I need to somehow figure out how to tilt it up.
I'll save that for another weekend, I'm burned out hah
Seems like I read that someone took their removed OEM head unit shelf, flipped it upside down and reinstalled it to support the new DD.
Might be worth a look/test
Or perhaps a pair of metal L brackets could be attached to the sides of the cage to keep the rear of your DD unit at the correct angle/height.
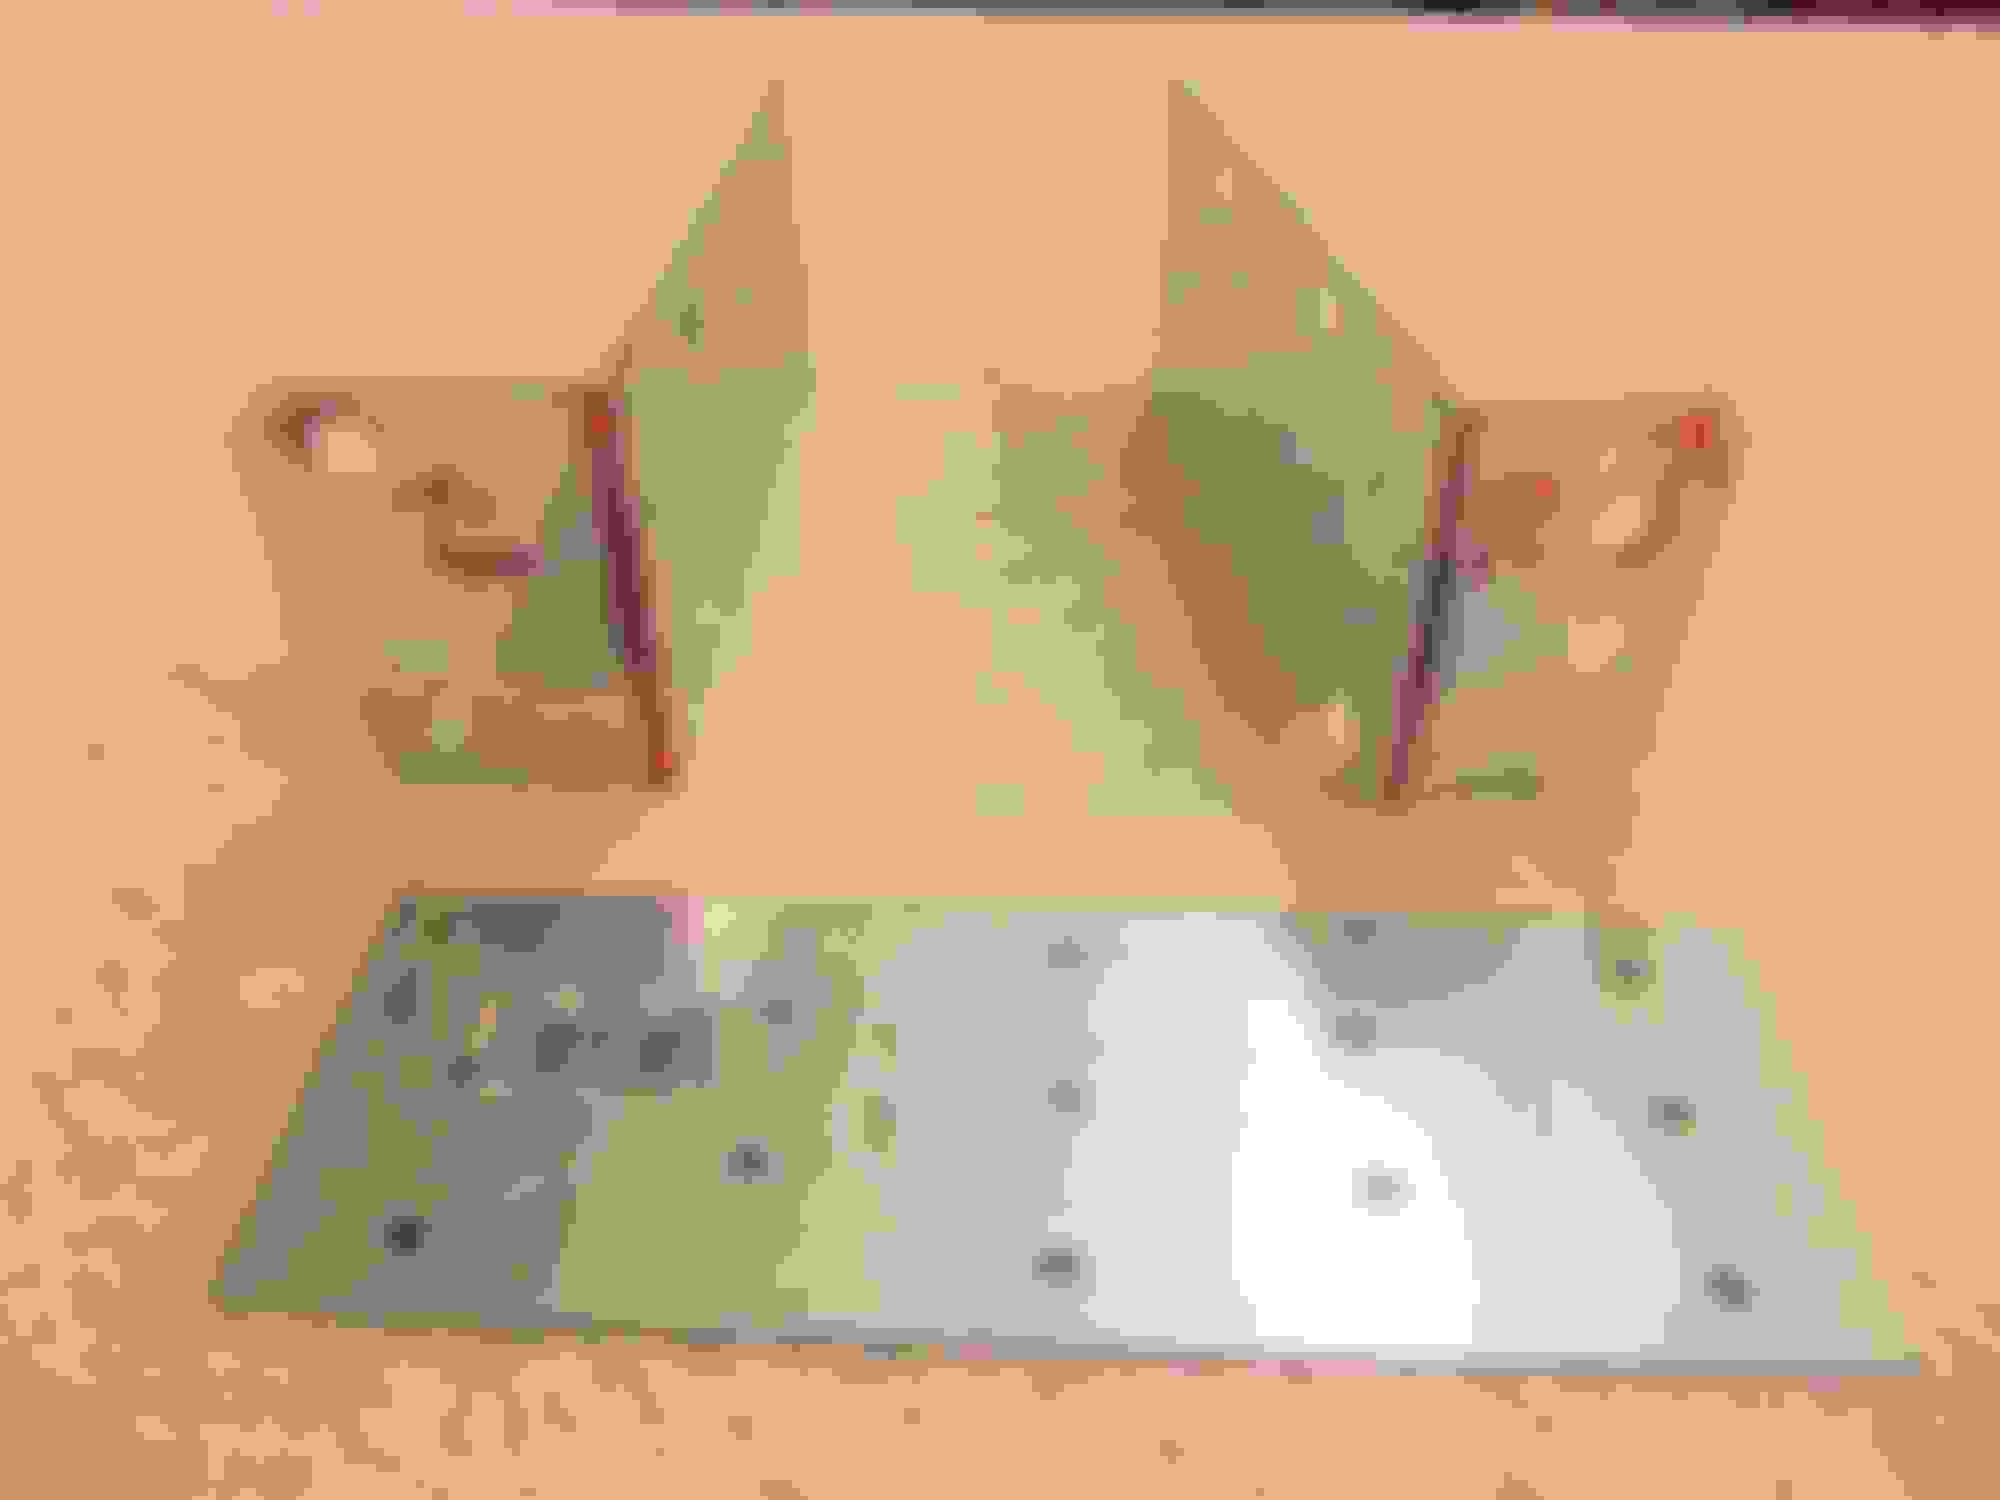
I didn't use the plastic brackets after they cracked on me. I made my own crude metal brackets from a pair of 5" x 1 3/4" Simson Strong Ties that I had several of.
Not pretty, but they will hold the DD at any angle I set them up for and use 3 or four screws per side. No wiggle or drooping of the DD once the proper locations are determined.
I just ordered mine and will be replacing one that I got from Dennis at DD mods. The one that I just took off NEVER fit well and I have been living with it for two summers now and I have been waiting for a quality product. I am looking forward to finally getting it right!
. My bezel came Wednesday. After doing my Honey Do list I started in on the bezel. I have been driving for two years with one that I got from DD Mods but was never satisfied with the fit and finish. OCD. After just two attempts it was on. It fits like a glove and looks amazing. Where there use to be gaps there are now even seams and the texture looks like it came from the factory. The Kenwood fit perfect and there is no problem with the tilt screen working. I want to thank everyone for their posts and Vettenuts for making this great product.
Looking for info from anyone who has installed a Kenwood double din in your C5 using a Vettenuts bezel.
I have a Kenwood DNX893S on the way.
I would appreciate any tips you might share about your install.
If you have the time, could you save me some by answering these questions?
Did you have to modify the size of the Vettenuts bezel opening? If so, where?
Did you use the Kenwood metal cage to hold the unit?
If so, how did you mount it to the C5 center cage?
If you did not use the Kenwood cage for mounting, what brackets did you use?
I will be using a Axxess XSVI-2004 Harness Conversion Kit as I am keeping my Bose speakers for now.
So the following questions may not apply if you used a PAX adapter.
I see that the Kenwood wiring harness has a Blue Antenna power wire for the antenna amp. Which wire in the Axxess harness, or anywhere else, did you connect to this blue wire?
I also see an orange/white dimmer control wire. Which wire in Axxess harness, or anywhere else, did you connect to this orange/white wire?
Any other suggestions regarding this install you might share?
...I will be using a Axxess XSVI-2004 Harness Conversion Kit as I am keeping my Bose speakers for now.
So the following questions may not apply if you used a PAC adapter.
I see that the Kenwood wiring harness has a Blue Antenna power wire for the antenna amp. Which wire in the Axxess harness, or anywhere else, did you connect to this blue wire?
I also see an orange/white dimmer control wire. Which wire in Axxess harness, or anywhere else, did you connect to this orange/white wire?...
It even has a follow-up in Post 2 with a note regarding how to fine tune the adapter for better sound. Also, check Post 10 for extra clarification on some critical splices.
I have read that one several times.
But a DD install is very different from a single din as is a Pioneer case from a Kenwood.
I originally installed a Pioneer DD several weeks ago. Did all the wiring and many trial fits to get the correct height and depth of the unit to the bezel fit. But the Pioneer unit turned out to be defective. So I moved up to a different head unit with the Kenwood which looks like a different mounting system. So I thought that there may be another CF member that has already done a Kenwood DD with the Vettenuts bezel and might be able to save me some trouble shooting time ;^) Never hurts to ask......or so I hope.