


Interior Heat

Le Mans Master


Joined: Oct 2006
Posts: 6,842
Likes: 285
From: Palmdale CA
That's the intent, but first, we've got to prototype them, mount them and put them to the test. I'm thinking that a good shield would have to go up the trans tunnel at least 2/3 to 3/4 of the way on each side, as I measured 120 degrees on the passenger side tunnel. The lower front of the firewall may need shields as well and there are two factory heat shields there already (on the lower firewall), that may provide mounting opportunities as well.
Race Director


Joined: Jan 2002
Posts: 11,615
Likes: 350
From: No Where USA
Thread Starter
Melting Slicks


Joined: Sep 2011
Posts: 3,372
Likes: 215
From: Peoria Arizona
Lots of good info here. This is exactly why I started this thread. Several threads about this topic, but not many that actually talk about real-world results from the various products and methods that are available.
After reading through this thread and a few others dealing with the heat issues, I think the focus needs to be on keeping the firewall cool from the engine side first, and then inside as a secondary layer. Like some (many) of you, our issue is not heat from the vents, but the footwell areas. Ceramic coated headers and NO heater hoses hooked up.
After about 20 - 30 miles, it's ridiculously hot around your feet and legs. I have not tried my IR gun inside, but I would guess it's the same thing that was posted up earlier.
Last edited by AdamMeh; Sep 3, 2013 at 03:02 PM.
Le Mans Master
Joined: Oct 2006
Posts: 6,842
Likes: 285
From: Palmdale CA
Test #2: Heat Soak Test
Ok, so we had good results, with the Kapton Film, five minutes on a cold engine, that we started, ran and got measurements. Now how would it work, if there was time for the sheet metal to heat soak? Would it work as well? I have to know this, so while doing chores in the C3 at lunch in nearly 100 degree heat, I decided to test it.
Got back to the shop after running around in the 74' for nearly an hour and popped the hood, while leaving it running. Then I put that same 6" x 6" piece next to the #2 exhaust, in exactly the same place: Note how close it is to the hottest part of the header. The car is still running.
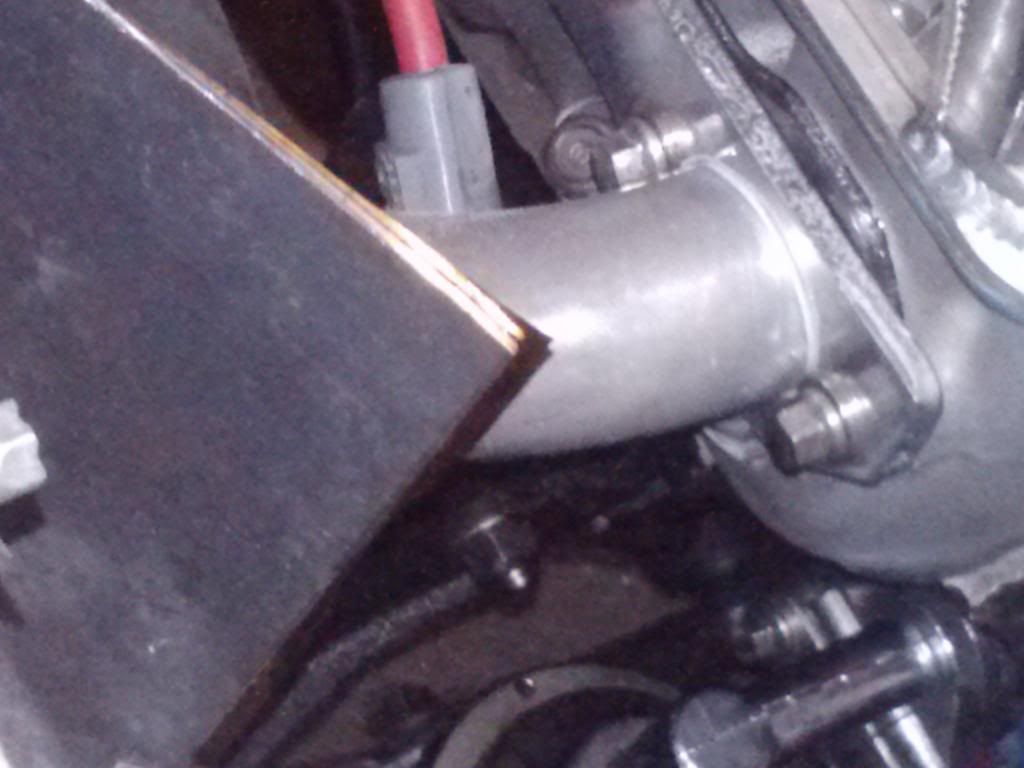
Now to wait ten minutes! That is easily enough time, for the heat to soak through, even 16 gauge sheet metal, only an inch or so from the exhaust pipe. God, is it hot out here in the High Desert!
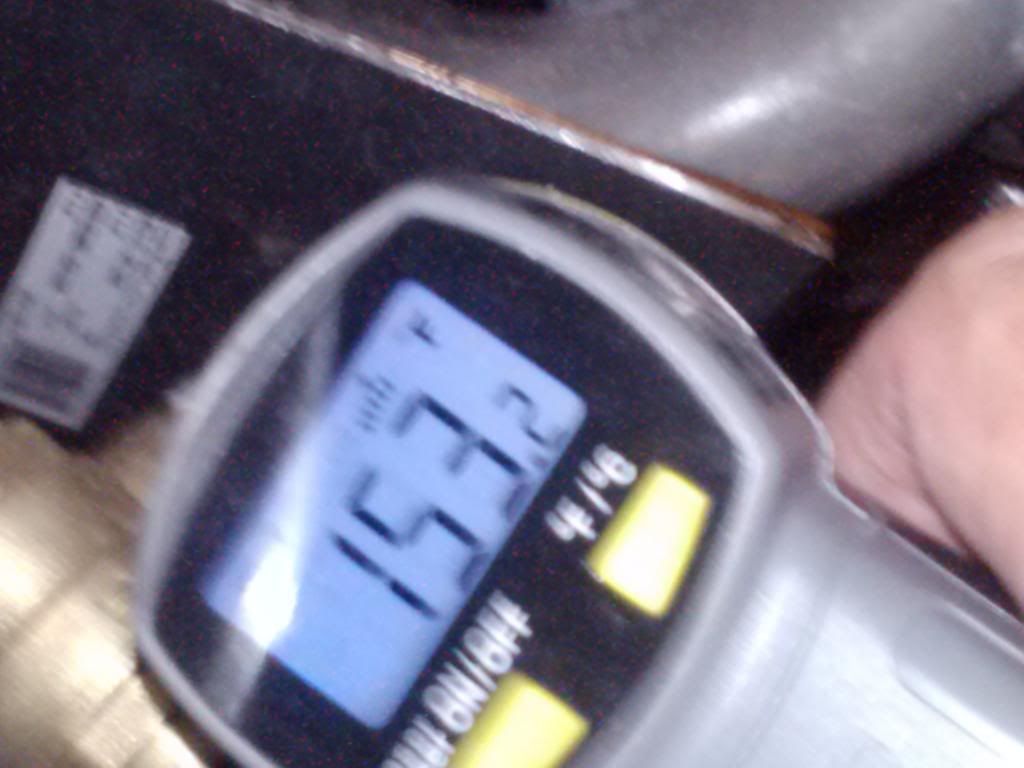
OK, pop the hood, let's take some temps and yes, it's still running. Ten minute mark. Holy Smokes, 540 degrees! Note the position of the plate.
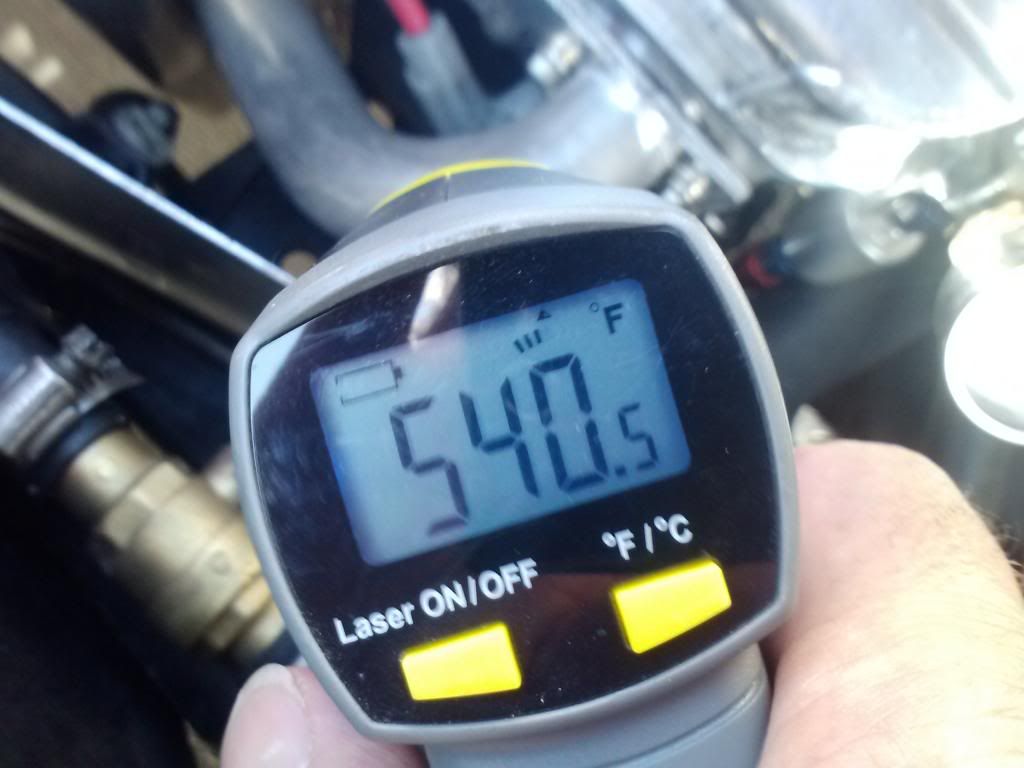
Take a reading off've the plate, but it's really hard to get a good photo with the cell phone and hold the gun too, so I pull the 74' into the Shop and take another reading, while it's still running: 444 degrees!
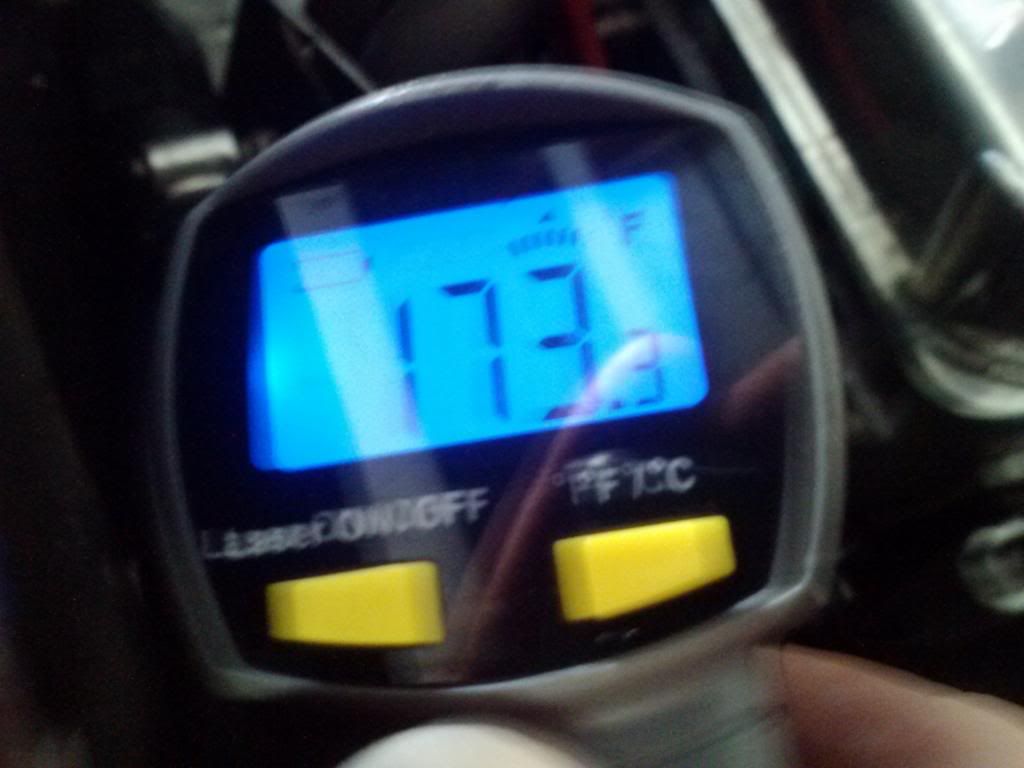
Now to take the temp of the plate: I was dripping sweat all over the fender, trying to take a decent pic, with the phone in one hand and the temp gun in the other, while the car was running. 173 degrees!
Now we're at the 16 minute mark! I've been taking a bunch of blurry, crappy photo's, with the engine running, heat pouring out of the engine compartment and still sweating like a dog in my business duds. 153 degrees to a nearly 400 degree header elbow an inch away! Wow...
So I'm satisfied enough, with answering that 'burning question' in my mind, because I had to know this, before I even attempted to fab some prototypes and yes, I'm happy with the results and we're going to go forward and start the preliminary fab work tonight.

Ok, so we had good results, with the Kapton Film, five minutes on a cold engine, that we started, ran and got measurements. Now how would it work, if there was time for the sheet metal to heat soak? Would it work as well? I have to know this, so while doing chores in the C3 at lunch in nearly 100 degree heat, I decided to test it.
Got back to the shop after running around in the 74' for nearly an hour and popped the hood, while leaving it running. Then I put that same 6" x 6" piece next to the #2 exhaust, in exactly the same place: Note how close it is to the hottest part of the header. The car is still running.
Now to wait ten minutes! That is easily enough time, for the heat to soak through, even 16 gauge sheet metal, only an inch or so from the exhaust pipe. God, is it hot out here in the High Desert!
OK, pop the hood, let's take some temps and yes, it's still running. Ten minute mark. Holy Smokes, 540 degrees! Note the position of the plate.
Take a reading off've the plate, but it's really hard to get a good photo with the cell phone and hold the gun too, so I pull the 74' into the Shop and take another reading, while it's still running: 444 degrees!
Now to take the temp of the plate: I was dripping sweat all over the fender, trying to take a decent pic, with the phone in one hand and the temp gun in the other, while the car was running. 173 degrees!
Now we're at the 16 minute mark! I've been taking a bunch of blurry, crappy photo's, with the engine running, heat pouring out of the engine compartment and still sweating like a dog in my business duds. 153 degrees to a nearly 400 degree header elbow an inch away! Wow...
So I'm satisfied enough, with answering that 'burning question'
in my mind, because I had to know this, before I even attempted to fab some prototypes and yes, I'm happy with the results and we're going to go forward and start the preliminary fab work tonight.
Last edited by F22; Sep 3, 2013 at 04:49 PM.
Racer

Joined: May 2010
Posts: 448
Likes: 3
From: Olathe KS
Nice nice!!!! Can't wait.
Le Mans Master
Joined: Oct 2006
Posts: 6,842
Likes: 285
From: Palmdale CA
Progress Report. After work, got to the Shop and consumed a Coors after jacking up the 74'. Got out my favorite creeper and contemplated the bottom of the car for a good while.
Then got to measuring. Thought of materials and attachment points, shape and positions, cables and corners. Thought about 3D scanning, modeling, laser lithography and foam tooling. Gawd, why not just make it out of cardboard first?
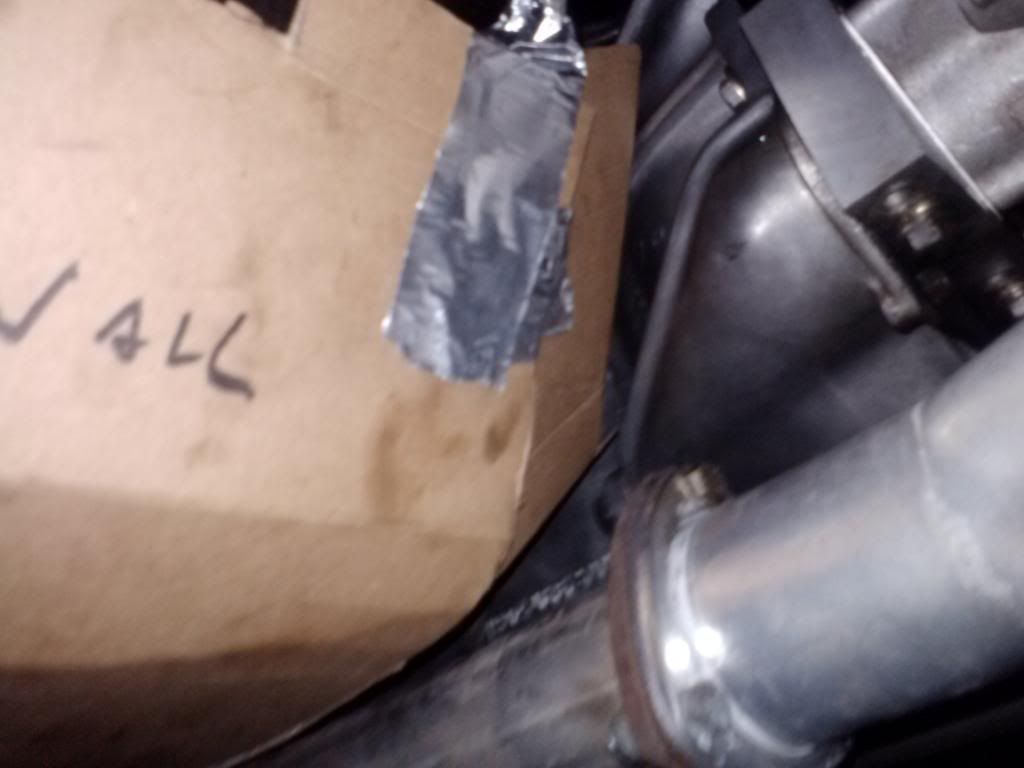
And that's what I did! Passenger side first. Used a big hunk of laminated cardboard off've a presentation pad and mocked up the rough shape. First try, almost fit. The next two or three times, I adjusted the shape, to get along with the reverse lock out cable and the heater hoses, just so you know, that it will fit properly and attach easily, but not be flimsy either.
The shape of it came out well. It wraps around three sides of the floor board, covering the entire bottom, the front of the firewall going up about six inches to the heater hoses and up inside the tranny tunnel, nearly the full length of the transmission to the tailshaft. Most important of all, it fully protects the inside corner of the floorboards, where it's only an inch from the header!
Aluminum tape holds it on place, as well as reinforcing the shape. Gotta think about the automatic as well, with it's own mechanical features too and see what that does to the design as well.
Pics first thing in the morning and that took a lot of tries to get shots that show what it is. Long post, I know, but this is fun! Never just plunged into something, like this and just did it!
Then got to measuring. Thought of materials and attachment points, shape and positions, cables and corners. Thought about 3D scanning, modeling, laser lithography and foam tooling. Gawd, why not just make it out of cardboard first?
And that's what I did! Passenger side first. Used a big hunk of laminated cardboard off've a presentation pad and mocked up the rough shape. First try, almost fit. The next two or three times, I adjusted the shape, to get along with the reverse lock out cable and the heater hoses, just so you know, that it will fit properly and attach easily, but not be flimsy either.
The shape of it came out well. It wraps around three sides of the floor board, covering the entire bottom, the front of the firewall going up about six inches to the heater hoses and up inside the tranny tunnel, nearly the full length of the transmission to the tailshaft. Most important of all, it fully protects the inside corner of the floorboards, where it's only an inch from the header!
Aluminum tape holds it on place, as well as reinforcing the shape. Gotta think about the automatic as well, with it's own mechanical features too and see what that does to the design as well.
Pics first thing in the morning and that took a lot of tries to get shots that show what it is. Long post, I know, but this is fun! Never just plunged into something, like this and just did it!
Last edited by F22; Sep 3, 2013 at 11:02 PM.
Corvette Stories
The Best of Corvette for Corvette Enthusiasts

Top 10 Most Expensive Corvettes Ever Sold on Bring A Trailer
Brett Foote
10 Things Every Corvette Owner Needs (2026 Edition)
Michael S. Palmer
8 Most "Only Corvette Owners Understand" Quirks and Problems
Pouria Savadkouei
10 Reasons the C6 Z06 is Still A Performance Benchmark After 20 Years
Joe Kucinski
How Much Horsepower Every Corvette Engine "LOST" in 1972
Joe Kucinski
Top 10 DOs and DON'Ts for Protecting Your Convertible Top!
Michael S. Palmer
Top 10 Most Explosive Corvettes Ever Made: Power-to-Weight Ratio Ranked!
Joe Kucinski
150 hp to 1,250 hp: Every Corvette Generation Compared by the Specs That Matter
Joe Kucinski
8 Coolest Corvette Pace Cars (and Replicas) of All Time
Verdad Gallardo
Le Mans Master
Joined: Oct 2006
Posts: 6,842
Likes: 285
From: Palmdale CA
Passenger Side Mock Up
I intend to cover the whole bottom, as this will protect the occupants, not only from the exhaust pipe heat, but from the road heat as well. Remember, this is going to be entirely coated with a very tough, highly reflective film, so imagine it looking like a mirror instead. You'll have the same material that was used on numerous Apollo missions, the Lunar Lander and is still being used on sundry aircraft and satellites! This ain't automotive, it's space-age!
Bottom of floorboard, again, note entire bottom is covered.
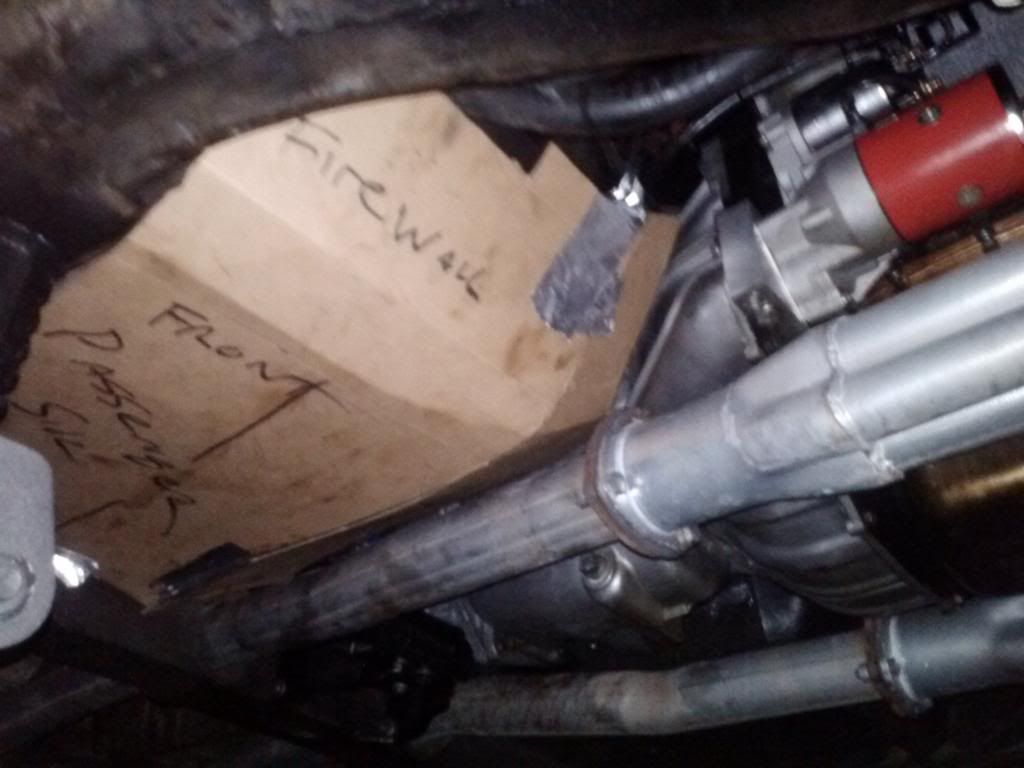
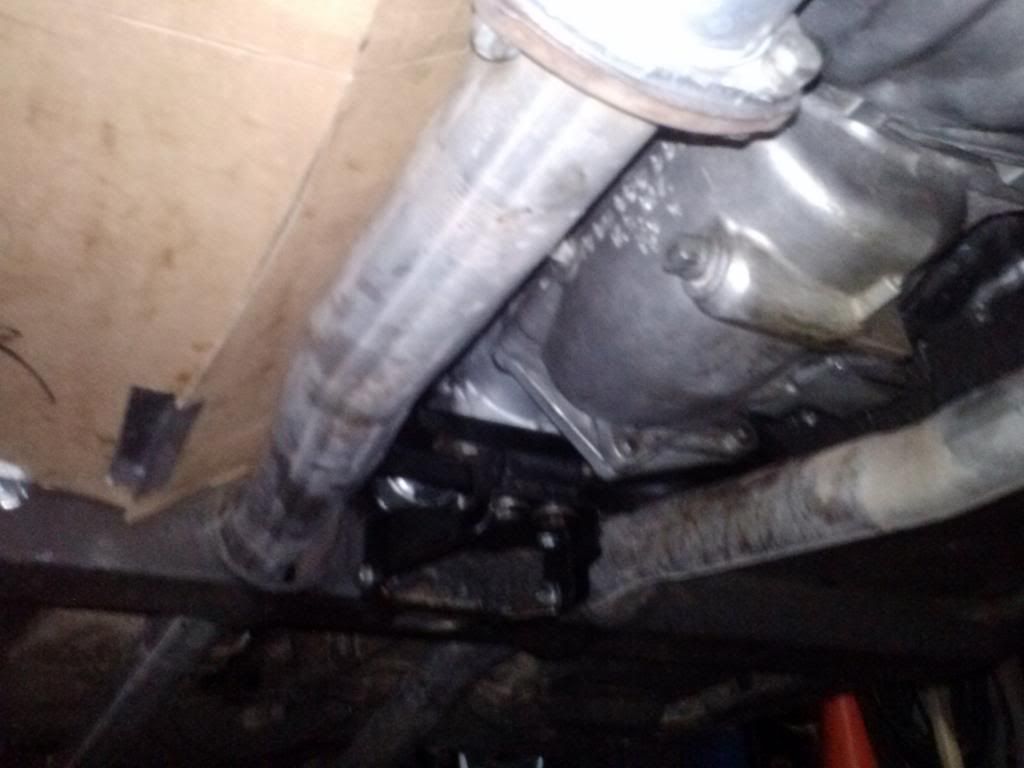
Side View, showing adequate clearance and note, how incredibly close the inside front corner of the footwell is, to the exhaust pipe flange!!! On the driver's side, that's your foot, that's literally, just two inches from that hot flange!
Close up, Inside Corner View. This shows, the protection the inside corner will have from the heat. See the proximity? Close huh?
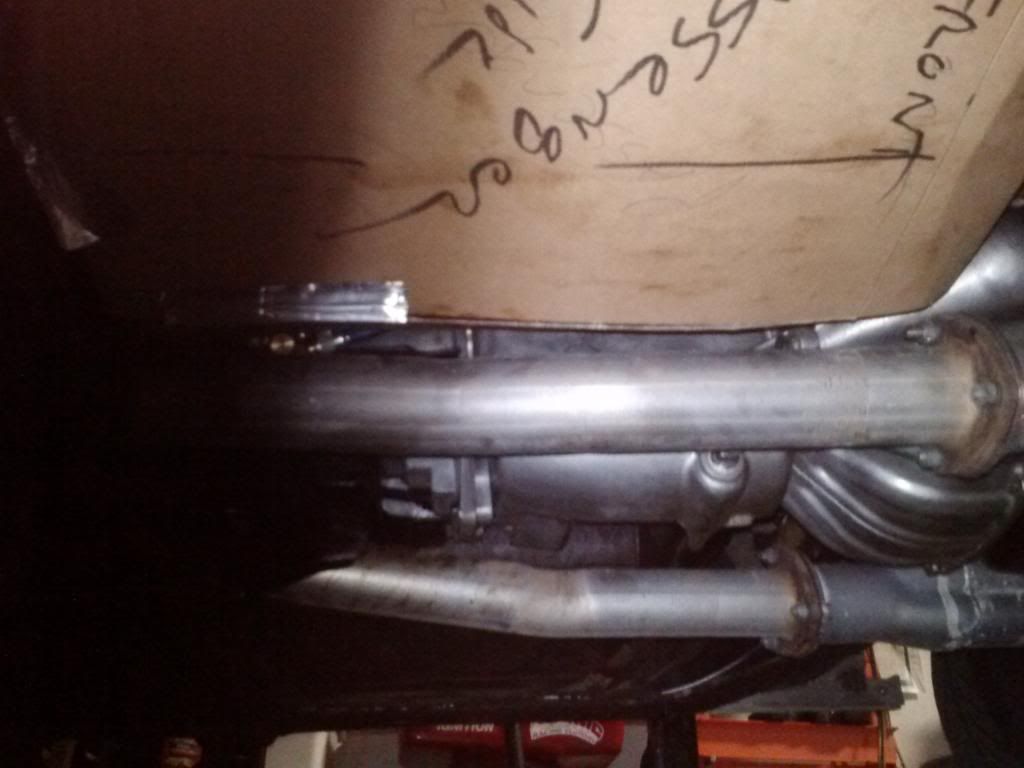
Trans Tunnel Protection. You can see that the cardboard template, extends all the way back to the tailshaft.
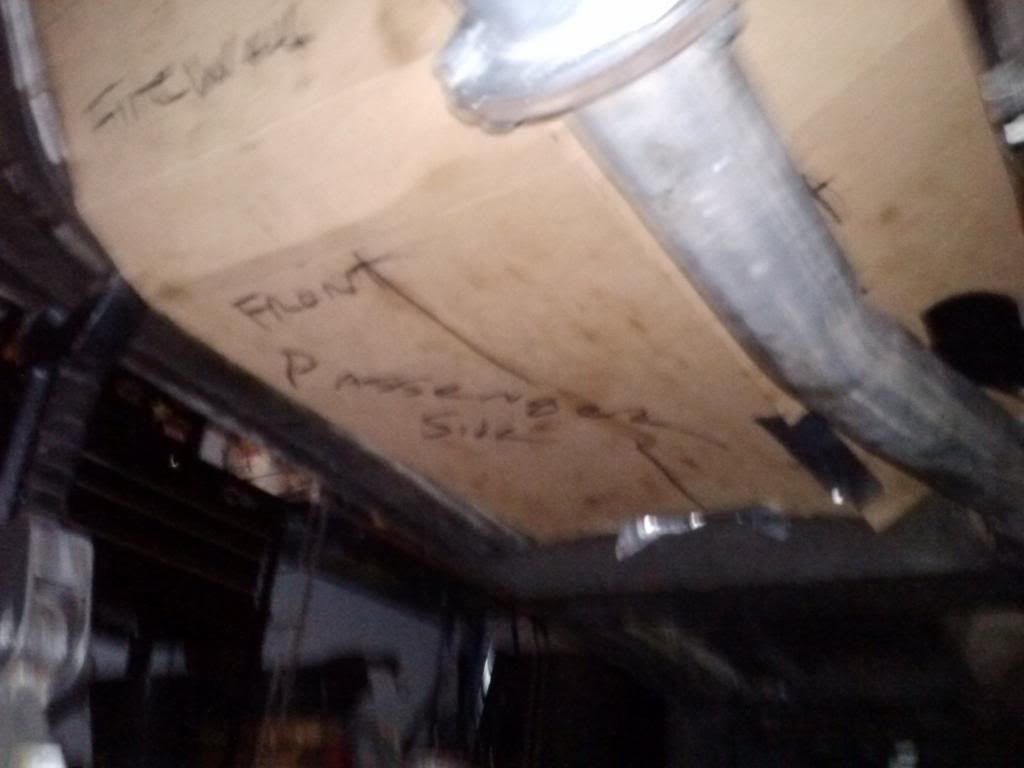
Another shot, showing trans tunnel, as well as how it extends all the way to the trans cross member.
We need to massage the shape, just a little more, but we're very close. I need to research the automatics as well and see where the trans cooler lines and shifter lines run, so I can make sure these don't interfere with the automatic.
Next is the Driver's side!
I intend to cover the whole bottom, as this will protect the occupants, not only from the exhaust pipe heat, but from the road heat as well. Remember, this is going to be entirely coated with a very tough, highly reflective film, so imagine it looking like a mirror instead. You'll have the same material that was used on numerous Apollo missions, the Lunar Lander and is still being used on sundry aircraft and satellites! This ain't automotive, it's space-age!
Bottom of floorboard, again, note entire bottom is covered.
Side View, showing adequate clearance and note, how incredibly close the inside front corner of the footwell is, to the exhaust pipe flange!!! On the driver's side, that's your foot, that's literally, just two inches from that hot flange!
Close up, Inside Corner View. This shows, the protection the inside corner will have from the heat. See the proximity? Close huh?
Trans Tunnel Protection. You can see that the cardboard template, extends all the way back to the tailshaft.
Another shot, showing trans tunnel, as well as how it extends all the way to the trans cross member.
We need to massage the shape, just a little more, but we're very close. I need to research the automatics as well and see where the trans cooler lines and shifter lines run, so I can make sure these don't interfere with the automatic.
Next is the Driver's side!
Drifting

Joined: Jun 2013
Posts: 1,269
Likes: 226
From: Cocoa FL
Does there need to be a gap between the floor boards and your creation? I have always seen the factory heat shields on cars with space between them and the floor. My understanding is that allows for the heat to dissipate more effectively.
Le Mans Master
Joined: Oct 2006
Posts: 6,842
Likes: 285
From: Palmdale CA
The new heatshield will attach over the top of the original factory shield, using the same two nuts, as the factory heat shield by the heater hoses. The lower mount for the original factory heatshield at the bottom curve of the firewall, actually juts out 3/4 of an inch from the bottom of the floorboard!
The rear of the heat shield, will use the transmission cross member for support, with two heavy clamps and there will be adequate clearance there as well as the space between the shield and the floorboard.
Drifting
Joined: Jun 2013
Posts: 1,269
Likes: 226
From: Cocoa FL
That's awesome. I look forward to see how this is going to work out. You may have hit a gold mine here.
Of course, as someone involved in the design process I would expect there to be a discount for me
Of course, as someone involved in the design process I would expect there to be a discount for me
Le Mans Master
Joined: Oct 2006
Posts: 6,842
Likes: 285
From: Palmdale CA
Found a pic of a bare firewall and the factory heatshields on both sides. On the passenger side, note the two tabs at the top of the shield to attach it to the firewall. They're attached with nuts and my heatshield is going to use those same two nuts to attach it to the top.

The same goes for the driver's side as well.
The same goes for the driver's side as well.

Melting Slicks
Joined: Aug 2012
Posts: 3,487
Likes: 83
From: Titusville Florida
Found a pic of a bare firewall and the factory heatshields on both sides. On the passenger side, note the two tabs at the top of the shield to attach it to the firewall. They're attached with nuts and my heatshield is going to use those same two nuts to attach it to the top.
The same goes for the driver's side as well.
The same goes for the driver's side as well.


Le Mans Master
Joined: Oct 2006
Posts: 6,842
Likes: 285
From: Palmdale CA
If they aren't, it's ok, because I'm going to mount the top of the new heatshield the same way, with the two tabs bent towards the firewall and creating an inch of space to snug down. I'll include two nylon locknuts and washers for each side.
Melting Slicks
Joined: Aug 2012
Posts: 3,487
Likes: 83
From: Titusville Florida
Le Mans Master
Joined: Oct 2006
Posts: 6,842
Likes: 285
From: Palmdale CA
Possibly. But first, I've got to test them to see if they work like the experiment. At this point, I don't see why not.
I want a product that's going to be relatively easy to install and that will work well. I'm a demanding and picky person and I don't want to release anything, that's not going to work to everyones complete satisfaction.
I want a product that's going to be relatively easy to install and that will work well. I'm a demanding and picky person and I don't want to release anything, that's not going to work to everyones complete satisfaction.

Pro

Joined: Nov 2003
Posts: 692
Likes: 1
From: Peabody Ma.
Great thread!!
I will be bonding the firewall on this week! I was going to use Lizard Skin,
but now I think I will either the Zero clearance type on the under side, and fire wall and possibly the Ez cool inside?
I like Zero clearance type over the Ez cool, for two reasons...
The Zero clearance has PSA glue rated to 450*F, use fiberglass instead of the cell type insulation.
The Zero clearance type seems like it will hold up better under the car?
Here is what I am looking at
http://www.ebay.com/sch/i.html?_trks...at=0&_from=R40
