When you click on links to various merchants on this site and make a purchase, this can result in this site earning a commission. Affiliate programs and affiliations include, but are not limited to, the eBay Partner Network.
Subscribed! This looks like it's going to be an interesting thread.
Originally Posted by army
If it's done well a chrome bumper bubble back would be a fantastic looking C3. That photoshop'd pic of one that's been floating around is killer looking.
Thanks guys.
Army, I don't know if this is the picture you're talking about but its one that convinced me to go ahead with this:
no I was talking about my hood on the ugly 75 vert I just posted a pic of. but post came out on a diff page than the post above it. all 4 corners were cut out of the hood surface to remove hood after car got bent.
That's photoshop in case you didn't realize it rvzio
Yup... it took a minute to see the dual windshield pillars. Still a nice idea of what a bubble window looks like on a chrome bumper car.... or vice/versa!
That's photoshop in case you didn't realize it rvzio
I got that, what I was implying was it was pretty cool looking, whoever owns it. If that's your plan of mods then it should look really neat. Just sayin!
Yup... it took a minute to see the dual windshield pillars. Still a nice idea of what a bubble window looks like on a chrome bumper car.... or vice/versa!
Lol, though I've looked at this picture many times I never noticed the dual windshield pillars until you pointed it out.
Take care you use a product that really dyes the plastic by going inside the material instead of lying on the surface like some.
I had the direct comparison once when two products have been used in one interior and there is big difference.
The fake leather-like structure of the plastic would be "filled"up with the wrong product and that will make them appear less worthy.
The one i had was called "Formula 40", i guess there are other ones available too that work same way.
It had a pre-cleaner in the set so that parts are prepared correctly and clean from older paints if there are any.
Had the car for a very long time and it kept the dash in perfect condition.
Last edited by EASYGEAR; Dec 13, 2015 at 06:59 PM.
Take care you use a product that really dyes the plastic by going inside the material instead of lying on the surface like some.
I had the direct comparison once when two products have been used in one interior and there is big difference.
The fake leather-like structure of the plastic would be "filled"up with the wrong product and that will make appear less worthy.
The one i had was called "Formula 40", i guess there are other ones available too that work same way.
It had a pre-cleaner in the set so that it is prepared correctly and clean from older paints if there are any.
Had the car for a very long time and it kept the dash in perfect condition.
I'll look into. I was planning on ordering dye from one of the corvette parts suppliers.
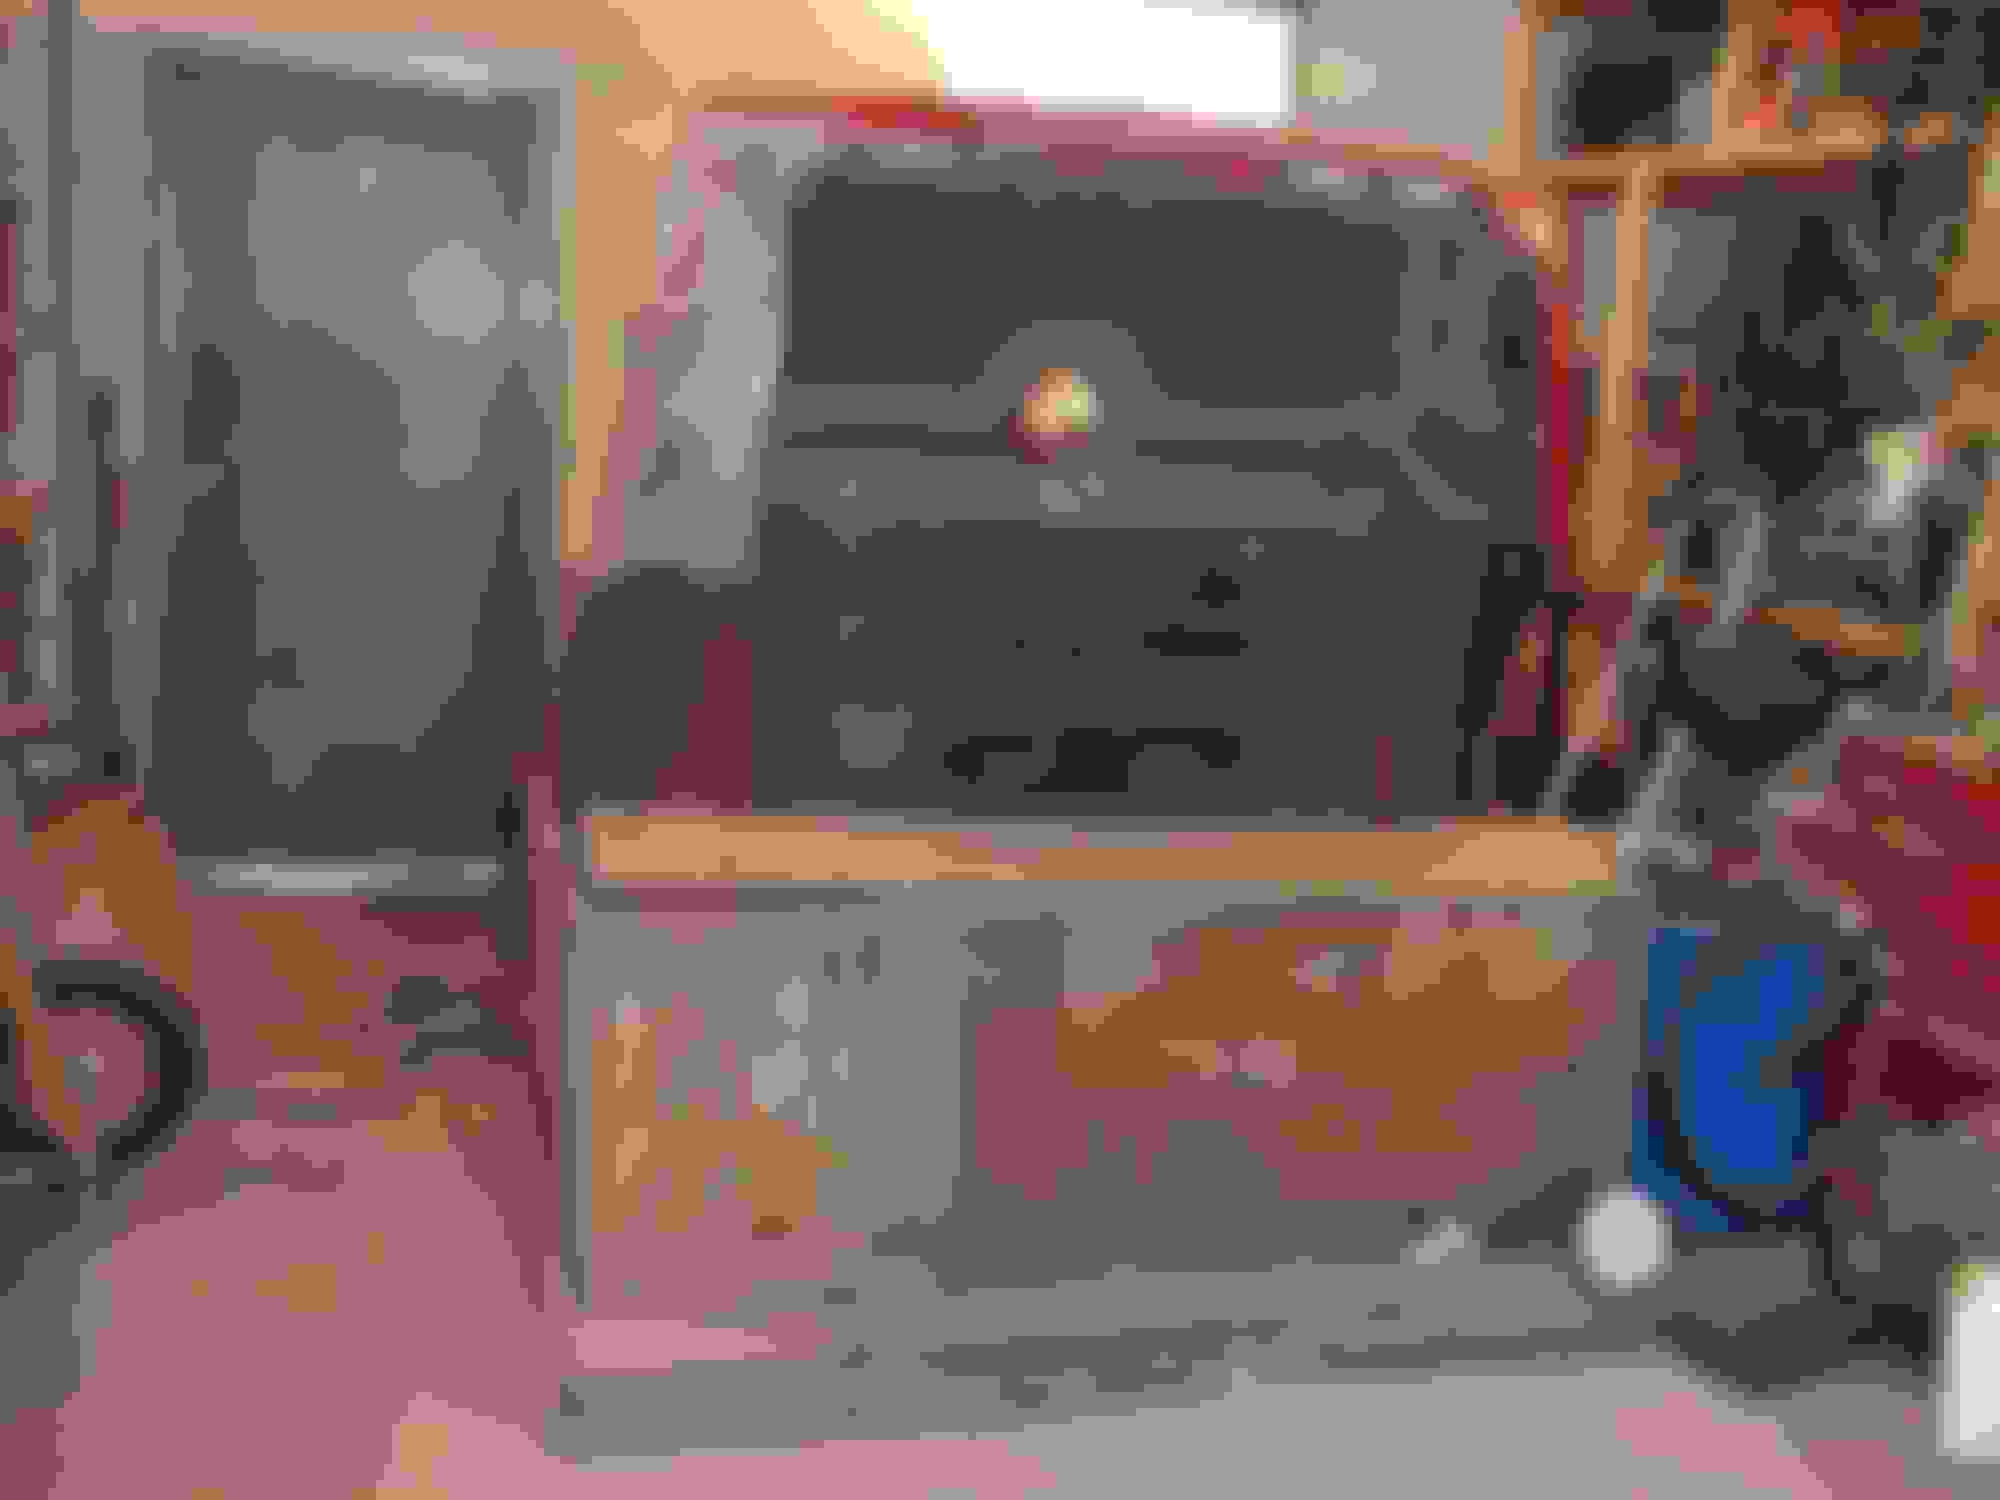
As space is very short in our garage I'm working on the 69 rear clip in this position:
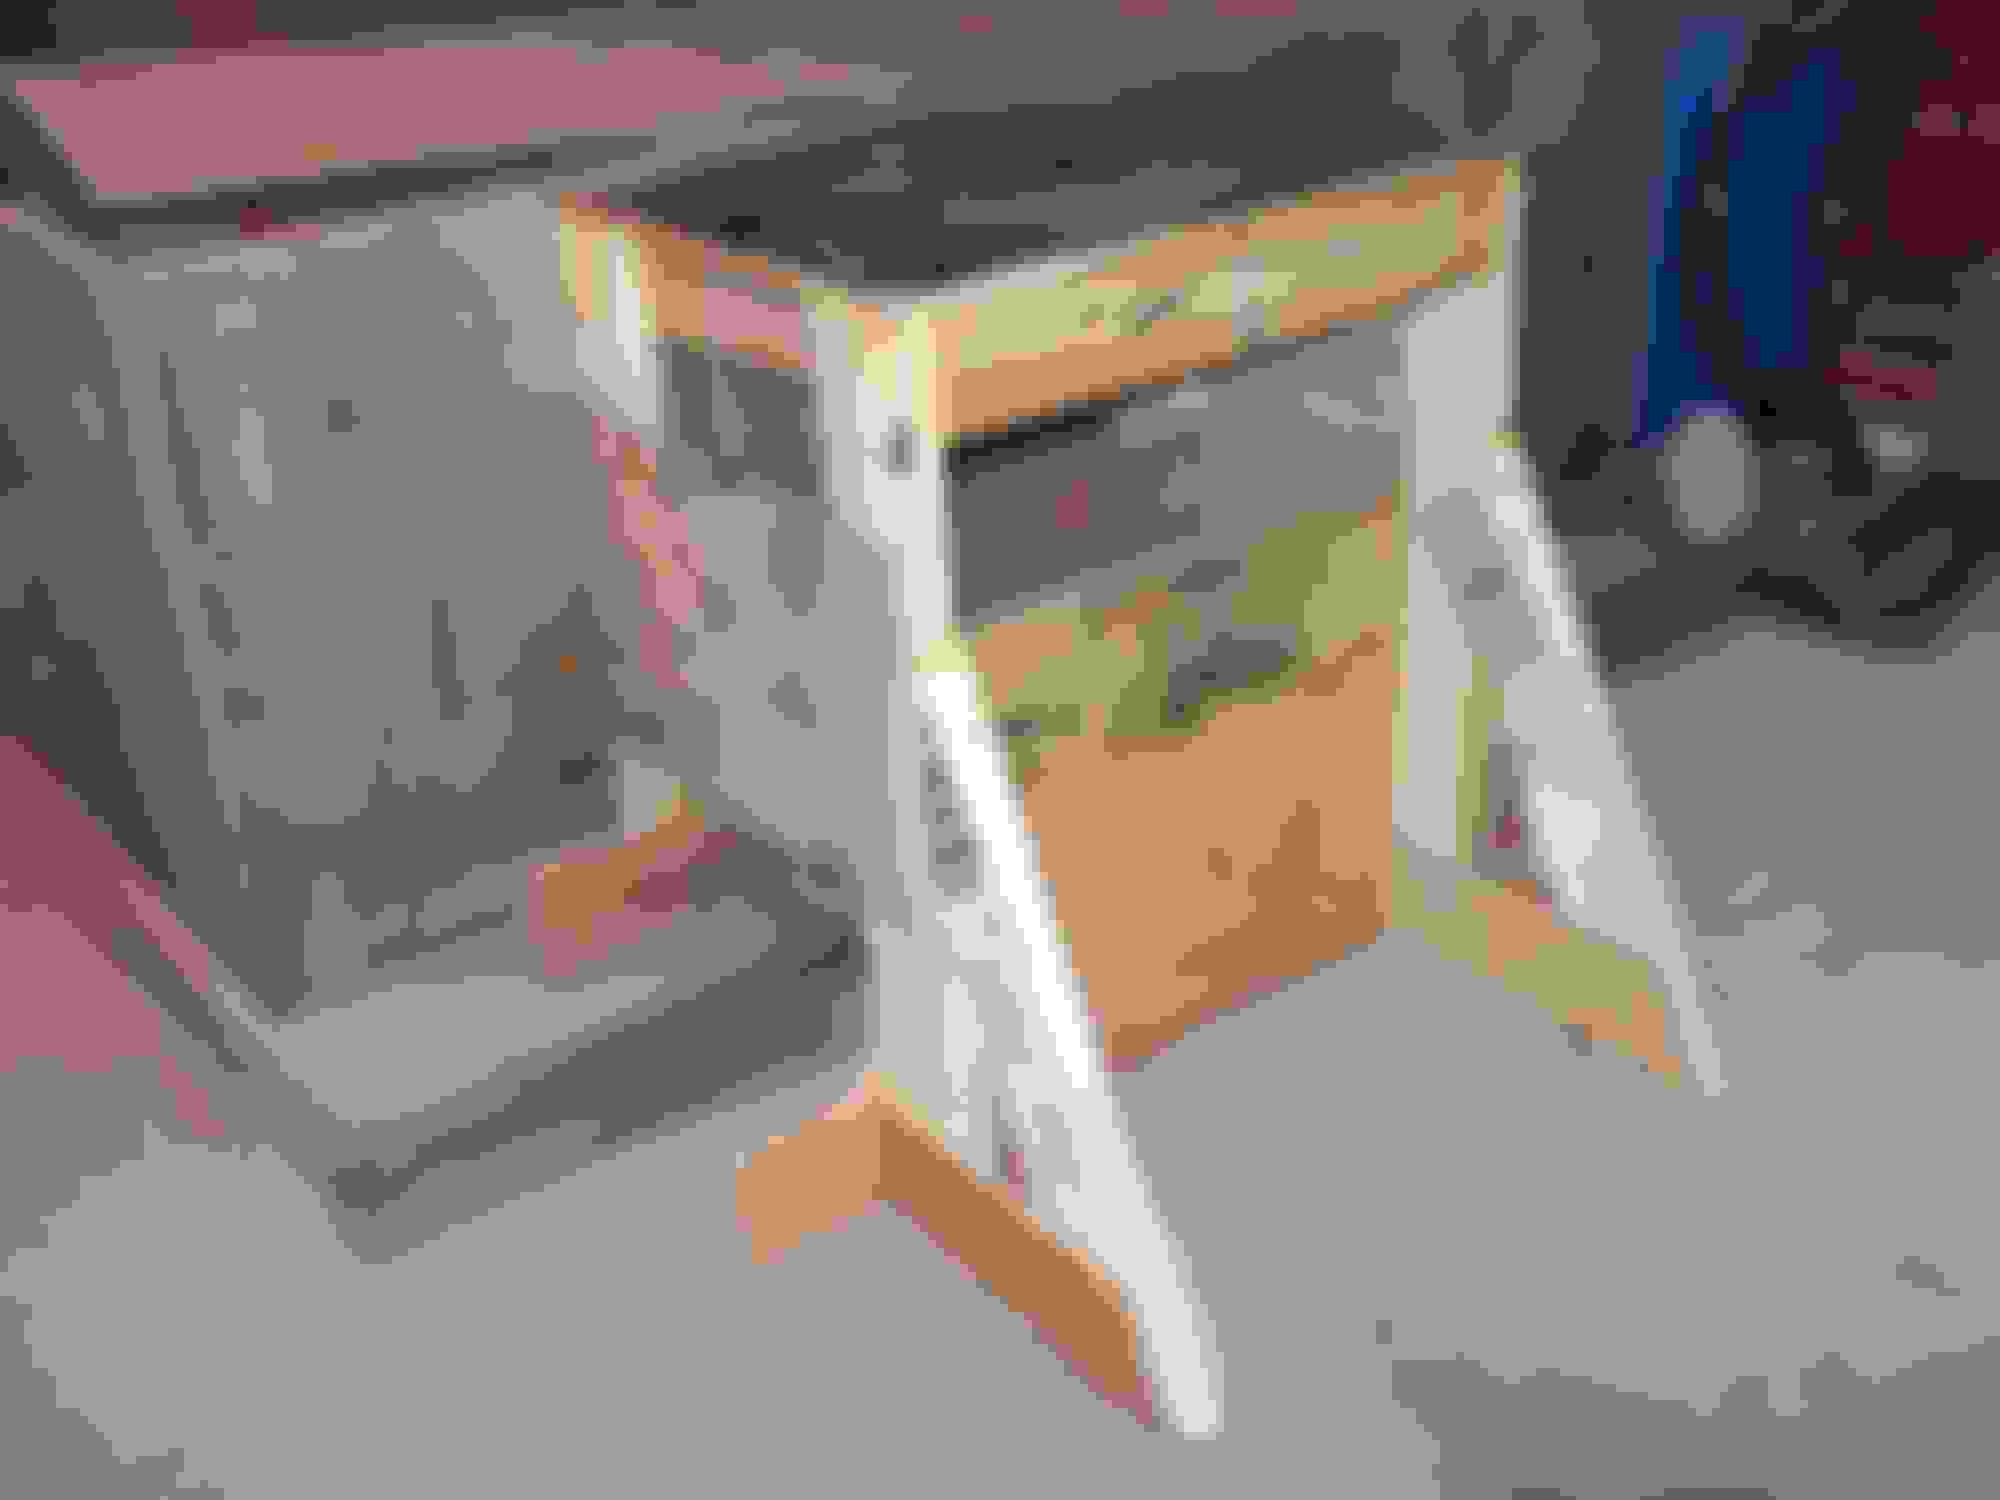
So, I got the driver's side rear quarter sanded down to fiberglass and started on the tailight panel but found it too high to reach comfortably from a chair and precarious standing on the shipping crate holding the 69 rear clip so I built the stand below. It took me two weeks!
My power screwdriver crapped out halfway through so I was forced to screw the rest together by hand which my wrists and hands really hated. I initially put it together without the steadying braces and being 28 inches tall was it ever wobbly. I took it apart and redid it as below but haven't tried it yet, hopefully its steady enough to work on now.
A bit frustrating to spend so much time doing stuff that is needed to help you work on the car instead of actually working on the car.
Why rear quarter work? Are you replacing the whole rear clip? Roof, back glass and all? Or are you leaving orig roof line and rear glass, in which case you need only the last 6 to 8 inches of rear deck? That's how i am gonna do this 75 convert i picked up recently. The only rear quarter issue is the last 3 to 4 inches of the quarters where the side of bumper cover is now. And u am thinking cut up a glass bumper or pull a mold off it to fab that small piece.
Last edited by derekderek; Dec 23, 2015 at 09:22 PM.