When you click on links to various merchants on this site and make a purchase, this can result in this site earning a commission. Affiliate programs and affiliations include, but are not limited to, the eBay Partner Network.
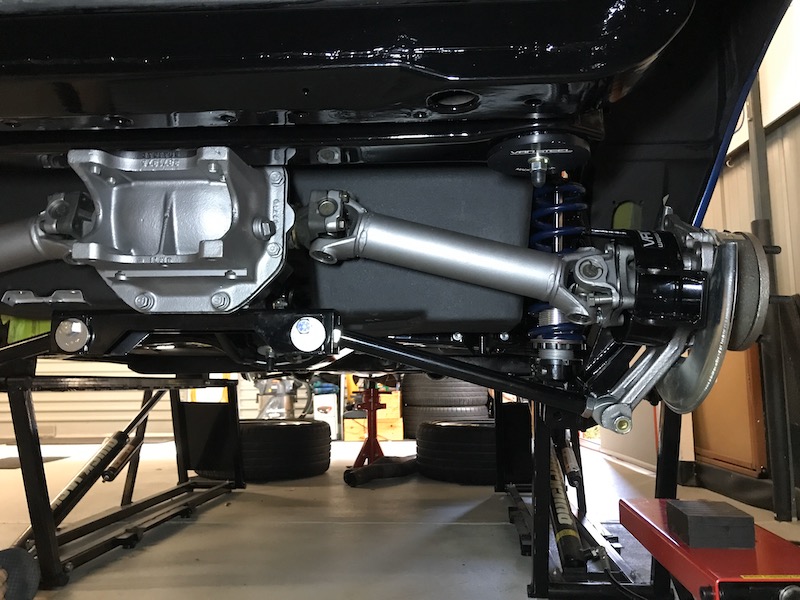
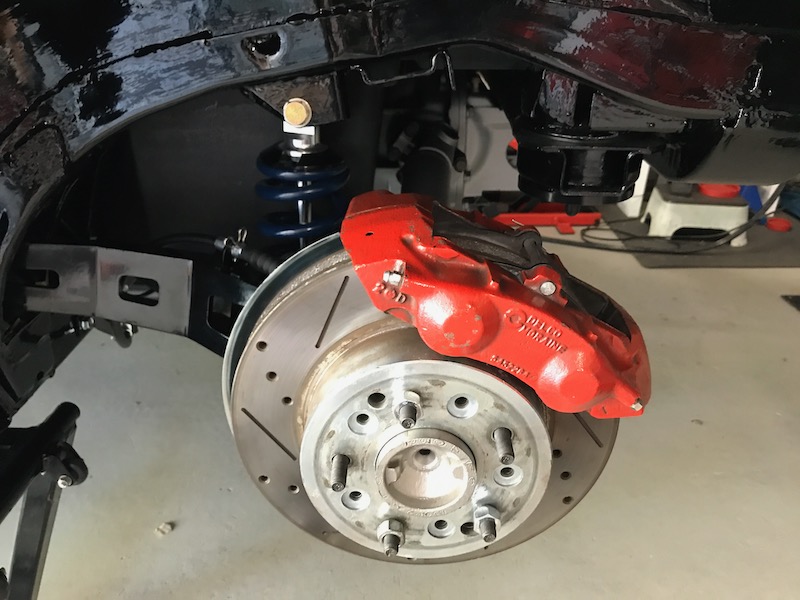
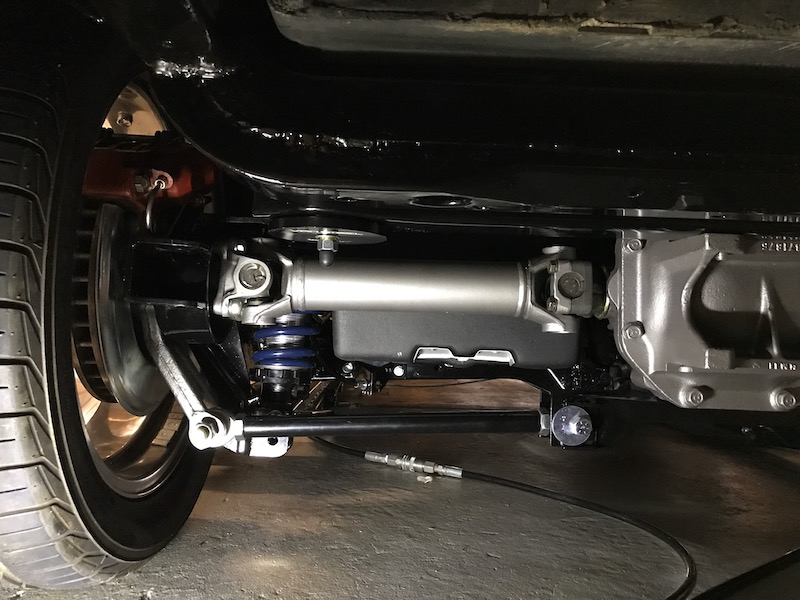
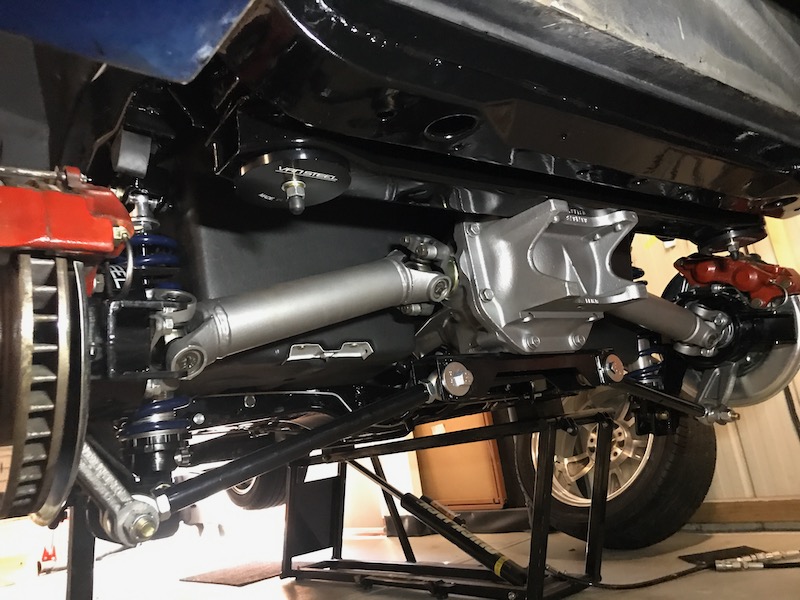
Rotors, callipers brake lines and handbrake cables all in.
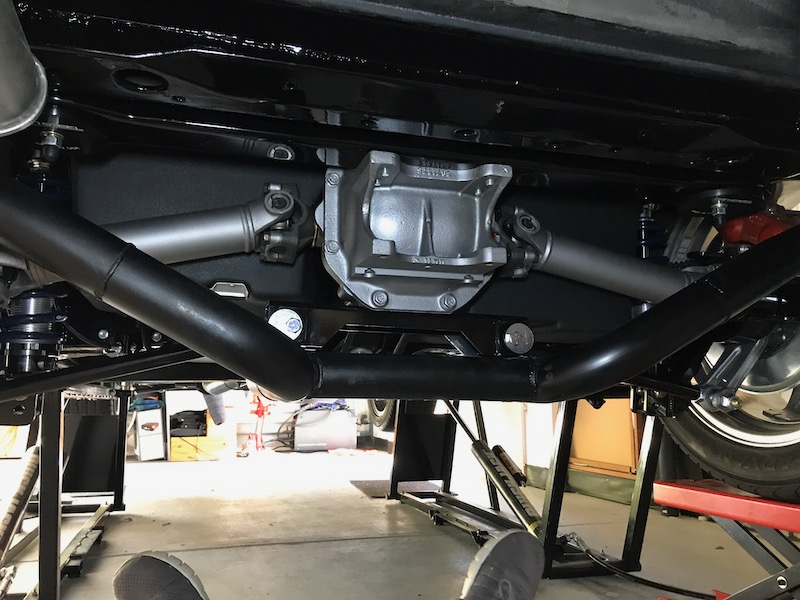
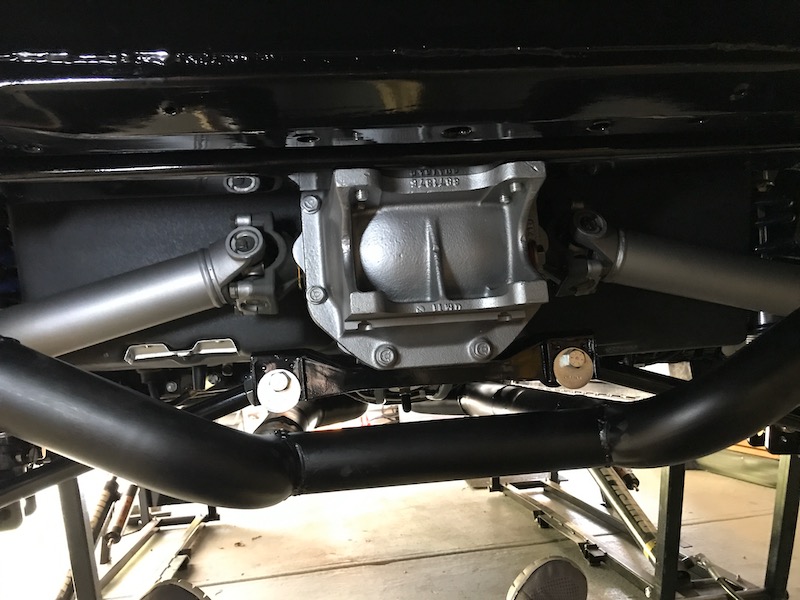
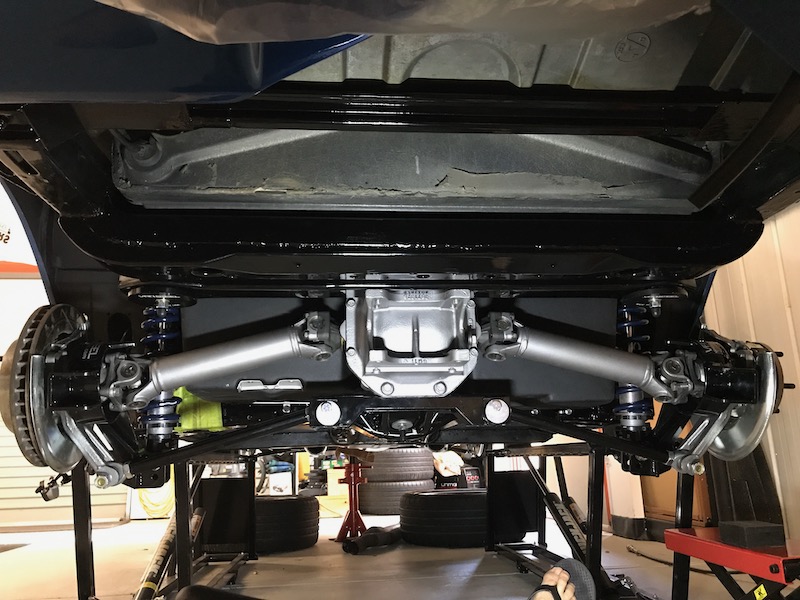
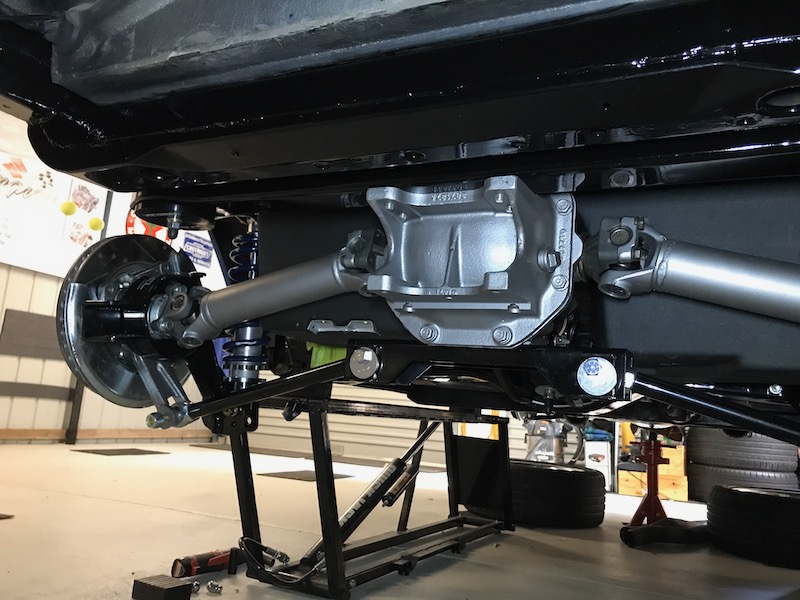
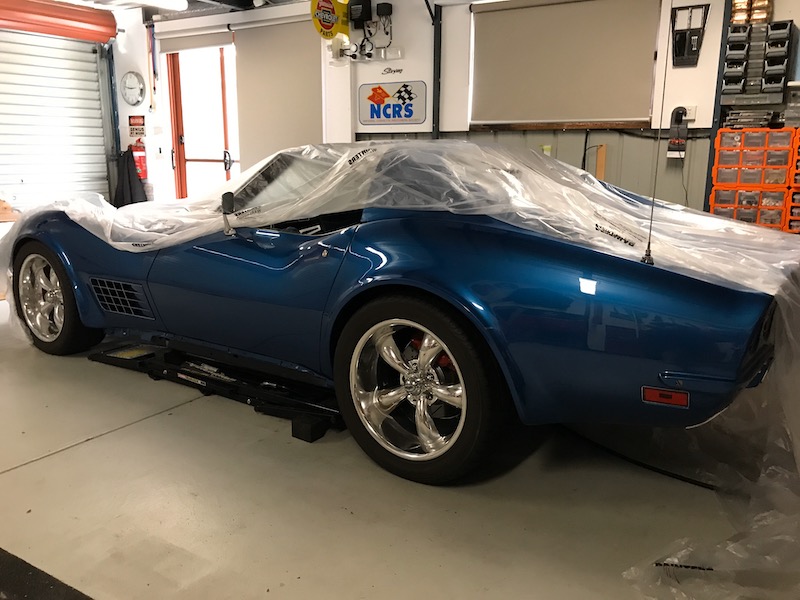
Sat it down on the ground to have a look. This is the lowest setting for the rear Vansteel coilers, however they have only been bounced a bit, I assume they will settle a bit more after some driving.
With the diff raised the half shafts are level while at this height. If I want to go lower I will have to talk to VanSteel about some 8" springs.
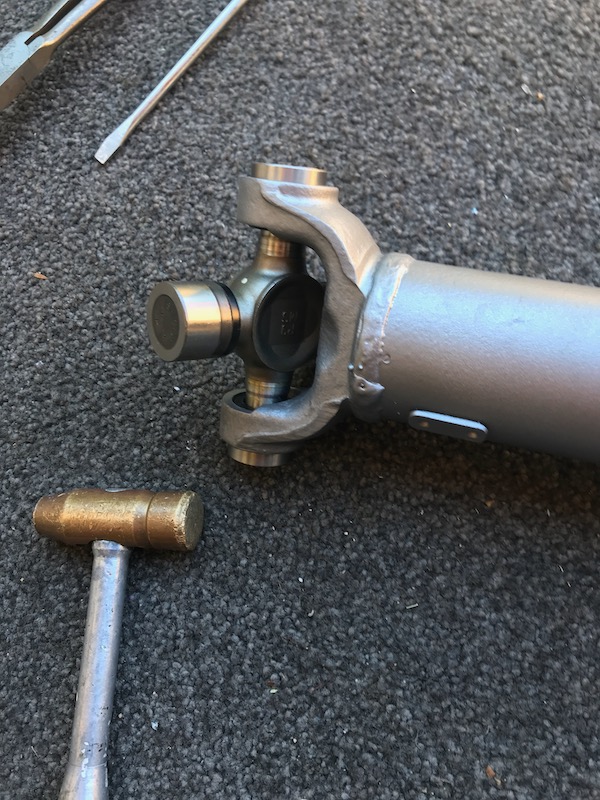
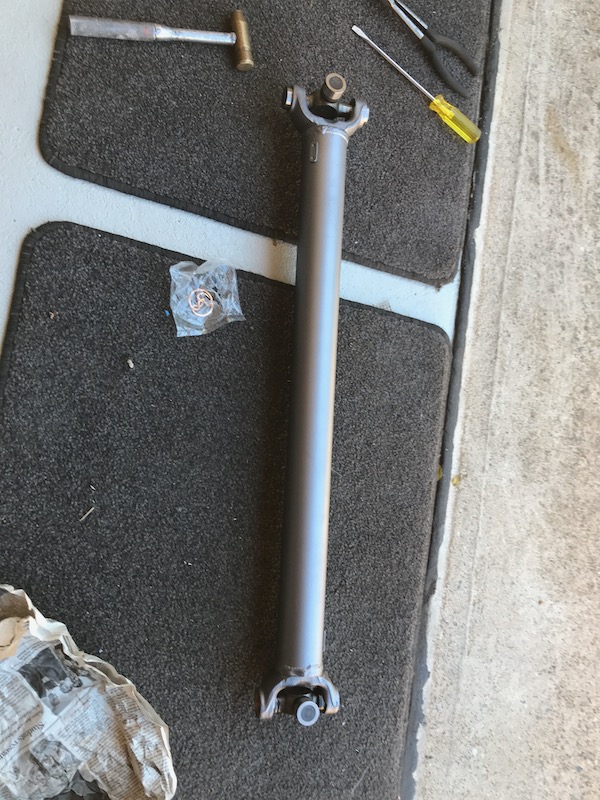
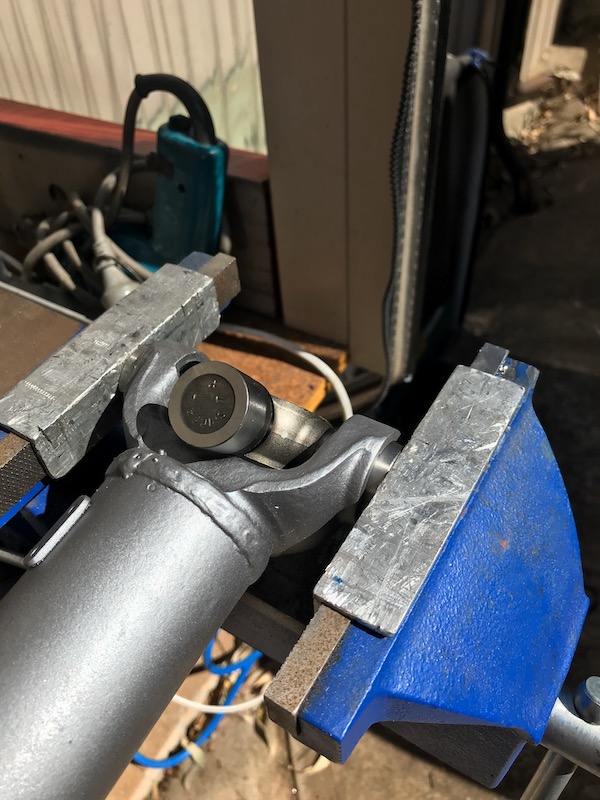
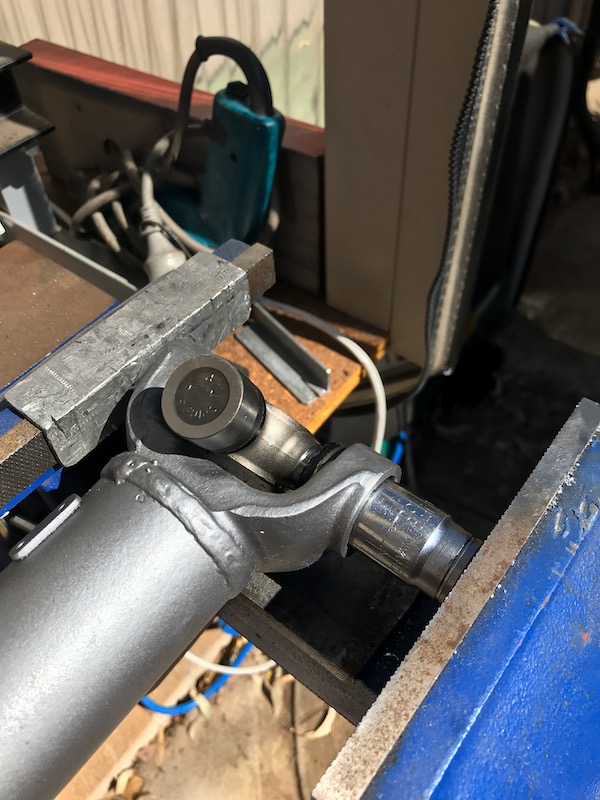
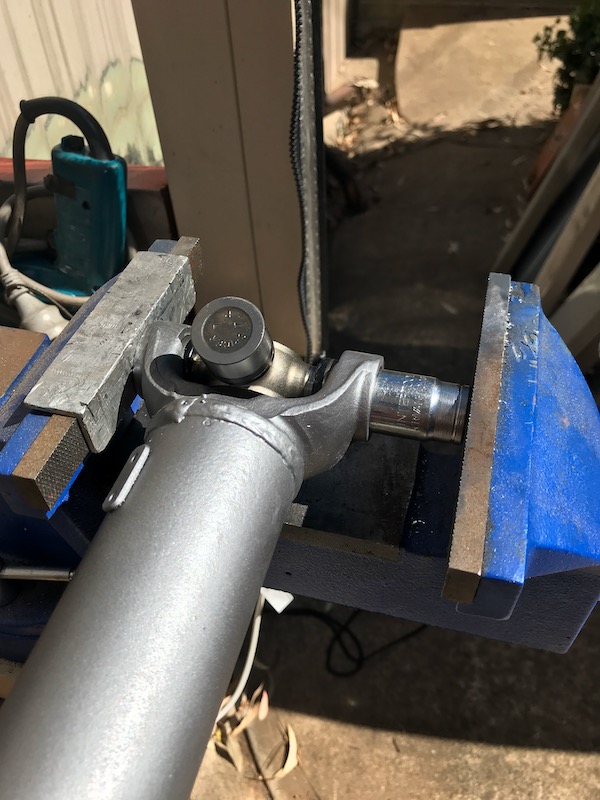
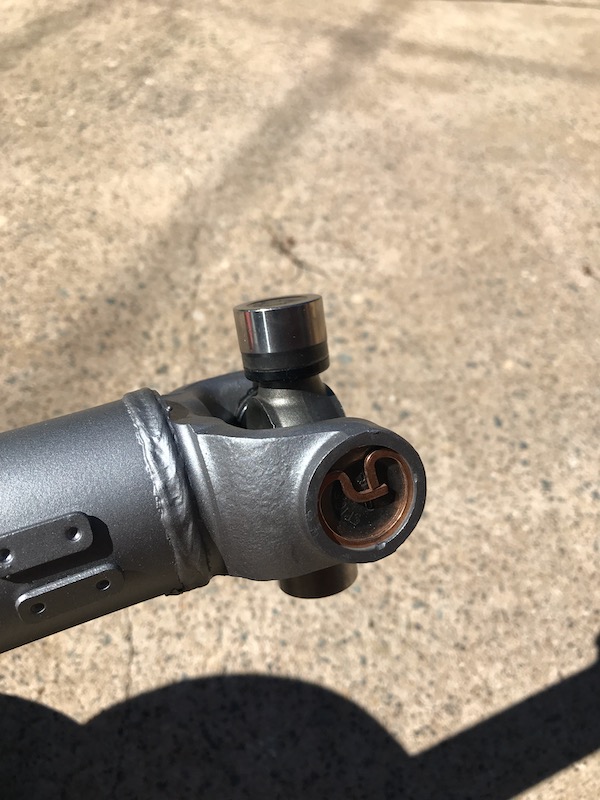
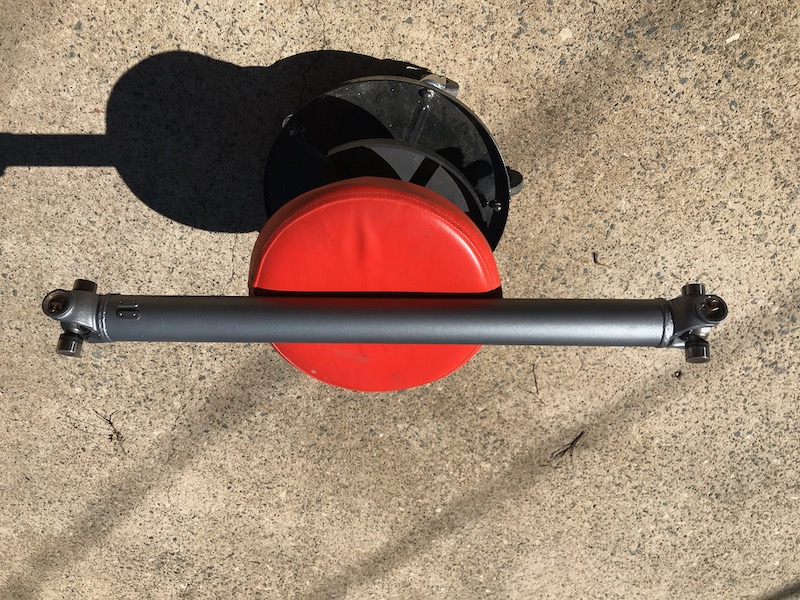
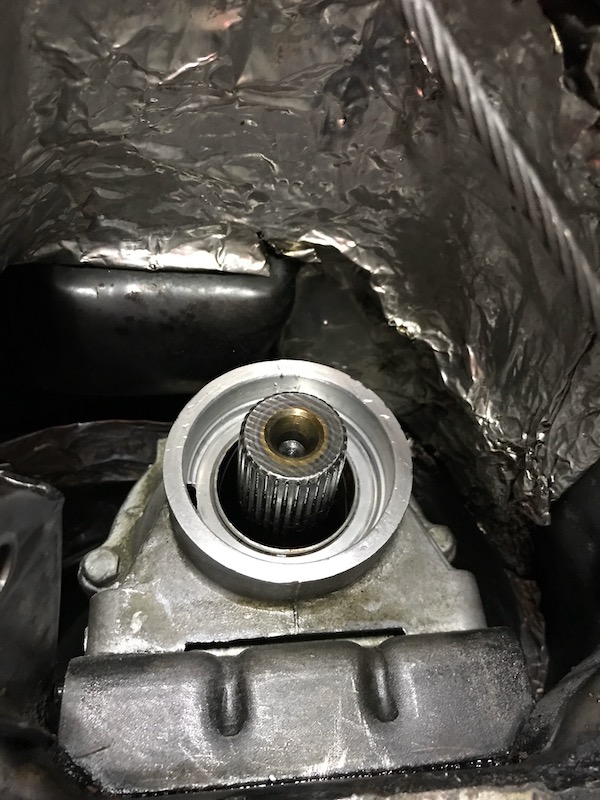
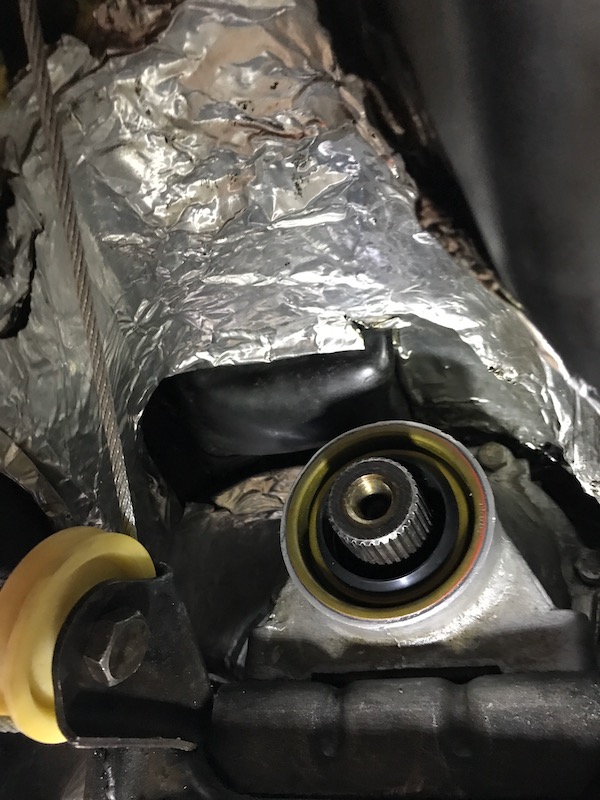
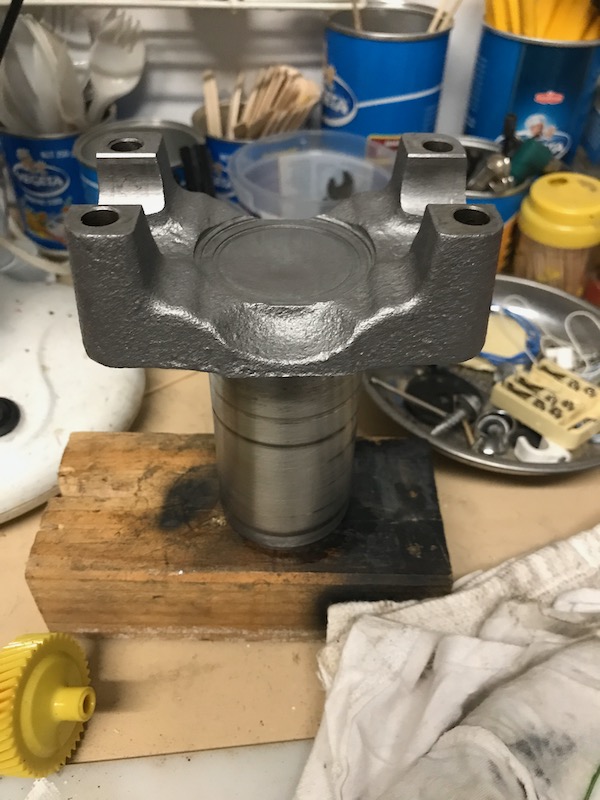
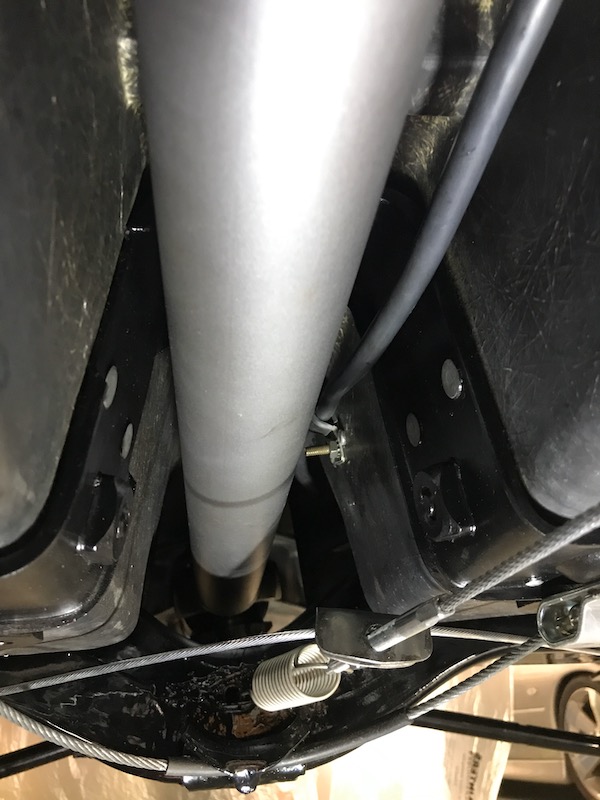
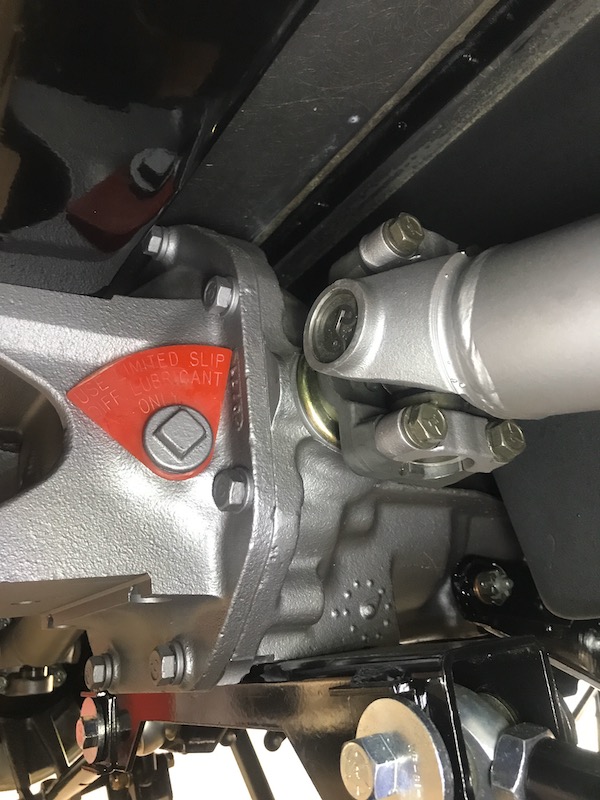
Before tail shaft can go in I replaced the rear seal on the TH400
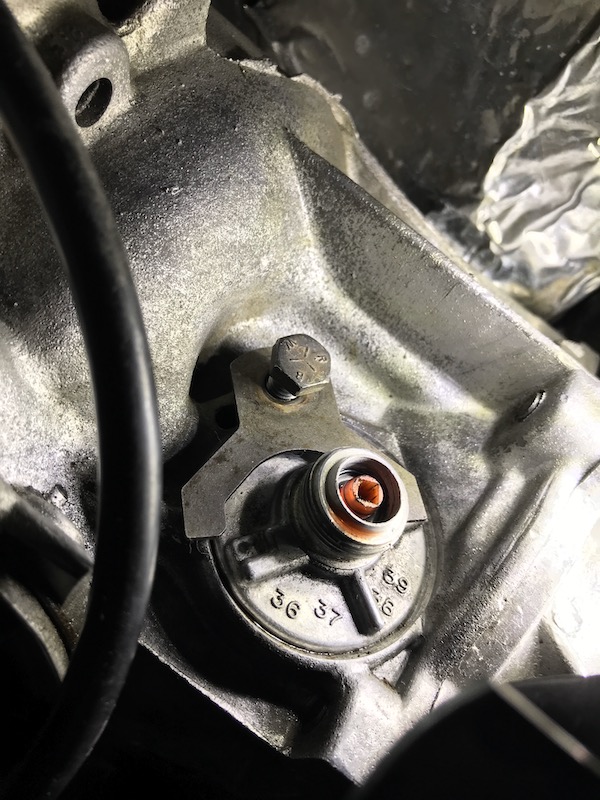
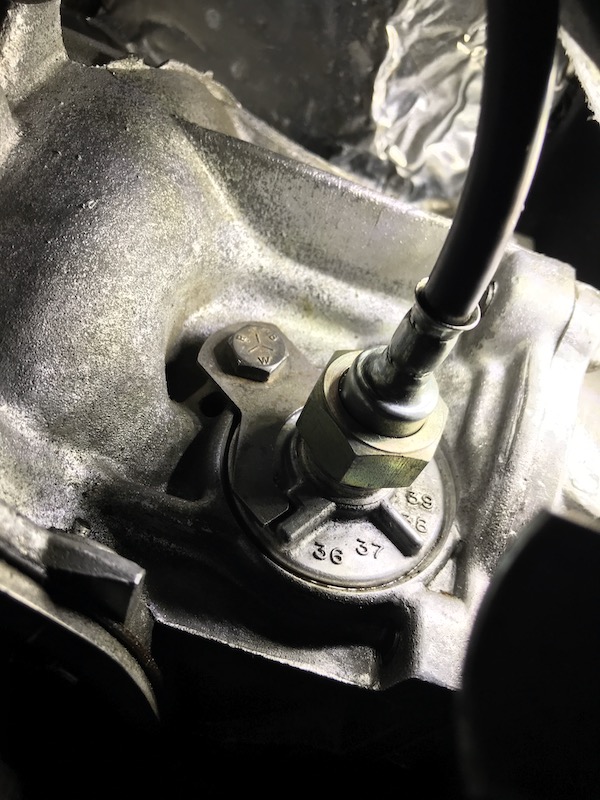
I then went to change from a 37 to 41 tooth speedo cog but did not realise it used a different sleeve case.....Oh well I will have to find one before I can fix the speedo (changed from 3.08 to 3.36 cogs. Thanks Brad)
Good work as always Craig.
Did you have any problems wwith reinstalling the driveshaft or was it straightfoward?
Did you mark the position of the driveshaft before removing or it didn't matter how it went back on?
I'm asking because the driveshaft is supposed to be balanced.
Good work as always Craig.
Did you have any problems wwith reinstalling the driveshaft or was it straightfoward?
Did you mark the position of the driveshaft before removing or it didn't matter how it went back on?
I'm asking because the driveshaft is supposed to be balanced.
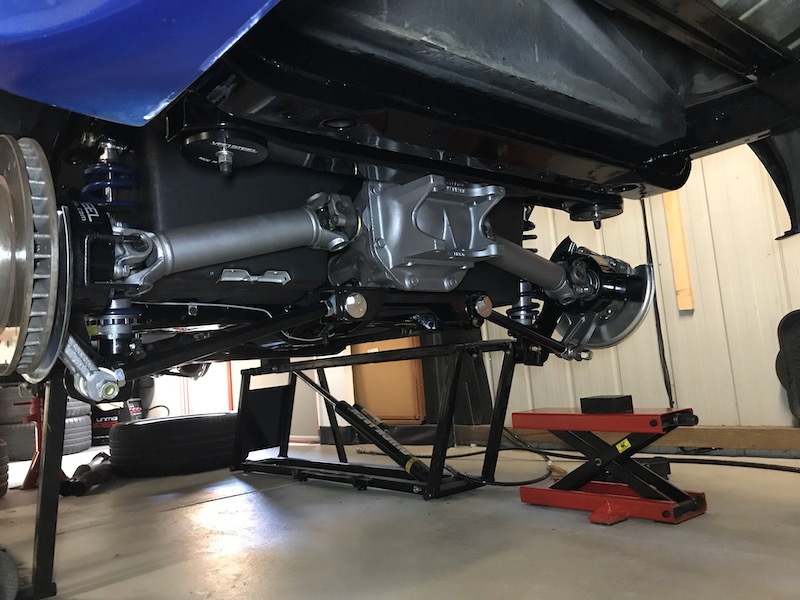
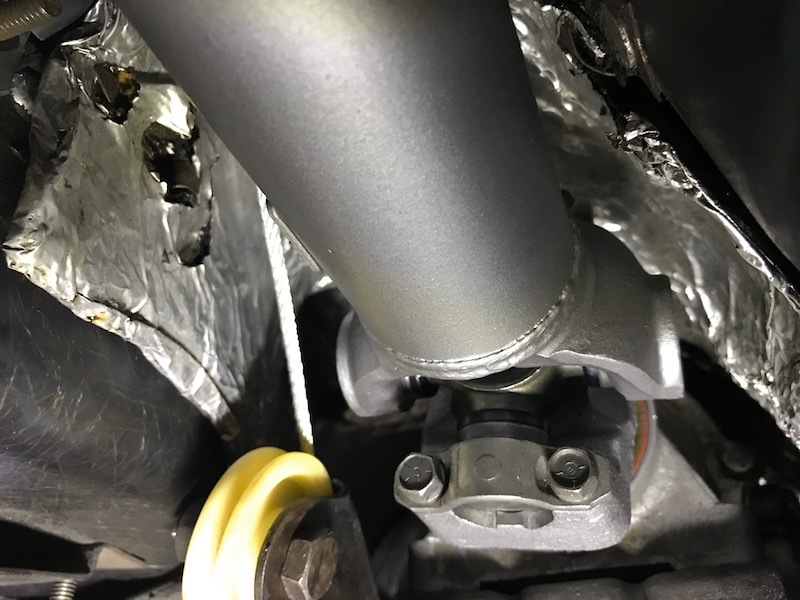
Putting it back was very straight forward Primoz. Put tail up near diff then fitted caps on CV at trans then did other end.
Tailshaft certainly appears to be balanced given the weights attached to it. I had marked the font and back so i could get orientation correct but I can't imagine the entire drivetrain is balanced.
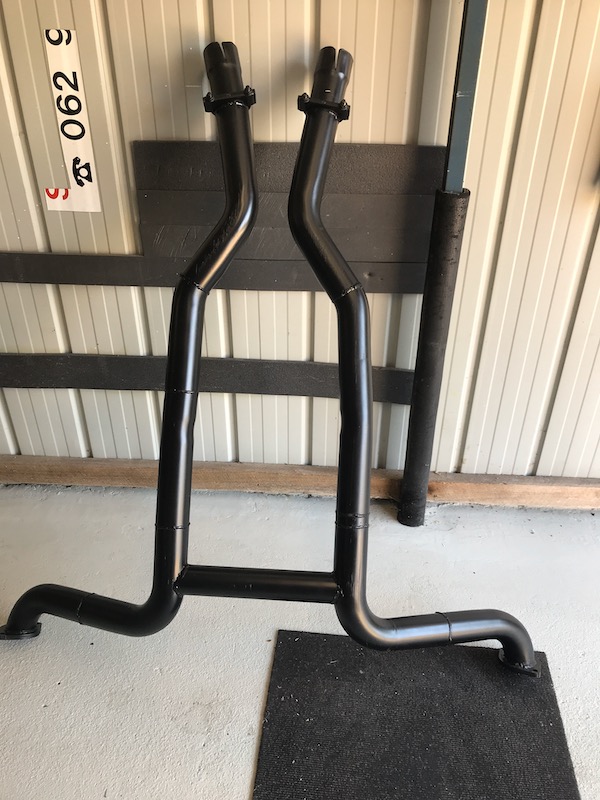
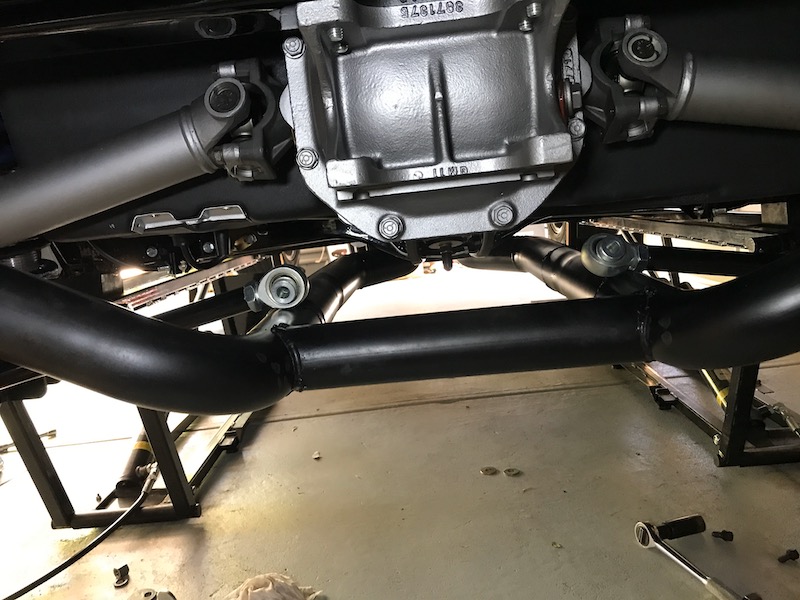
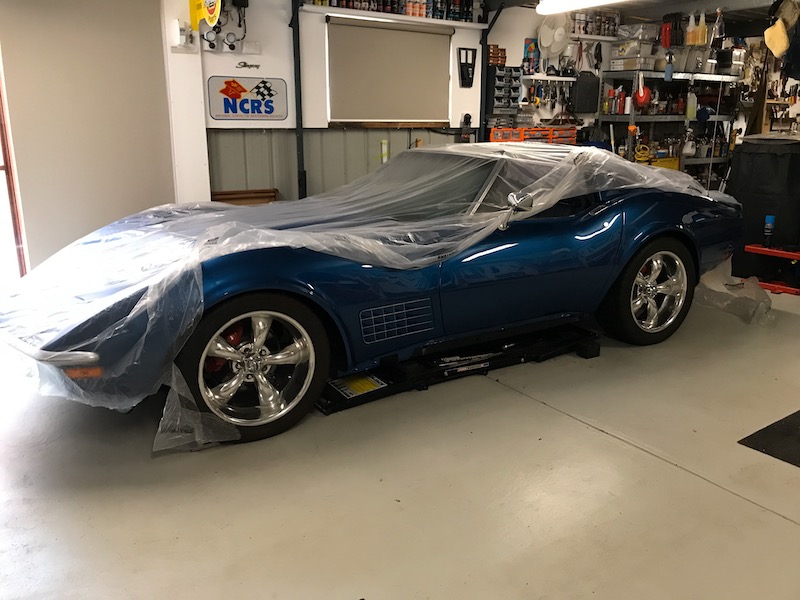
I was looking to fit the exhaust and battery then take the Vette for a test run.
Yesterday I had cleaned up the pipe sections and a given them a coat of high temp paint.
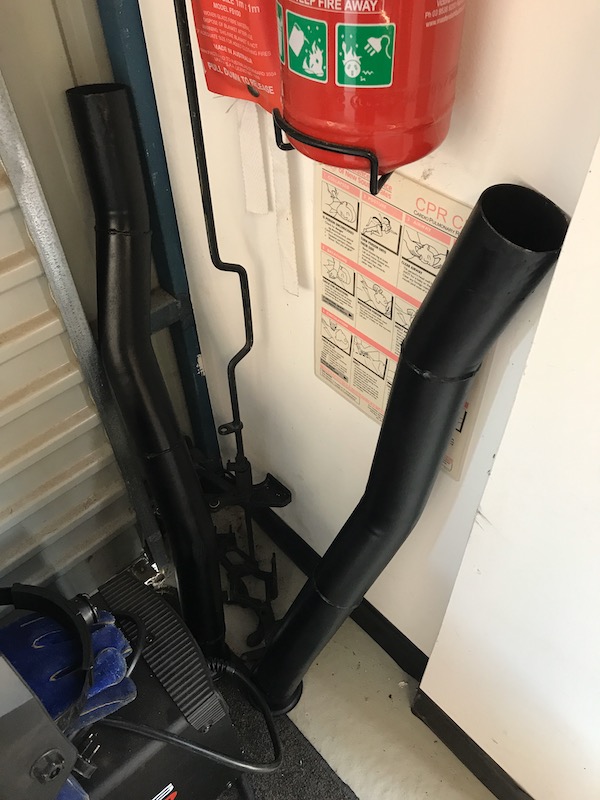
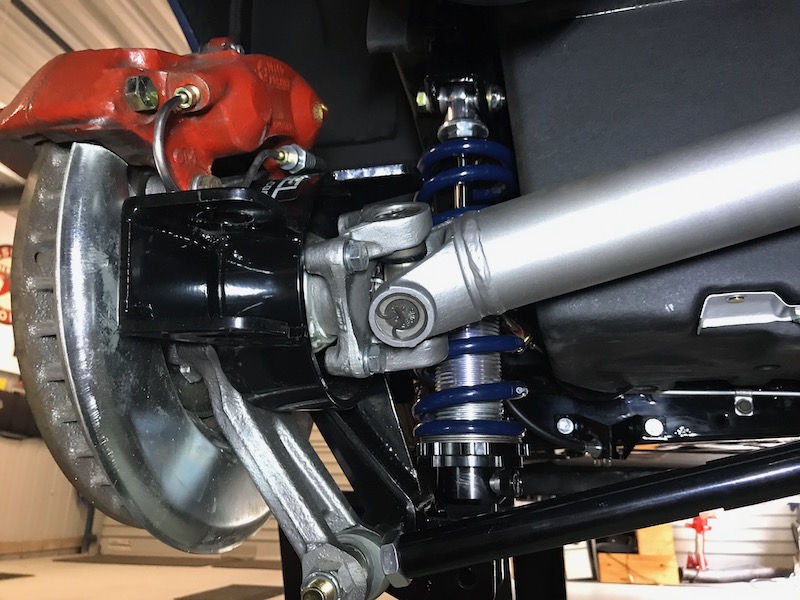
Fitting it was fairly straight forward used one of the bike lifts to hold the mid section up while I connected it...then the tailpipes.....but it was all too tight against the rear strut rod brackets.
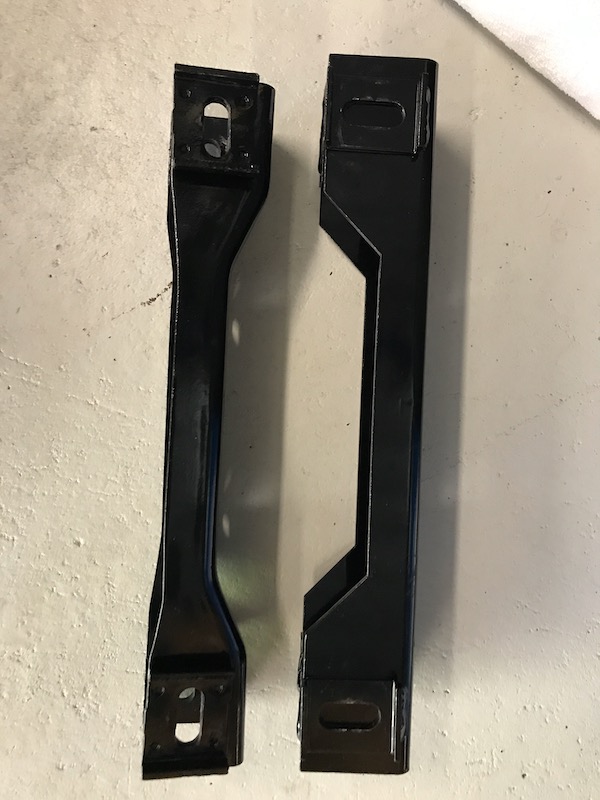
Bugger, even with diff raised why was this.....turns out the Vansteel bracket that aligns the strut rods properly has two ears that contain the bolts and they drop lower to give the needed adjustment. Unfortunately my existing exhaust wanted the same space.
So a quick swap of the strut rod bracket so at least I can move on ....
Vette will need to go to an exhaust shop for some changes.
Craig, it may interest you to know that I previously had a spacer between my factory strut rod bracket and the diff, resulting in similar geometry to the aftermarket strut rod bracket with the cam set near the top of its range. I found that when cornering hard the outside rear was going into positive camber, I actually went back to the factory geometry and found that it worked better.
Craig, it may interest you to know that I previously had a spacer between my factory strut rod bracket and the diff, resulting in similar geometry to the aftermarket strut rod bracket with the cam set near the top of its range. I found that when cornering hard the outside rear was going into positive camber, I actually went back to the factory geometry and found that it worked better.
All looks great as always!
Positive camber would be a bad thing Andrew. I will have a closer look at what happens on compression of the suspension.
Metalhead and Craig
Terrific work as always!
I attached two pics showing the neg camber gain potential of the rear suspension using your pics.
With "smart strut bracket" arms are almost parallel - almost no neg camber gain. True parallel would be zero gain.
With stock bracket - arms are less parallel - more neg camber gain
But the body could easily tilt a couple degrees on hard cornering, creating positive camber on the outside tire and upsetting your careful static alignment. The important thing is to balance the two, the bodies "roll rate" and the suspensions "camber gain" to get slightly neg camber in hard turns. Easier said than done. Racers literally move the inner pivot up and down during alignment sessions, to adjust the camber gain, it's just another adjustment.
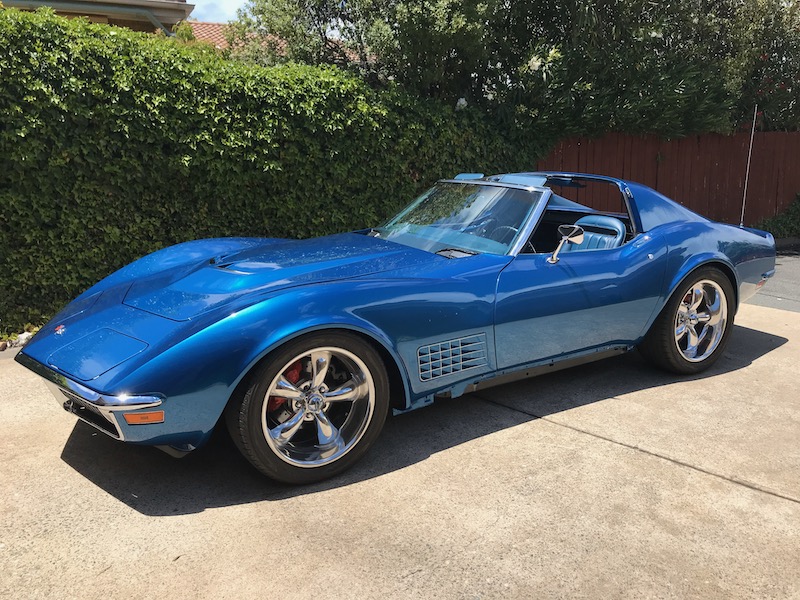
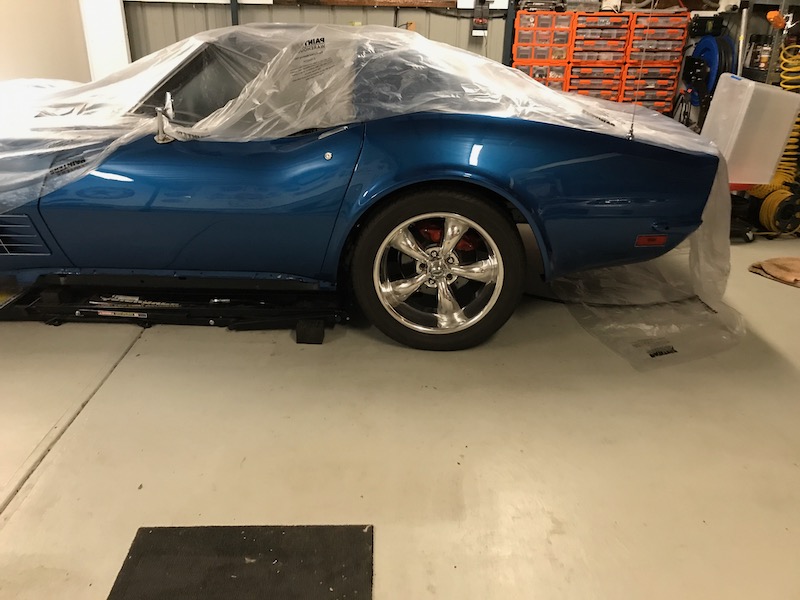
Car on the ground and I did some testing in the driveway to settle suspension. Very happy with the ride height once settled but I have spoken to Dan at VanSteel about 8" stings with helper springs as ai don't like the spring not being captive at full drop. That should give me a captive spring and some more adjustment if needed.
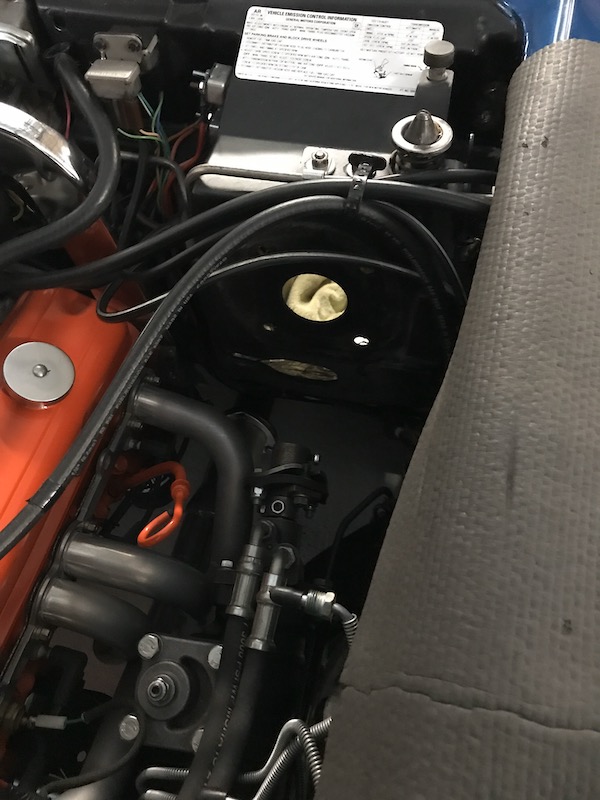
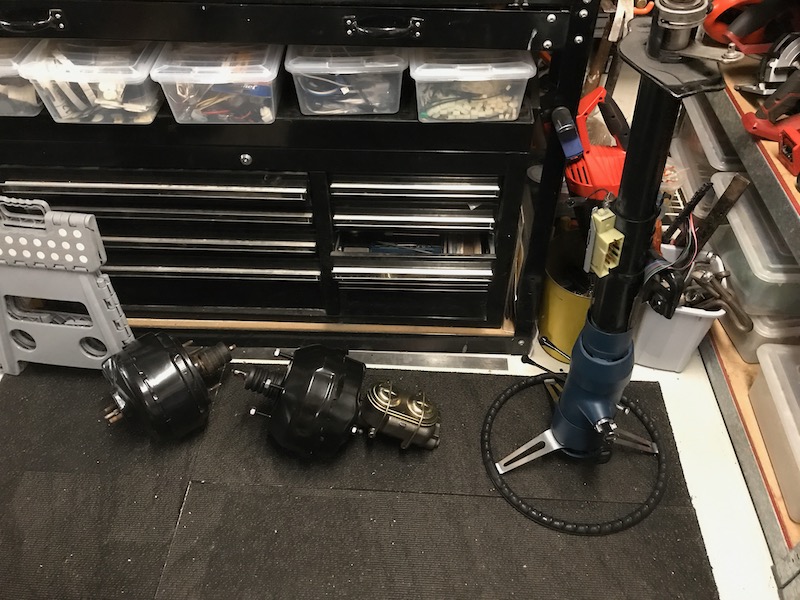
All good but brakes seemed very firm.....Turns out power booster was not holding vacuum properly and playing up.
Luckily I have a new one and master cylinder in a box.
So out come seat, steering column and then the brake booster. This was not as difficult as I had thought it would be using long 3/8 extensions.
Looking on the brighter side this lets me mount my good vacuum canister that has been collecting dust.
While removing the brake booster I decided to drop the pedal box, steering column support and main support brackets so i can get them media blasted and restored..
Yep, Leigh has better covered what I was saying. When jacked up in the garage the camber will still go further negative, but not enough to compensate for the body roll and keep the tyre from rolling over onto the outside sidewall when cornering hard. The higher the inner pivot the more the rear wheel will move into negative camber in bump, the lower the inside pivot the more the wheels will retain the static camber setting (relative to the chassis) in bump - but with body roll this means that the outside tyre may have positive camber relative to the road and roll over onto the outside sidewall when cornering hard.
Last edited by Metalhead140; Dec 3, 2019 at 06:38 PM.
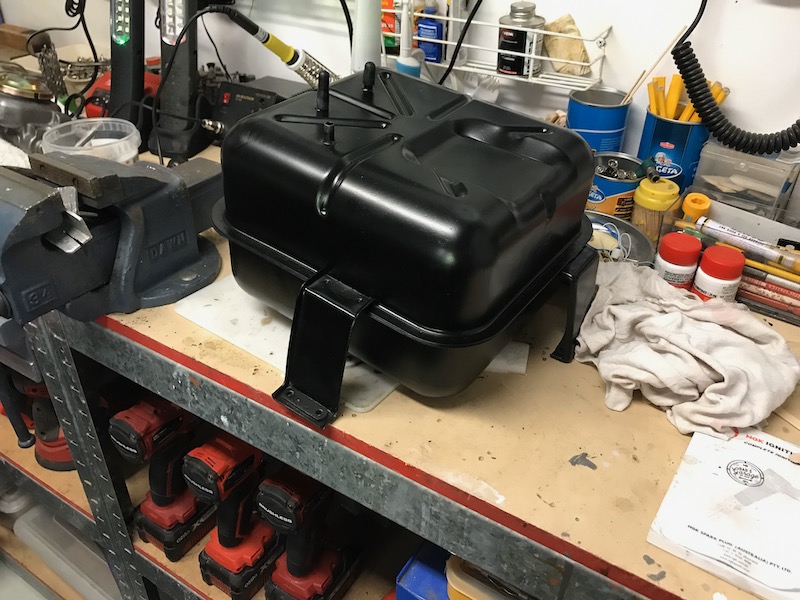
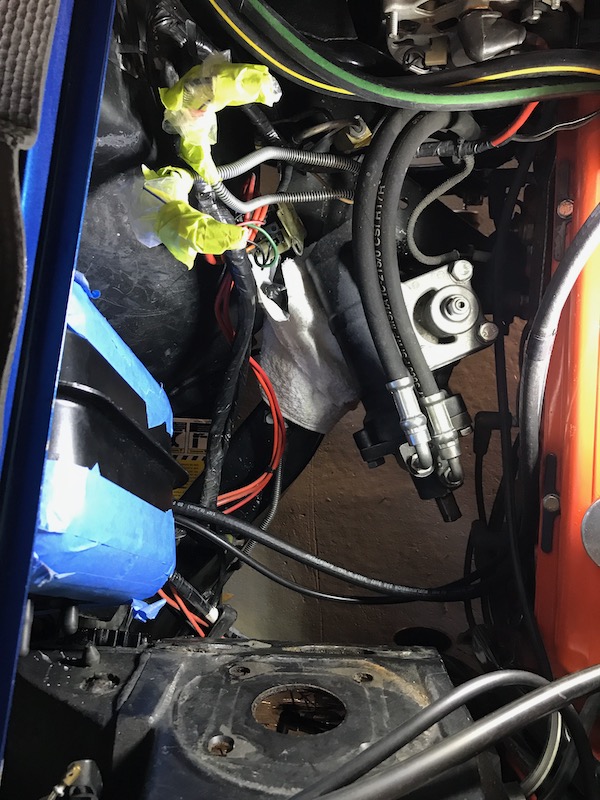
So fitting the vacuum tank got a little more difficult.
To get it in I had to not only have the brake master cylinder and power booster off but I needed to remove headers and swing the Borgeson steering box out of the way.
Also disconnect the firewall harness connector to make it a bit easier.
Then it went in so smoothly... 😀
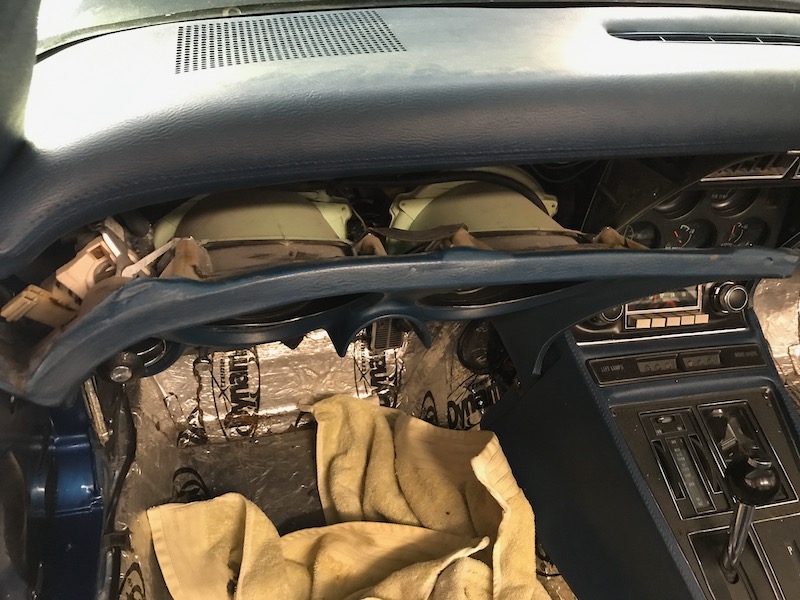
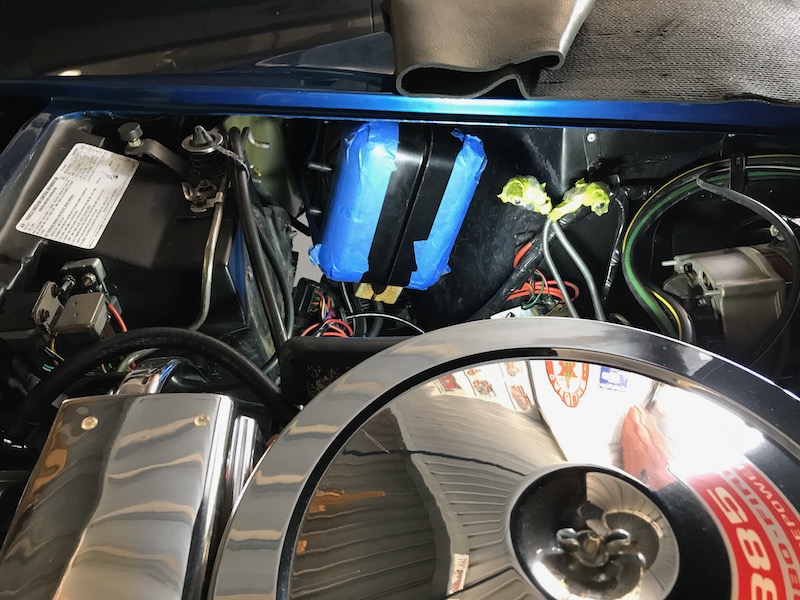
I have scuffed the inner guard so I can do some repairs and repaint it prior to final fit.
When in there is very little space between the vacuum tank and the power booster but as long as there is some.
Now to repair the inner guard.
This tank (the second I shipped from the US) holds vacuum very well. Constant hold for 6-7 hours before I gave up looking.


 as always.