When you click on links to various merchants on this site and make a purchase, this can result in this site earning a commission. Affiliate programs and affiliations include, but are not limited to, the eBay Partner Network.
Richard, what symptom caused you to change the master bore?
Bill
Hey Bill-
HA- reading the owners manual would have been my first clue!!!
Actually I saw an episode of "Roadkill" and they upped the calipers to 6 pistonon an ElCamino- with the stock size bore MC they couldn't get enough braking out of it. I had an "Aha" moment- pulled out the Owner's manual - and that's what they (Wilwood) recommended!!! Anyway- glad I had not filled the system- so I now have a slightly used - never had fluid Wilwood 1" MC.
Originally Posted by PainfullySlow
Man I LOVE reading this thread. Richard you really have an incredible vision as well as the skills to make it a reality. Tip o' the hat to ye, sir!
Thank-you SIR!!!
HA- I actually have double vision from my accident years ago!!!
Interesting Richard. I will be running the D8-6, D8-4 combo on mine in a manual brake configuration. But the piston area is the same as stock, so I wonder if I still should use a 1 inch bore master. I will check with them, and if 1 inch is recommended, I will buy your 1 inch if you are interested in selling it.
Ok, so I was looking for info on Vac system C3 (seems I have inherited one) and came across this (2hr read), Richard I'll say Im impressed with the skill and time invested.
Mark.
Corvette Stories
The Best of Corvette for Corvette Enthusiasts
2027 Chevrolet Silverado 1500 First Look: Everything You NEED to Know!
Michael S. Palmer
5 Best & 5 Worst Corvette Daily Drivers
Joe Kucinski
The Headlights of Every Corvette Generation Explained
Joe Kucinski
5 Best & 5 Most Overrated Corvette Track Packages of All Time!
Joe Kucinski
Every 2027 Corvette Engine Explained
Joe Kucinski
Designer Imagines A Corvette That Looks More Like a Corvette Than the Corvette
Verdad Gallardo
10 Ugly Corvettes That We Still Kinda Love
Joe Kucinski
Top 10 Most Expensive Corvettes Ever Sold on Bring A Trailer
Brett Foote
10 Things Every Corvette Owner Needs (2026 Edition)
Michael S. Palmer
8 Most "Only Corvette Owners Understand" Quirks and Problems
Interesting Richard. I will be running the D8-6, D8-4 combo on mine in a manual brake configuration. But the piston area is the same as stock, so I wonder if I still should use a 1 inch bore master. I will check with them, and if 1 inch is recommended, I will buy your 1 inch if you are interested in selling it.
Bill
Hey Bill-
Shoot me a email richard454 at comcast dot net. $100 plus shipping it's yours- no box- but have the bleed kit and I have the adapters for the Wilwood to stock OEM brake lines to the proportioning valve. Just need the two fill plugs and the washers (Part#240-8602 $1.99 at Summit)
Originally Posted by calwldlife
glad you are back.
been very interested in your build.
i could never do what you have done!
Thank you!!!
Originally Posted by dmaxx3500
WOW-- great work
Thanks!!
Originally Posted by CPTCroaker
Depending on my orders and report date I am hoping to make power tour as well. Look forward to checking your car out
Hey Jim-
That would be great to put a name to a face. Met a lot of forum members on the HRPT
Originally Posted by brent319
Amazing work as always. thanks for the updates.
Hey Brent-
Hope you guys are doing alright.
Originally Posted by Moto One
Ok, so I was looking for info on Vac system C3 (seems I have inherited one) and came across this (2hr read), Richard I'll say Im impressed with the skill and time invested.
Mark.
Thanks Mark!!!
OK-
One big step forward. I have the cooling system all worked out.
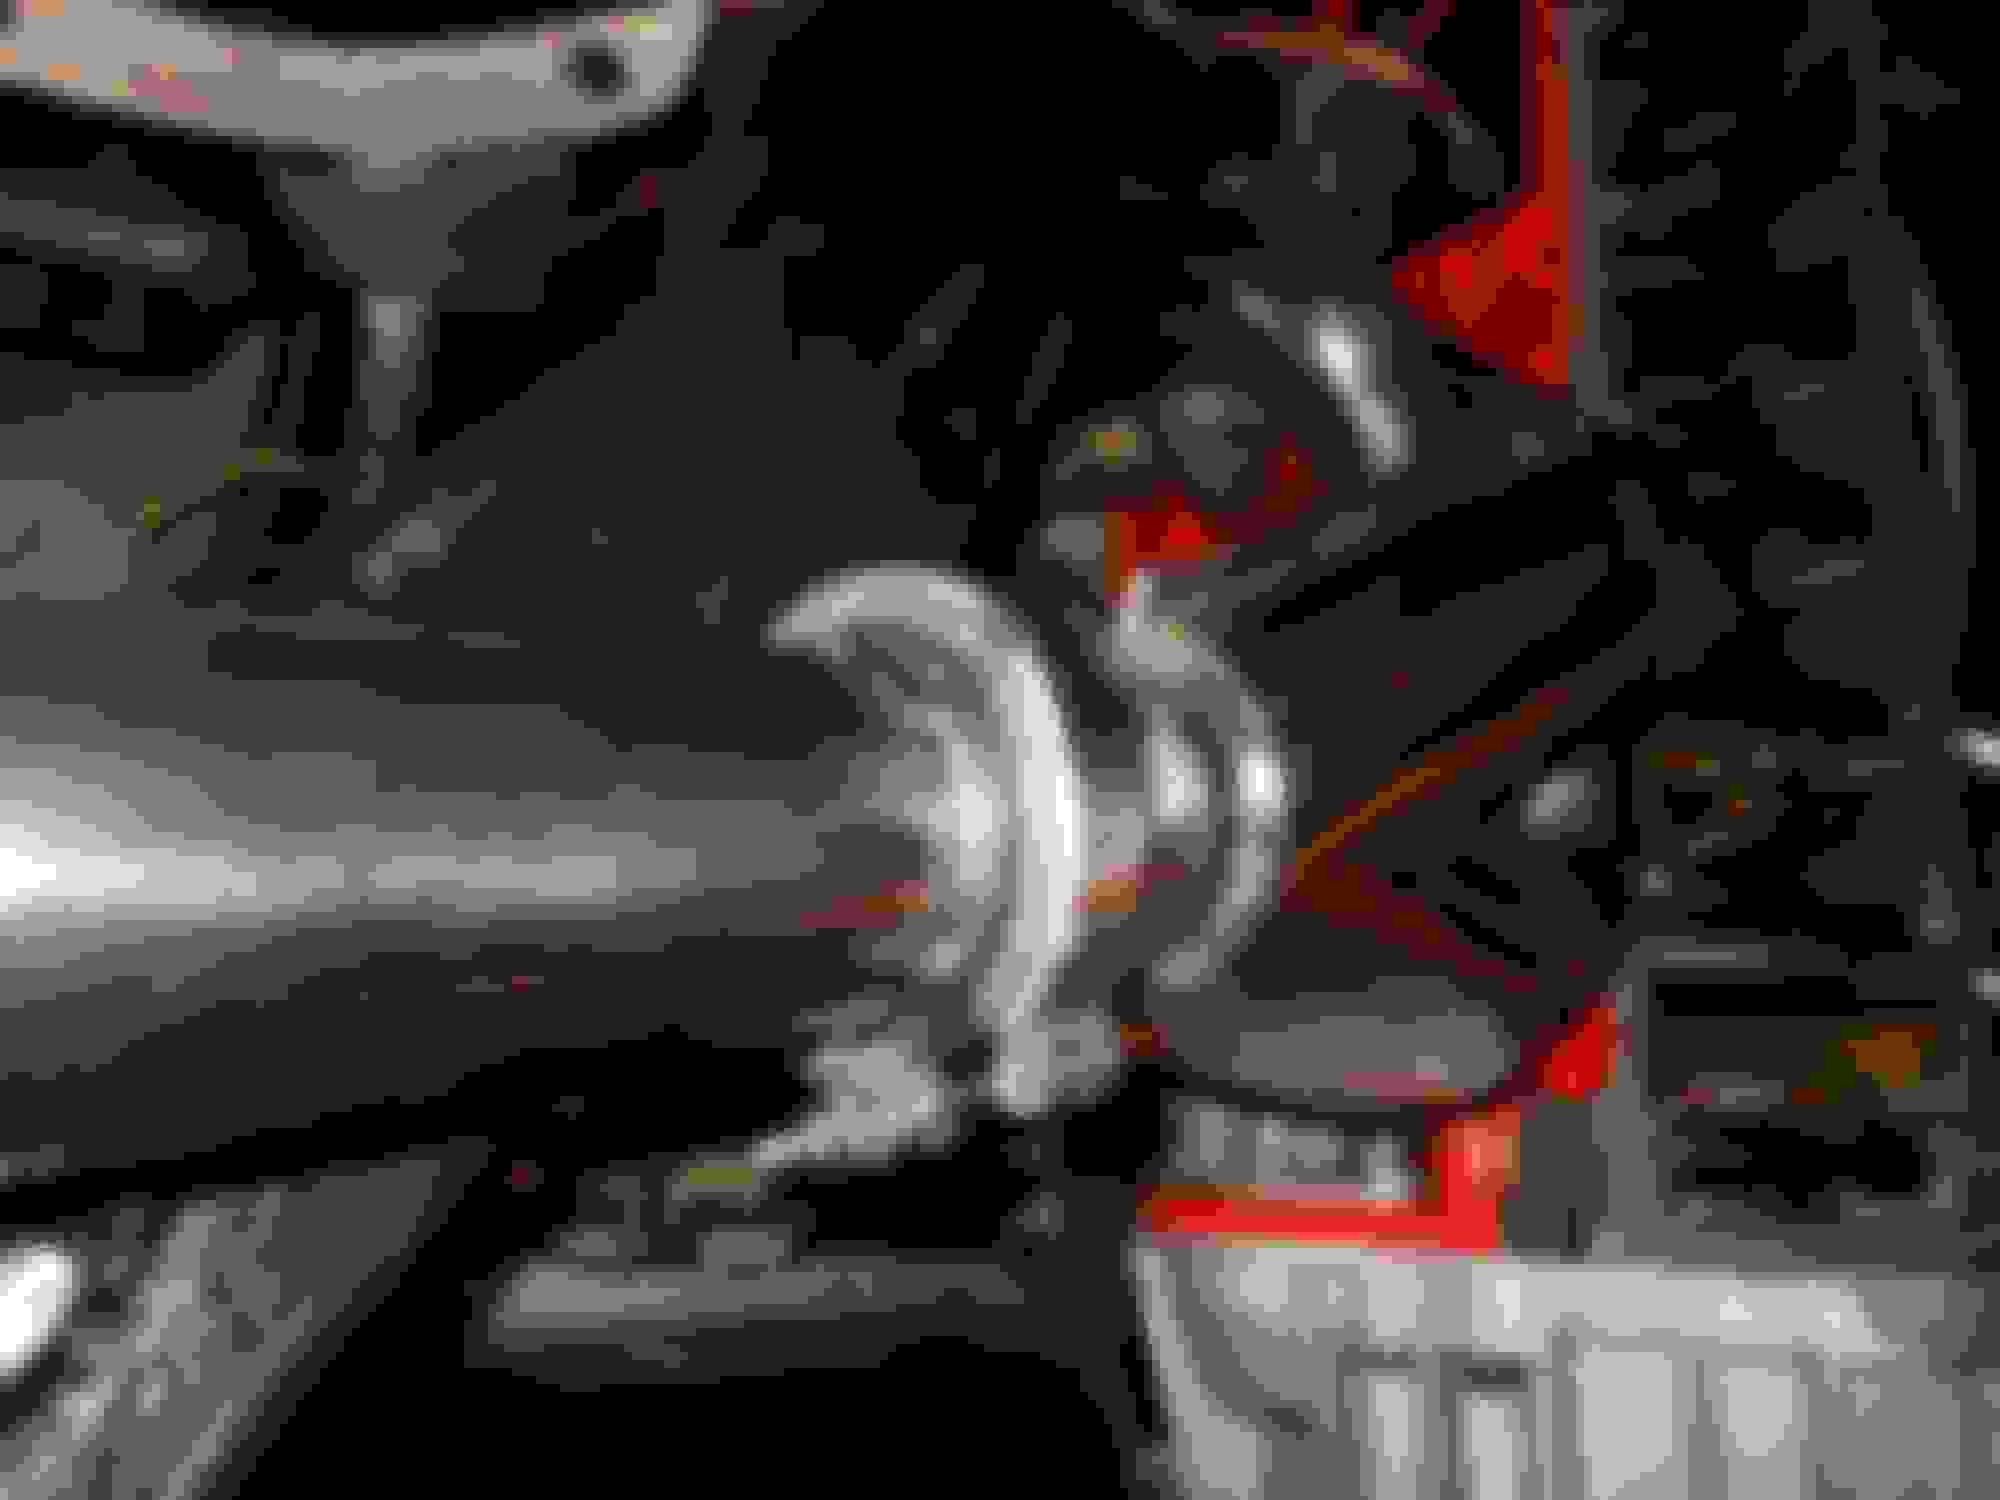
Installed the new Dewitts radiator-connected up all the hoses and after several issues- I now have a system that holds over 10PSI for over 30 minutes!!!
I used the steam port to connect the gauge and the port on the upper radiator hose ran pressure, Ran it up to 20PSI and heard the Radiator Cap squealing- then dropped it down to 10-12PSI and let it sit, Sprayed every connection down with soapy water and no bubbles!!!
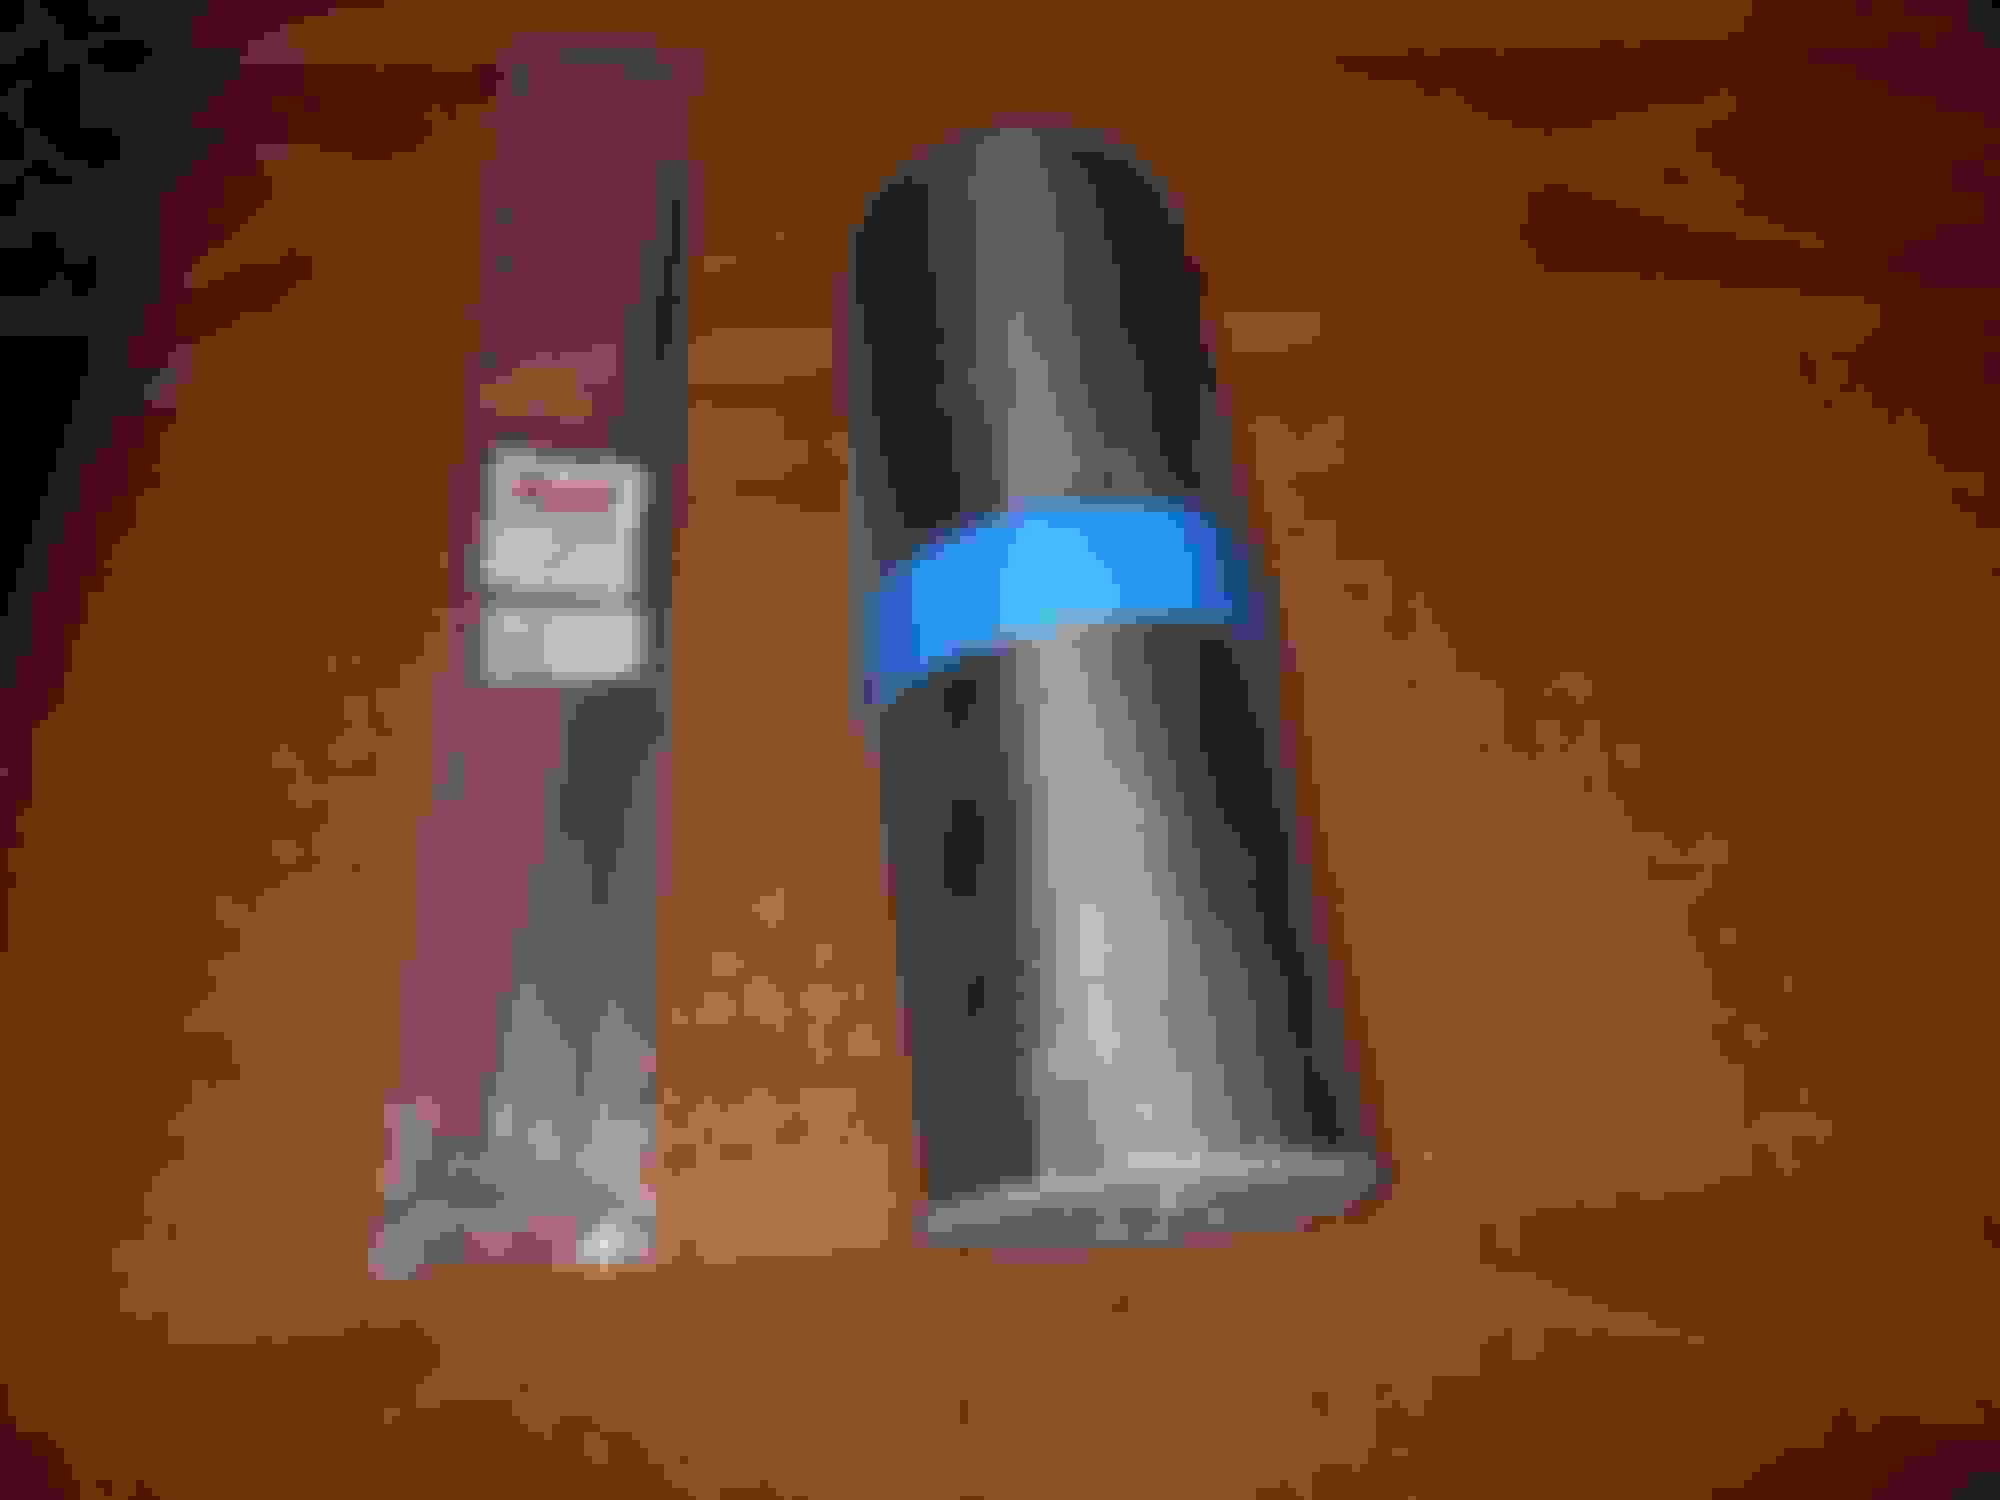
I did order a 1 3/4" SS 45� exhaust pipe piece-to fit between the upper half and lower half of the lower hose-as I'll use that to route the lower radiator hose at a better angle. Right now it's a little too close to the serp tensioner.
Here's the new bracket mounted- no side to side play at all!!!
Redneck pressure checker..... a black zip tie would look better...
How the pressure is controlled- Trusty old vicegrips
I pulled the 1" master cylinder to replace with the 7/8" and decided I would tackle the small drip I'm getting out of the clutch master cylinder. I check how tight... don't think I can tighten it any more...looks like I've been there done that. A quick Google search- and I'm not the only one with a problem- After looking around I find the best solution is to run a Breeze B9224-0356 Spring-Loaded T-Bolt Clamp.
So next is the oil system- put the pan back on- hook up the new dry sump lines-and check for leaks.
A little bit of wiring to finish up- connect the O2 sensor- and it should be start up time Part Deux!!!
Amazing fabrication and innovations. Thank you for sharing all this
Thank you!!!
OK- I finally started drilling up my SS sidepipes.
I read where drilling stainless requires more pressure and just keep it cool.
I found the best size and bit to start the hole- was 3/32 Dewalt split point cobalt. After drilling over 50 holes for one sidepipe- only used 3 bits!!! I had like 10 on hand - just in case!!!
So after years of messing with this idea- sidepipes from loud to quiet that will fit under the OEM covers and be able to flow 2 �" straight pipe- I finally have a finished piece. Looks like it will work- hope to try them out next week.
I have 24 3/8" hole- has the same area as a 1.75" pipe- so some restriction going into the muffler- which is fine.
2�" pipe inside the muffler-
O2 sensor bung
Finished piece-everything band clamps together.
Cut-out motor will be mounted remotely- as there is no place thanks to the frame. I will use a 1/4 drive 90� piece - have the 1/4 flex in the pic
OPEN- loud 2�' straight pipe
CLOSED (and can vary in-between) exhaust will flow through the front perfs through the muffler and exit out the rear perfs. Theoretically the 2�" closed pipe will work as a hemholts resonator....
I love that side pipe idea. I'm really curious how they perform in term of power restriction and sound muffling. I'm actually contemplating the same procedure since lowering my floorpan won't leave any space (6'6" gotta 6'6") for the exhaust.
I love that side pipe idea. I'm really curious how they perform in term of power restriction and sound muffling. I'm actually contemplating the same procedure since lowering my floorpan won't leave any space (6'6" gotta 6'6") for the exhaust.
Almost, until the SBC ate itself up on the first test drive. Decided to take a break and move on with my backup LS engine. Break is coming to an end (home renovations mostly), will resume the madness in a couple months.
(Sorry Richard for the thread squatting).
Your welcome to squat!!! Especially since we are both nearing a decade in our builds!!!
I'm thinking the straight pipes will not hurt the power- and the slight muffler effect of the perfs when wide open will knock a little bit of sound off.
As far as dropping the level down- If the pipe is half open -It still should flow as good as 2�" pipes. The area in the 4" pipe minus the 2�" pipe is about same.
IF it's not as quiet as I want- I can still add some exhaust packing the last 6 or so inches of the pipe. From what I have read- the glaspac type muffler I used doesn't really have much attenuation after 20" or so-and that's what I went with.
The big benefit will be less heat- as I am shielding it and using different layers of wrap.
Here's what's going around the muffler under the covers-
Here's how I am going to actuate the cut-outs- just use a flex coupler so I can tuck the motor underneath the car as the frame is in the way.
The pipe turn out lines up pretty well with the covers-
In a few minutes I can pull the pipes off - all connected with v-bands.
Last edited by Richard454; Mar 7, 2018 at 10:23 PM.
Your welcome to squat!!! Especially since we are both nearing a decade in our builds!!!
I'm thinking the straight pipes will not hurt the power- and the slight muffler effect of the perfs when wide open will knock a little bit of sound off.
As far as dropping the level down- If the pipe is half open -It still should flow as good as 2�" pipes. The area in the 4" pipe minus the 2�" pipe is about same.
IF it's not as quiet as I want- I can still add some exhaust packing the last 6 or so inches of the pipe. From what I have read- the glaspac type muffler I used doesn't really have much attenuation after 20" or so-and that's what I went with.
The big benefit will be less heat- as I am shielding it and using different layers of wrap.
Here's what's going around the muffler under the covers-
Here's how I am going to actuate the cut-outs- just use a flex coupler so I can tuck the motor underneath the car as the frame is in the way.
The pipe turn out lines up pretty well with the covers-
In a few minutes I can pull the pipes off - all connected with v-bands.
Worked on getting my Flaming River Manual Steering rack in today.
I was anxiously awaiting the Fedex -delivery guy looked at me funny because I know I looked like a little kid at Christmas when I met him at the door!!!
Less than 10 minutes out of the box-
I was cutting of the cradle- milling down the aluminum mount to make it fit.
Success!!!!
Cut the cradle- I will weld some flat steel to strengthen it back up
Milled down the aluminum about 3/8"
Clearance -Clarence!!!
A simple AN fitting was all it took to make the Dry sump line go around the rack and pinion-
Way toooooo big to fit- I figured a large sway bar fitting would work-
I found one- should work great and give me the clearance- and looks to be a little more substantial than the original mount.
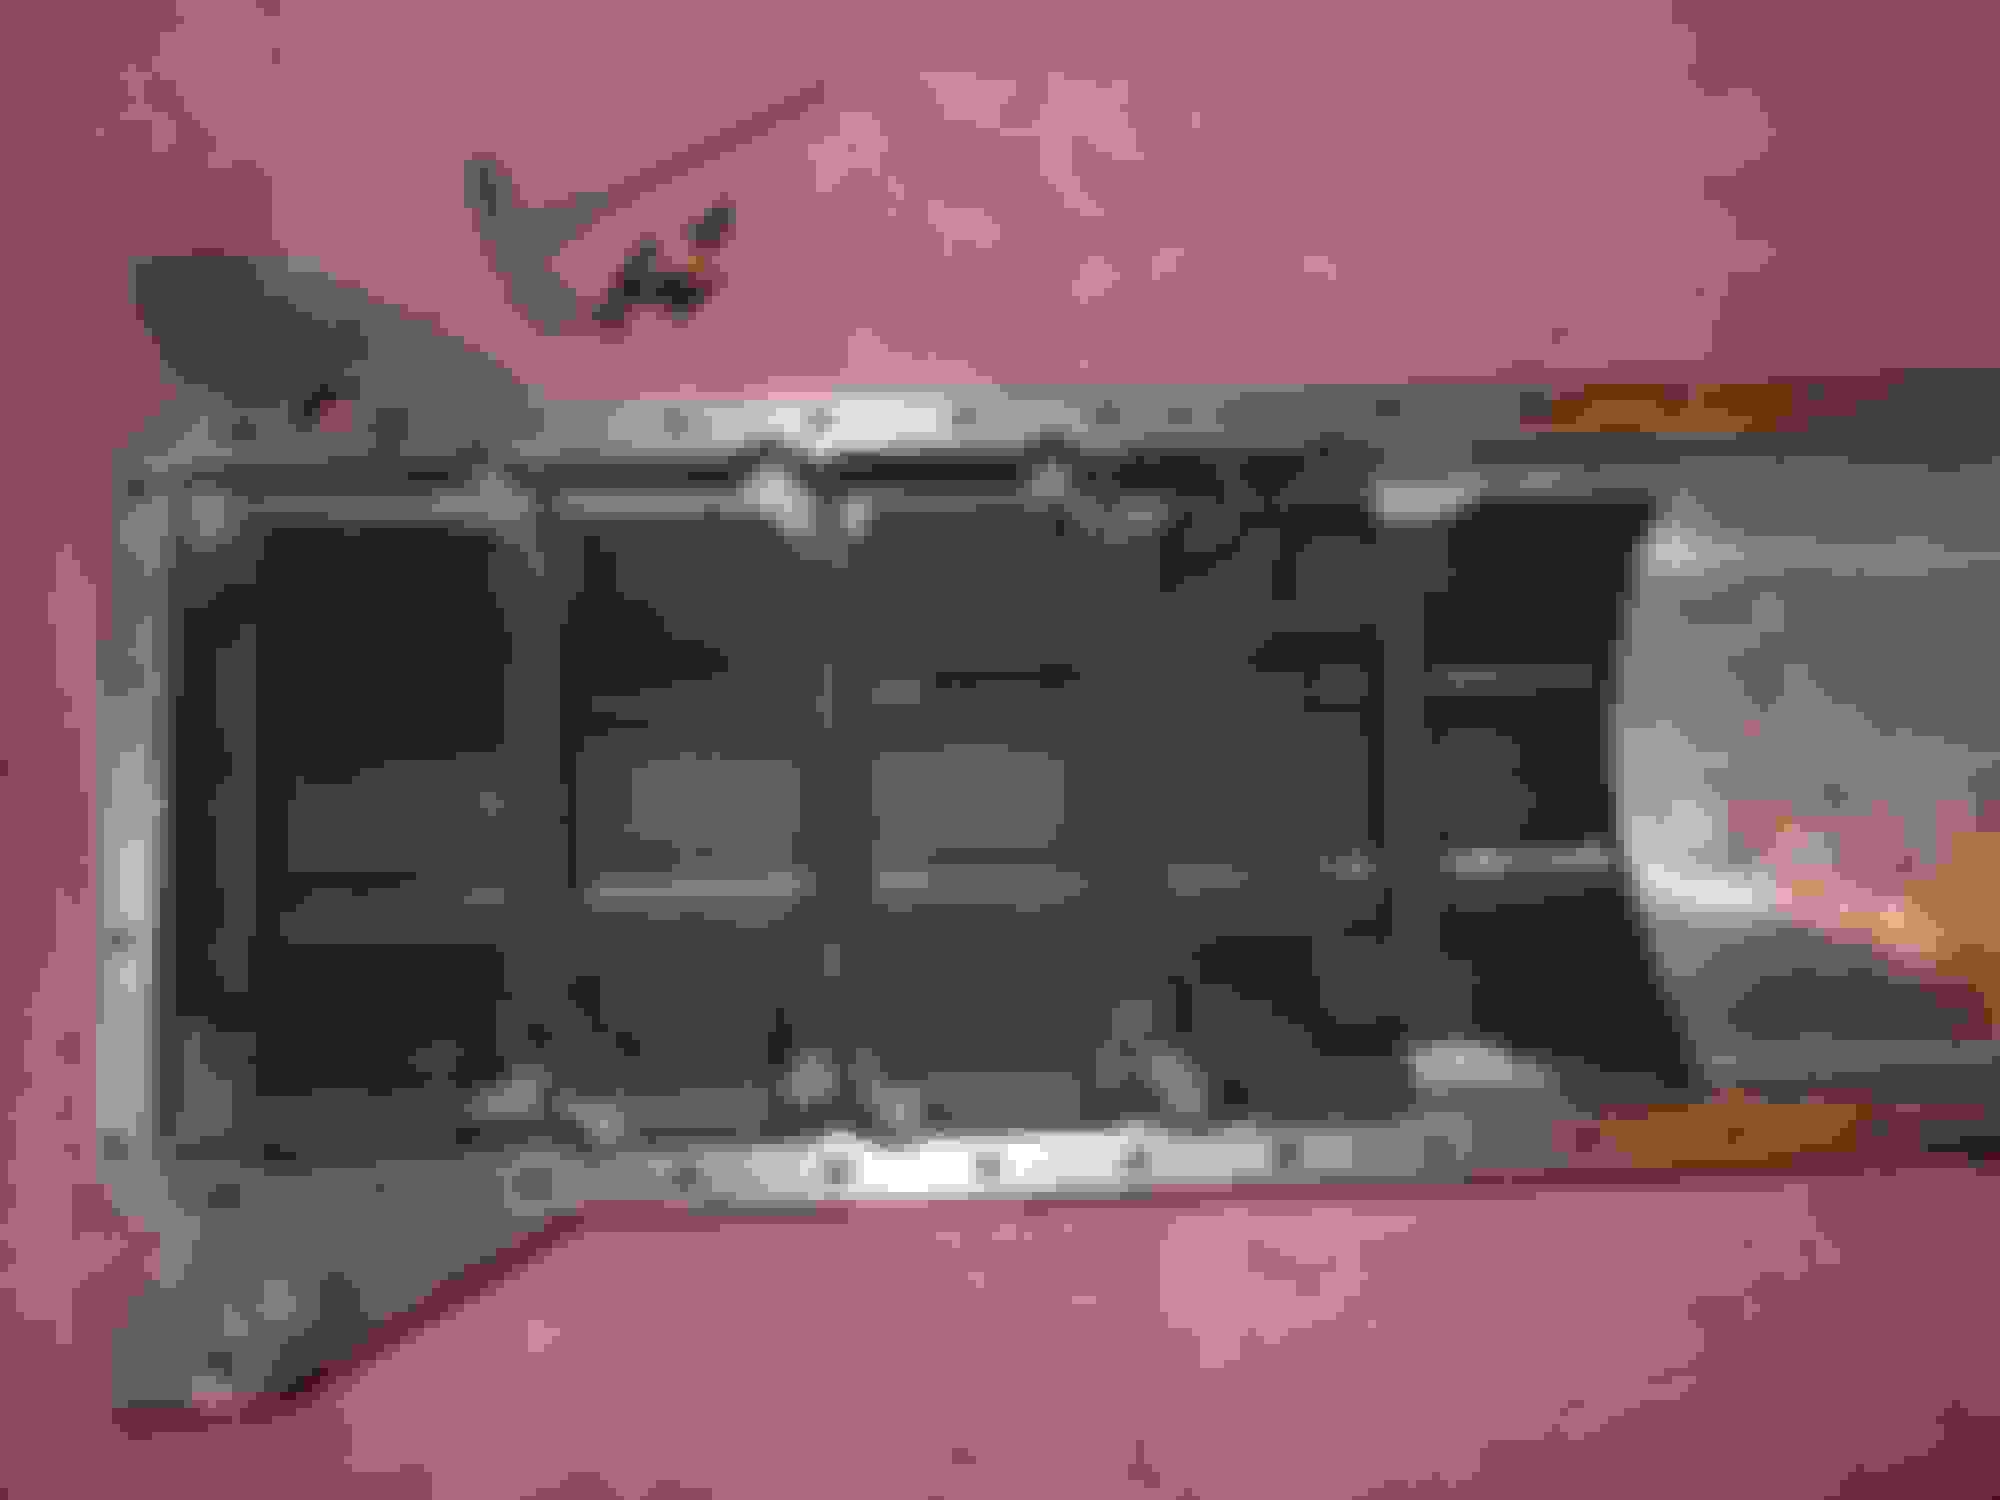
I'm helicoiling the block for the oil pan- all 40 of them! After pulling the pan off and on several times- I didn't want to strip any more out- after a few got buggered up.Cheap insurance to do it now.
Pan is ready to go- had some stuff beefed up on it- a couple spots looked sketchy.
Windage tray going on
Stainless steel hardware-
Bolt on the pan- connect the oil lines and put some oil in it!!!!
Here's where I am on the electric power steering-
A little- OK a lot of redoing on the column to mount the motor.
Shortened the column a little more- motor is closer to the firewall.
I went with a Speedway motor's column clamp- looks like it will work perfect.
As far as the steering shaft to the Flaming river rack?
The kit uses a convoluted bunch of u joints- supports and set screws.
I'm going with the factory Nissan intermediate shaft- factory splines- factory U-joints and it is adjustable length by design.
At the end of the factory u-joint-a 3/4" DD shaft fits perfect- which will be welded on a 3/4 to 9/16-26 as on the rack. So no set screws- either splined or bolted and notched w/ a bolt.
Designer Imagines A Corvette That Looks More Like a Corvette Than the Corvette
Slideshow: A Jaguar designer's personal project imagines what a modern front-engined Corvette might look like if Chevrolet revisited the golden age of the Stingray.


 . Decided to take a break and move on with my backup LS engine. Break is coming to an end (home renovations mostly), will resume the madness in a couple months.