When you click on links to various merchants on this site and make a purchase, this can result in this site earning a commission. Affiliate programs and affiliations include, but are not limited to, the eBay Partner Network.
Deep sea definitely figured it out. It has to go on the outside of the frame, behind the fender, but it fits there! I ordered some six inch Patterson brackets.
The oil tank is in. I used the factory brackets to mount the lower part of the tank to the fame, and the Peterson 6� band to mount the upper part of the tank to the inner fender. It�s not exactly perpendicular the the ground, but I gotta check my oil level and add oil from time to time. If you are reading this for tips, buy the Peterson fat short tank that will fit on top of the frame. I have a Corvette Autocross in Santa Maria Saturday, then I can start removing the 383 L82.
The srarter arrived and I bolted it on. I went with the Summit. If you want a billet coolant expansion plug, don’t get this thick one. It wii interfere with the conversion motor mounts. Get the one with recessed hex fitting like this one.
Out with the old.
This L82 block has been in the car since I bought it new in 1979. In its latest 383 450HP iteration, it helped me beat C6s and C7s at autocross, and to a gps verified 150mph. It would probably do 160-170, but my 700R4 won’t stay in fourth past 3/4 throttle. Something I will definitely address with the LS7. I’ll put this engine on a stand, clean and dress it up, and save it for a Camaro project yet to be purchased. Any secrets to storing engines. Anybody know of a six cylinder Camaro, or engine less Camaro looking for a good home?
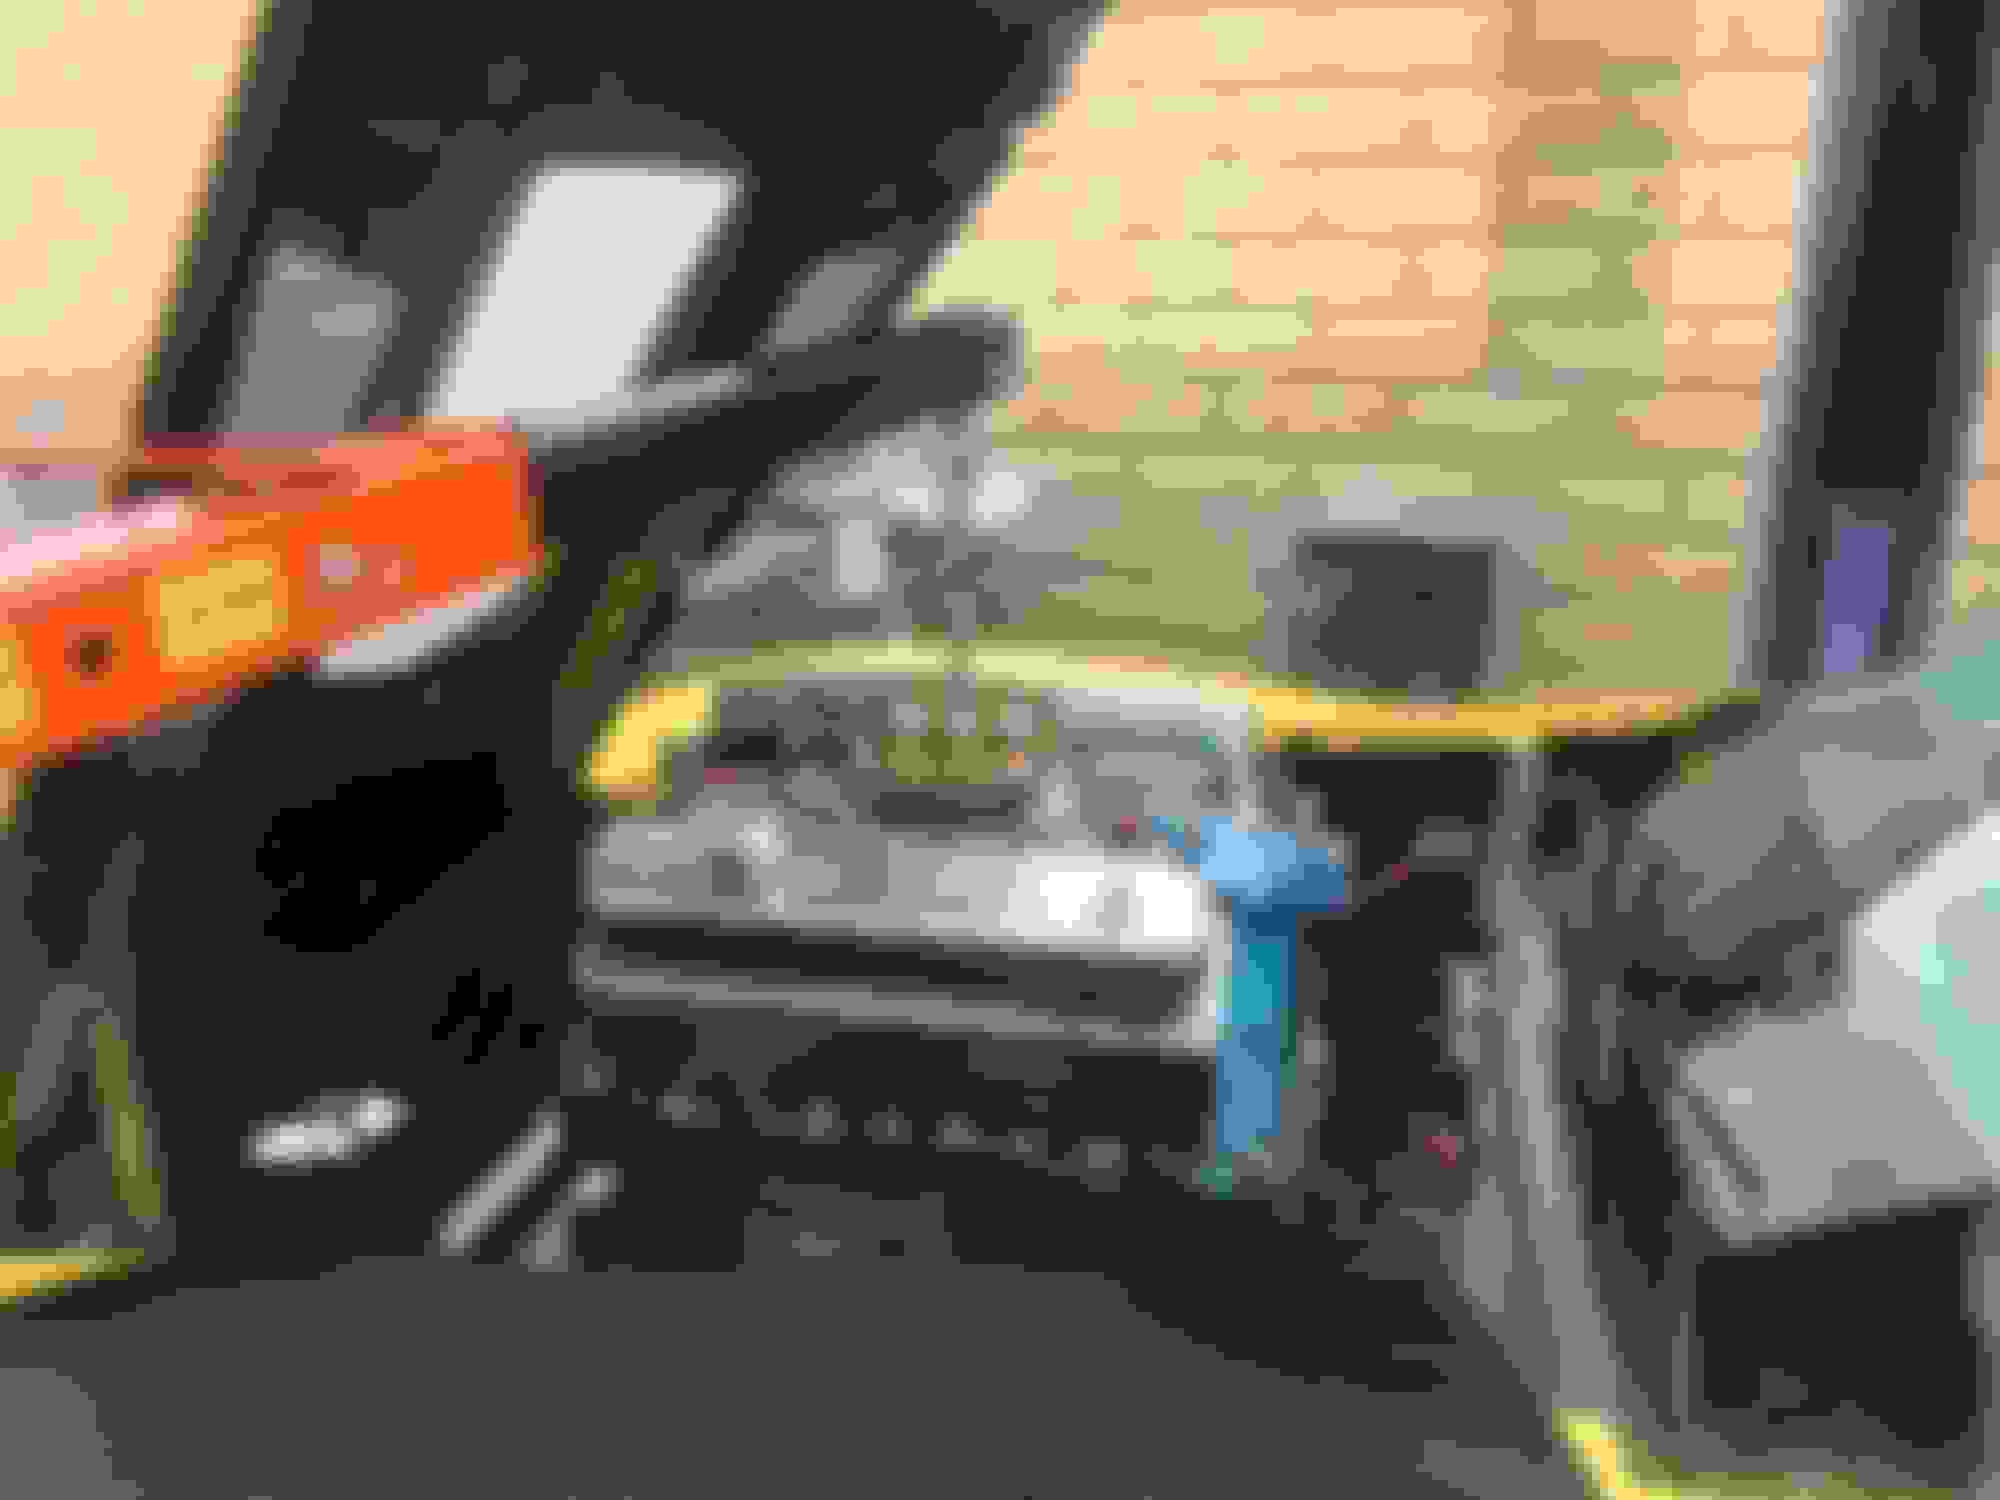
A few weeks of cleaning and painting the engine compartment, and some frame reinforcing, then I’ll be ready to drop in the LS7.
Reinforcing the frame! I had a friend weld some frame reinforcements. Many of you will remember that I ripped my lower A arm mounts from the frame while autocrossing. We reinforced the lower a arm mounts and boxed the motor mounts. I expect that a 500 hp 427 with solid motor mounts will try to twist the frame a little, and I never want the lower a arm to get ripped out again. The reinforcement brackets are hard to spot, so I used orange tape to highlight them.
Looks good. Did you do anything around the steering box? I discovered a couple of weeks ago that I had cracking around the bottom of my Borgeson box, in my searches I found others had experienced the same problem. Spent most of a weekend grinding out and welding up the cracks, making up and welding in a doubler plate over the chassis rail, and added a bracing plate similar to the ones you've added tying the bottom of the rail under the box back into the engine mount. And yes, I know the mount for the factory ram isn't meant to be welded to the chassis, that happened sometime long prior to my ownership.
The worst of the cracks:
Some less serious damage here too.
Welded up (after drilling stop holes in the cracks and veeing them out) and dressed back for the doubler plate:
All fixed, just needs paint.
Steering box back in:
Last edited by Metalhead140; Apr 13, 2019 at 07:28 AM.
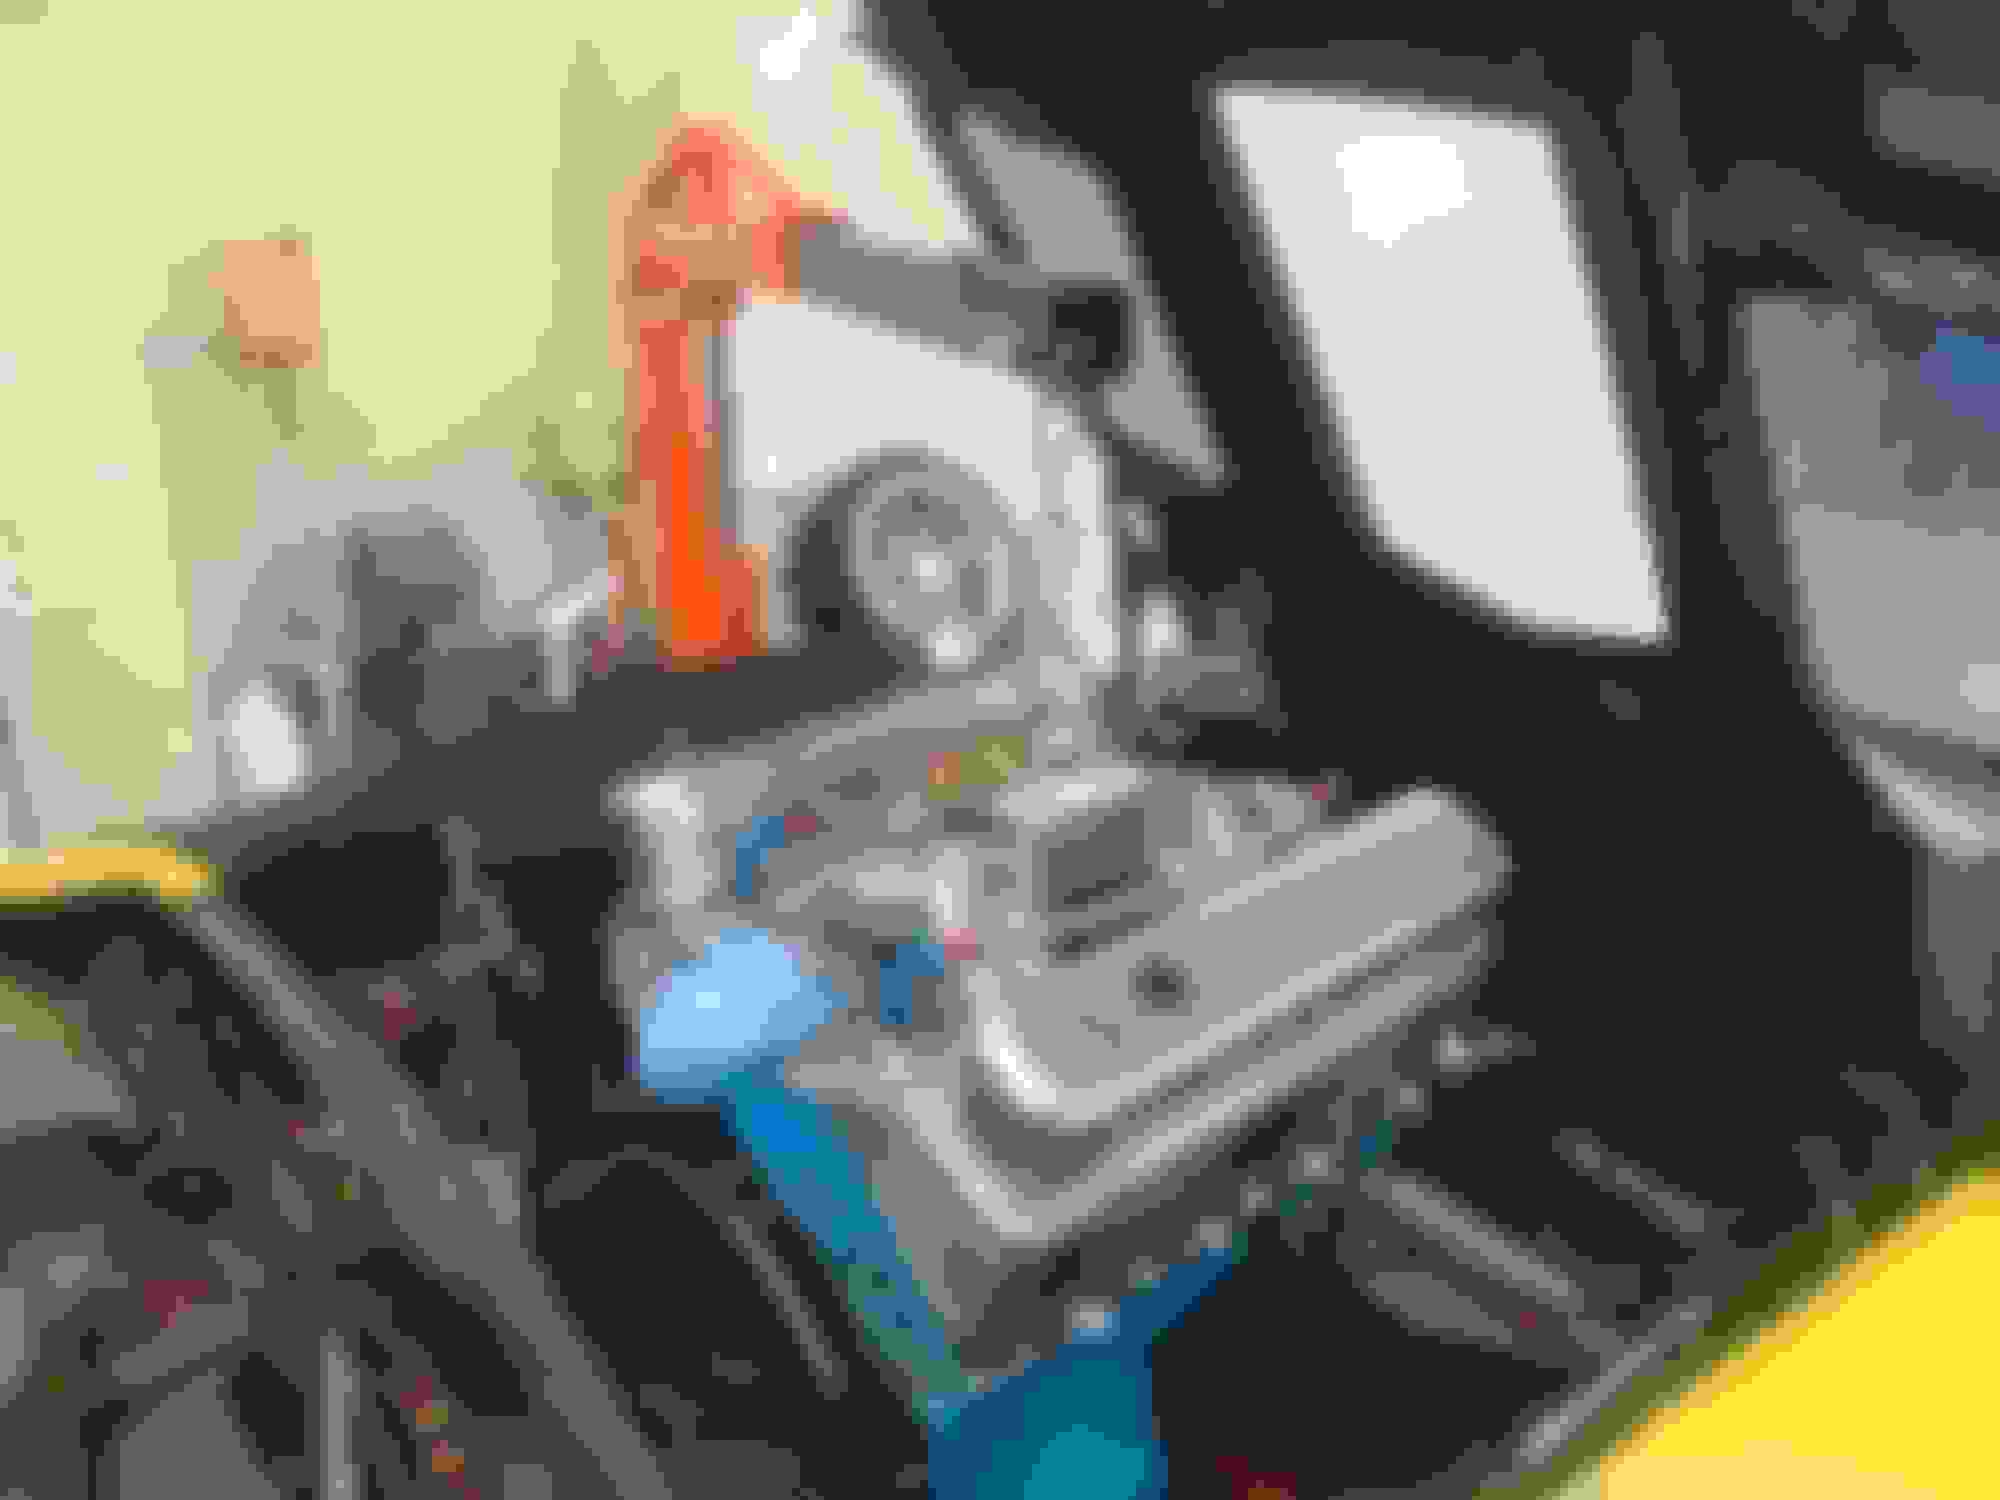
Observations and questions after dropping the engine in.
The engine went in after I removed the thermostat housing and trimmed a couple of a arm bolts. As expected the engine is one inch forward, so I had to modify the trans mount so it could move up one inch. The torque converter to crankshaft/flywheel spacer doesn�t fit the LS7, so I had to remove it. The oil line is too long, so I�ll have to address that. It�s a good thing I installed the small power steering pulley. No way would something larger fit. Great news, the cheap flea bay stainless steel headers built for the Z28 Camaro fits. It�s to close to the 700r4 bell housing on the passenger side, so I trimmed it a little. Mods to move the tranny up one inch. Now I�m worried if enough yoke is left inside the tranny. The stock oil line is 6� too long. Can it be shortened? This thermostat housing won�t work, so I�ll need a straight ahead version.
The stock oil line is 6� too long. Can it be shortened?
Chevy Performance sells an aluminum block that bolts to the oil pan for using AN12 hoses. For the tank end, I cut the stock hose off of the fittings and weld AN12 male ends onto them. I'd fit the header first then make up hoses and route as needed for clearance.
Nice job. Keep that housing. I cut it off at the flange and rewelded it to point down to go under my spreader bar.
Thanks ignatz, you just saved me from ordering a straight housing. That won�t work either with my spreader bar. They make one that swivels, so I�ll get that one.
One thing you'll want to pay close attention to is the alignment of your pulleys, especially the power steering.
Apparently the Corvette drive system is known for making noise in the balance-idler-power steering area if the alignment is off.
Unfortunately, I didn't know about this issue, so last week we were chasing this noise, but couldn't figure out what it was. We did find out that our water pump had a slight wobble, so we stayed up late-Friday night to replace the pump and get it ready for autocross on Saturday. I thought it was cured and left here early in the morning headed for Santa Maria, but only made it as far as Ventura before the horrible chirping/squealing returned, so I turned around and came back home. After a day and a half of researching and checking everything, it turned out to be my power steering pulley was off by about 1/2 a groove. We corrected that and changed the idler pulley for a beefier unit to make sure there's no flex, and now the noise is gone.
It's one more thing for you to check, but it might save you some of the headache that we went through.
Thanks ignatz, you just saved me from ordering a straight housing. That won�t work either with my spreader bar. They make one that swivels, so I�ll get that one.
Bee Jay,
Here's a pic of the swivel housing installed on mine.
If I had a TIG welder, I would have just cut/rewelded the original one like Ignatz did his, but I don't, so I just bought this one from Summit.
One note of caution - There were at least two different lengths of LS thermostats. The earlier ones were shorter and a slightly smaller diameter than the later ones. The swivel housing that I bought from Summit uses the earlier style (~2005 or 2006 and earlier), so if you put it into a later style pump, it doesn't completely close off the port between the two sides. This would cut down the efficiency of your heater, but if you're not running a heater, it would probably allow you to get by without the U-shaped hose that's recommended for connecting the water pump inlet/outlet fittings.
Designer Imagines A Corvette That Looks More Like a Corvette Than the Corvette
Slideshow: A Jaguar designer's personal project imagines what a modern front-engined Corvette might look like if Chevrolet revisited the golden age of the Stingray.